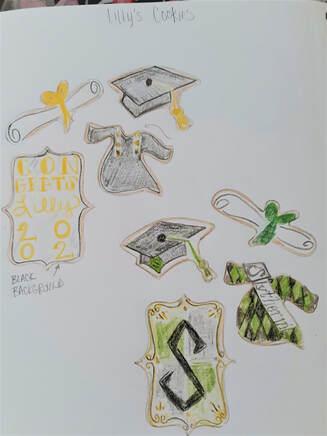
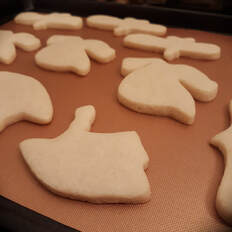
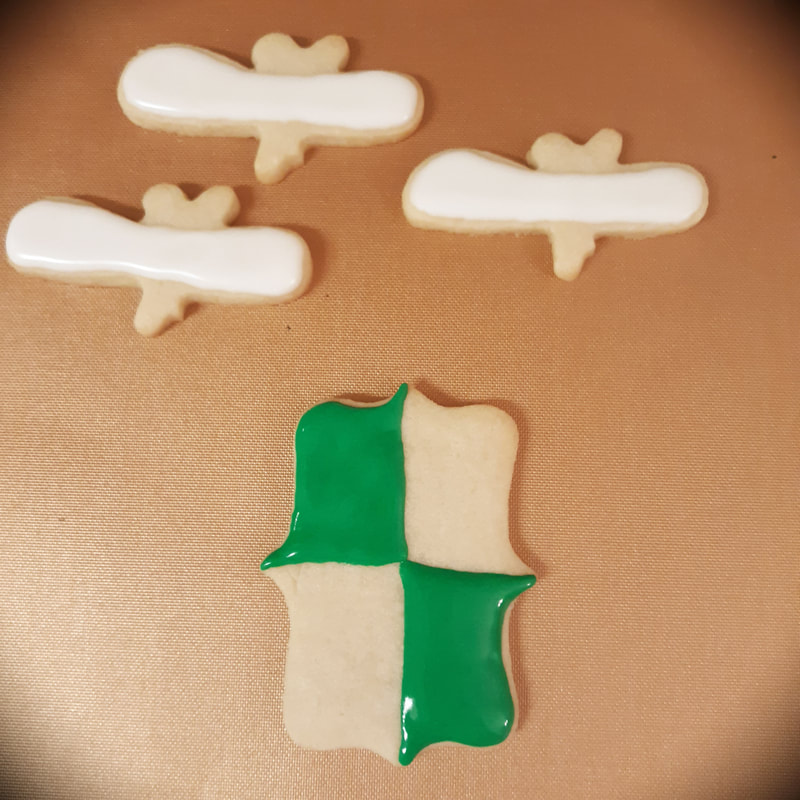
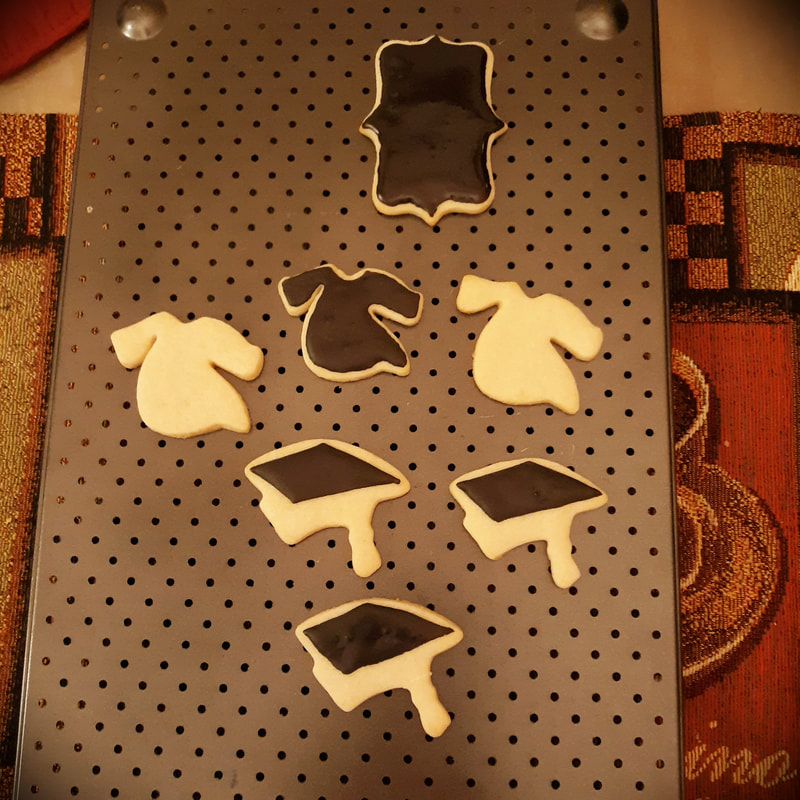
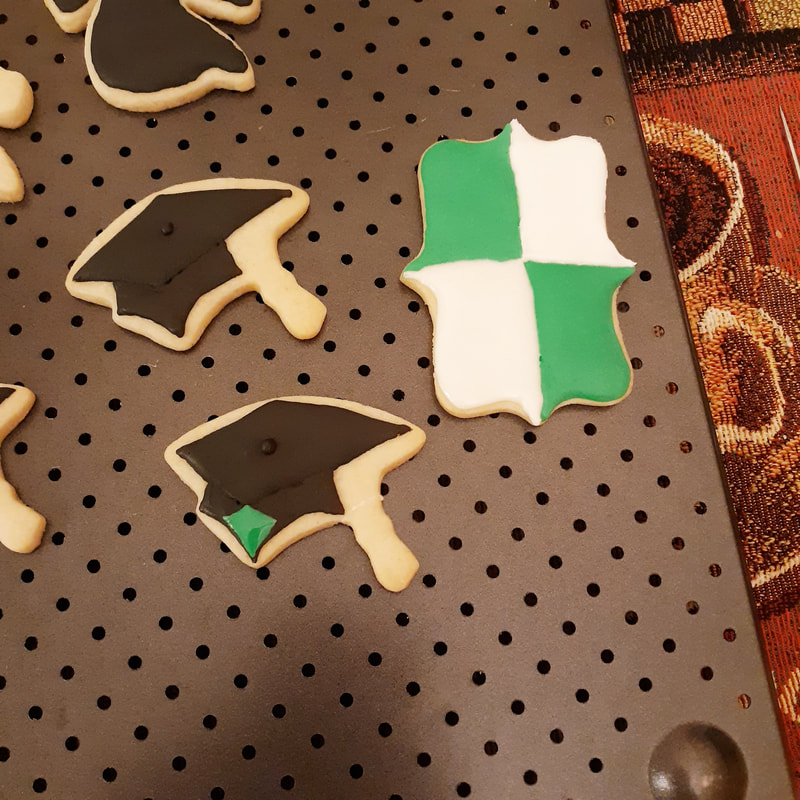
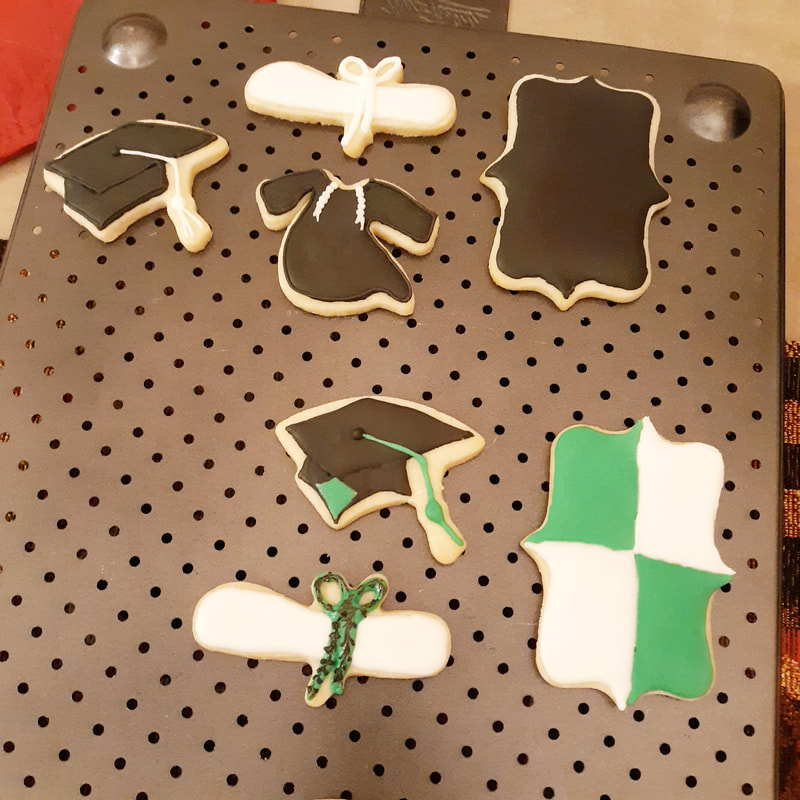
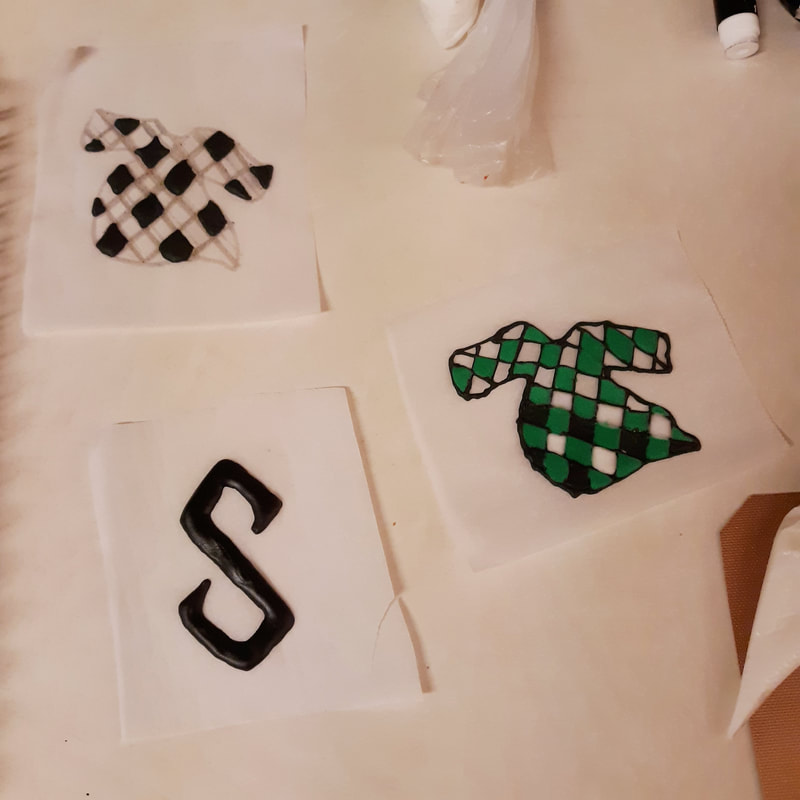
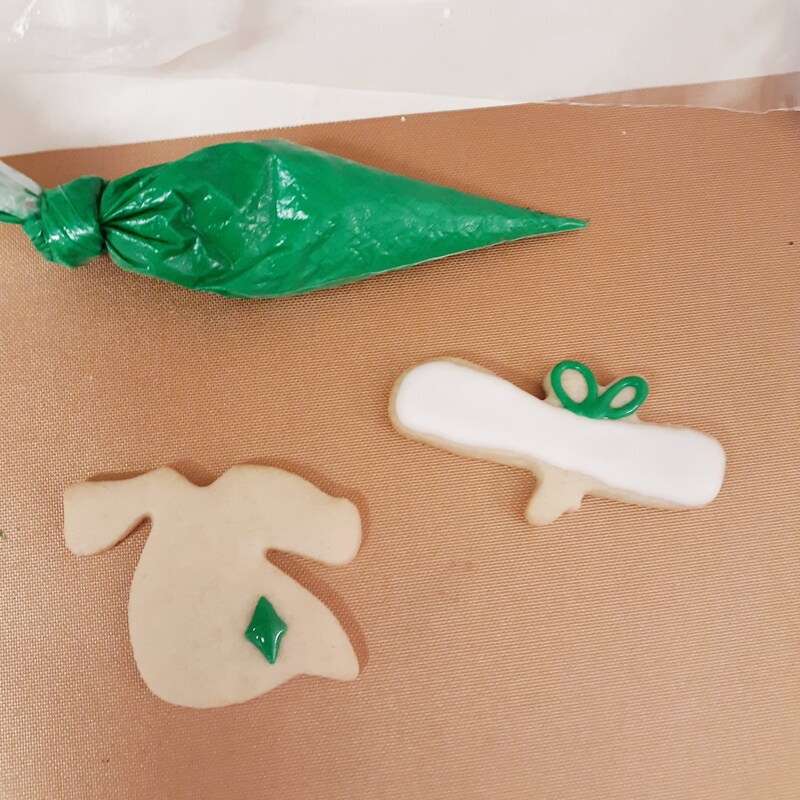
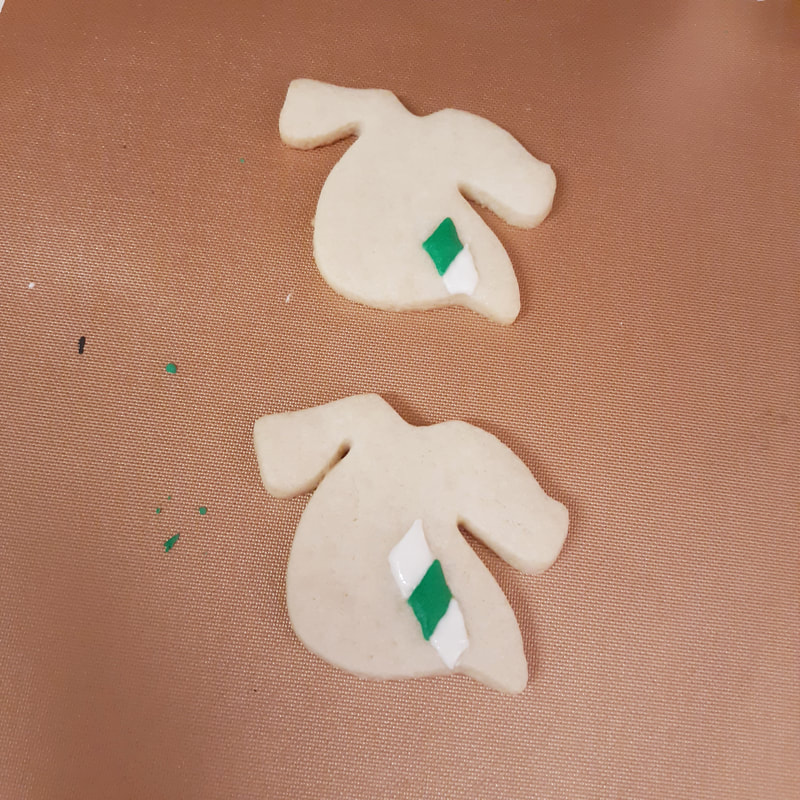
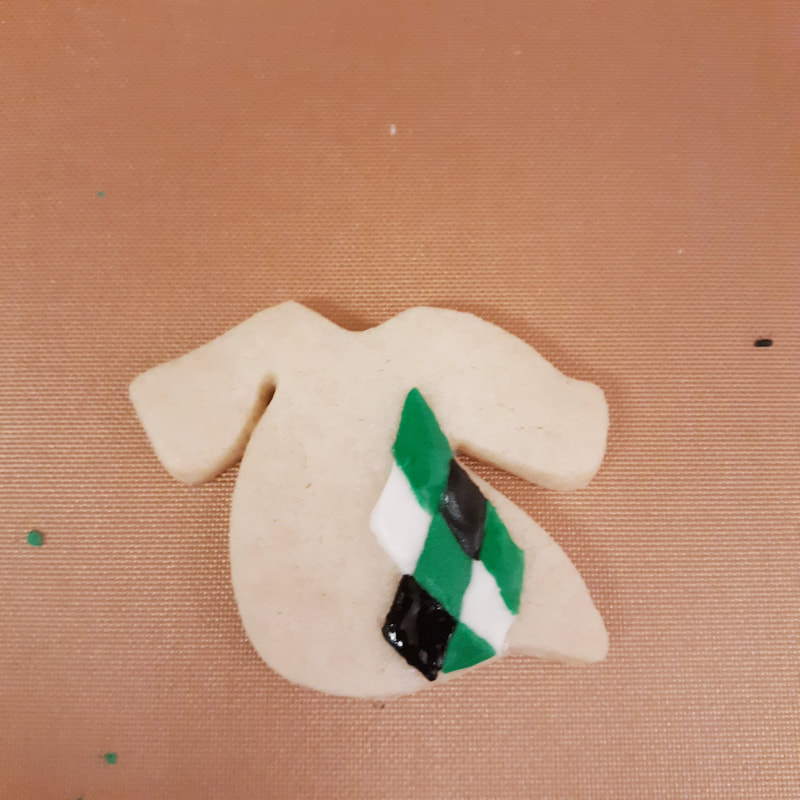
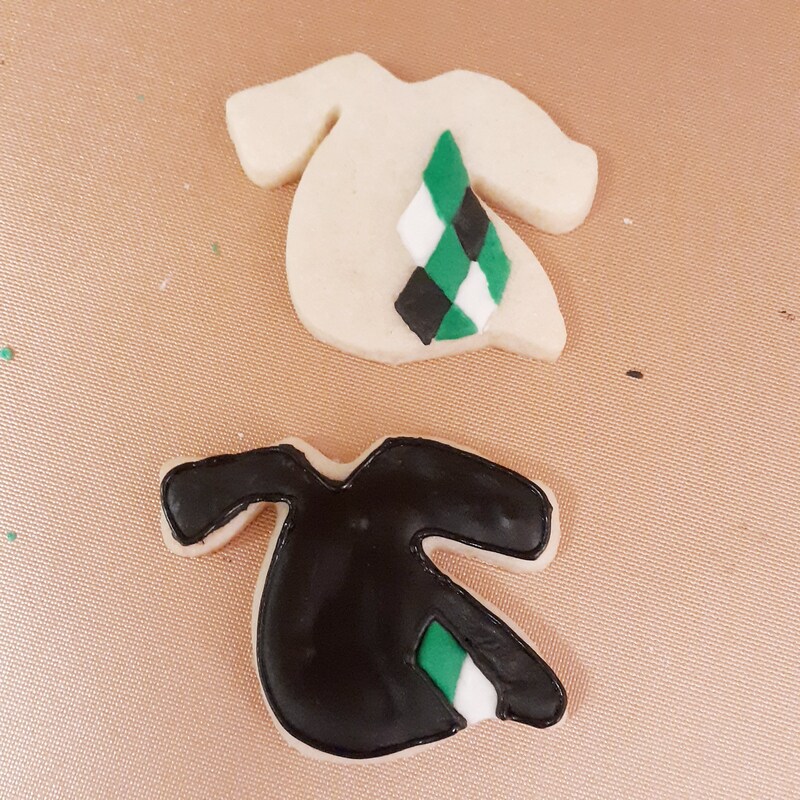
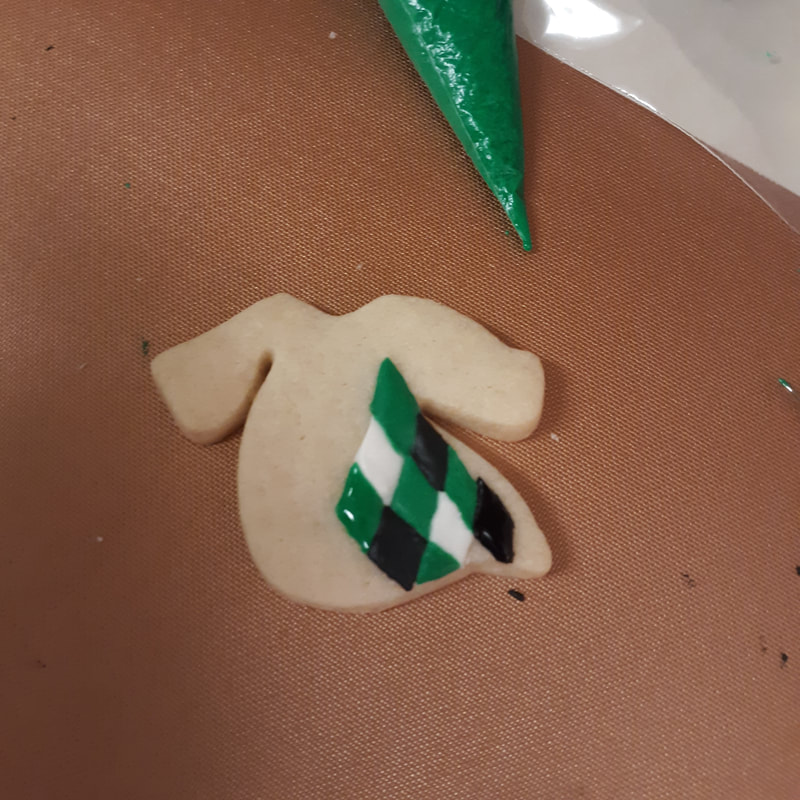
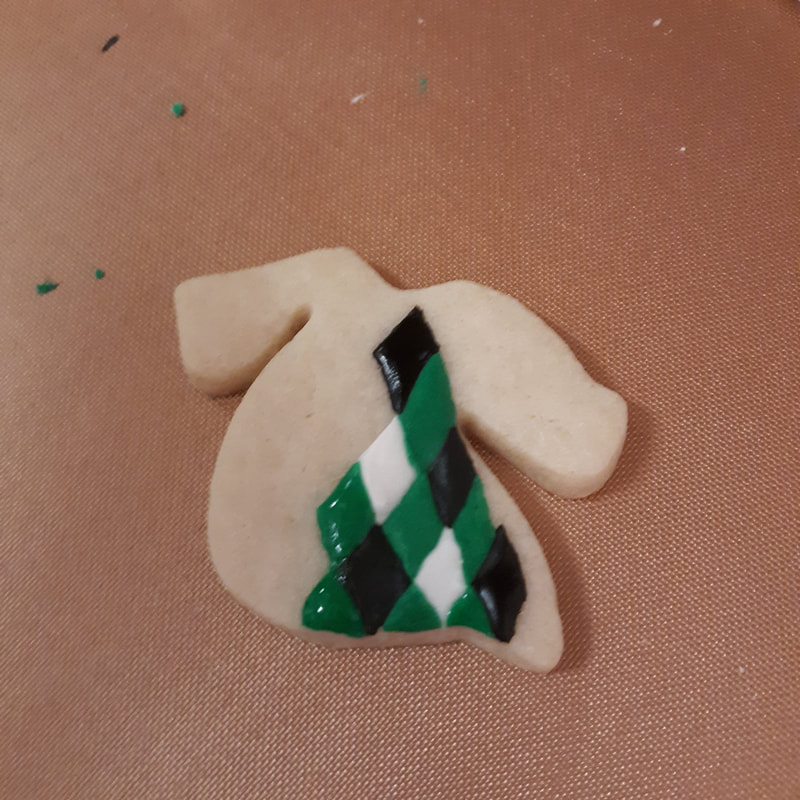
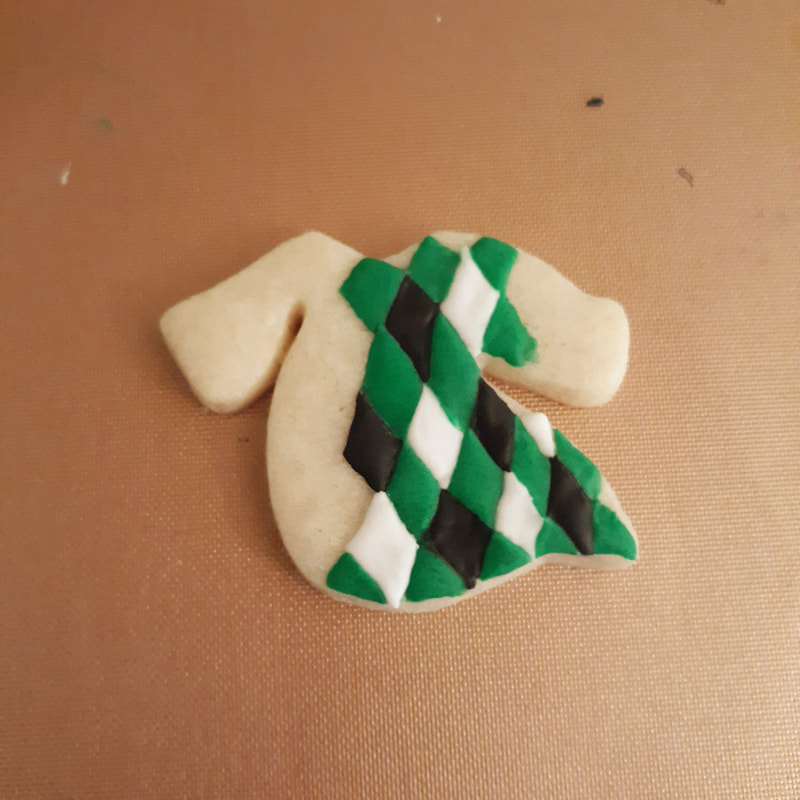
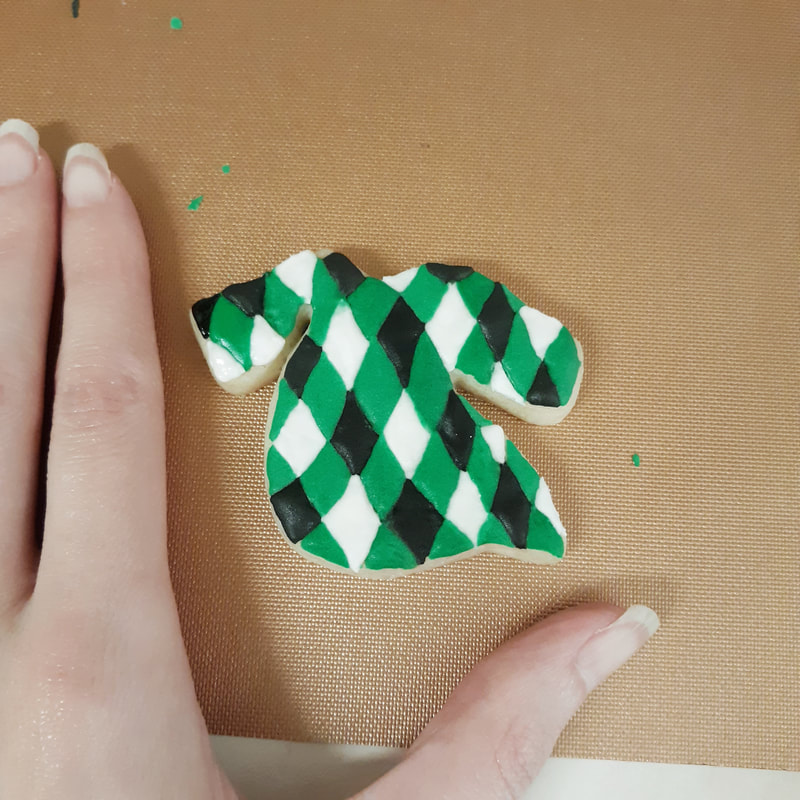
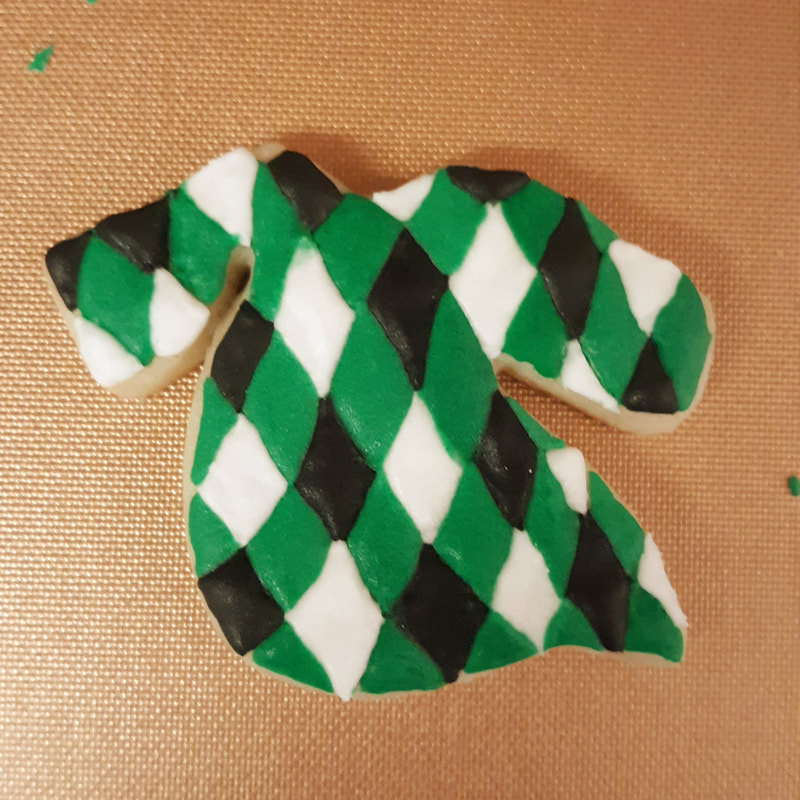
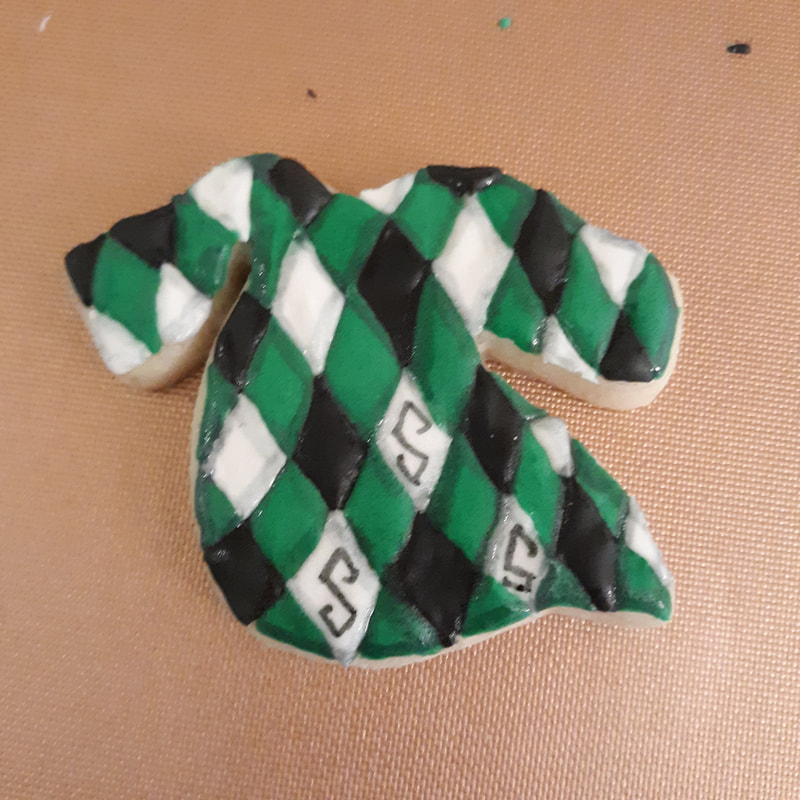
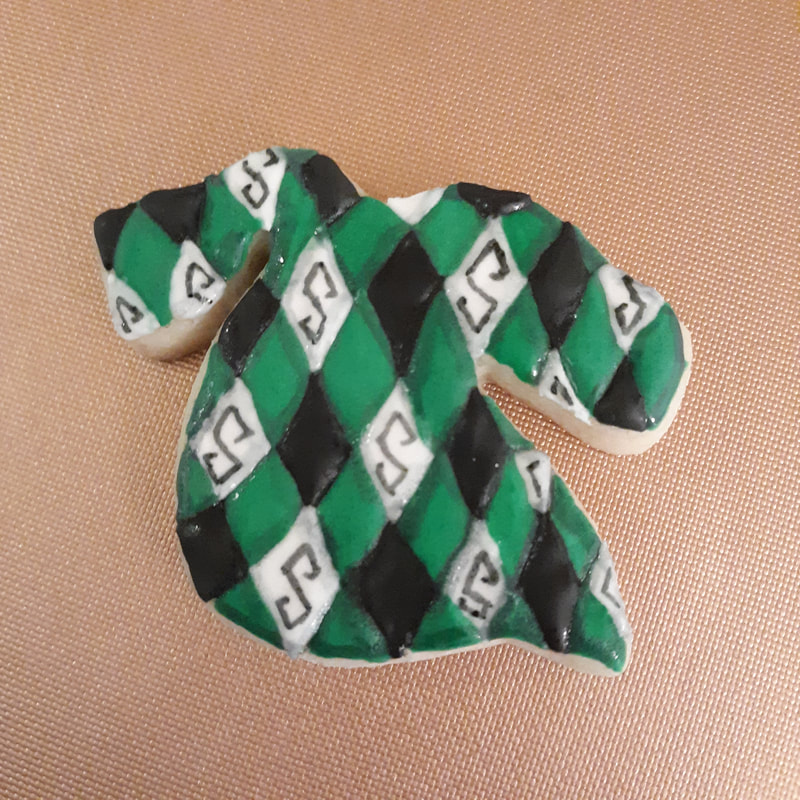
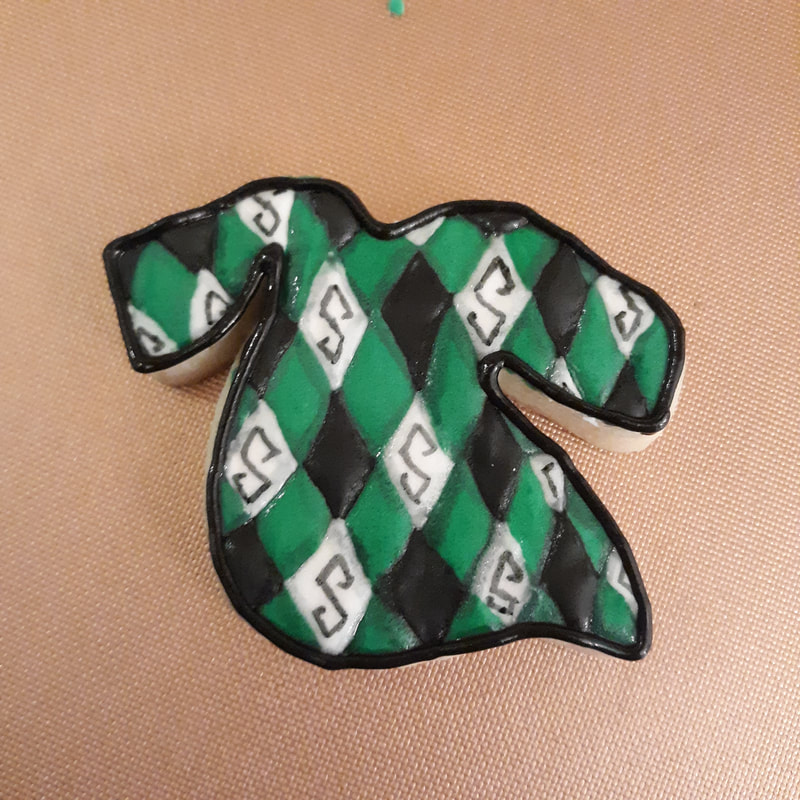
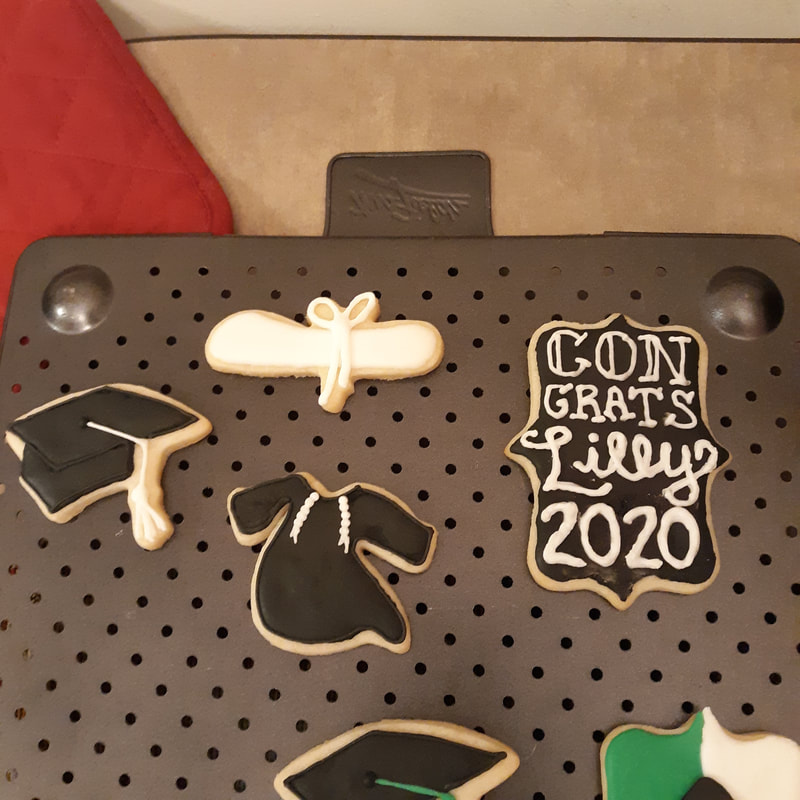
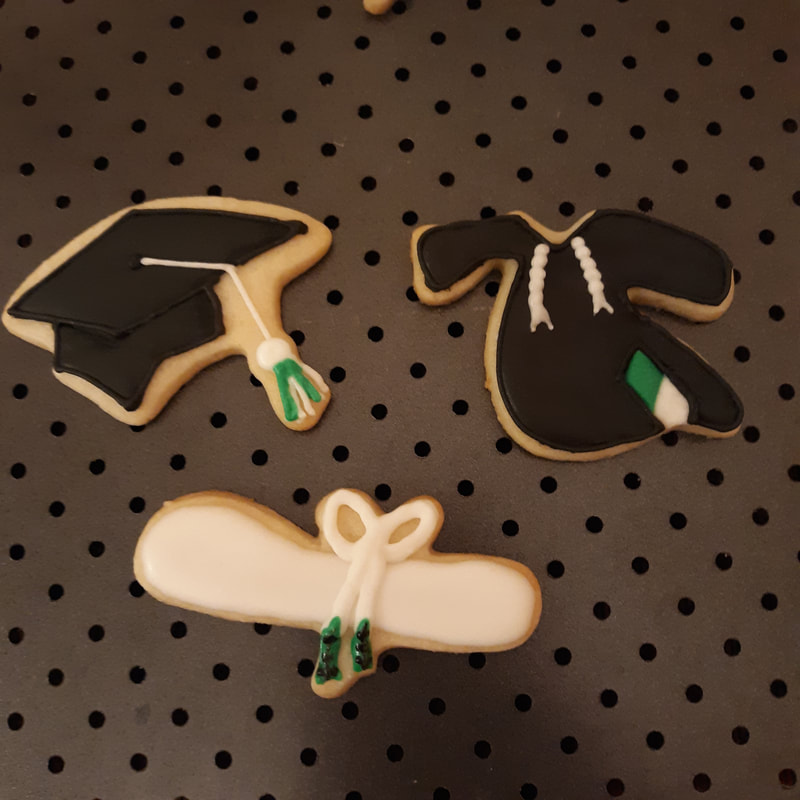
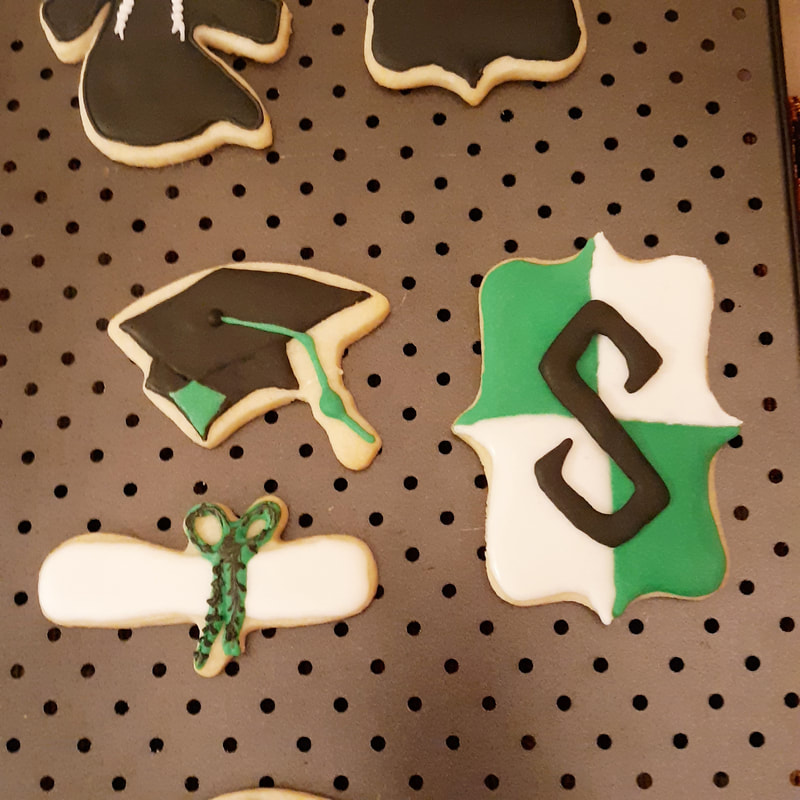
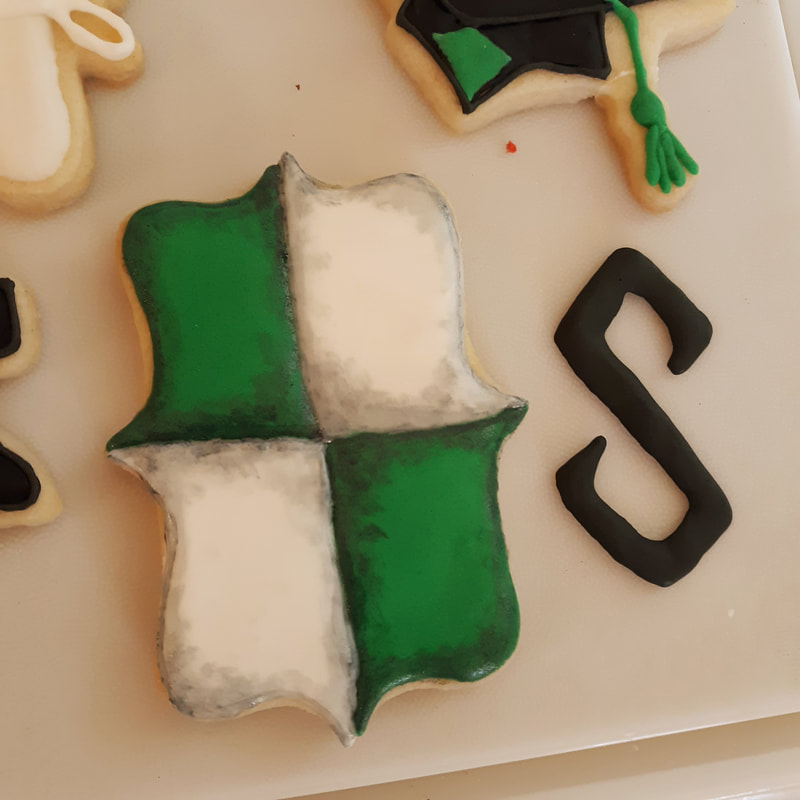
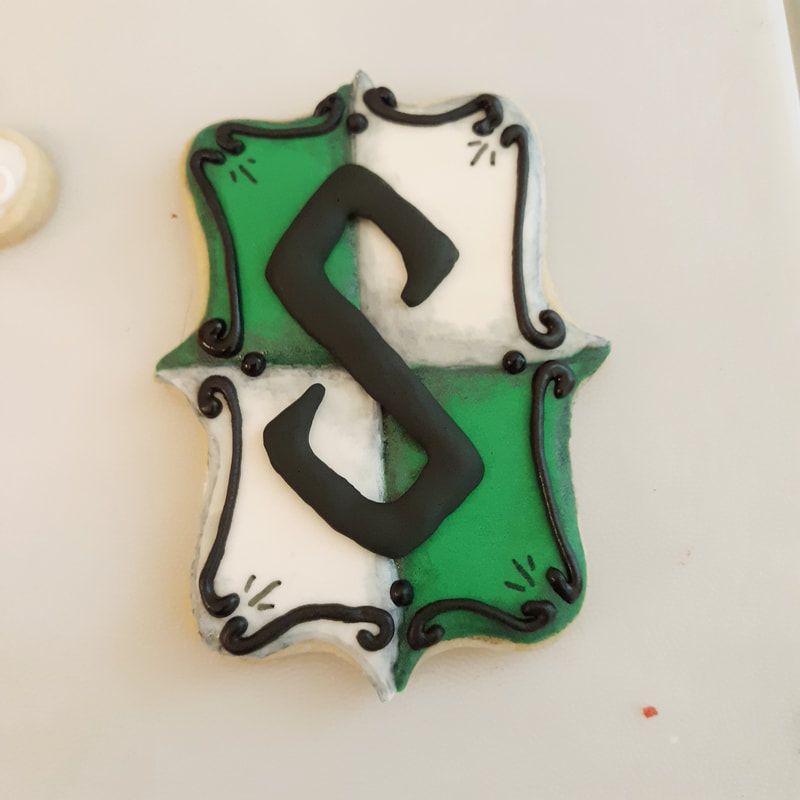
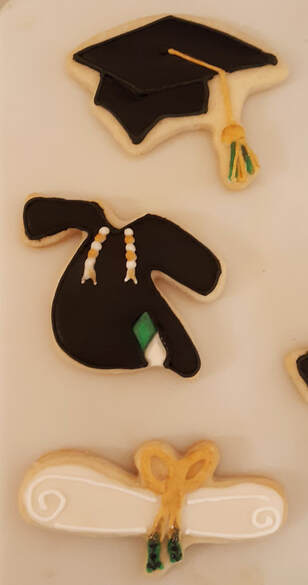
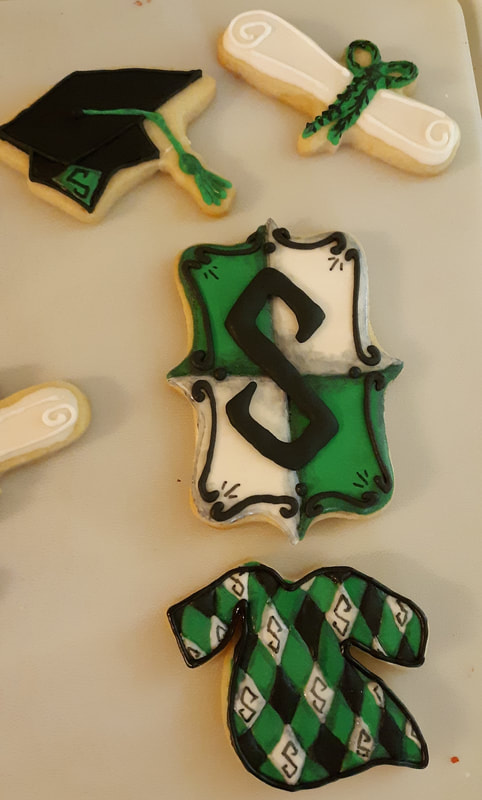
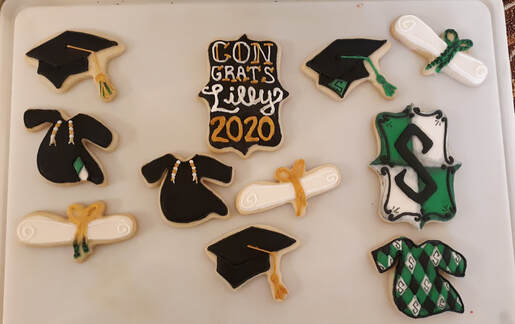
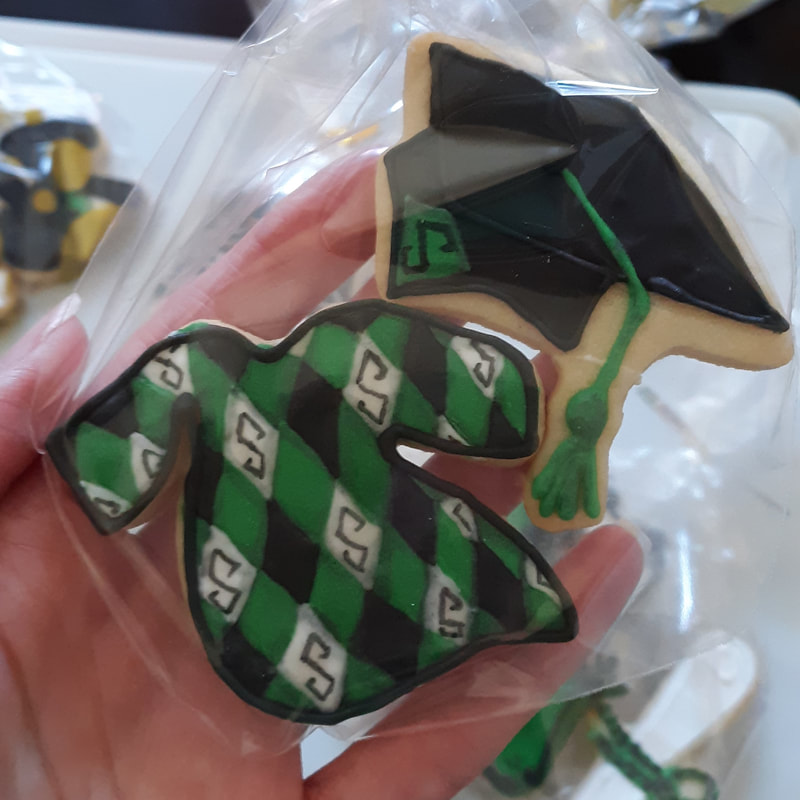
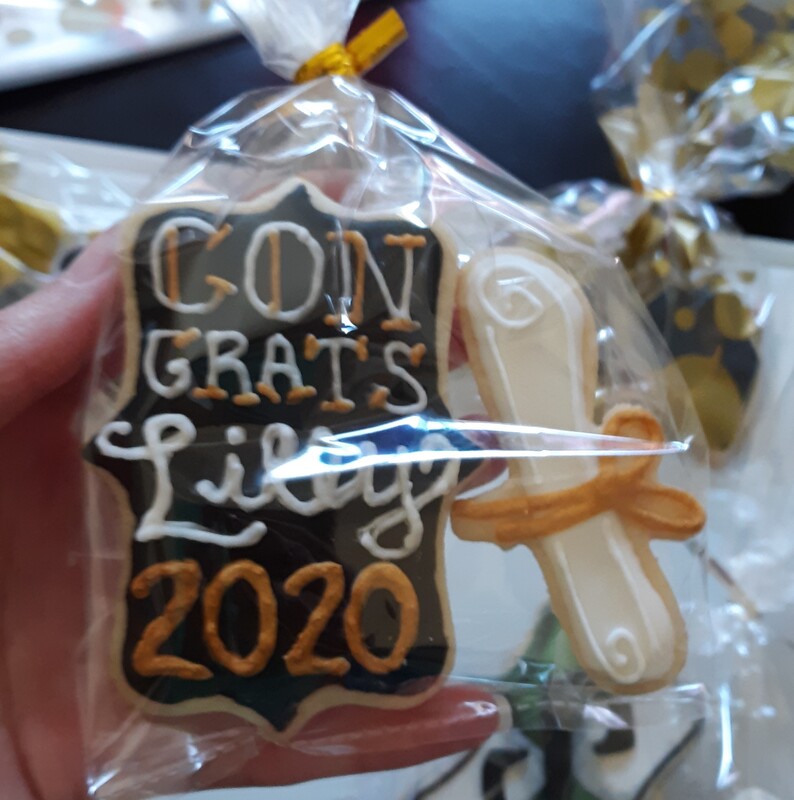
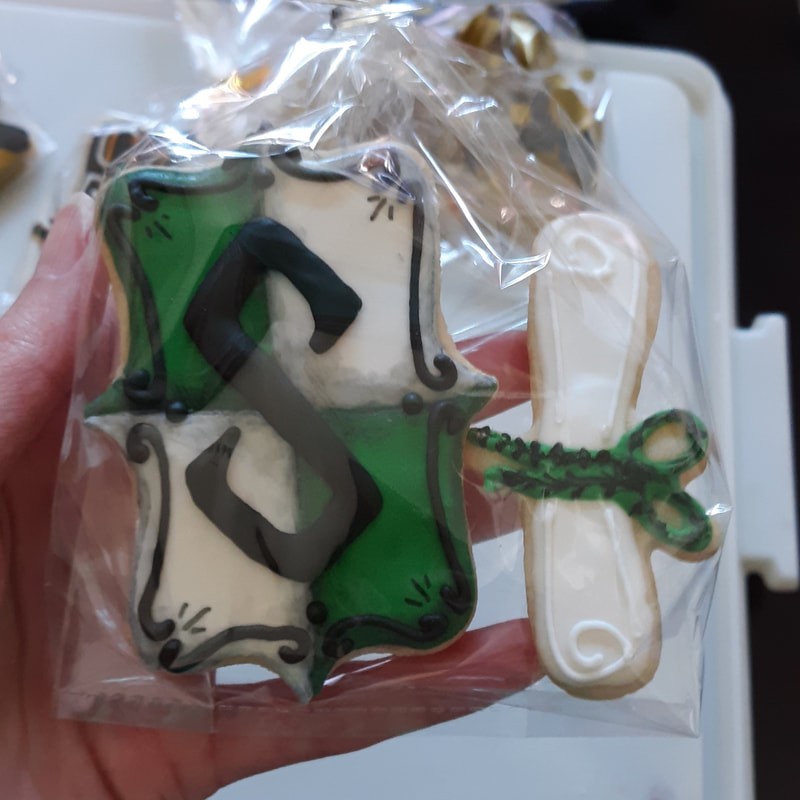
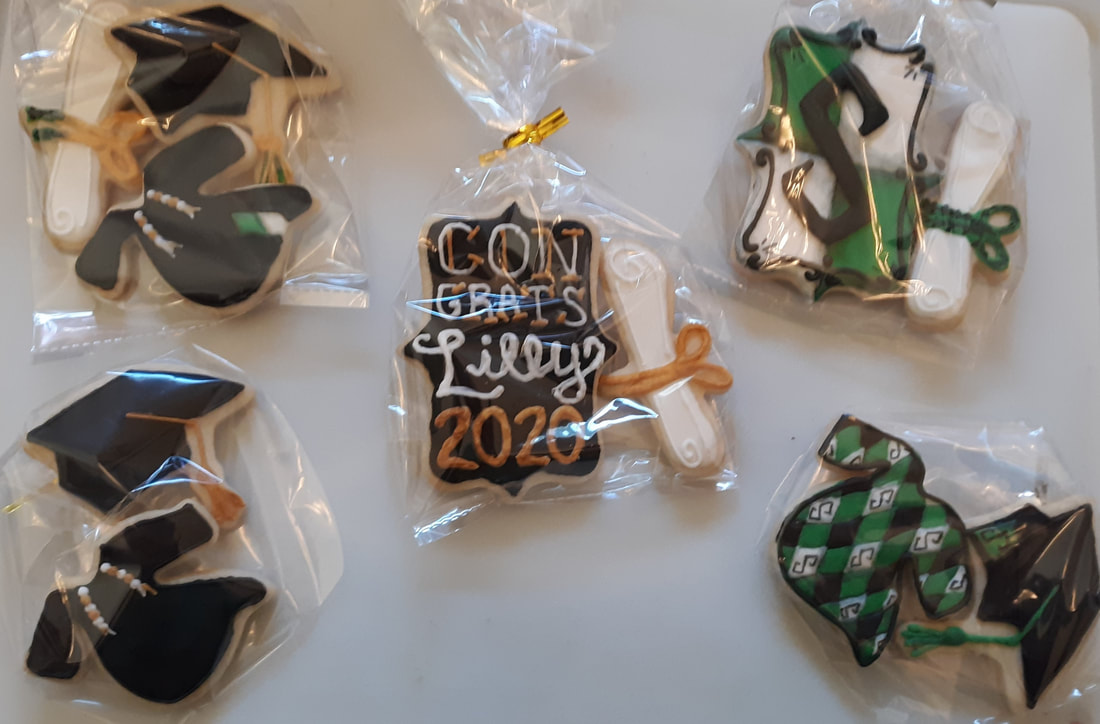
Also pictured are the beautiful blank cavases fresh out of the oven. I never thought I'd be able to tolerate smelling sweets all the time but I still love the smell of sugar cookies. Okay so a few disclaimers before we move onto the process of this set. It's gonna come at you fast. Just looking over my photos I'm seeing I didn't even take a picture of the color palate. Also since I had just finished the Star Wars set I was not particularly ready for more black. Unfortunately you can see spots where the black icing was too just a bit too thick and just didn't settle as nicely as a flooded cookie should but it's all part of the learning process. It turns out I'm a pretty tough critic. Lilly loved her cookies. So without further ado. Process photos. I did not waste any time getting to work on this set. I'm sure you've noticed I kinda like to try things out so I did practice piping the argyle pattern on some wax paper before deciding how to put it on the gown. This cookie is a mini so it's tiny and it took a good long while because I had to wait for each little diamond to dry. If not the colors would have bled into each other and all the definition would be lost. Even though it took a while the time was spent waiting on icing to dry, so it's a patience game. The "S" you see came out pretty perfectly so that is the "S" I used on the plaque cookie. We will visit that in a minute. I just wanted to show that I definitely practice some of this stuff before just jumping in. I don't usually make extra cookies but do always keep dough available for accidents in case I do need to make more. AHEM. Anyway I took A LOT of pictures of this process because it was something completely different and pretty cool. So I followed it. I mean.. what else was I going to do while waiting for each tiny little diamond to dry? Y'ALL! How cool is that right?? Plus remember like I said last time, look at that sweet outline action. It definitely makes a difference. I also did use some "watercolor" (extract and food coloring) to create some shadowing so that's why it kinda looks like it melted or like it's dirty. That was intentional. So how cute are the little S's??? I used an edible food marker. Okay so the way I did these cookies there is a set that has her school colors which are black and gold (the gold to come later). The middle set is kind of a blend between her school uniform and the Slytherin uniform and the last set is the full Slytherin set. I didn't post the gown again because it's right up there we just saw 30 million pictures of it haha. At this point the "S" on the plaque isn't actually attached yet but it has dried and I wanted to see what it would look like and if it would fit and it looks pretty good but it needs some shadowing and detail work. To complete the Slytherin banner I used some more "watercolor" to create some shadowing and then "glued" on the S with some royal icing. I was seriously concerned about the S. For one it is literally just a piece of sugar candy and I just glued it down with 6 or 8 dots of icing. These had to be shipped many states away and the last thing I wanted was for it to break or fall off but it got there just fine all in one piece! Royal icing is really really strong once it dries. It should be used exclusively in Gingerbread house buliding in my opinion. And LOOKIE here... ANOTHER border. Granted yes it's a decorative border and not what I would do on most cookies but man doens't it look amazing! In the sketch I initially thought I would make the outline gold but I didn't want the sets competing with each other so I decided against it and I think I made the right call. So let's venture on and check out the gold edition to this set! Something new I tried out! Okay so let's talk about this gold luster dust stuff. I have seen this stuff used all over the internet especially with the unicorn madness so I went to Amazon and started searching and reading reviews and it turns out that a lot of these luster dusts are labelled "NON TOXIC" but they don't specifically say that they are edible. Welp that for me was a big NOPE. I did read that your body can't actually process or digest gold so any real gold ie gold leaf or even some of the gold dust that is actual gold will just pass through your system and isn't seen as harmful in small amounts. That all being said I still wasn't willing to risk that for some cookies. Eventually I did find one brand that was "FDA APPROVED EDIBLE MADE IN THE USA" that's much better. I'll definitely take that. So that's what I did. If you're interested HERE is the link so you can check it out for yourself. It works just like the watercolor. Mix the dust with a little extract. I realize a lot of bakers use vodka or everclear but I just don't see myself doing that whether it evaporates or it's flavorless or not it's not something I'm interested in trying. The extract method works just fine! So that's all 3 completed sets! I know I hear you the picture quality. In my defense the weather was absolute garbage that day and they were getting mailed out the next day so I had to work with what I had. Regardless of the crappy picture quality, you get it, they're cute and amazing. Of course let's wrap it up with some bagged/boxed photos because they always look so nice once they're all packaged and ready to go! Well we made it! That's the end of the Slytherin Graduation set! It was a cute little set to celebrate a very sweet young lady's succes! She is like a niece to me I've known her since she was a toddler so of course I had to make her something special! It makes me really happy to spread edible joy to my friends and family! I appreciate you hanging out! Much love. Amanda
1 Comment
Joyce
5/25/2020 08:54:31 pm
I super enjoyed being a part of this process!! I totally agree with what you said in your previous post about why you won’t sell!! The amount of patience and skill you put into creating these edible works of art is beyond me!! Hat is off to you my dear!! PS. These cookies did not get shared and didn’t take her long to eat. 🤗
Reply
Leave a Reply. |
Previous
June 2024
|



 RSS Feed