|
Hello hello! Welcome welcome! Is there an echo in here? Jeez... So I have another decorated cookie set to share with you. A pretty tiny and simple one this time. June has been so outrageously packed with all the things I don't even know how I got here at this point LOL. Big blur. Anyway this is just a cute little set I did for my sweet little nieces! The youngest one was turning 2 and I've neglected so far to get ANY cookies to them so I could not pass up this opportunity regardless of how bogged down I already was. They came out pretty cute but I had a few qualms with them... so let's get started.
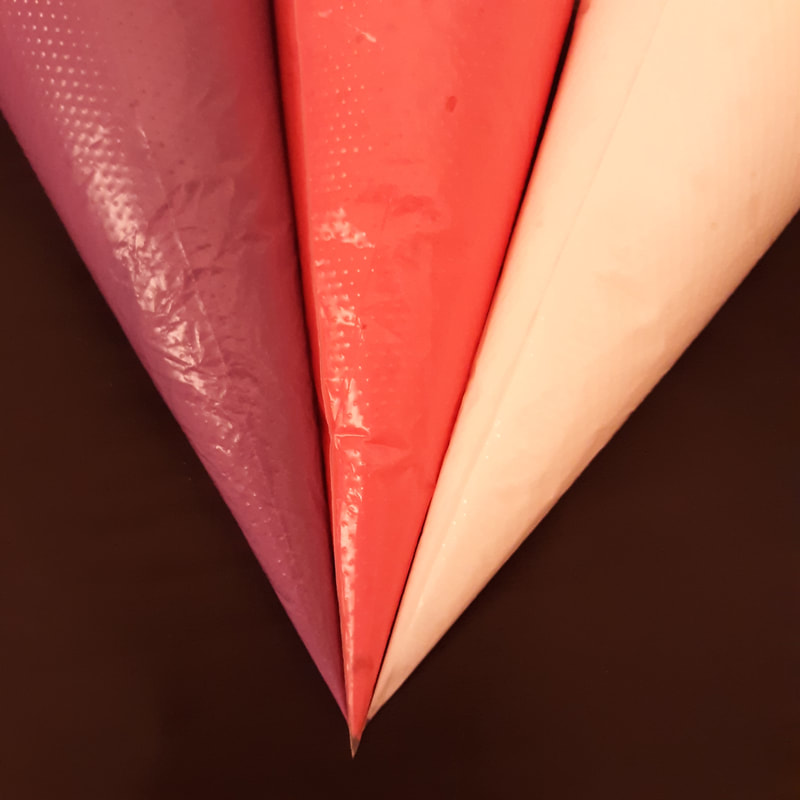
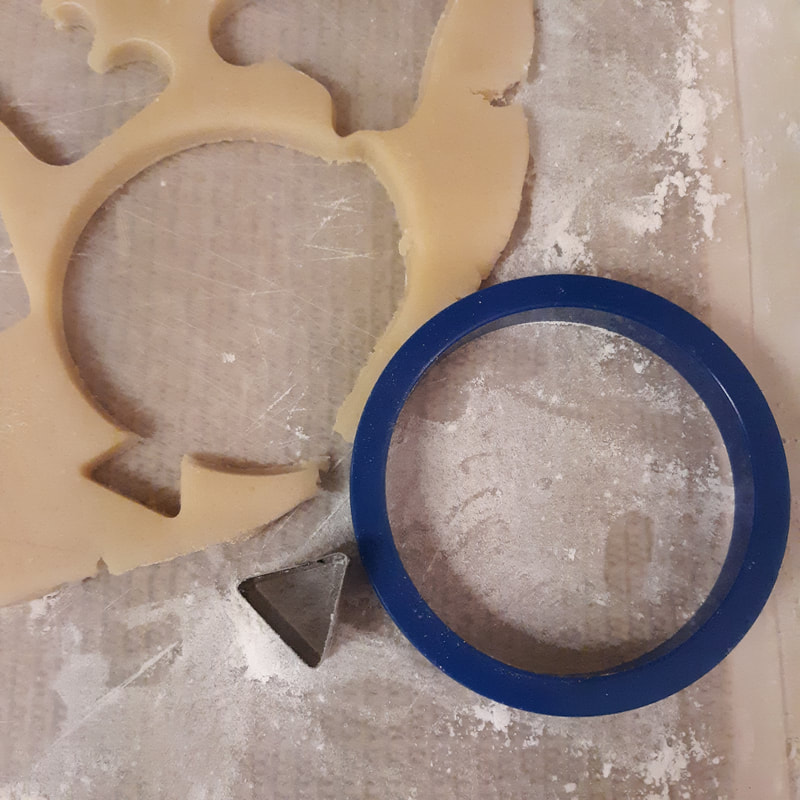
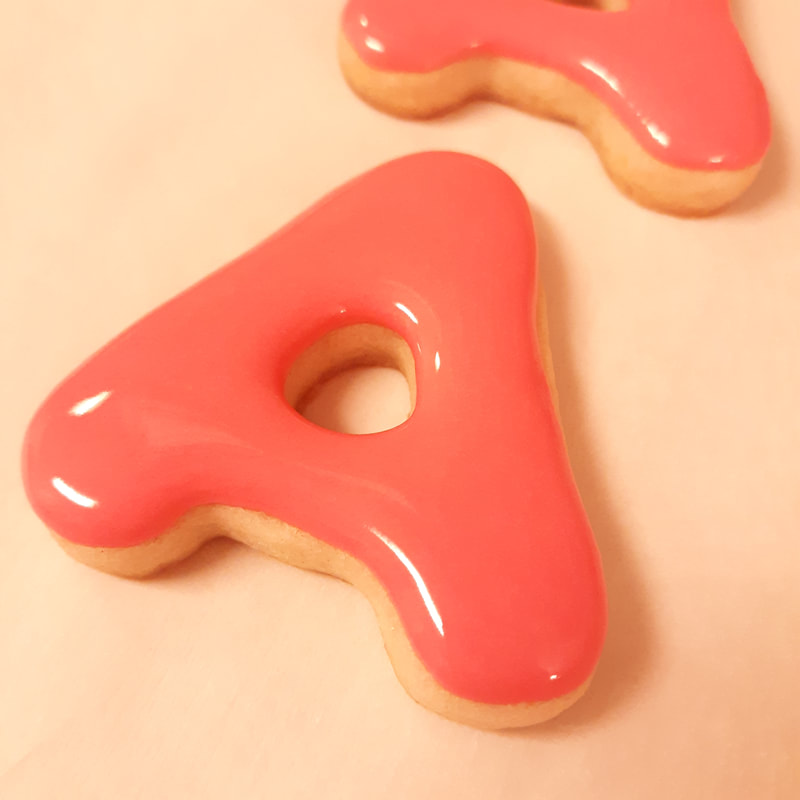
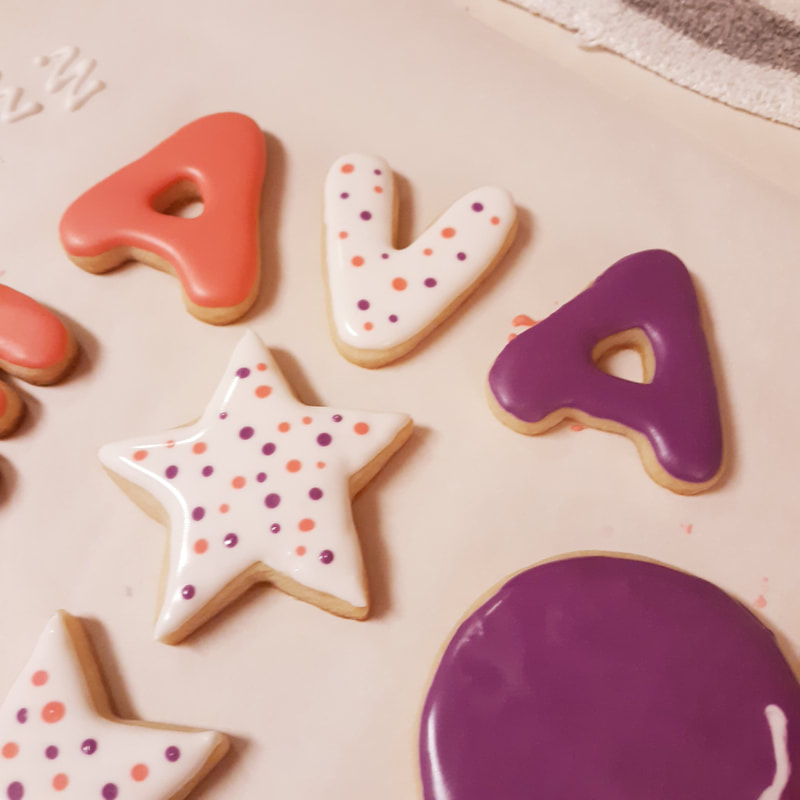
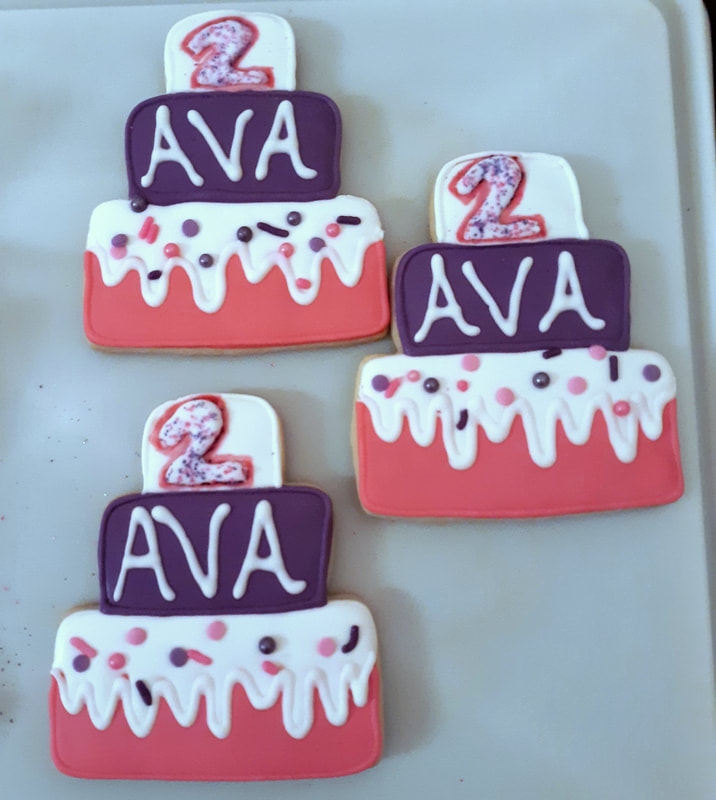
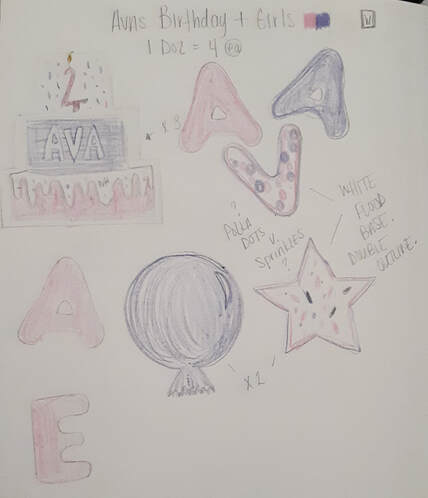
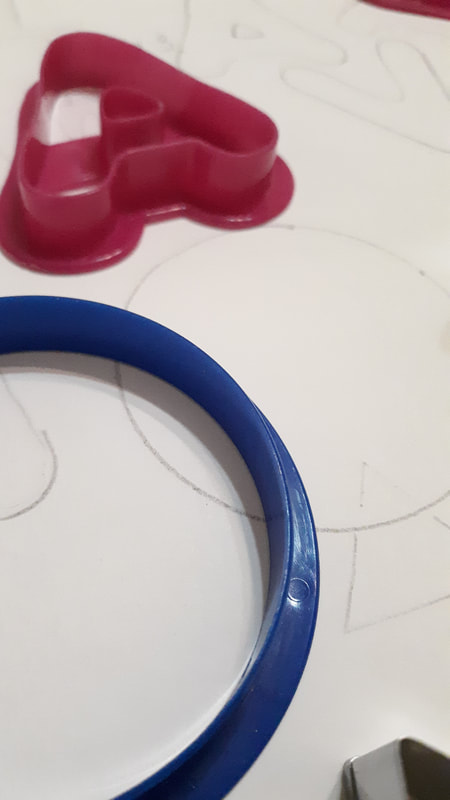
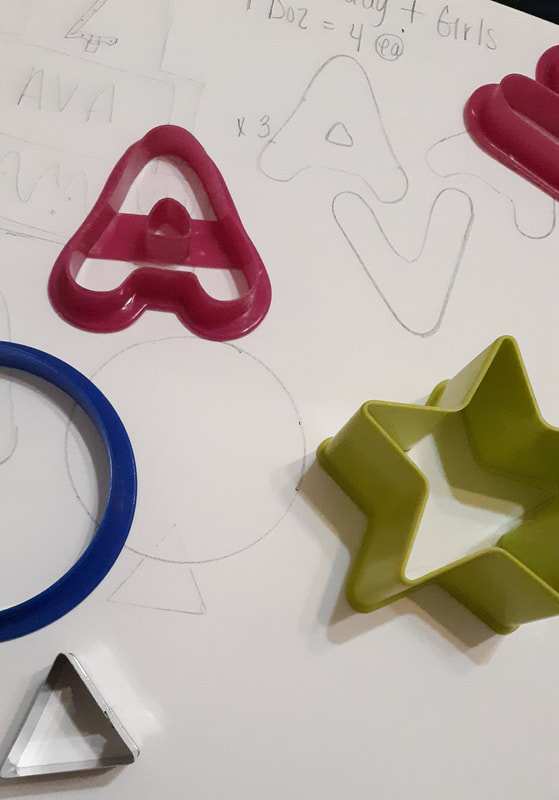
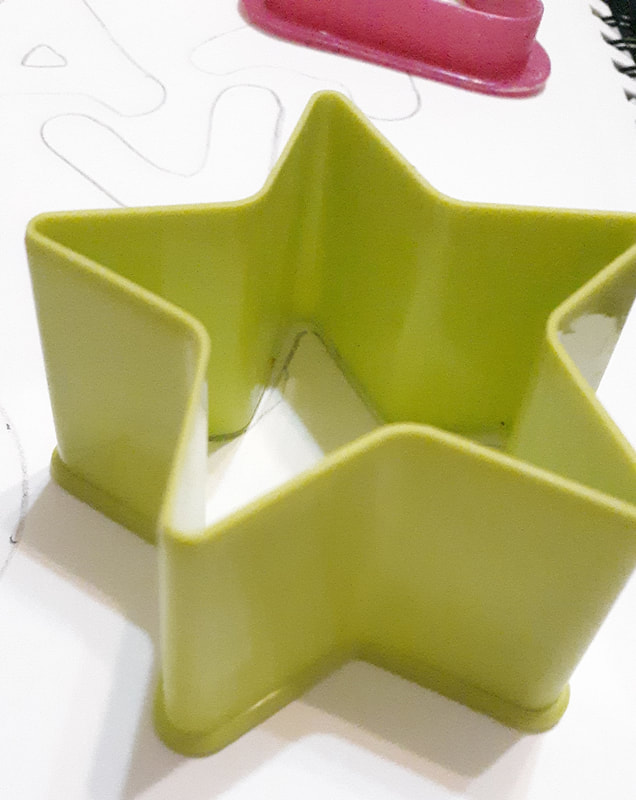
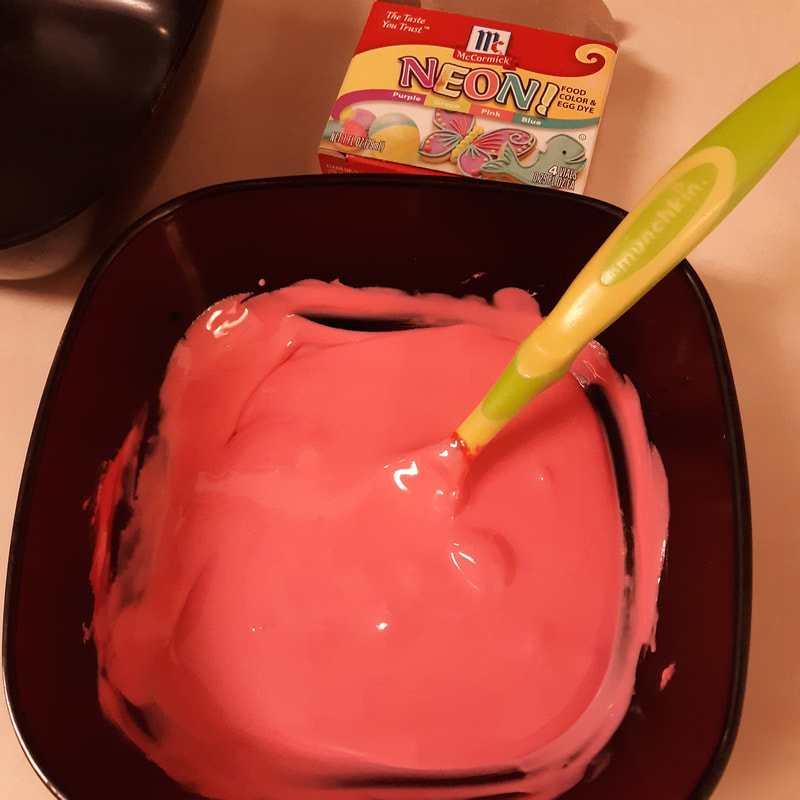
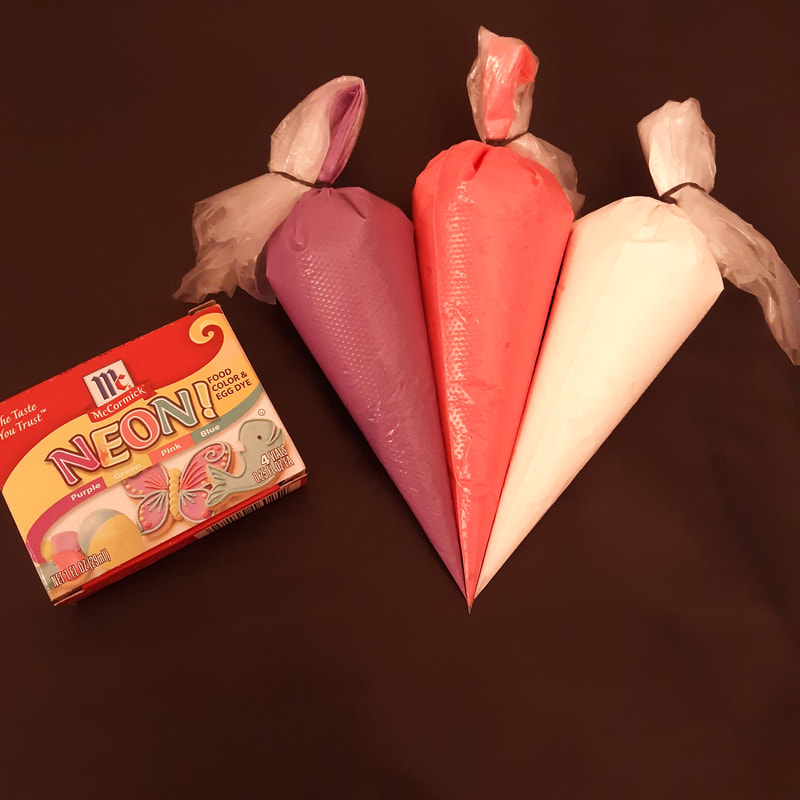
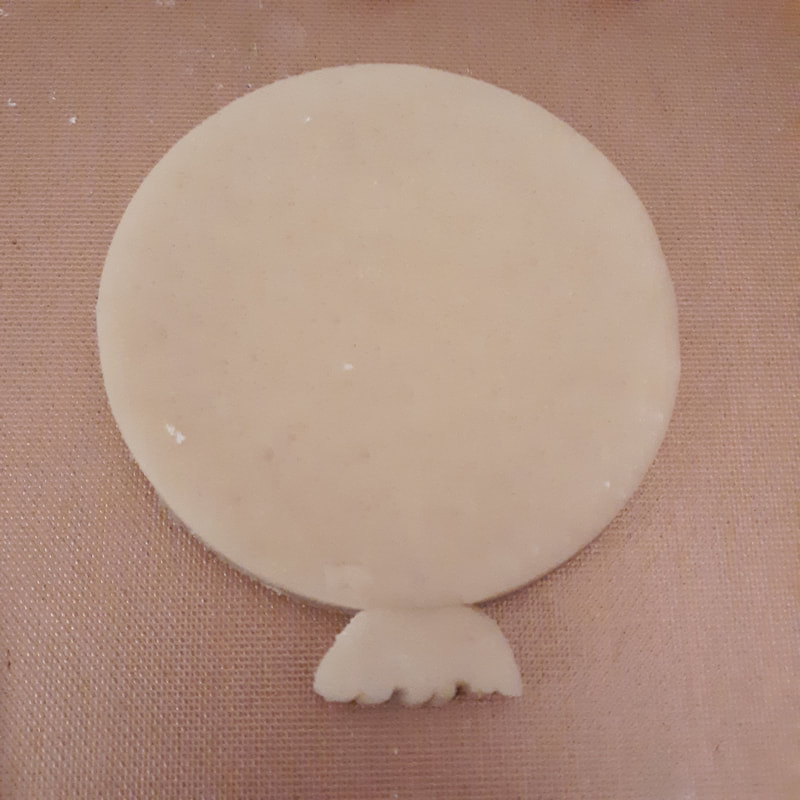
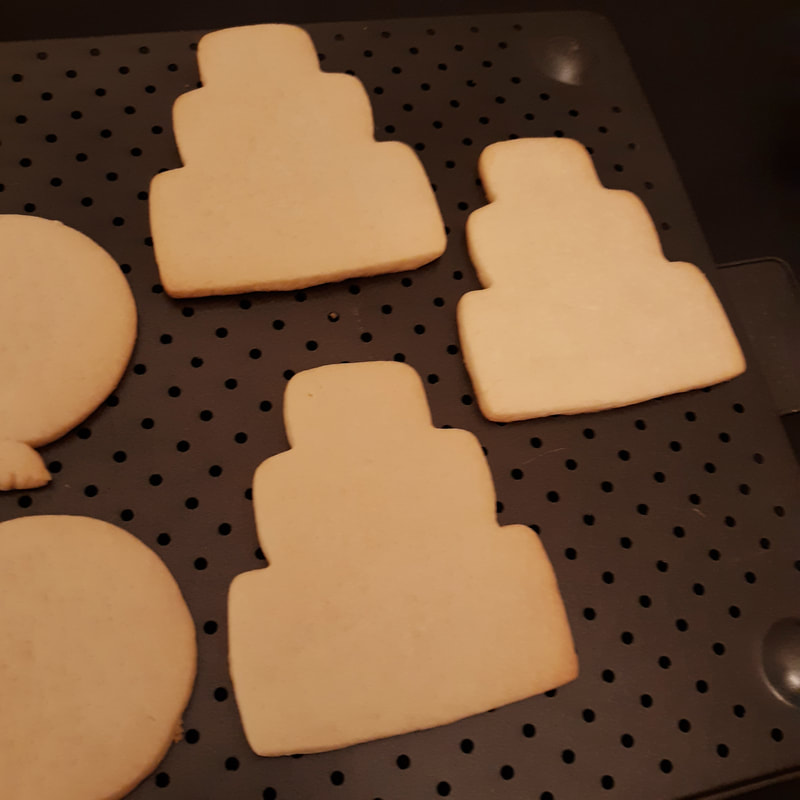
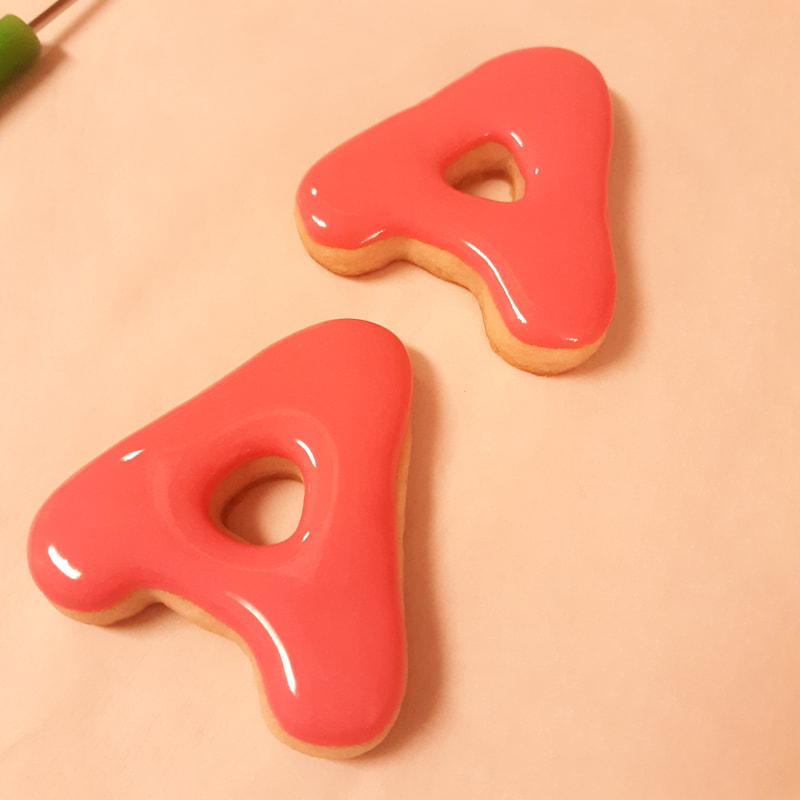
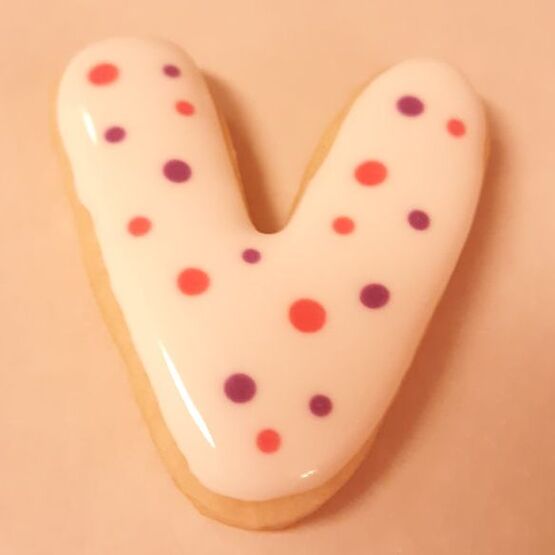
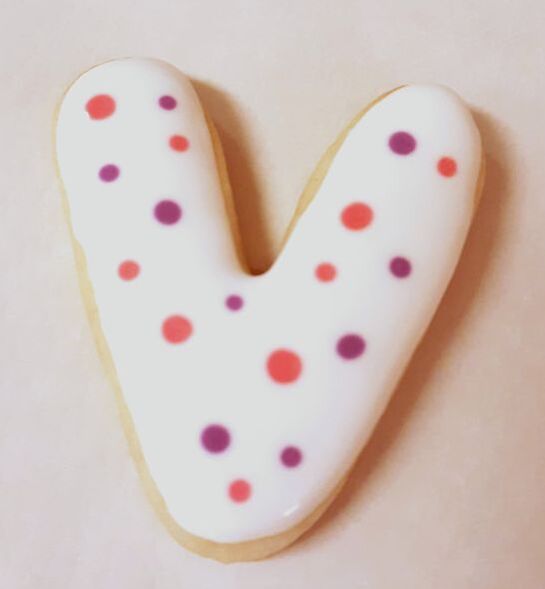
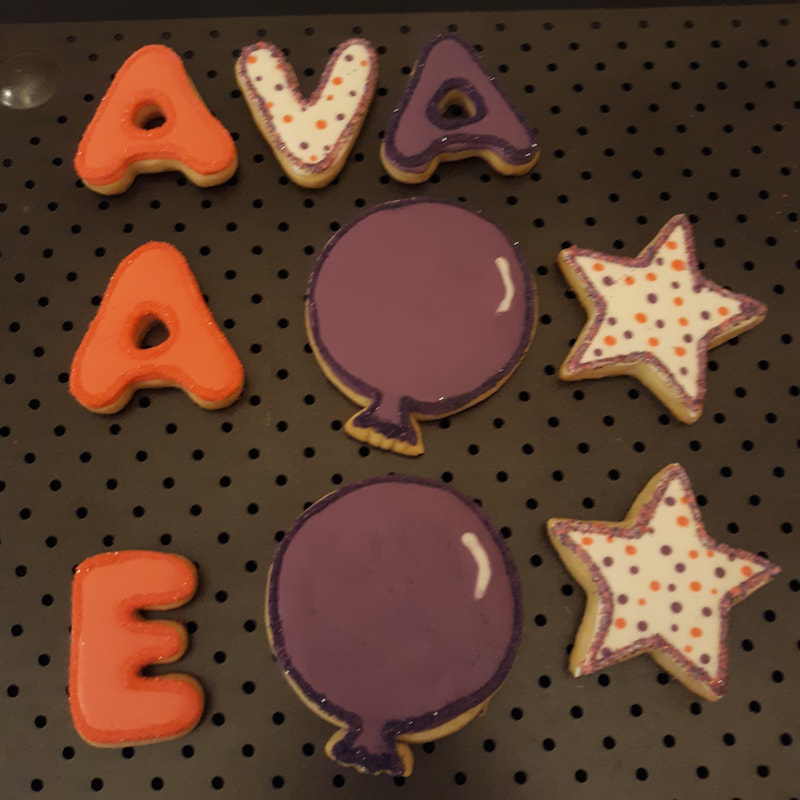
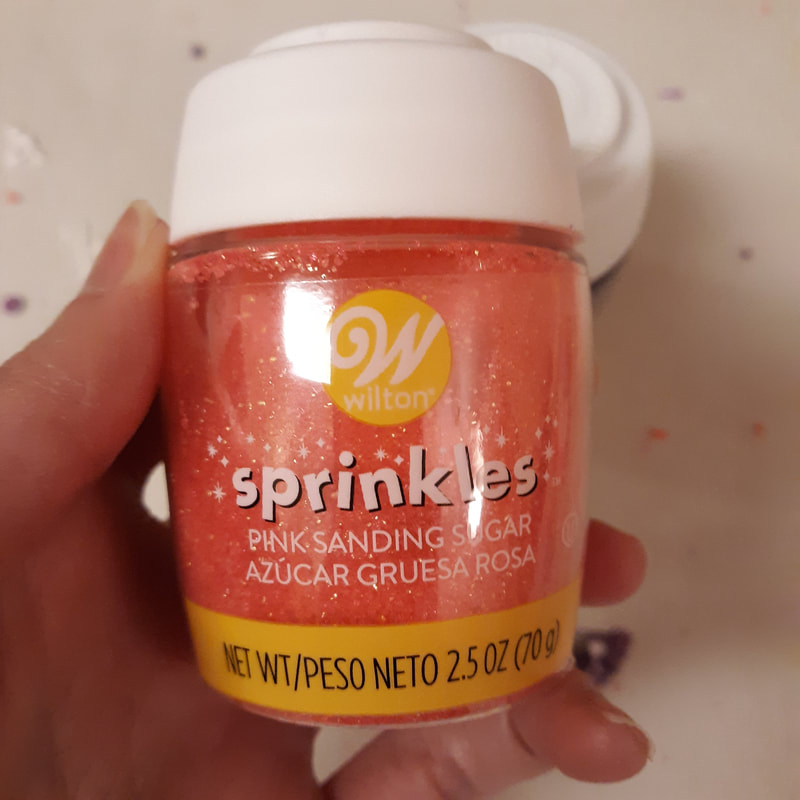
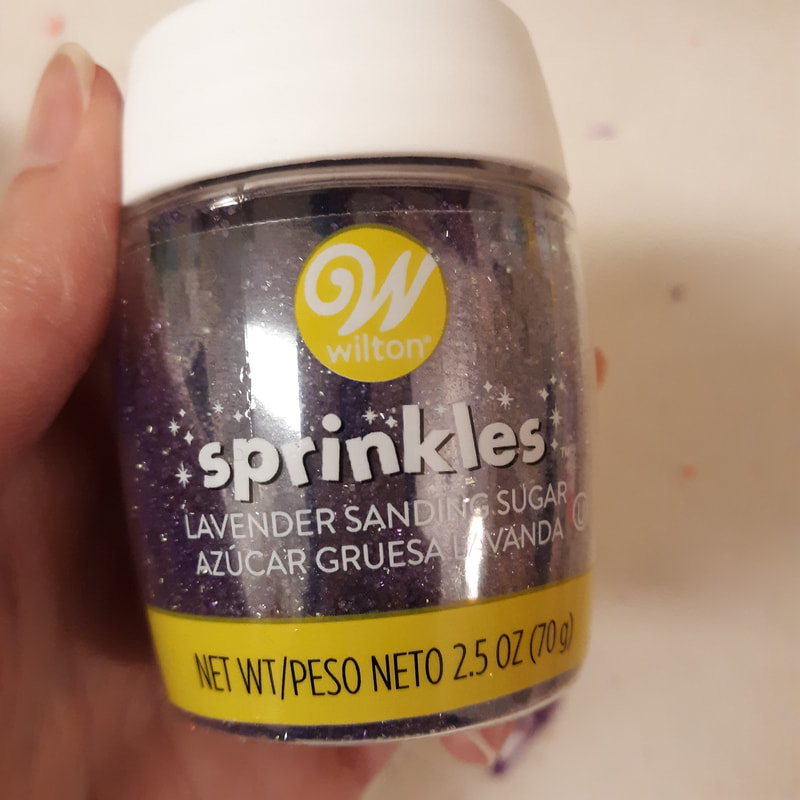
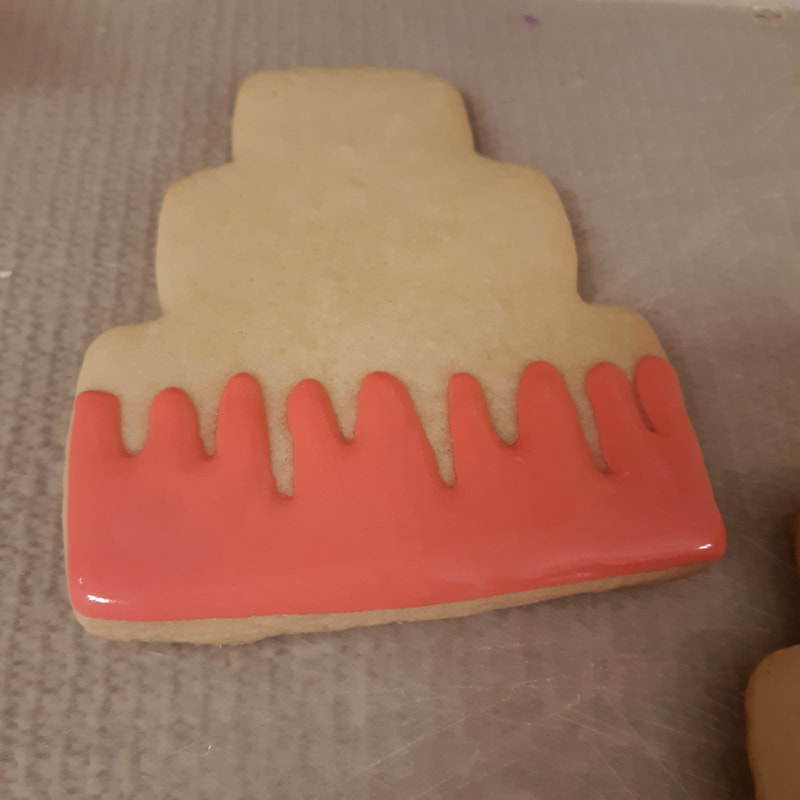
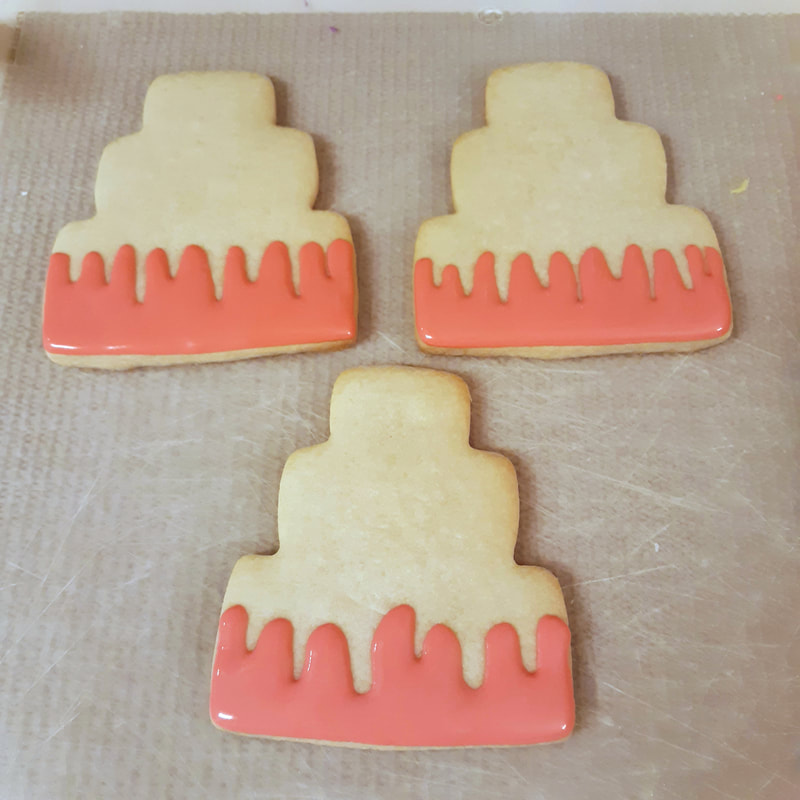
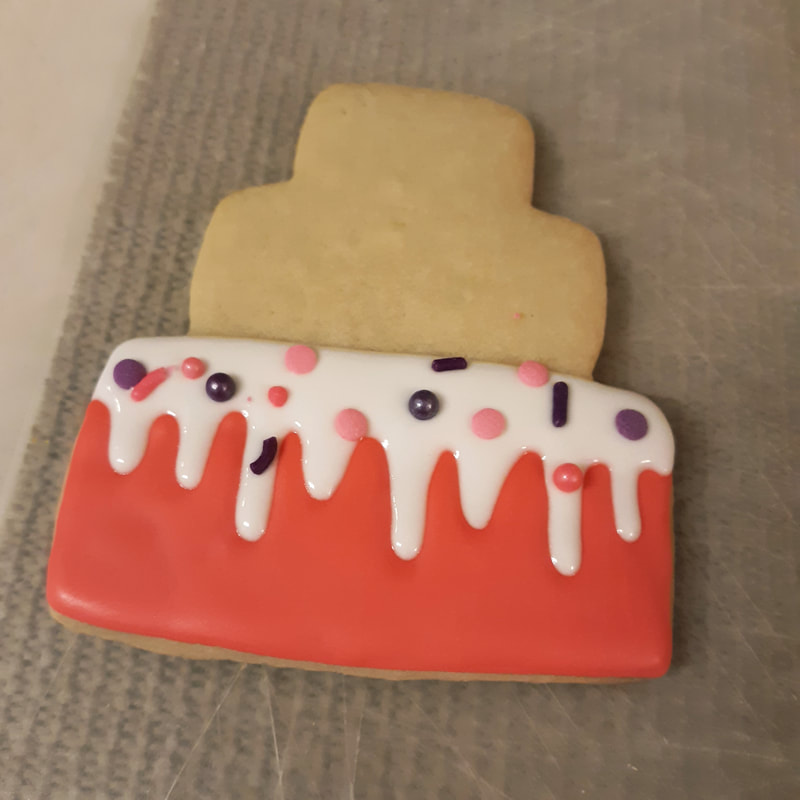
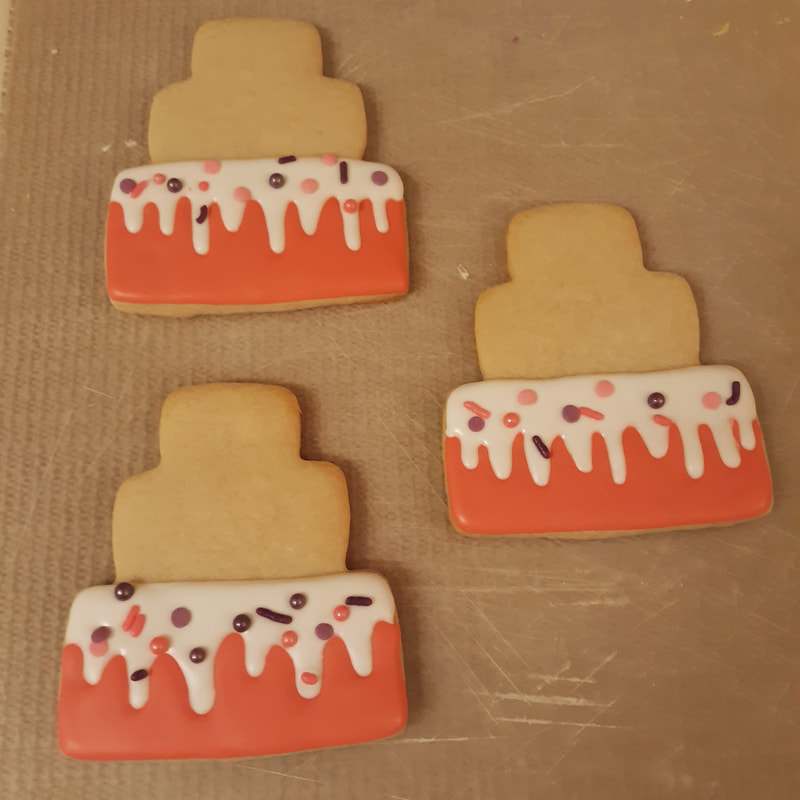
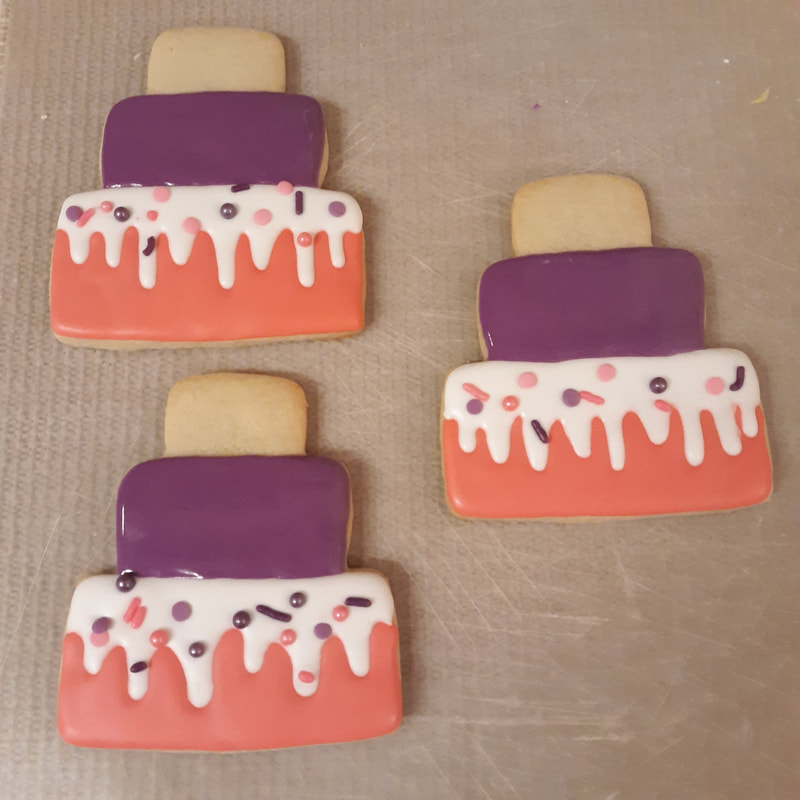
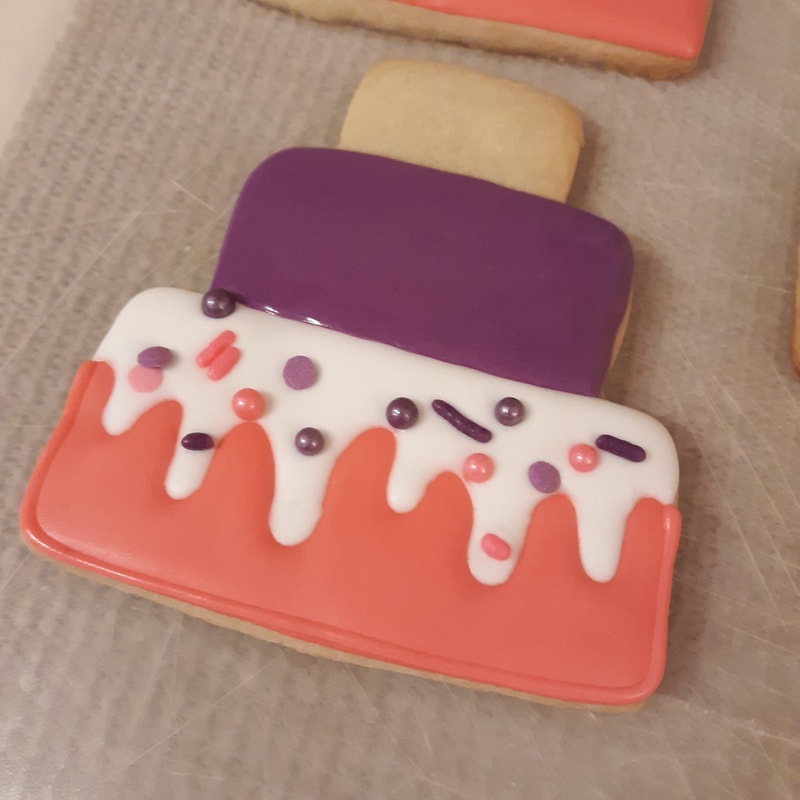
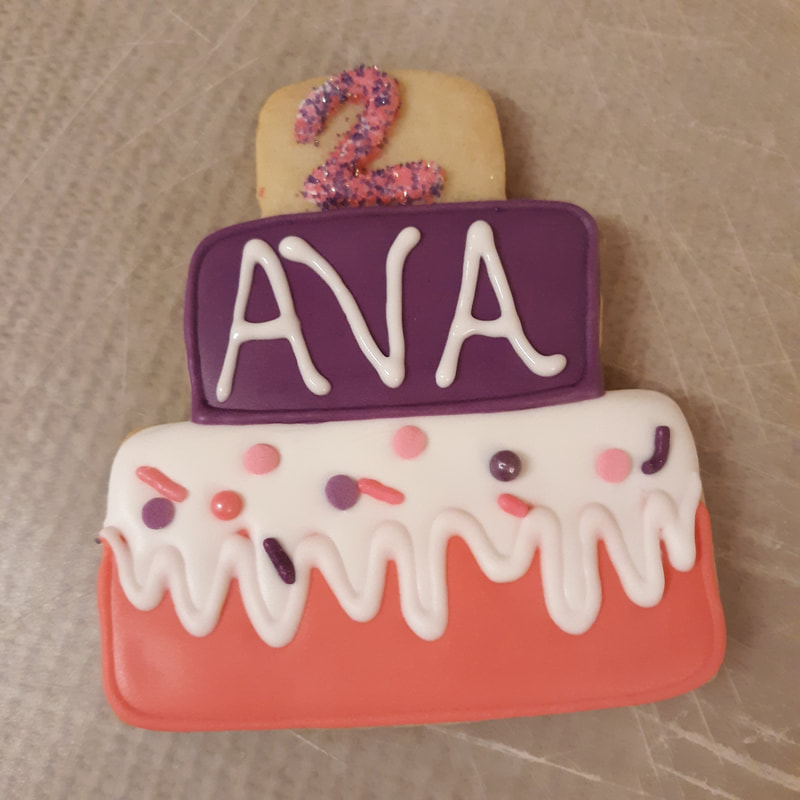
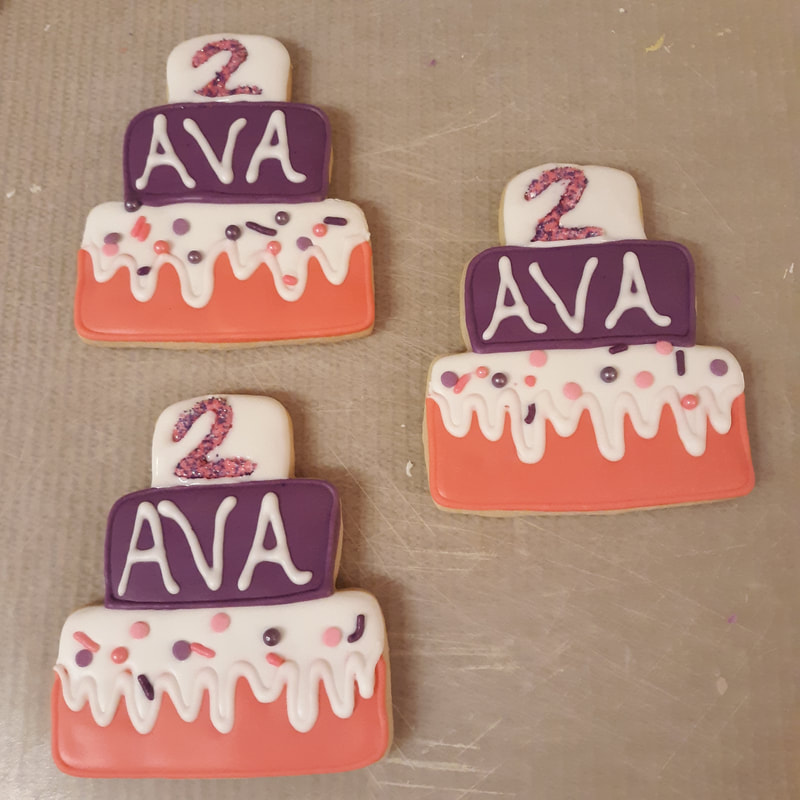
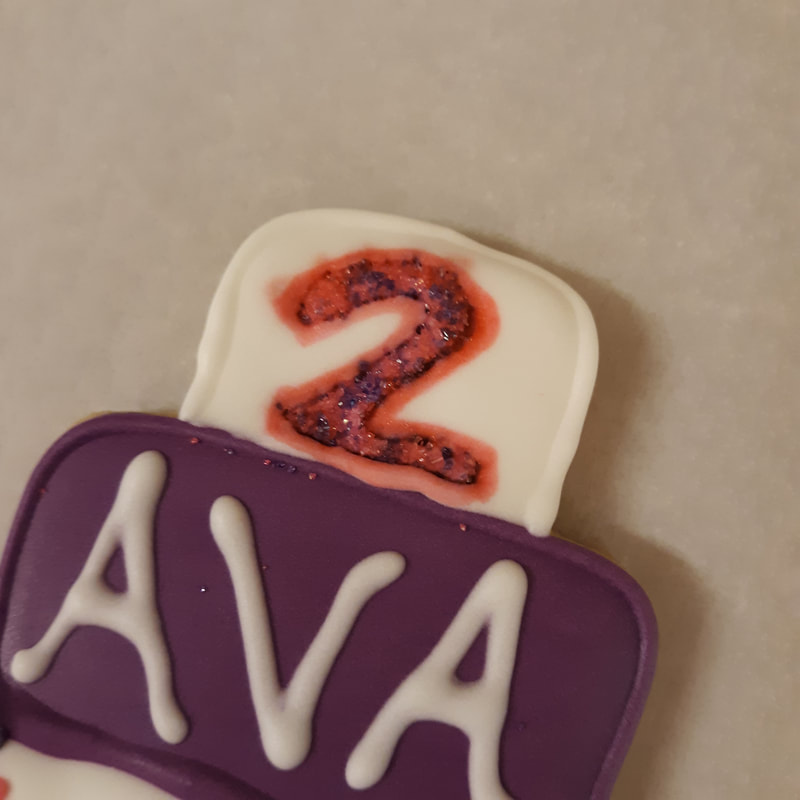
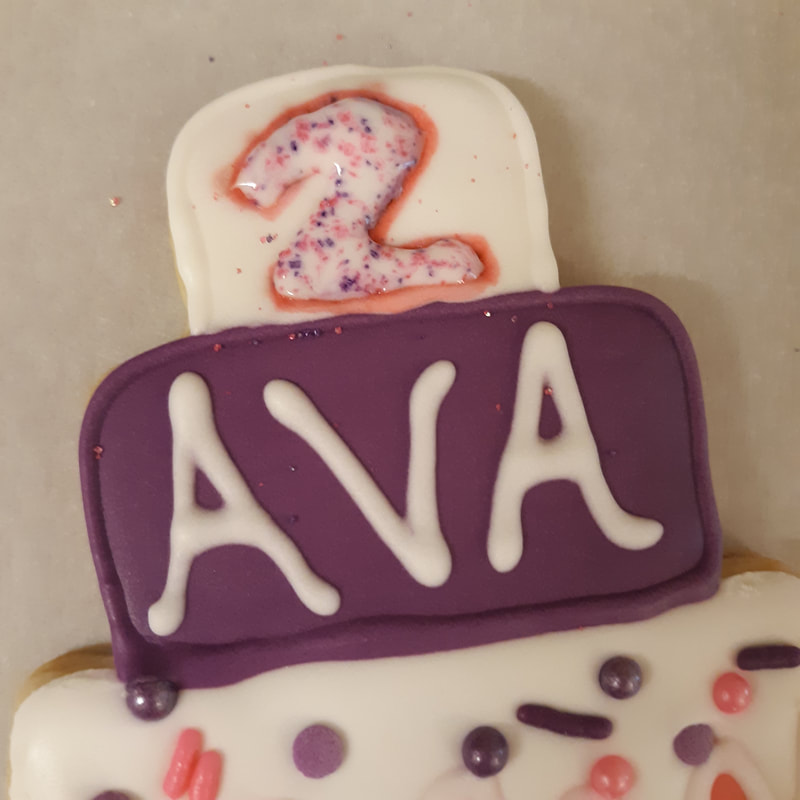
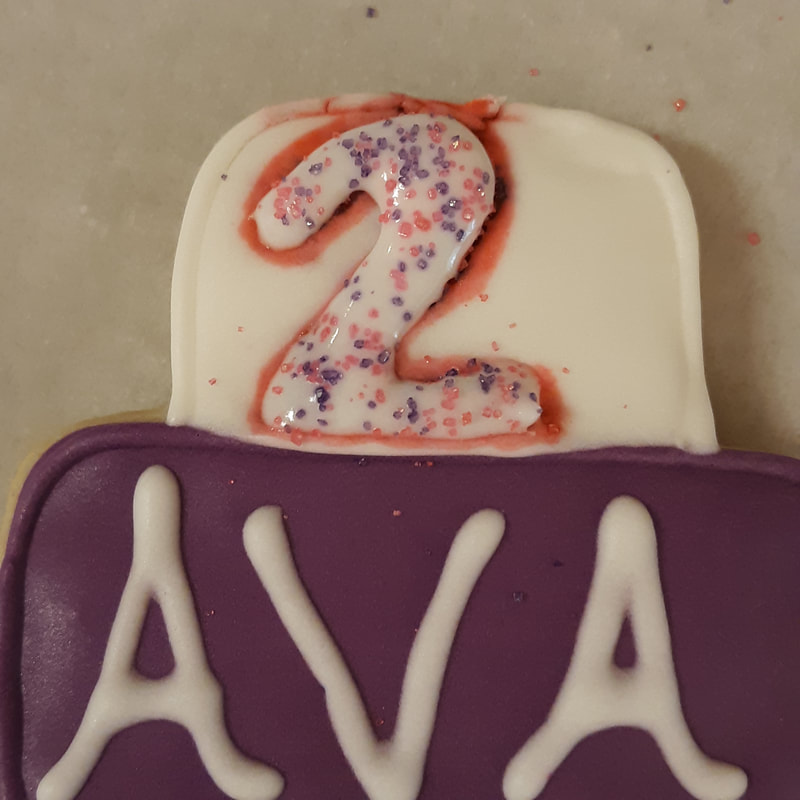
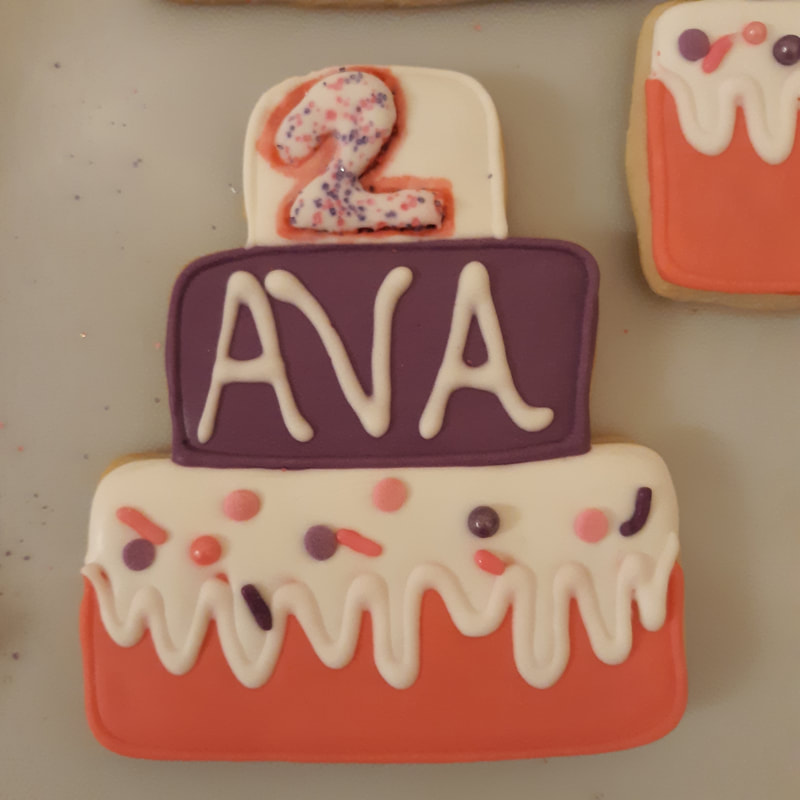
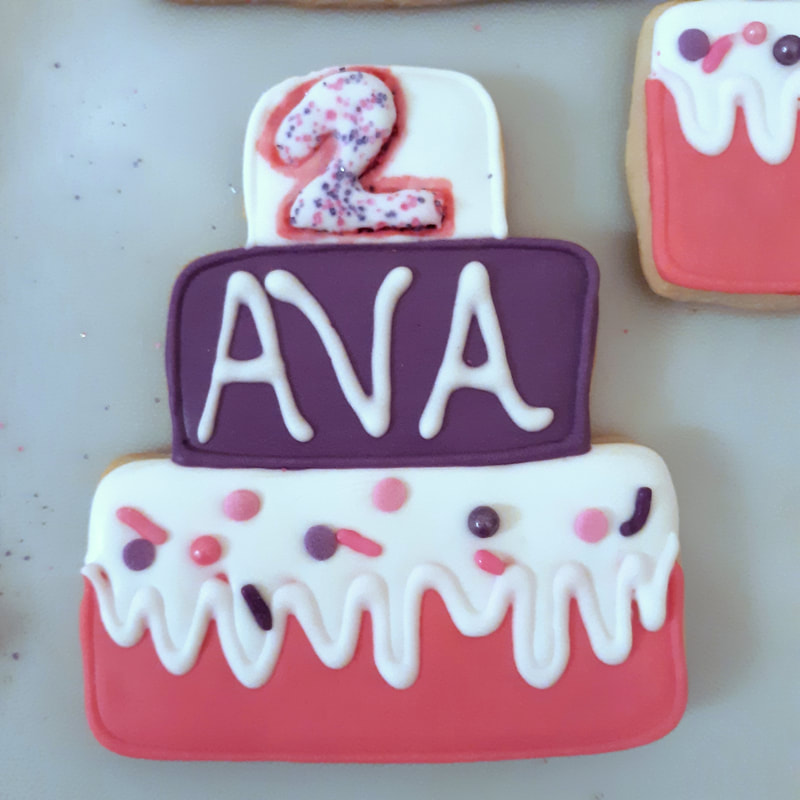
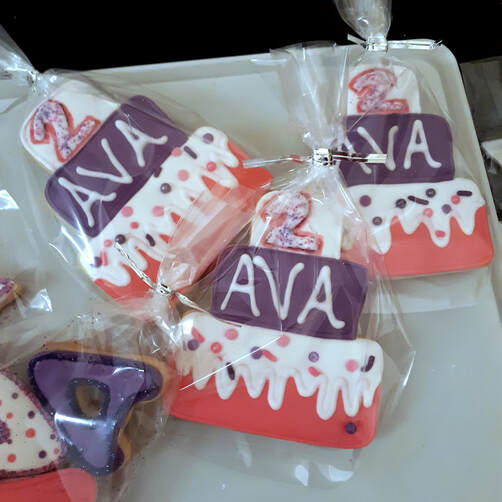
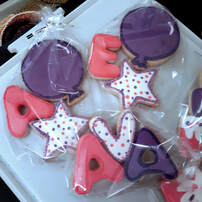
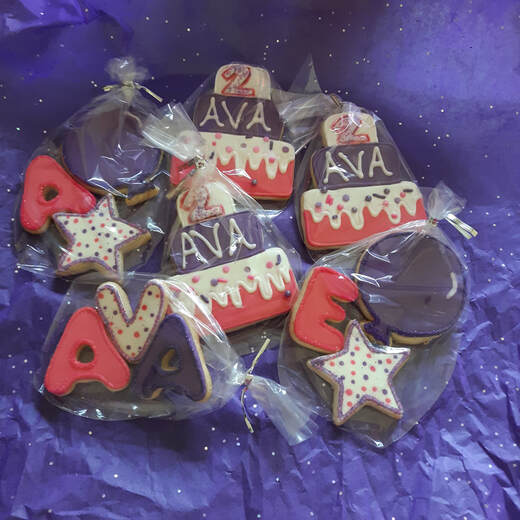
For these I was able to turn them inside out, so to speak, and trace them onto my notebook. That why I have a good idea what kind of surface area I'm working with and I'm not surprised when I go to decorate. I'm sure most of y'all figured I was doing this already but eh... It's now confirmed. So a few fun things about this set. I got to use some neon colors and some sprinkles and make some cute polka dots and that was pretty fun. SO PRETTY!! I loved these colors. They came out soooo good!! I made them each what is called "flood consistency" probably about a 15 second icing. I know that probably means nothing to anyone here but basically it means if you move the icing around it will fall back into itself within 15 seconds. Now to make the cookies!! I don't usually show this part except for if I make cool shapes like I did with the balloon up there.. super happy with how those came out! I just used a toothpick to make the little ruffles in the bottom of the balloon knot. Anyway, one of my favorite parts is pulling the freshly made cookies out of the oven... I thought I would get tired of smelling cookies but so far I have loved it every single time. Almost as much as I love baking bread... The cake was a brand new cutter I just ordered from Amazon and I've seen soooo many cool ideas besides just birthday cake but I was excited to use it.. and so far I've used it twice. Excellent buy on my part if I do say so myself... Well that's enough of that... onto the decorating!! Okay soooo remember that "flood consistency" I was talking about? Look how freaking perfect these are... are you kidding me?? So satisfying.... so absolutely perfect... I mean they are flooded ALLLL the way to the edge without the icing falling all over the place... it's magic. It's edible magic. Another technique I used is called "wet on wet" it's pretty self explanatory but it's where you add details to the icing while it's still wet... so instead of adding the polka dots on top of dried icing you do it while it's still wet and it creates a smooth surface. TADA! Dry and nice and smooth. If I would have added the polka dots on top of the dried icing they would have stuck out. Sometimes that's what you're going for but for this I wanted it to look more cohesive. I continued the "wet on wet" and finished flooding all the cookies and moved along to the sprinkles!! The little balloon highligh was also done wet on wet. I hardly ever use sprinkles anymore so that was super fun! Plus if you remember in my previous blog posts (which I know you've read them all right?) I mentioned quite a bit that I regretting not doing outlines so this month I was pretty dedicated to outlines. Oh fam!!! We're about to move on to the birthday cakes.... I was super excited to make the birthday cakes but I did have some issues with the design... Oh boy here we go.. y'all hold on to your panties. Okay so I know what you're thinking... What on this beautiful blue and green Earth did I just see? LOL Welp let's recap. So I started with just making the 2 in white icing but you could not see it at all and I hated it. So..... I decided to add sprinkles and I really didn't like that either... Then I decided to flood around the 2 to make it pop and it looked... horrible... So I thought self... let's try and do some "watercolor" with the neon pink and make it pop... Well y'all see how well that turned out! Big nope. So I decided well... let's just go over it again with the white... and add more sprinkles... I have to admit... I wish they would have turned out a little better but after all that I was happy enough to send them and honestly it's not like they're not going to eat them anyway so why fuss over it any more at this point... what's done is done. After letting them be for the night and bagging them up I was more happy with them. Yeah they aren't perfect but they'll do. The point is across anyway and I think 2 of them actually came out really good.. I had one that was still kinda ugly but ehhh that was literally the last step of my entire process I wasn't about to start over because a few 2's gave me trouble. Hahahaha I just realized I had a terrible 2 hahahaha yeah well whatever... I laughed. Imperfection is just a part of reality that I need to learn to accept with grace. Plus the others came out flaweless so honestly I really can't be mad... All bagged up and ready to go! Complete with matching tissue paper!
So cute right!? In the end I feel like I got what I wanted.. the set is cute and you can immediately see the 2's regardless of how ... rough... they may be lol And I've definitely learned something for the future which... is always good. There aren't really any failures, just lessons... luckily for me they don't taste any less amazing even when I screw up a little haha! Welp thanks for coming along! I hope you enjoyed it! Hope you had a laugh... See you next time! Much Love! Amanda
0 Comments
Leave a Reply. |
Previous
June 2024
|



 RSS Feed