|
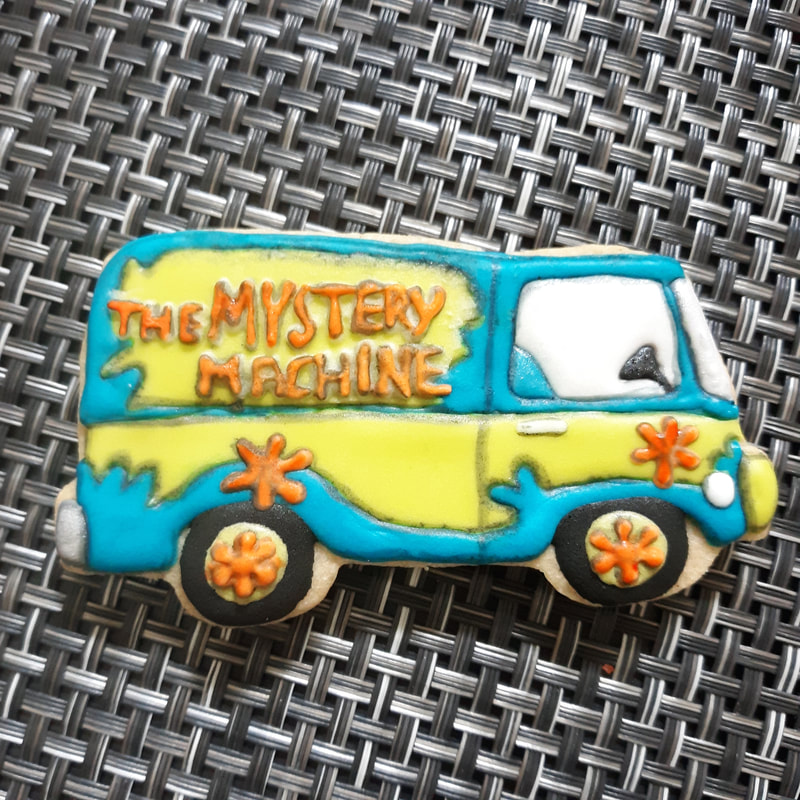
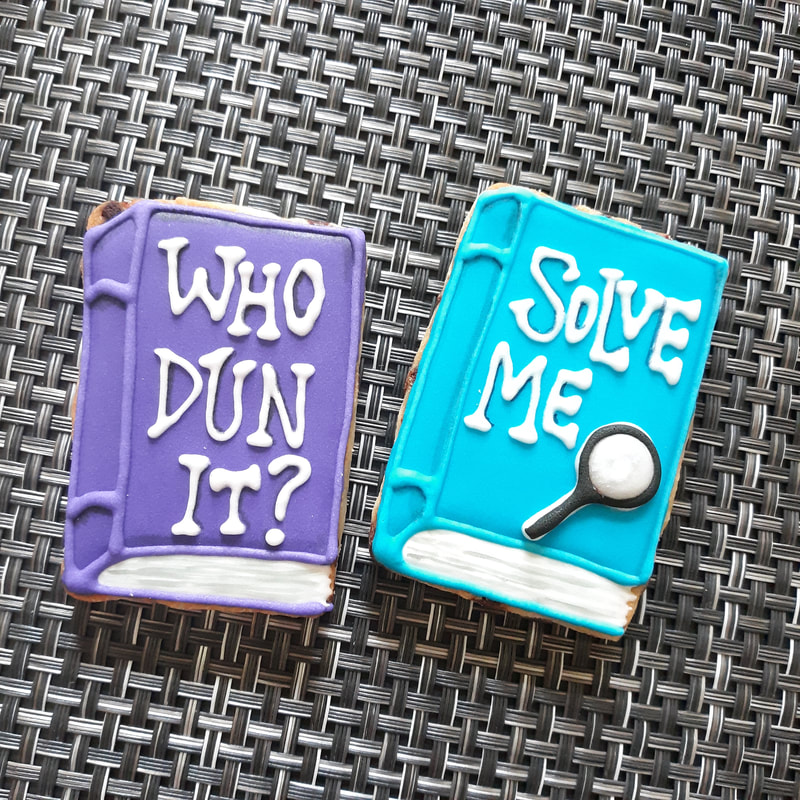
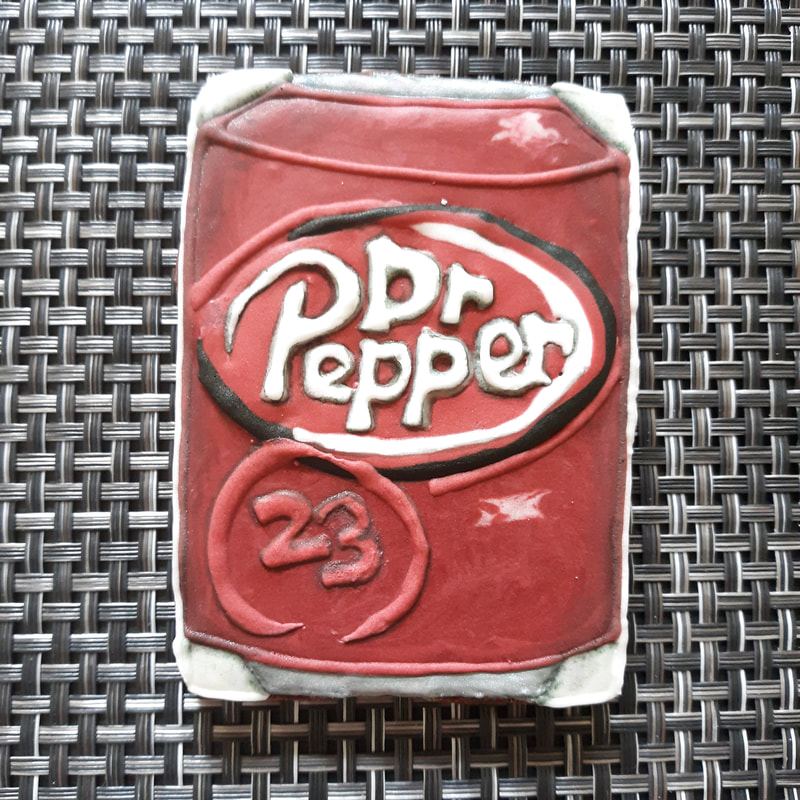
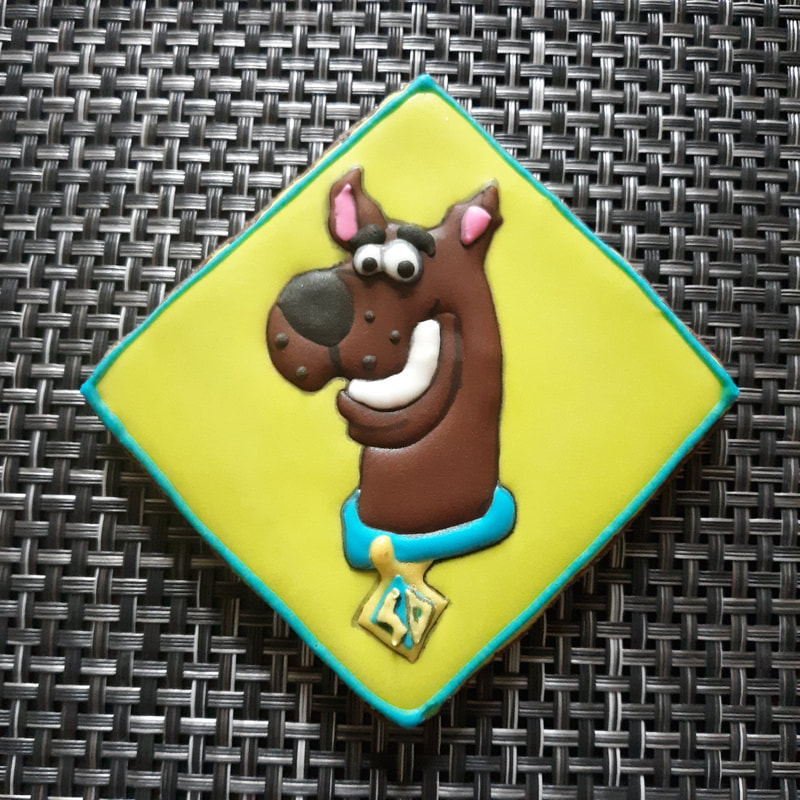
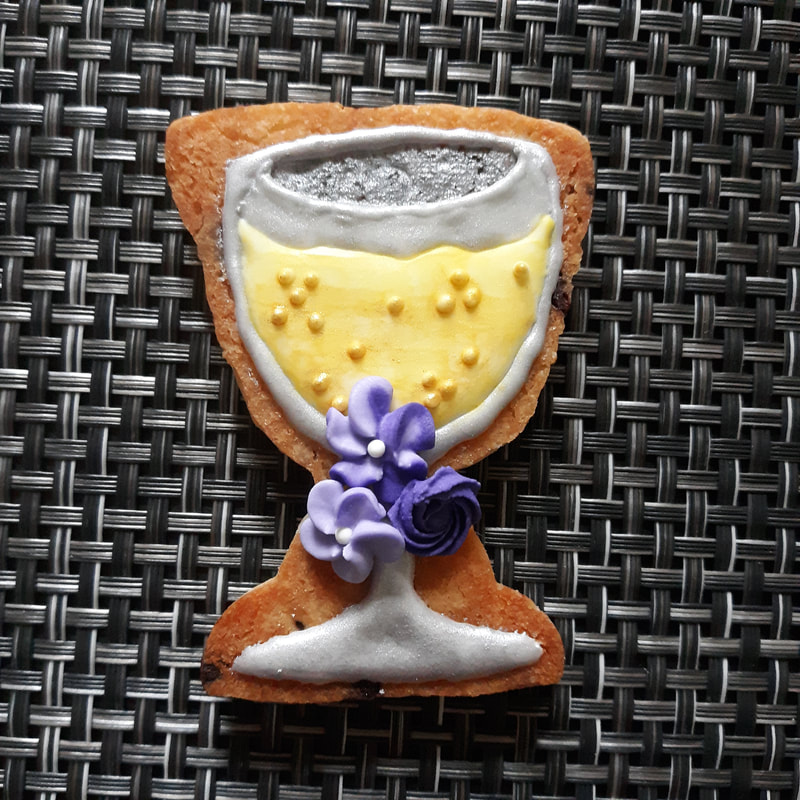
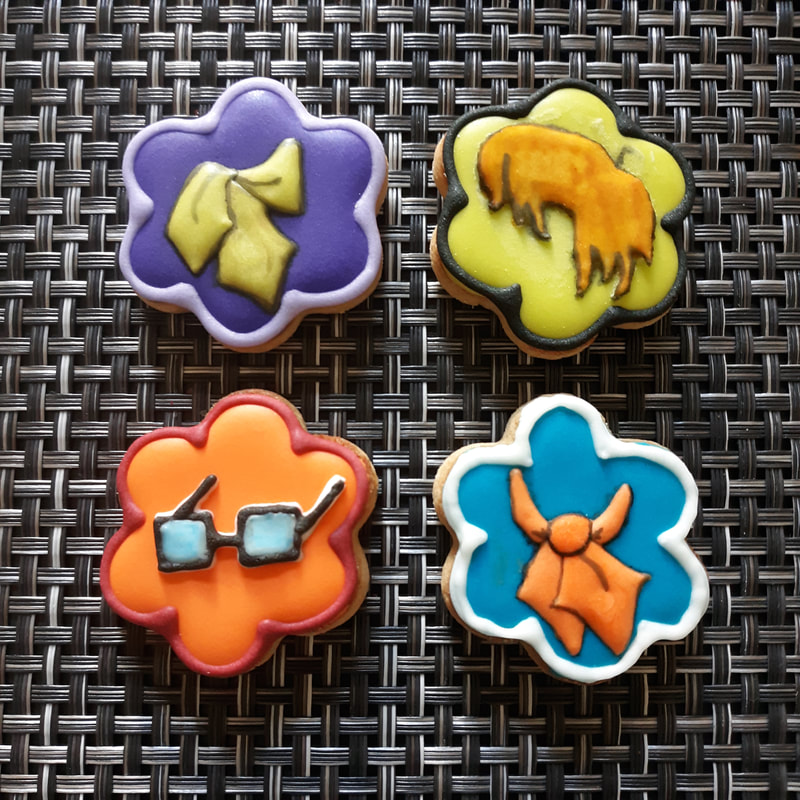
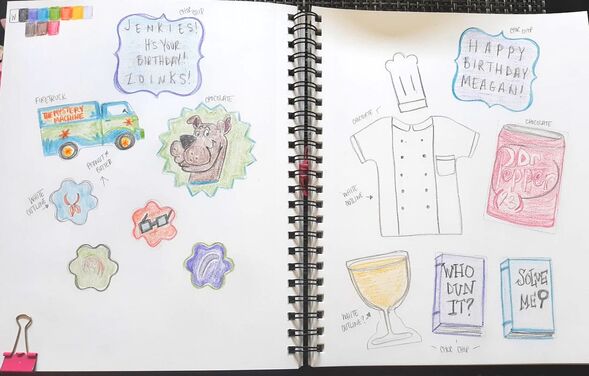
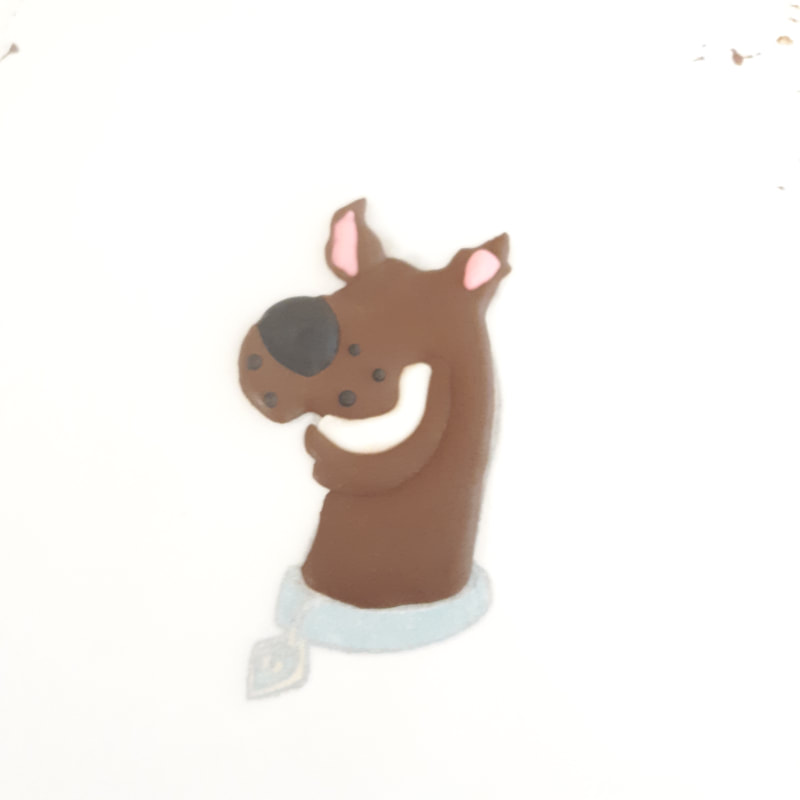
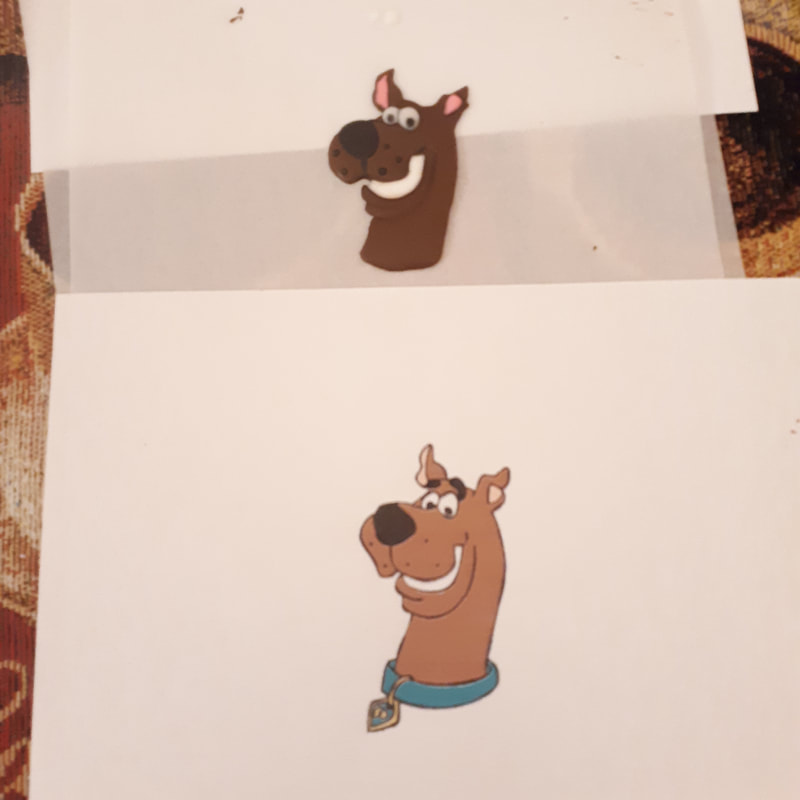
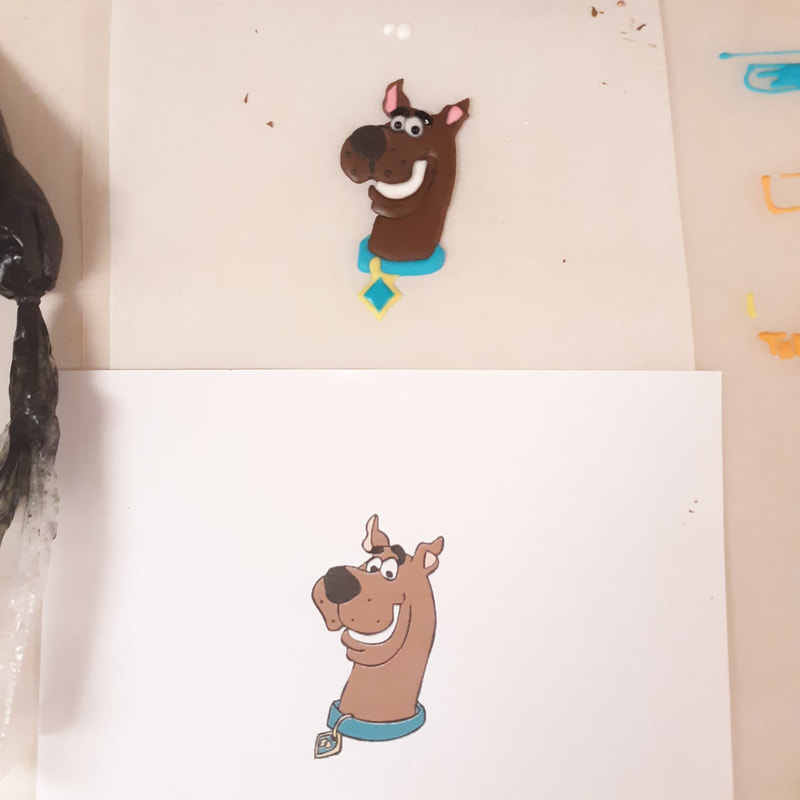
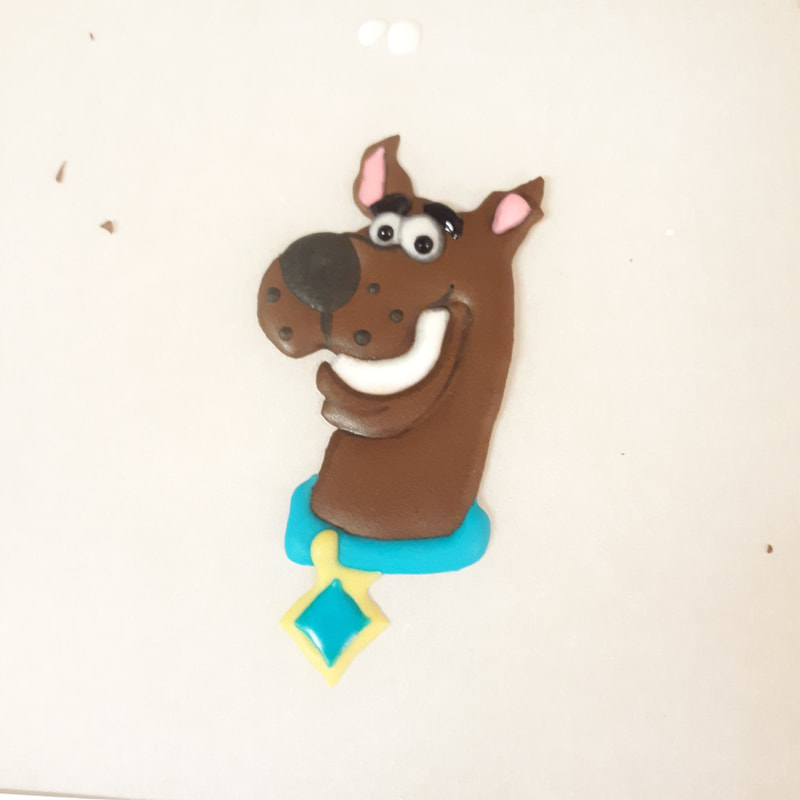
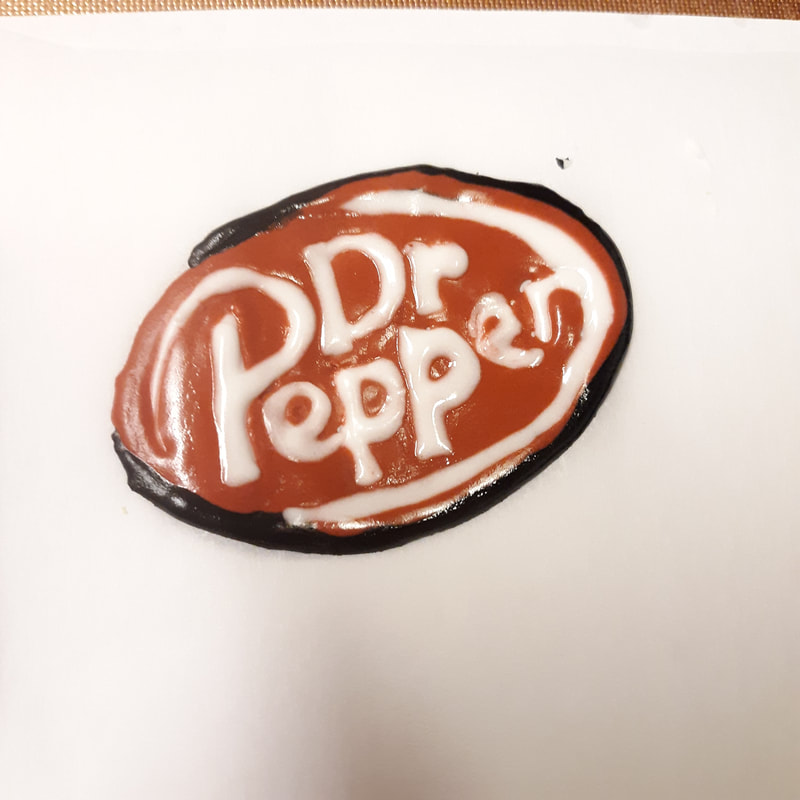
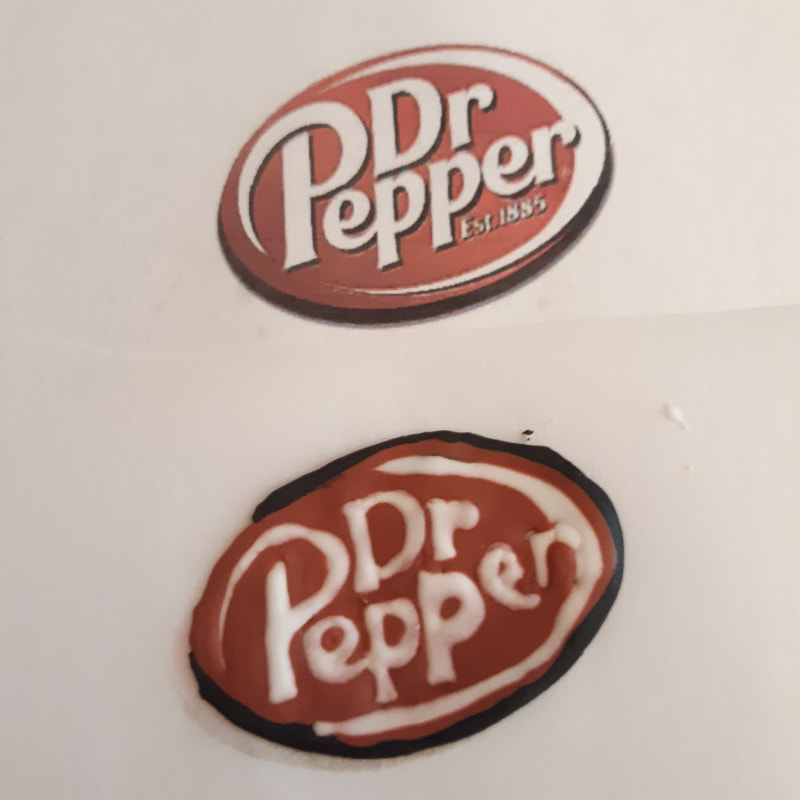
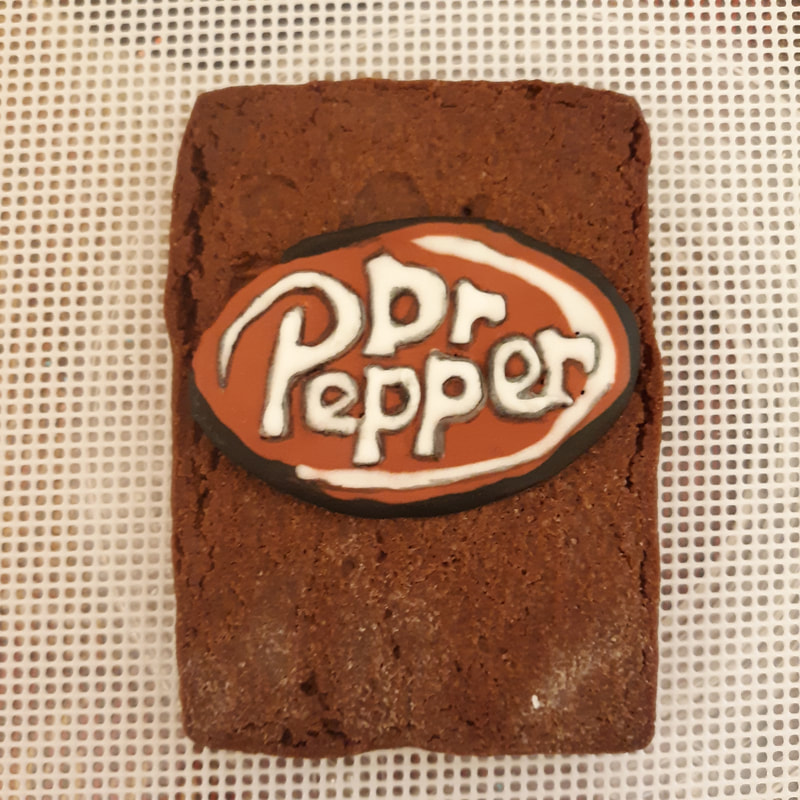
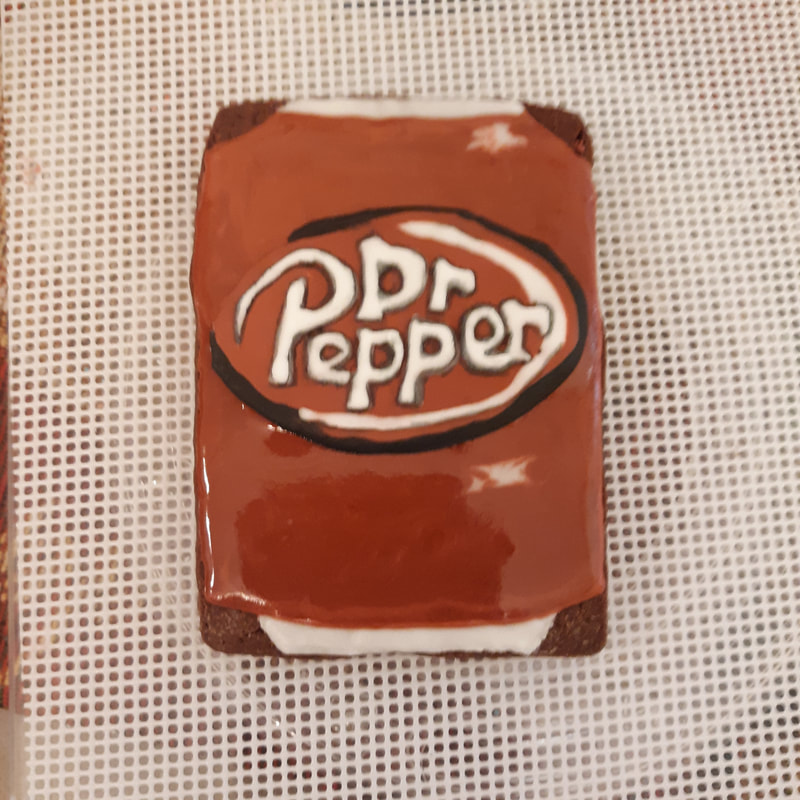
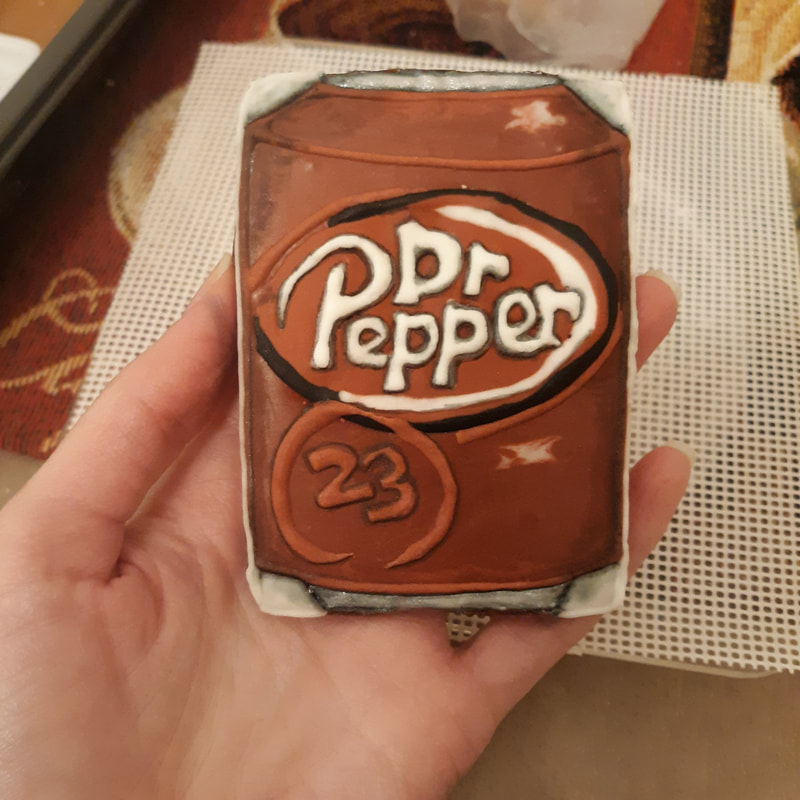
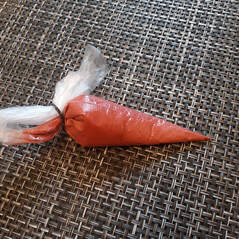
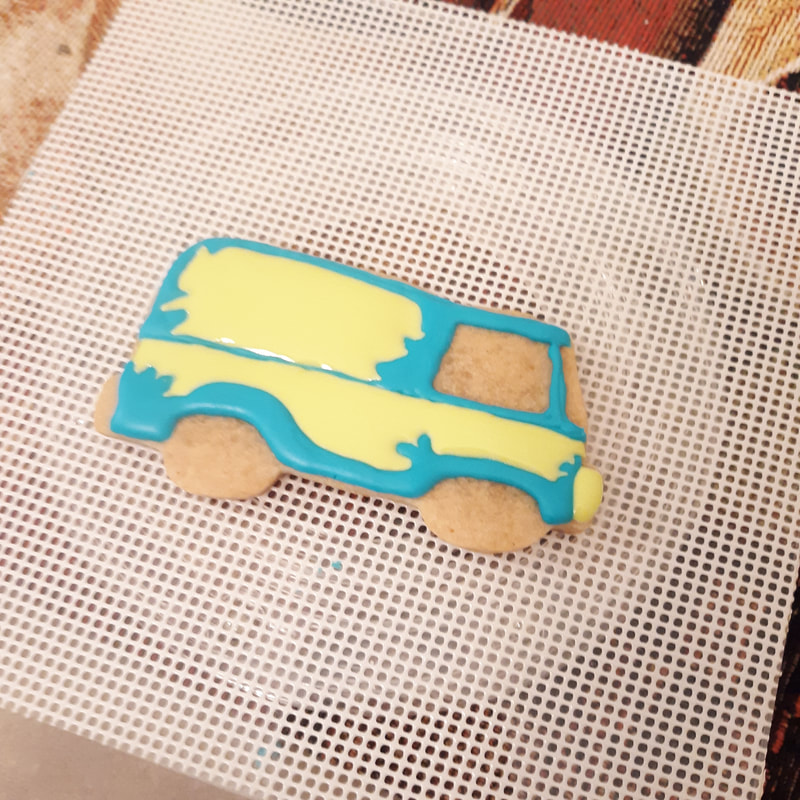
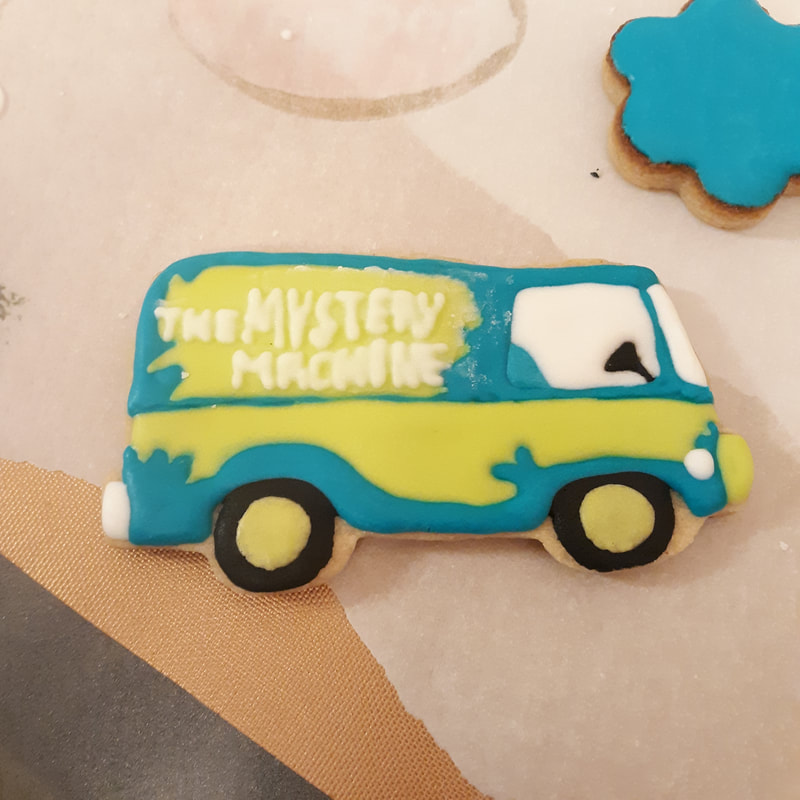
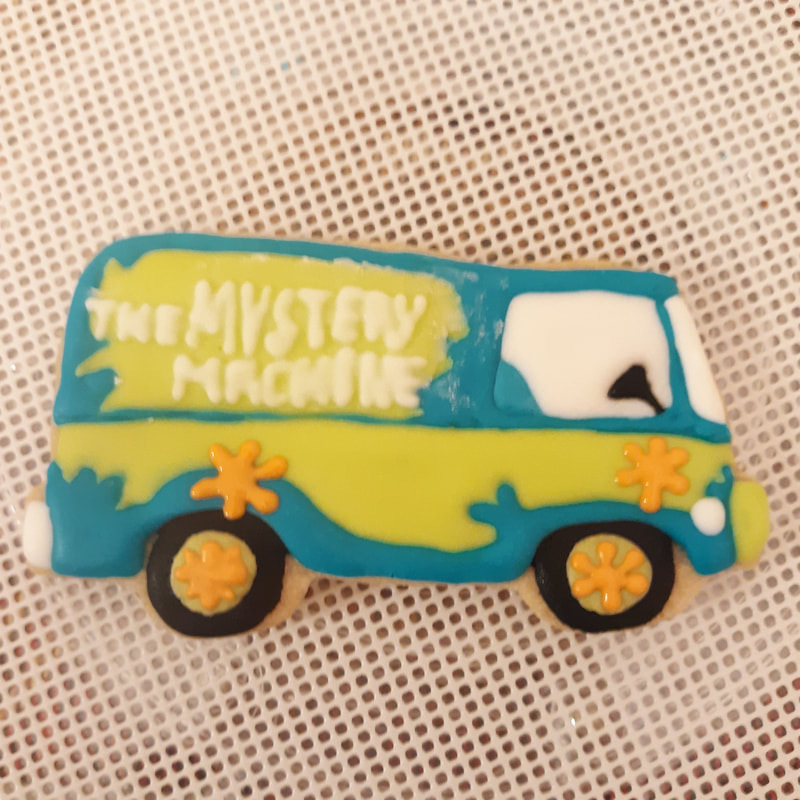
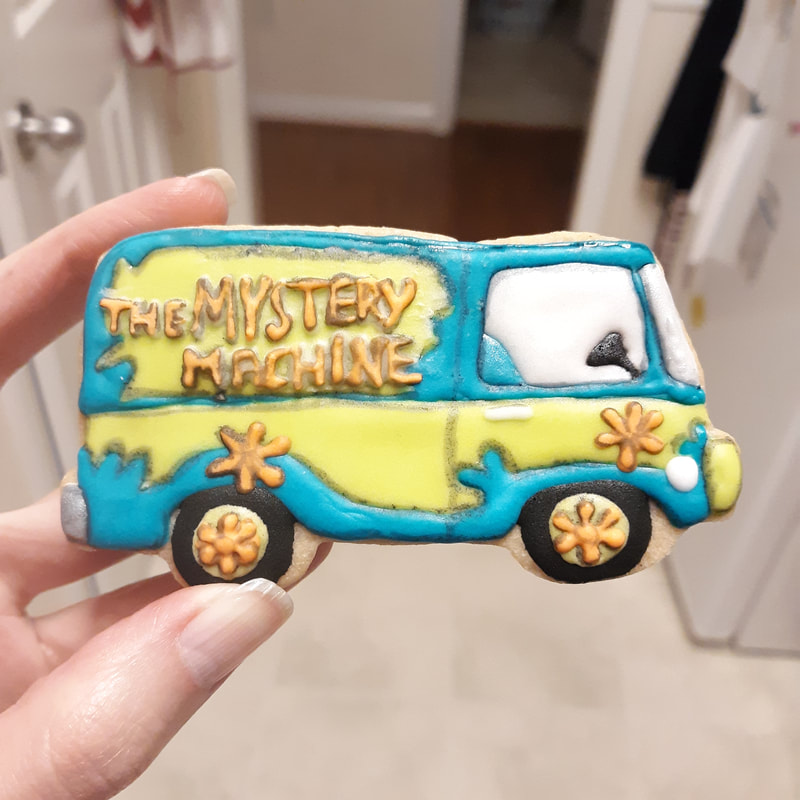
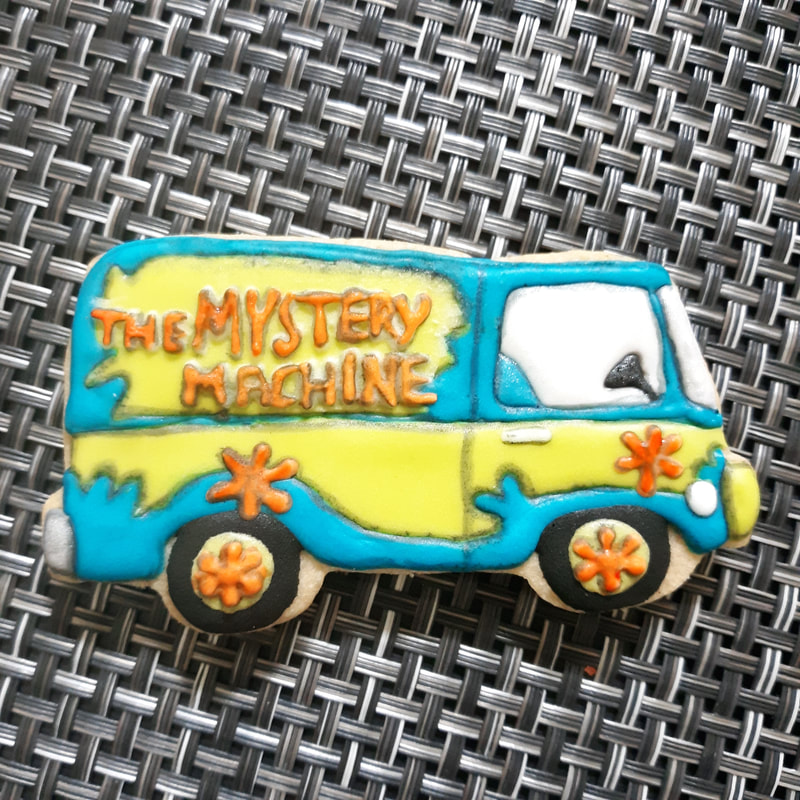
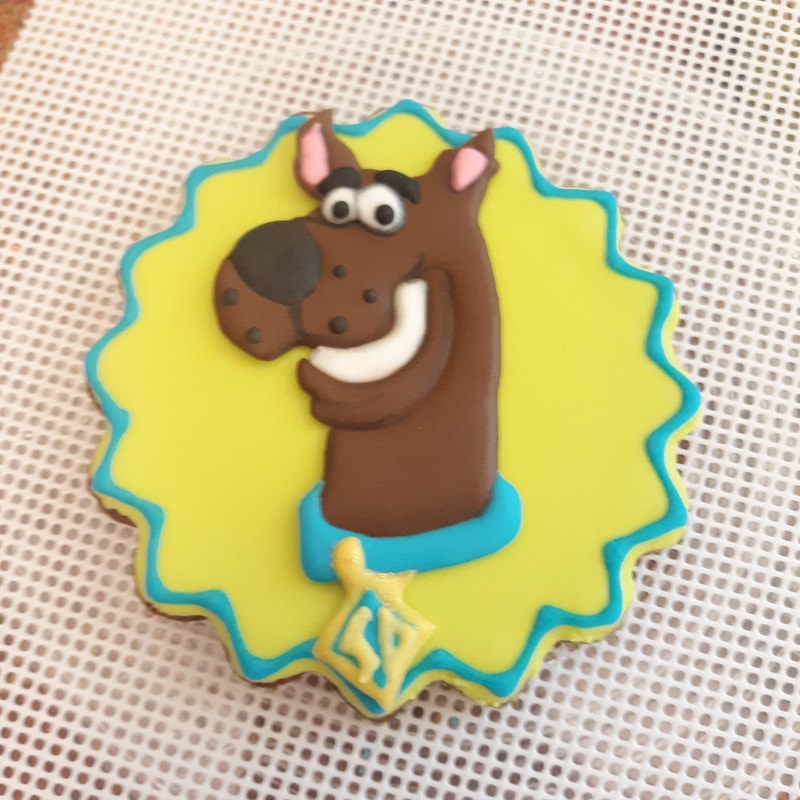
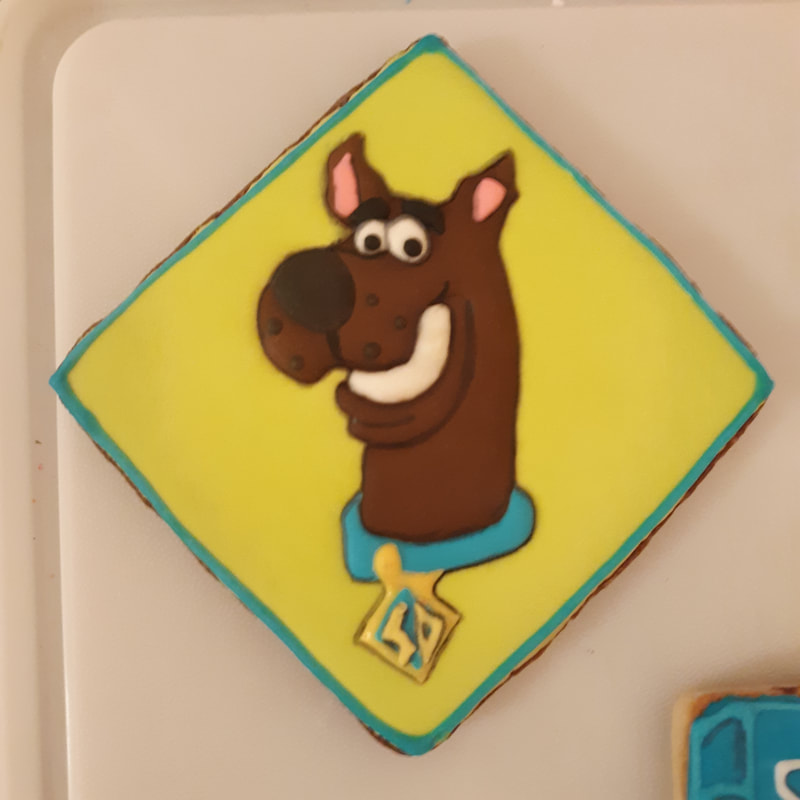
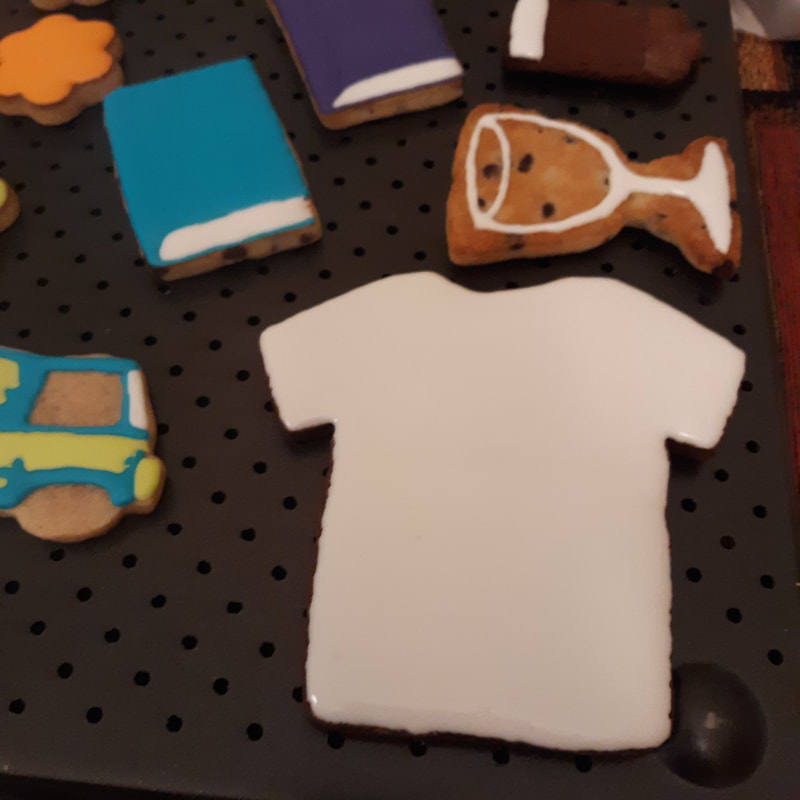
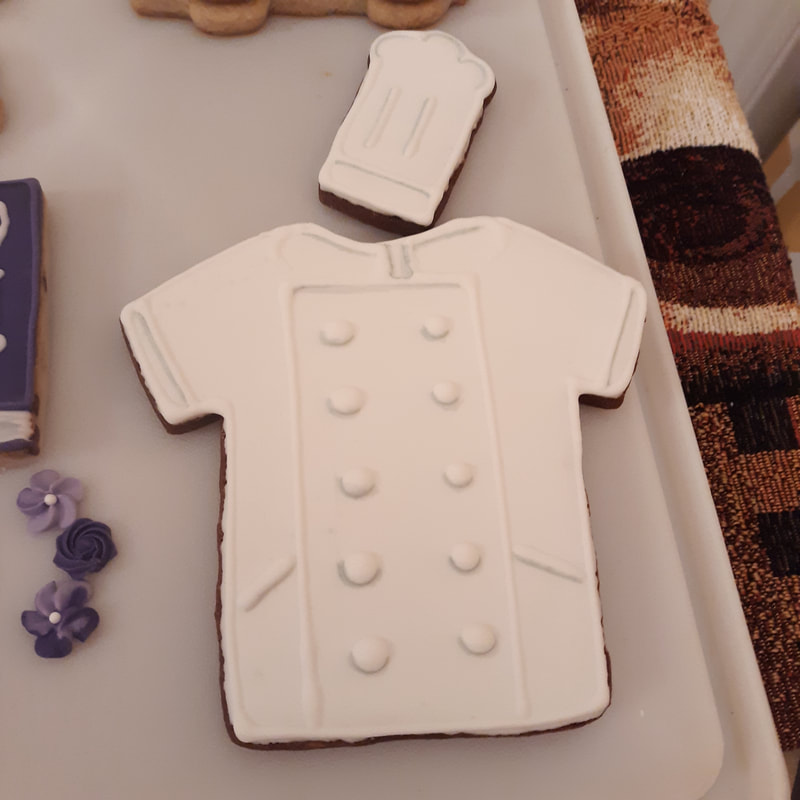
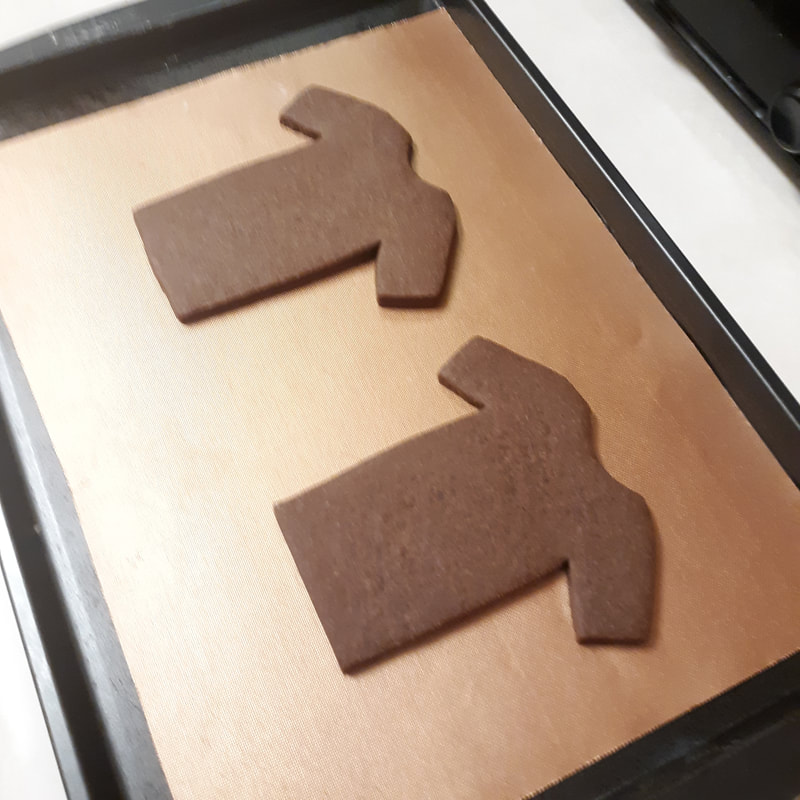
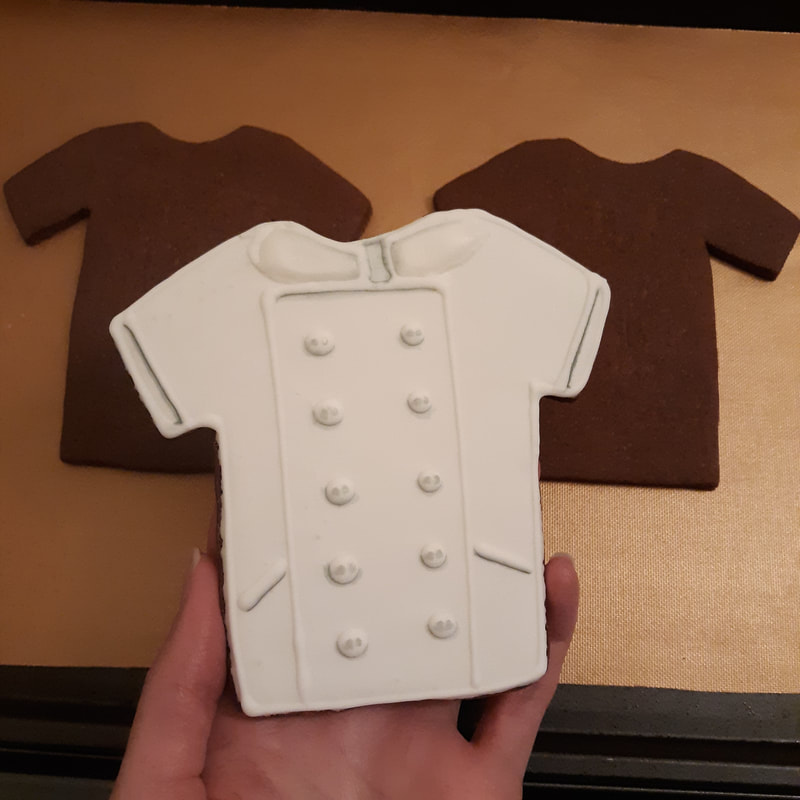
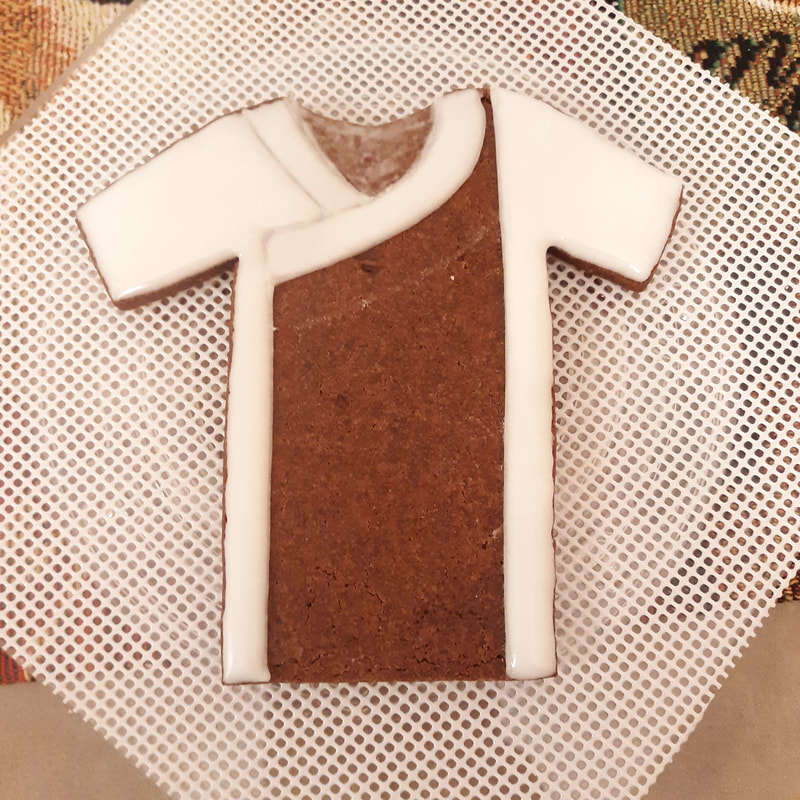
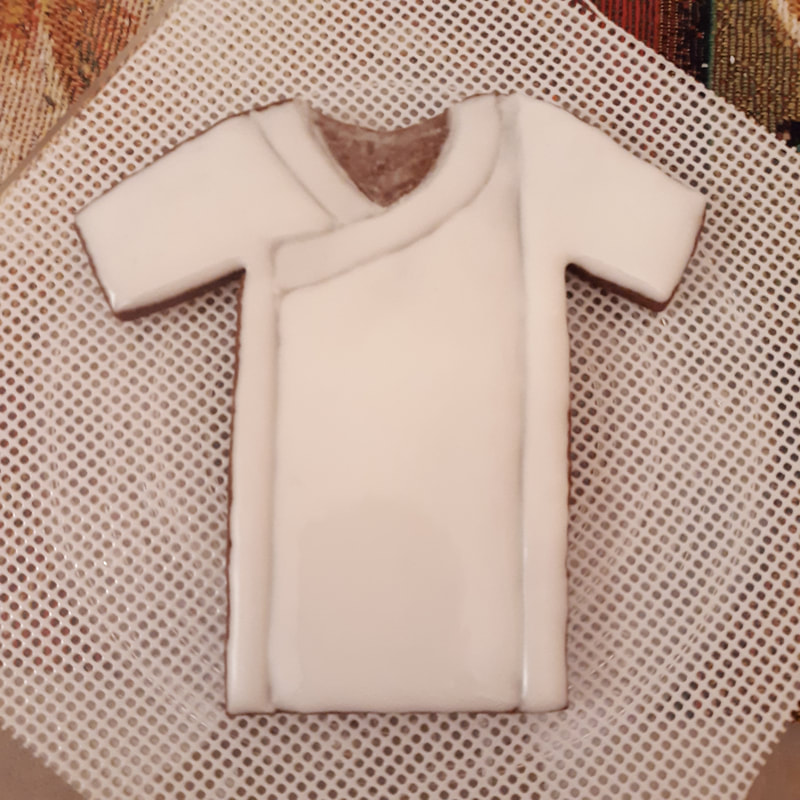
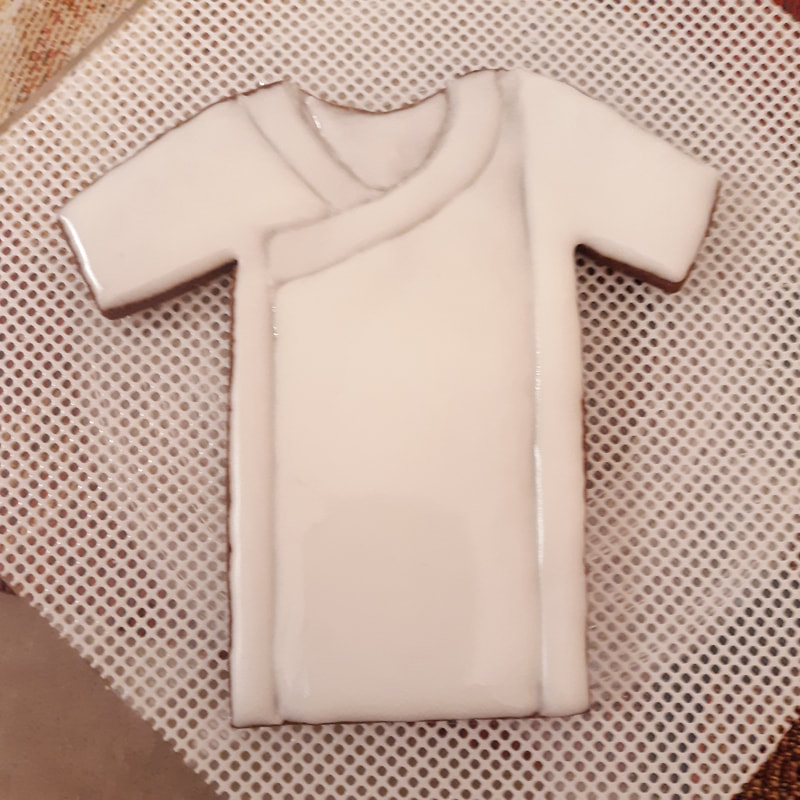
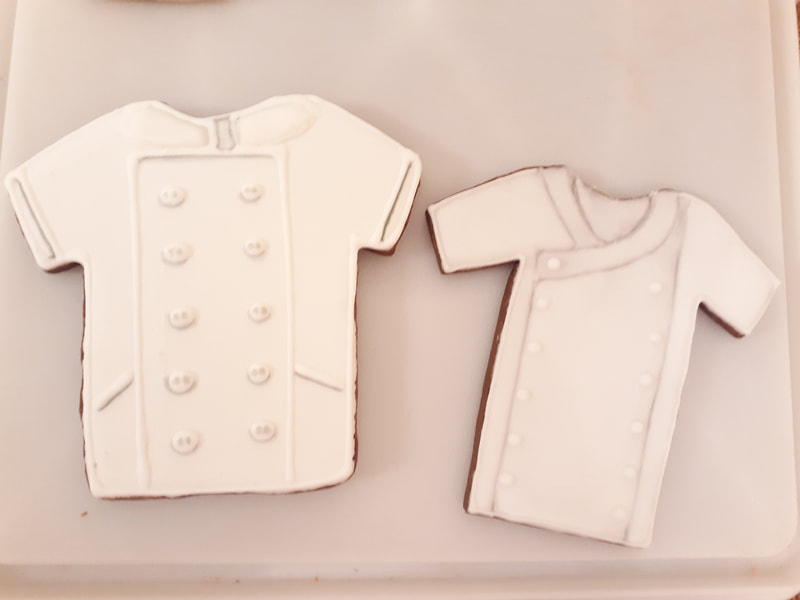
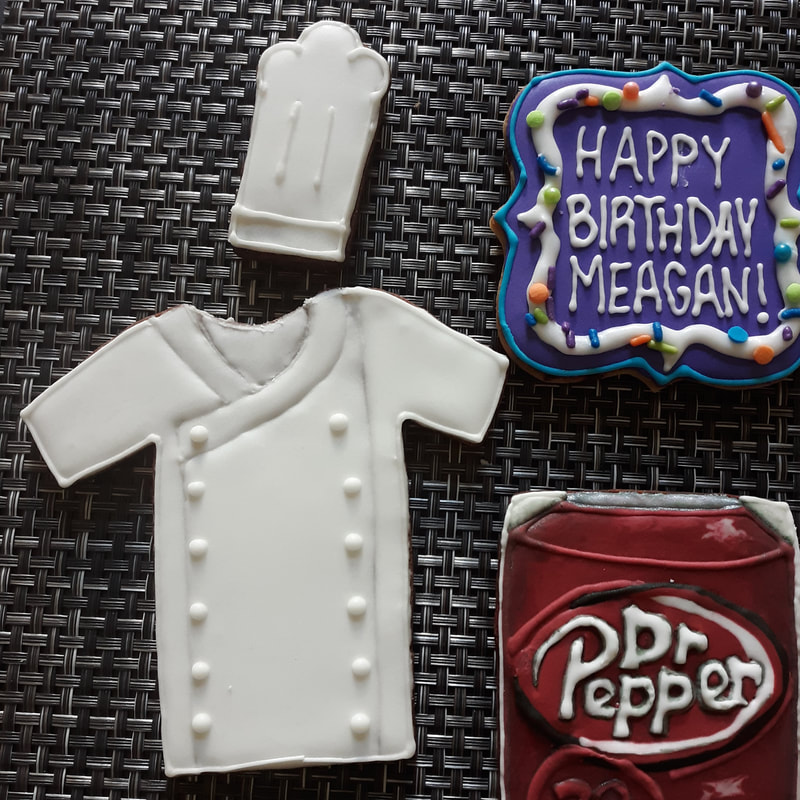
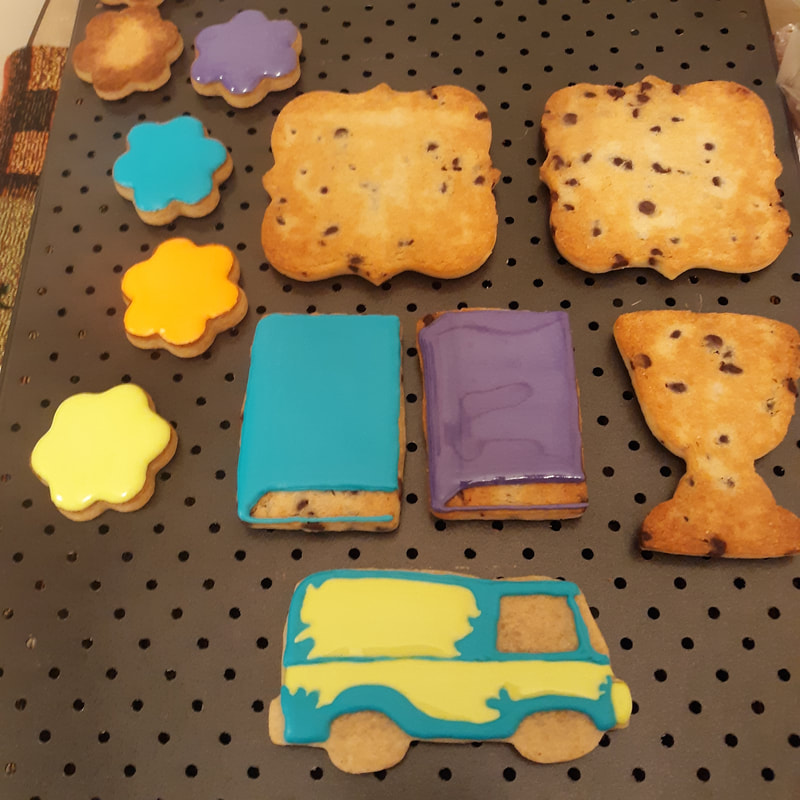
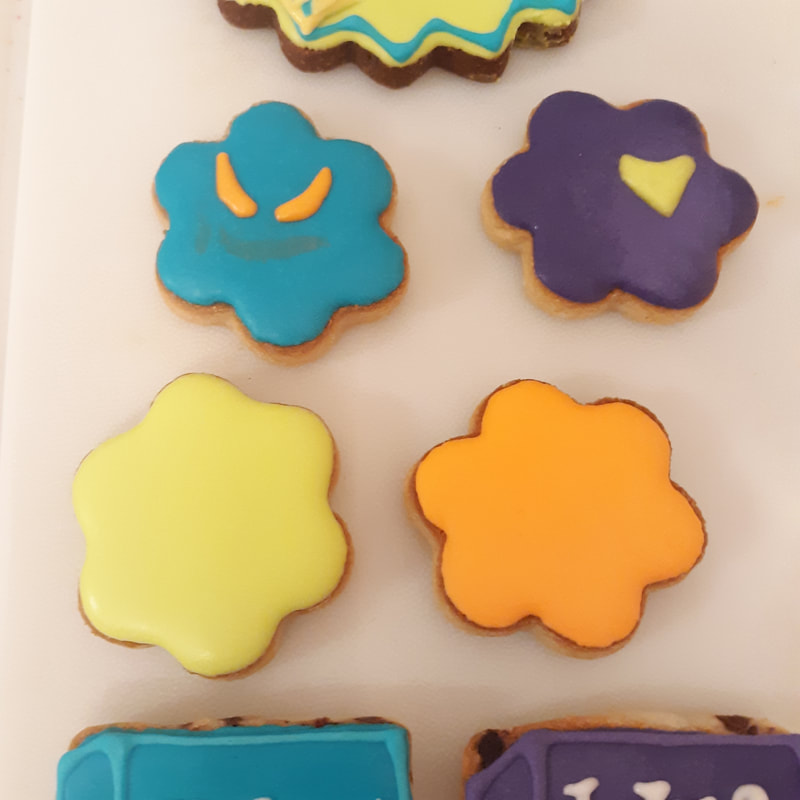
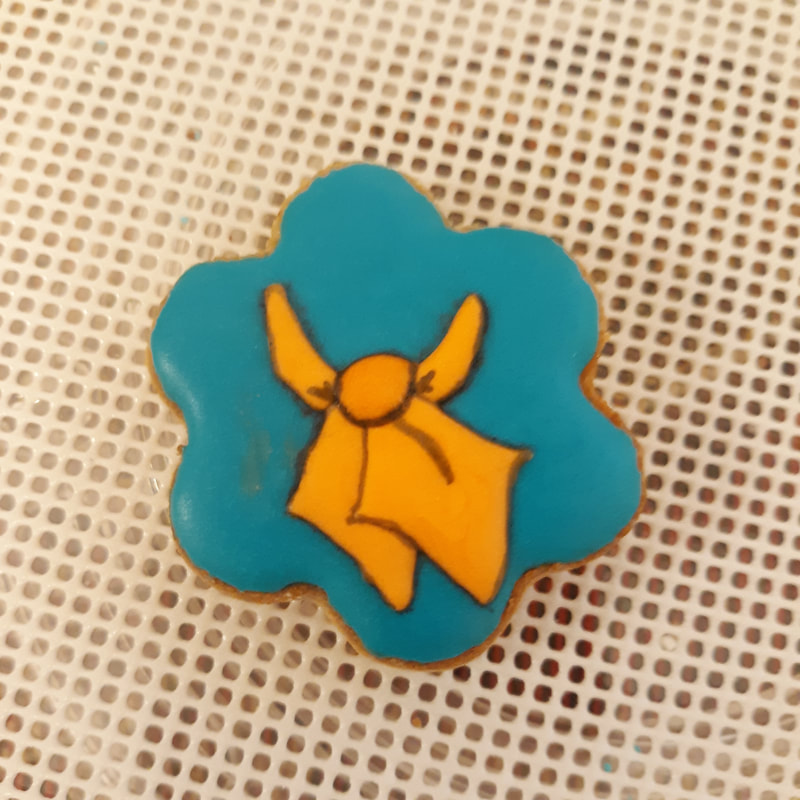
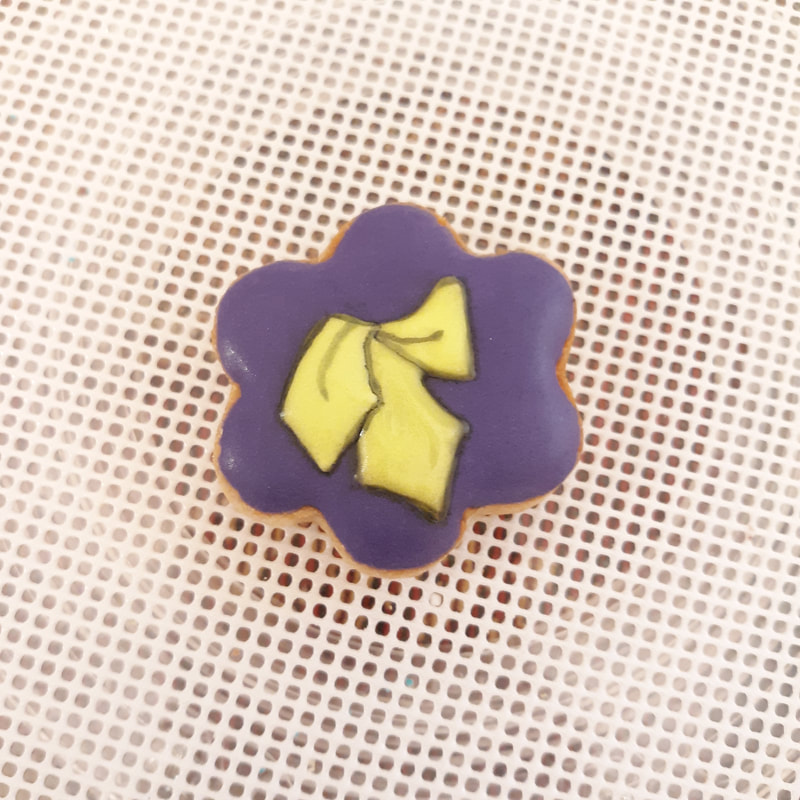
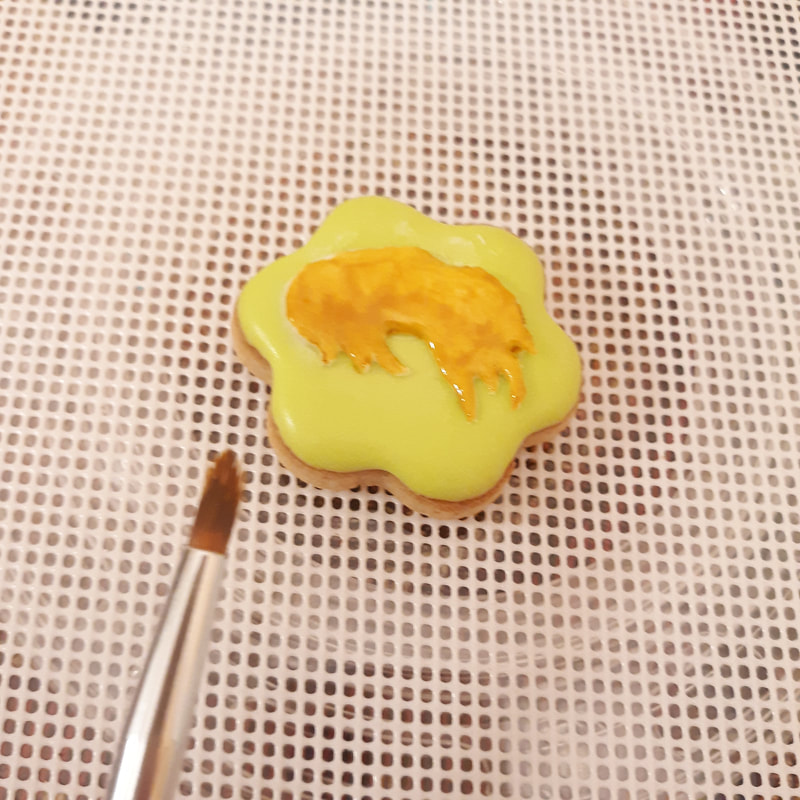
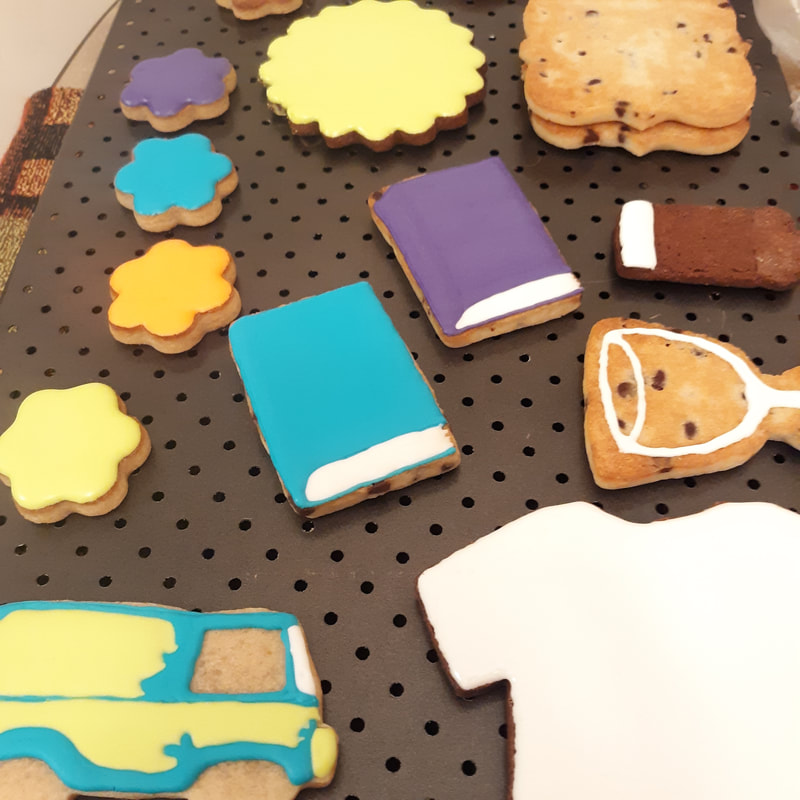
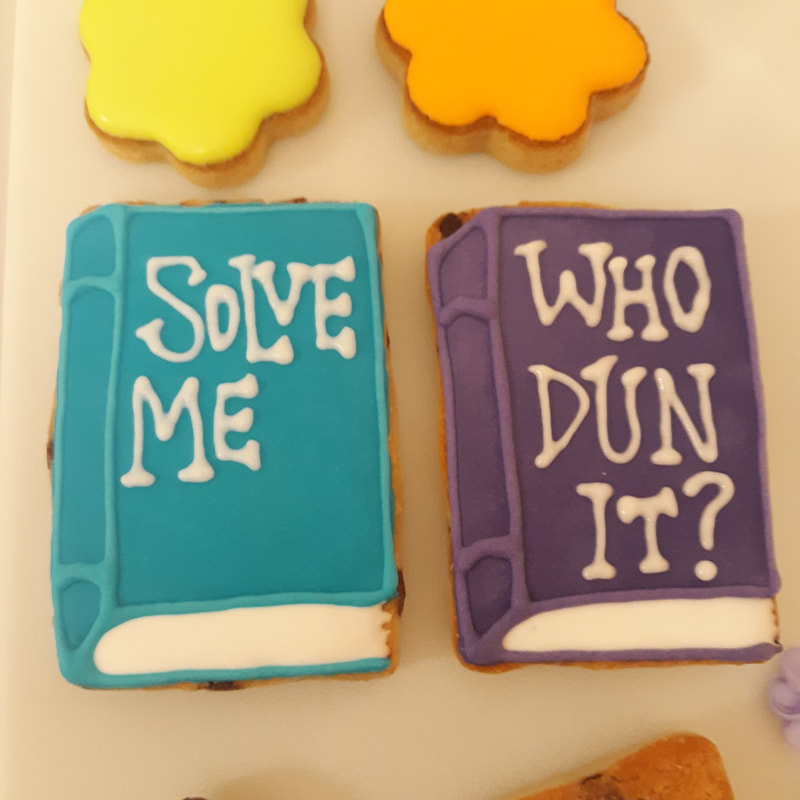
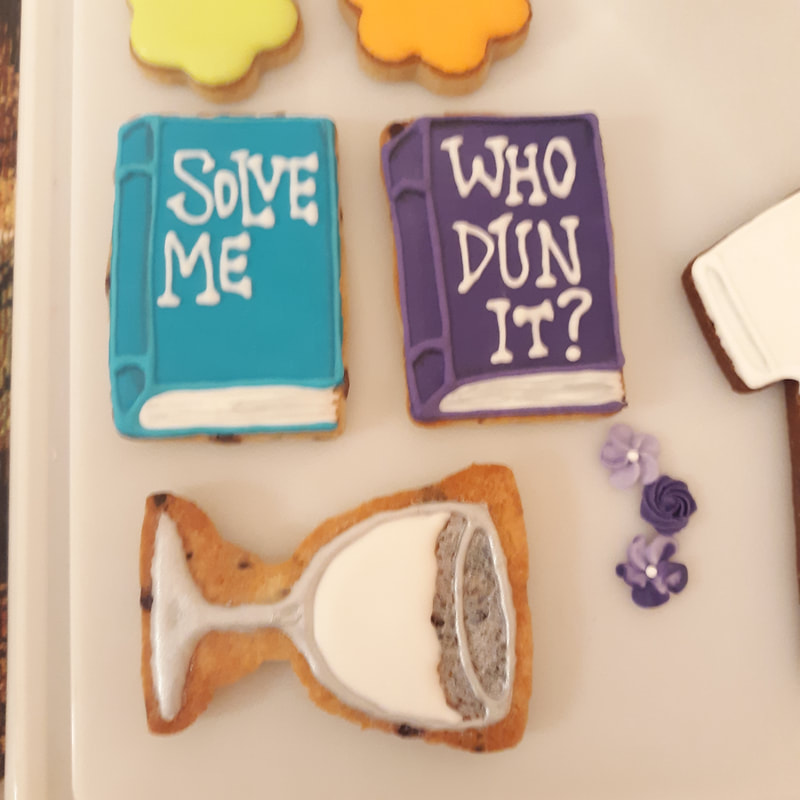
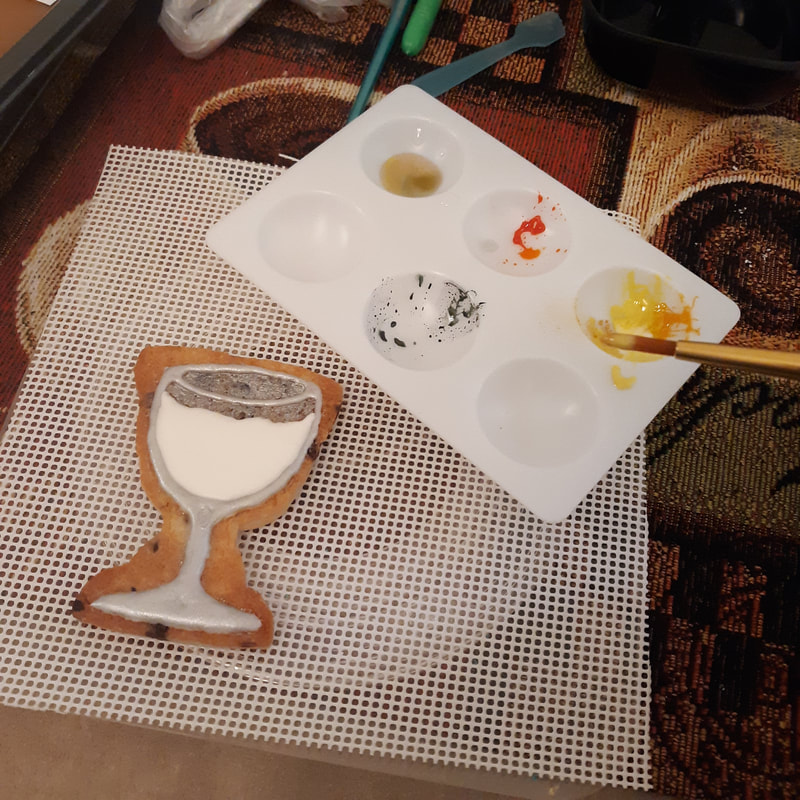
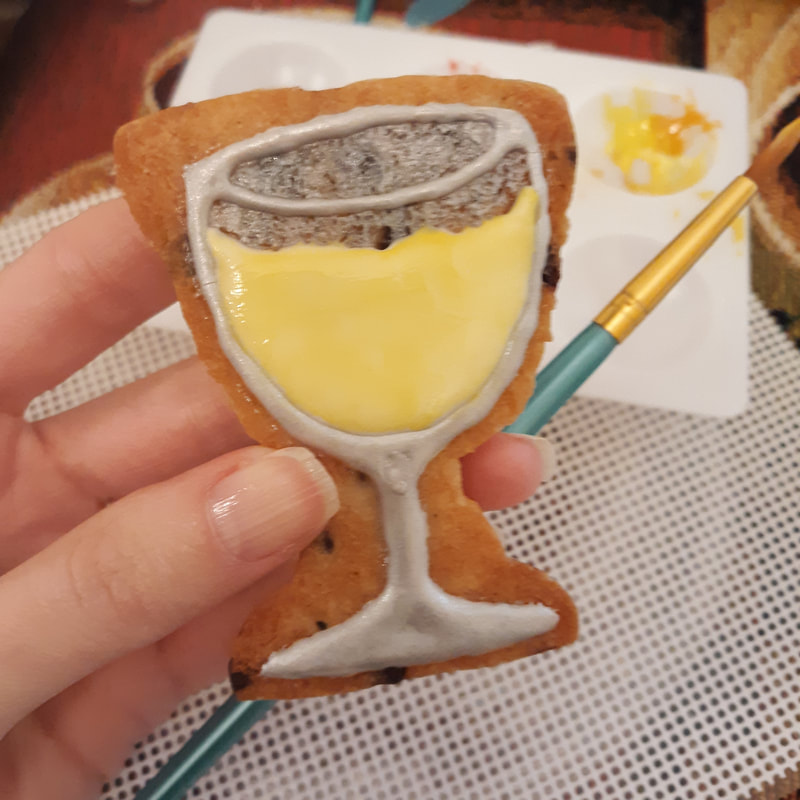
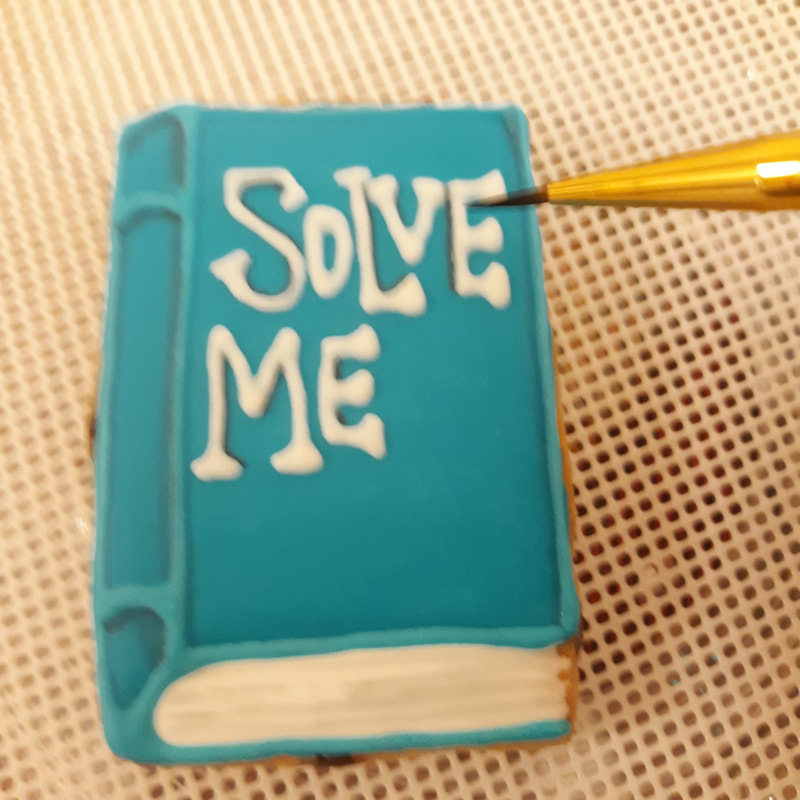
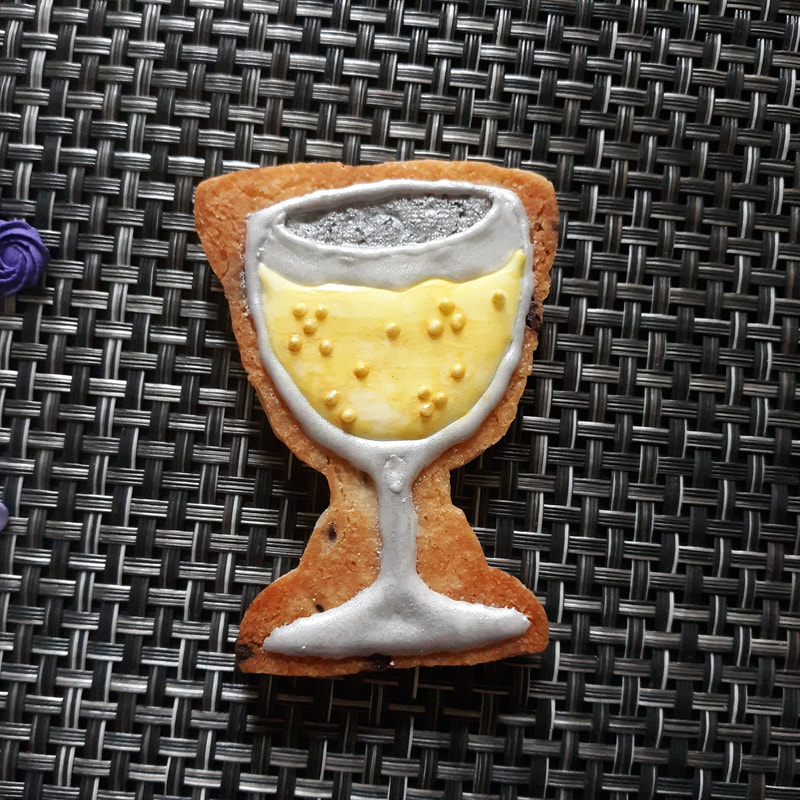
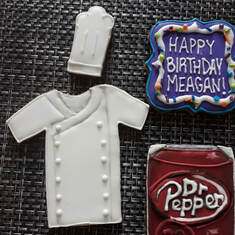
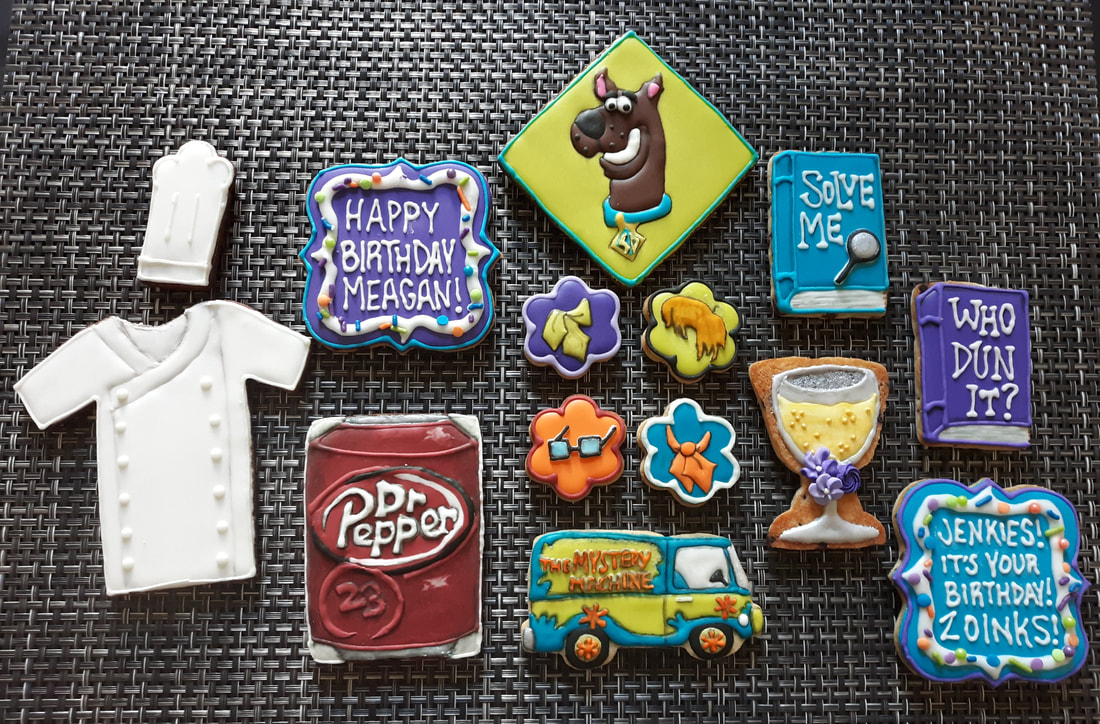
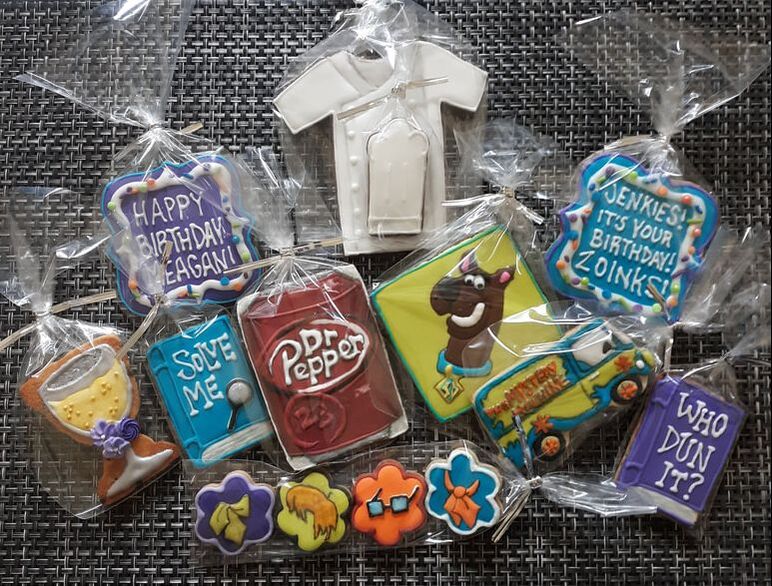
Welcome welcome! I am so excited to share this set with you! I loved creating it so much and it was for my sweet sister! So let's start where we always do... here's the sketch! Ha funny enough I actually think my cookies came out better than my sketch... I loved creating this set! I did end up changing a few things along the way though.. it happens. Let's start with Scooby! Scooby is kind of complex so I decided to take a safer route (sorta) and do a transfer. I printed out the pitcture I wanted and put parchment paper on top.. I could see the image so I just piped him onto the parchment.. then I just had to wait for him to dry and *carefully* transfer him to the cookie... that's the not so safe part of this process... it's just royal icing.. Very delicate... He came out absolutely wonderful though! In my sketch I didn't include his tag... on purpose.. but as I created him I decided I was definitely not leaving it out so that also created a few changes along the way which I'll get to later.. So the Dr Pepper went through some stages lol I also decided to go ahead and use a transfer for this. I printed out the logo and I started with the letters... Once they dried I filled in the red around it... Speaking of the red can we just break for 2 seconds and acknowledge how freaking dead on my Dr Pepper red is?? I was so stressed over the red.. when I mixed it, it looked more like a brown and I was pretty bummed BUT hopeful because I know red takes time to develop. I put the fresh unopened bag of icing the fridge overnight to develop and the next morning it was PERFECT. Why yes I did do a tiny little photo op with my Dr Pepper colored icing LOL Look at it.. all beautiful.. and Dr Pepper colored.. Okay Now back to the transfer. So letters, then fill.. wait to dry then I went over the letters again and added detail with a very fine food-safe paintbrush and watered down black food-safe marker. I could have used black food coloring but the marker was handy. I don't have any of those super thin food safe ink pens but they are on my list for the future. Either way I think the brush worked fine I did that to the entire set.. or most of it.. and I LOVE it. OH BOY The Mystery Machine! I was so proud of this bad boy! I actually made 2 initially because..... this is a frankencookie... I made The Mystery Machine from a Firetruck cookie cutter.. So I was afraid of stability. They both came out awesome but my first attempt was a wash.. The porportions weren't good and I made the top part too small so the writing didn't fit BUT it was all good because I had a 2nd cookie... I am SO HAPPY with how it came out.. definitely one of my favorite of the set. So. Initally I had planned on putting Scooby on this rad little circle thingy but once I decided to add his tag I kinda didn't like how it sat... Scooby was definitely going to lose his tag or his ears in the mail... for sure... So I decided to switch it up and put him on the diamond which I think actually looks better. And now, as much as I don't want to, we need to discuss another glitch in the matrix. I'm really really happy with this end result though so sometimes failure has to come first. Okay so I have a t-shirt cutter already and when I made the sketch I used that cutter but of course as you can see I WAS NOT feeling that massive shirt... the first chef jacket I made came out absolutely awful (which is fine because I ate it lol) So I decided to make 2 more (which means yes I got ANOTHER extra LOL this set had a lot of extras and I'm totally cool with it) I cut the 2nd batch down a bit and they looked MUCH better.. and look how much better the 2nd one came out.. super happy with that.. So. No harm. No foul. More experience and extra cookies for me haha. So I guess I didn't get a lot of pictures of the minis. They were small and detailed and came together pretty quickly. I love how they came out. Totally cute. Another reminder here that all the black outlines you see aside from Velma's glasses were done with a TINY brush. Pretty hilarious that the ONE photo I have of the TINY brush I used to create all the black outlines is blurry LOL. But you can still kinda see.. Also I never intended to use the flowers on the wine glass but I punctured a tiny hole in my icing as you can see if you look really hard lol I filled it in but when you use metallics you can see EVERY little oopsy in the icing... So I decided to cover it with flowers and I'm not mad at it... at all.. I know I glossed over it but we all know the books are adorable so I mean... what else is there to say? I don't use a projector you guys everything is written by hand so take it easy lol I think they are cute and quirky anyway... I did my best lol I think that's about all I have as far as close details let's finish this up with the real deal... The pretty sunlit photos on the beautiful backdrop... Yeah let's do that. Aren't they gorgeous? Oh wait... Hold on... There's more... Heyyyy there's the full set in all it's glory! What a journey that was! Woo! I have to say though it was worth every second. I definitely feel like anyone who knows my sister looks at that and says yup that's your sister!! It was an absolute honor to create these for her and I can't wait to do more!! Oh hold on... We gotta wrap these babies up... TA DA!
Fabulous! If I do say so myself. I do. I hope you all enjoyed this little adventure!! I know I sure did!! I hope you come back and see what I create next time! Much love! Amanda
0 Comments
Leave a Reply. |
Previous
June 2024
|


 RSS Feed