|
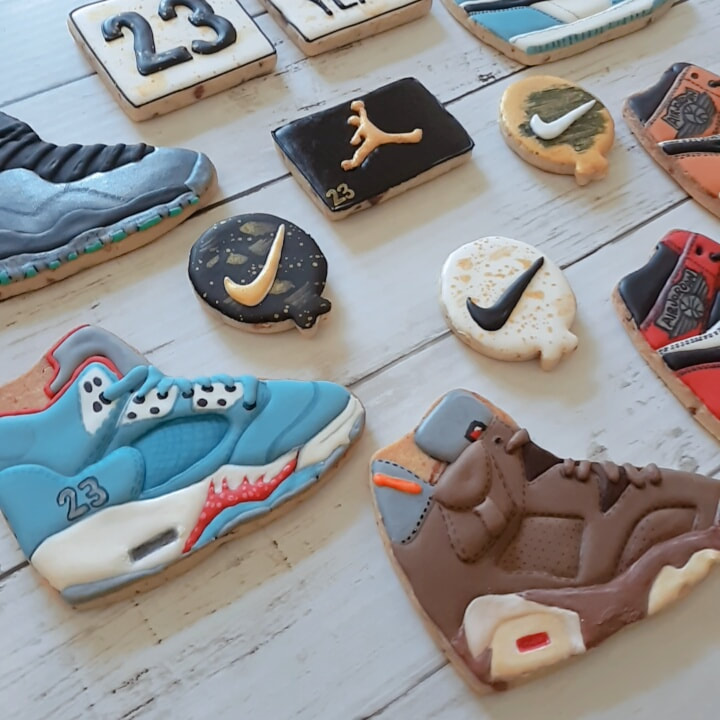
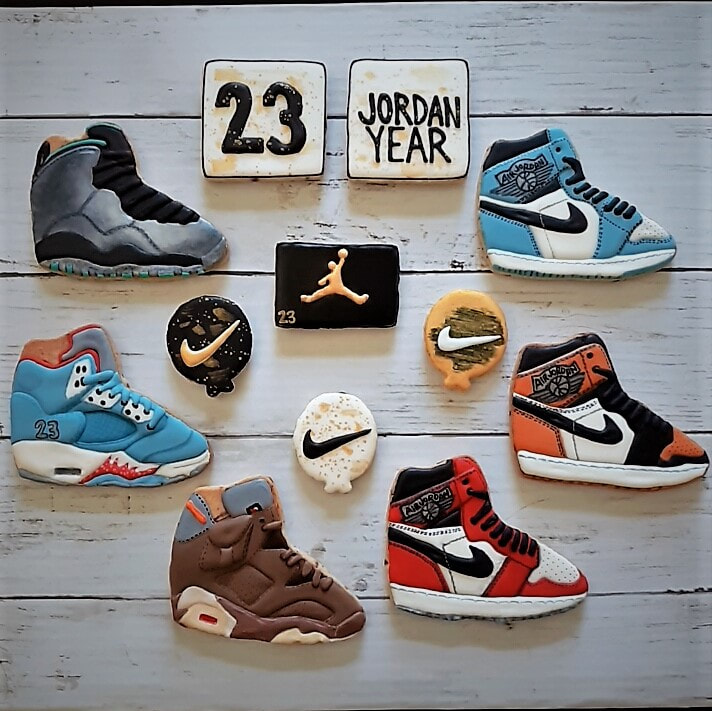
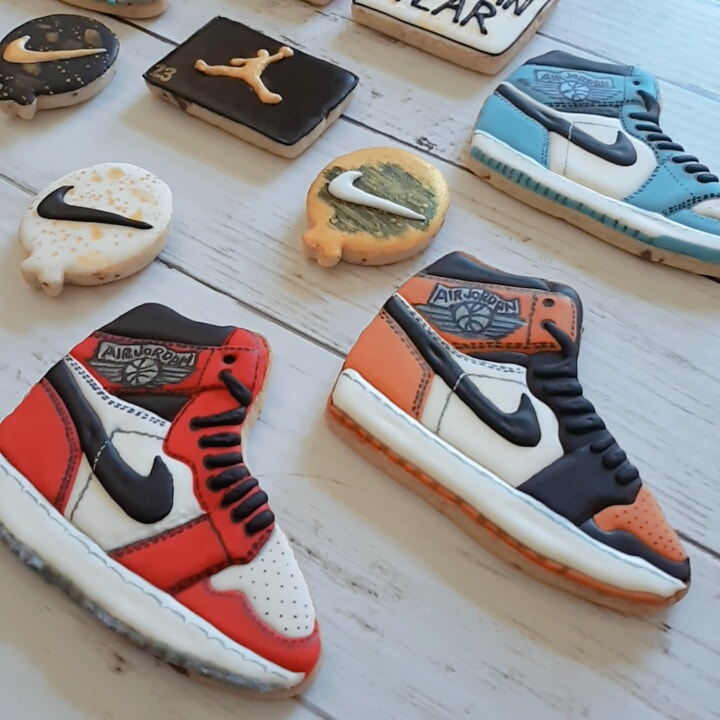
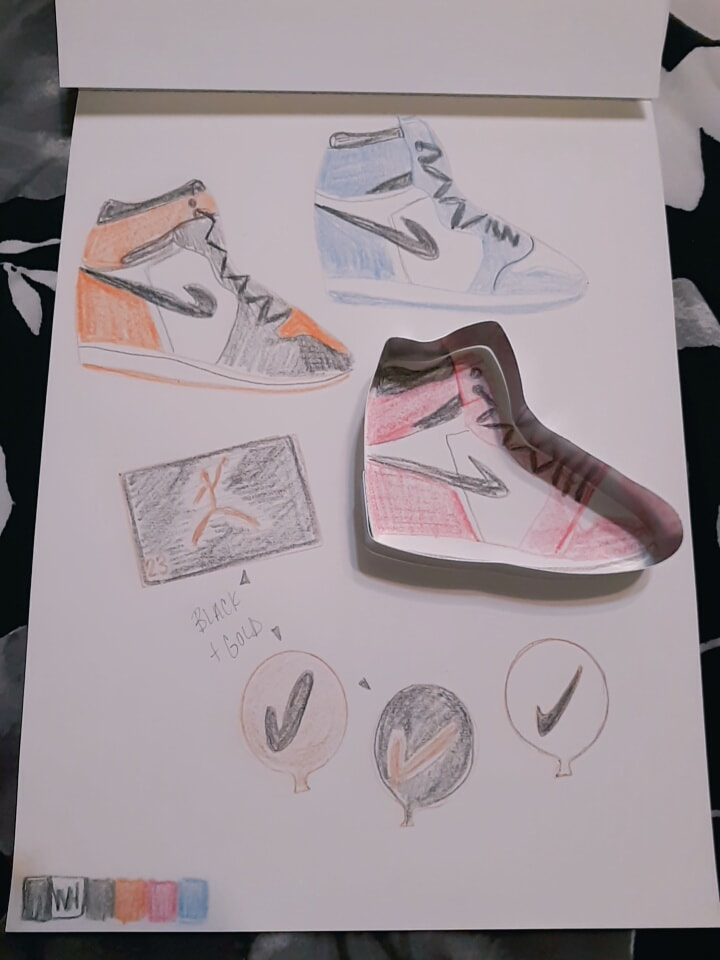
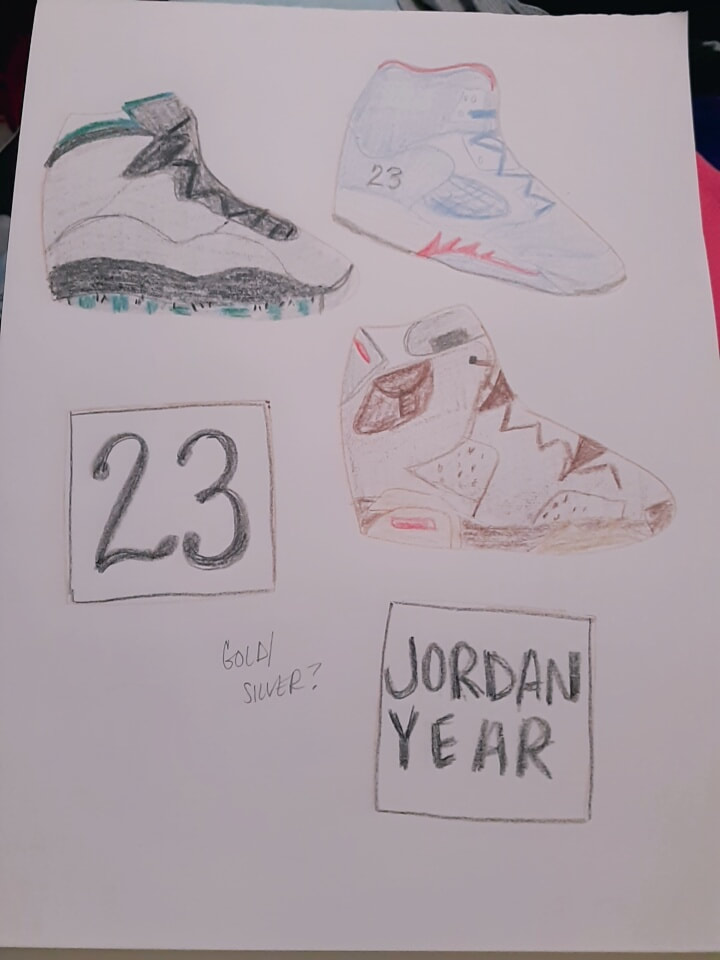
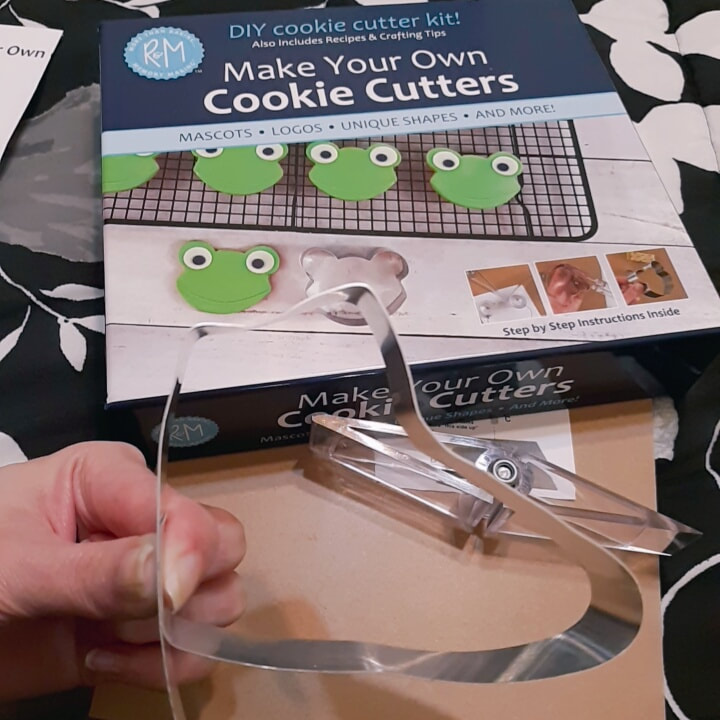
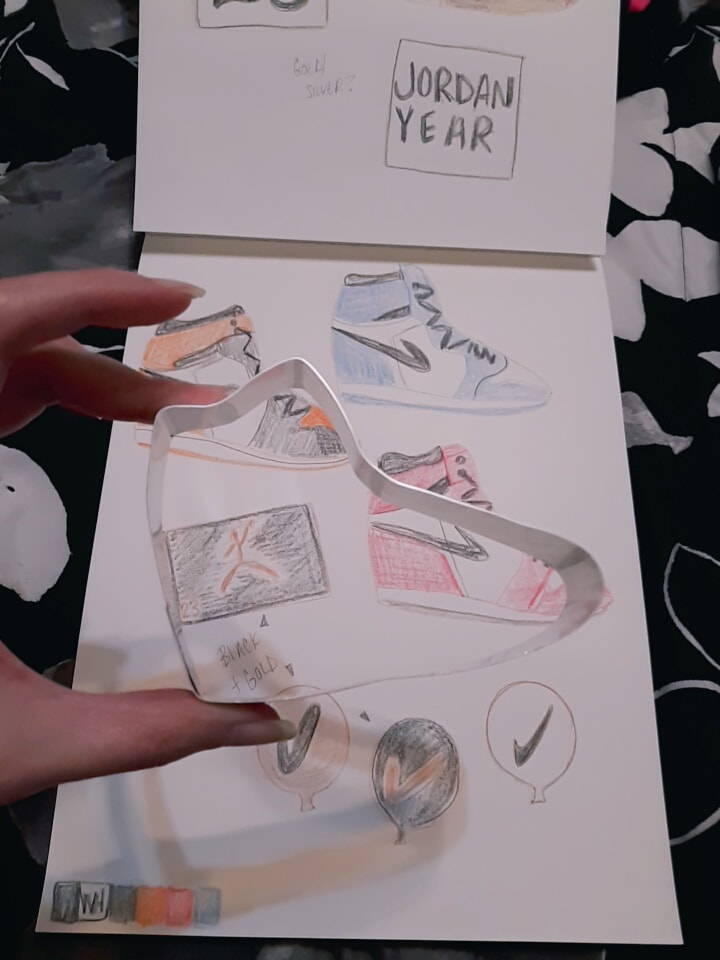
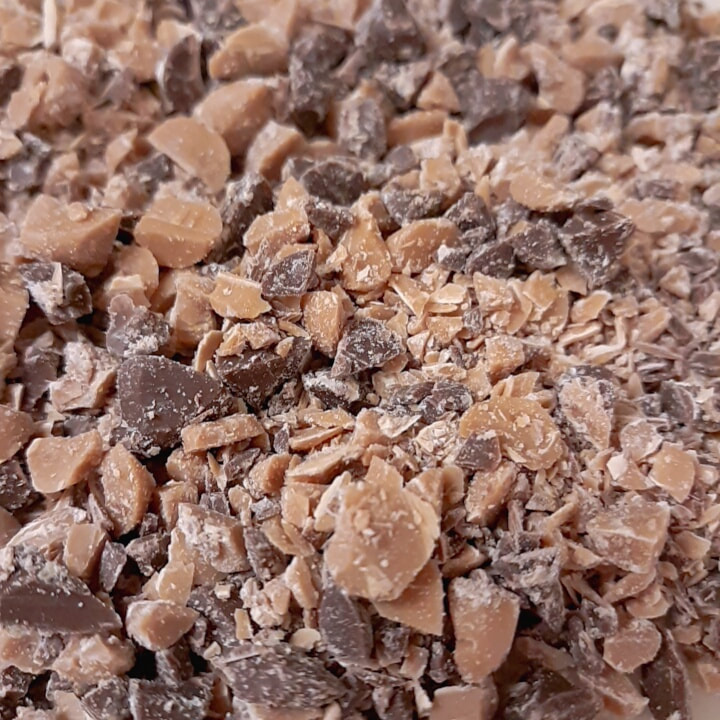
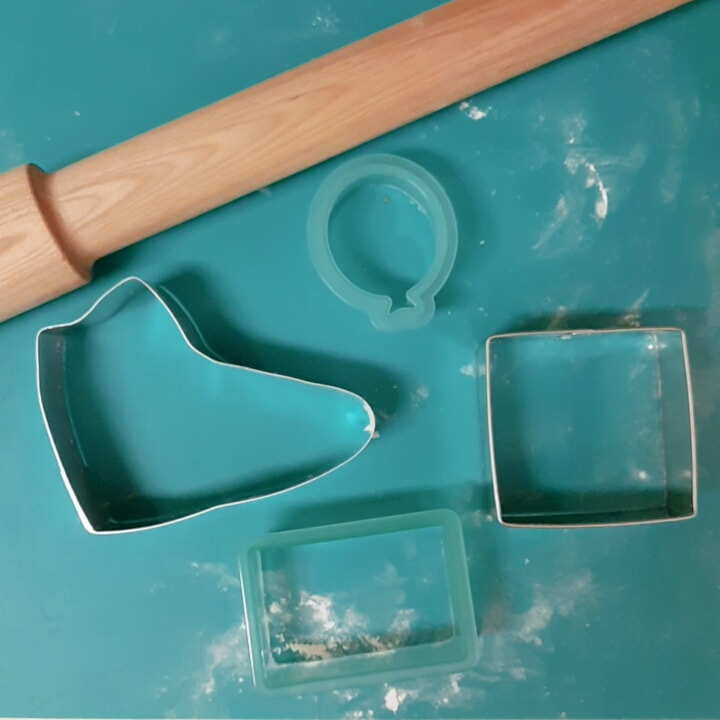
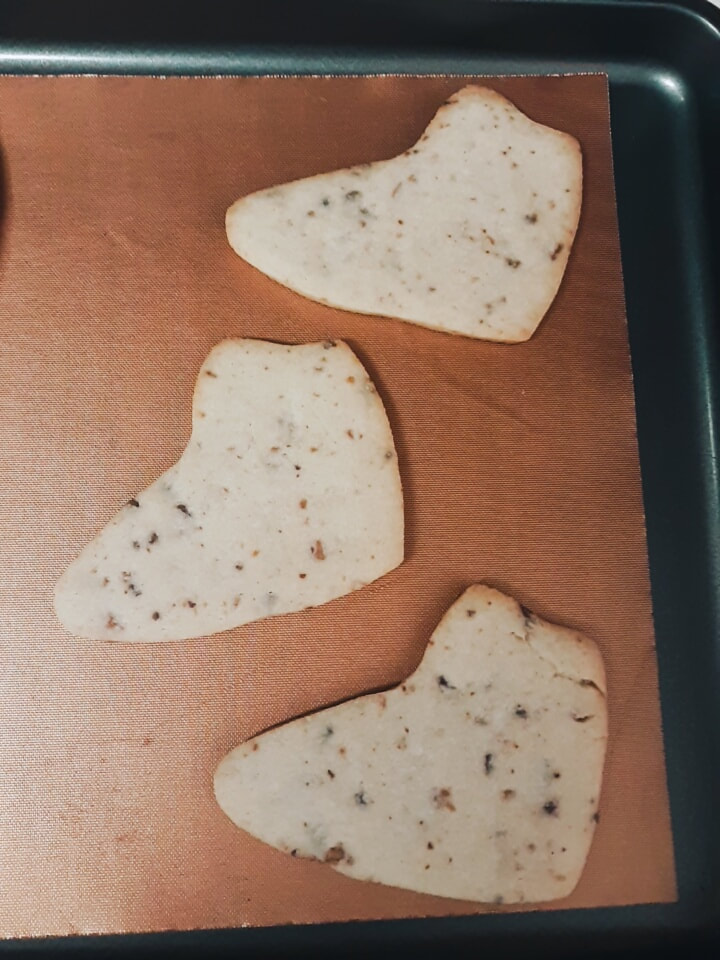
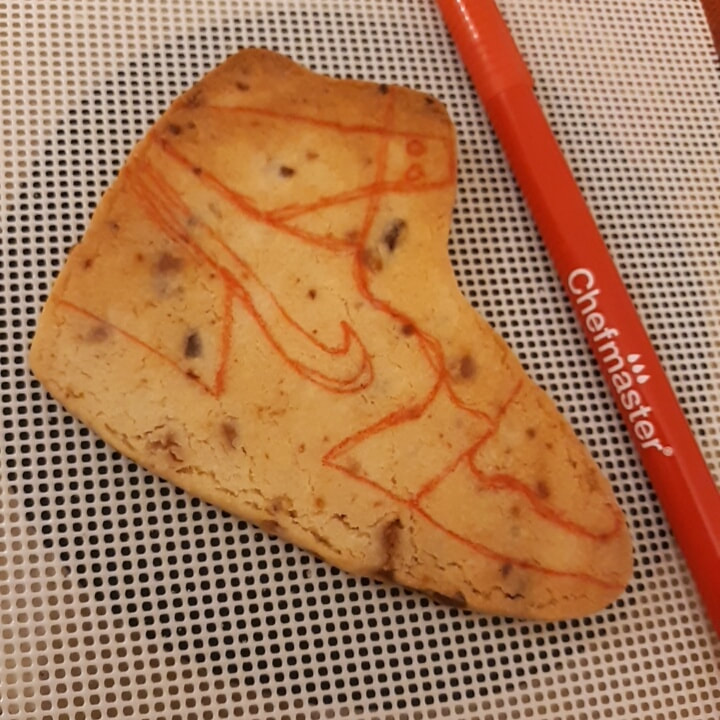
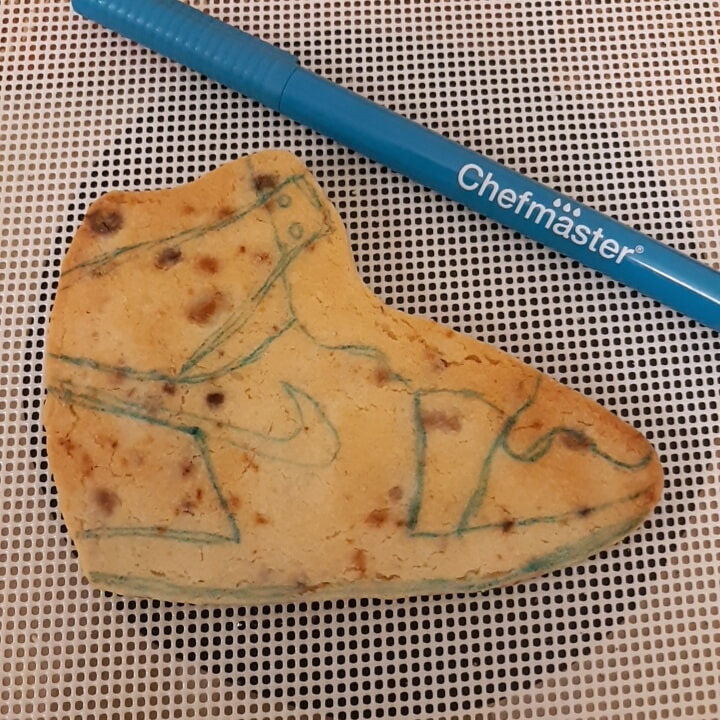
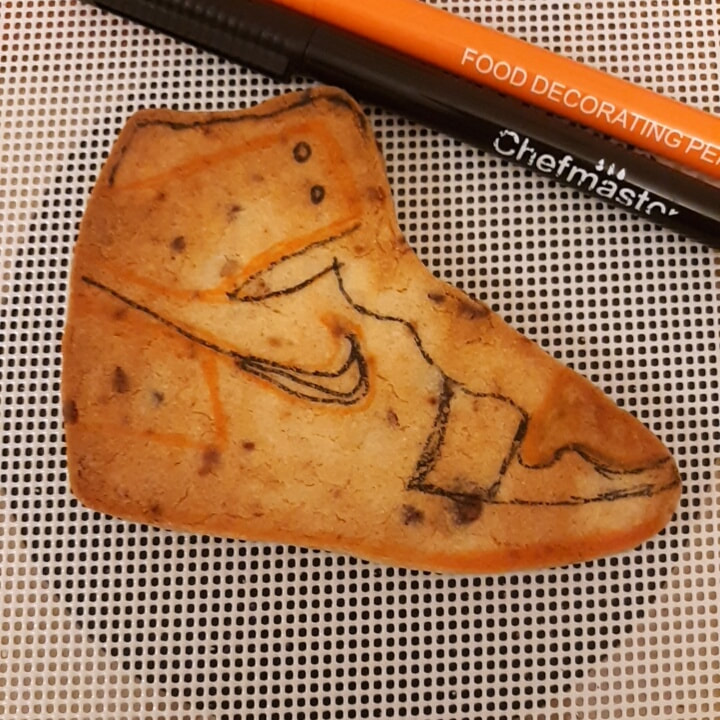
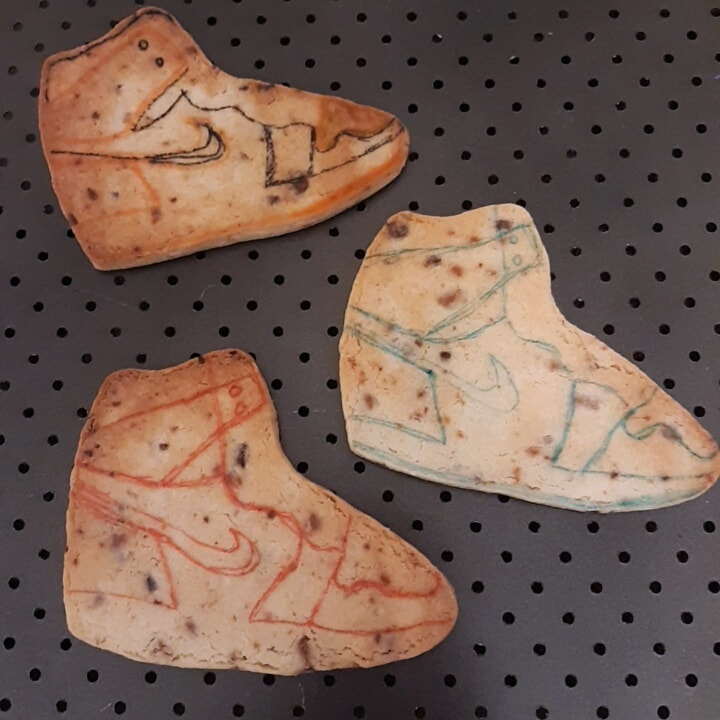
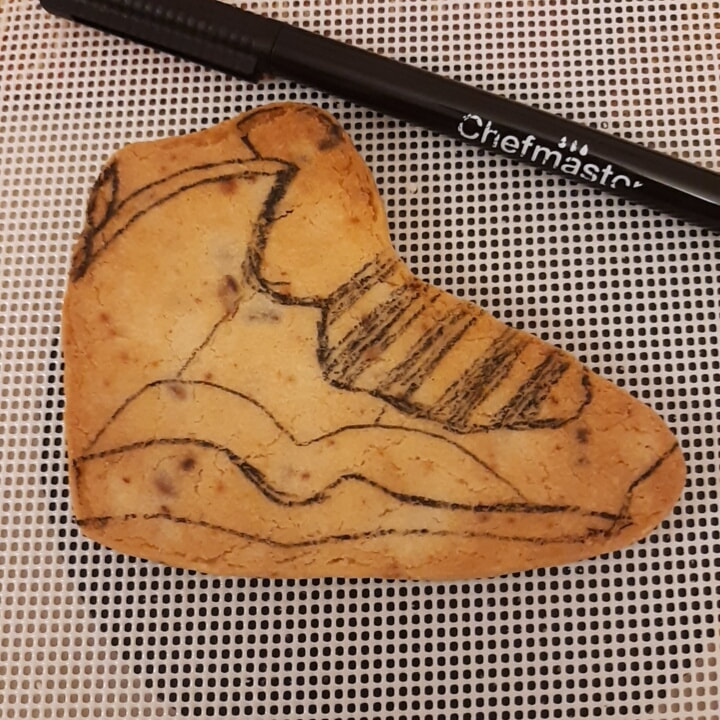
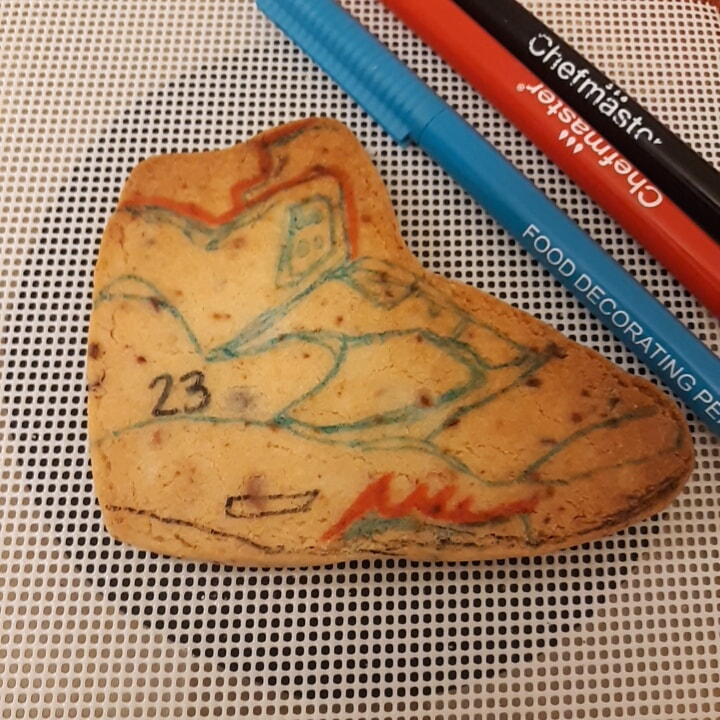
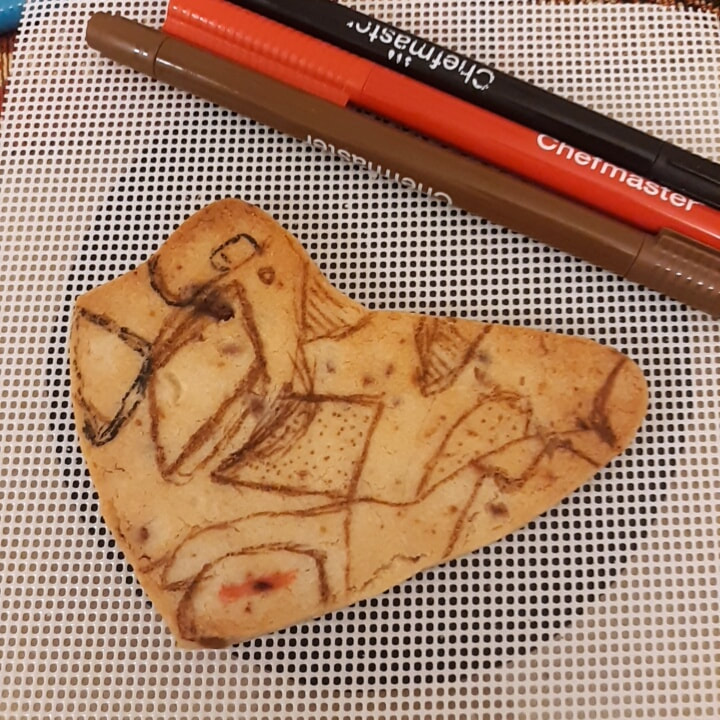
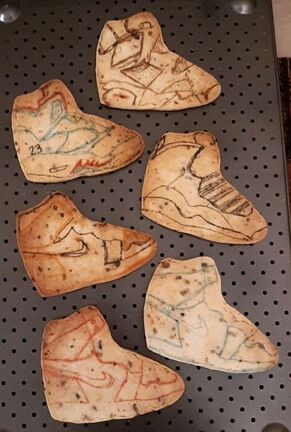
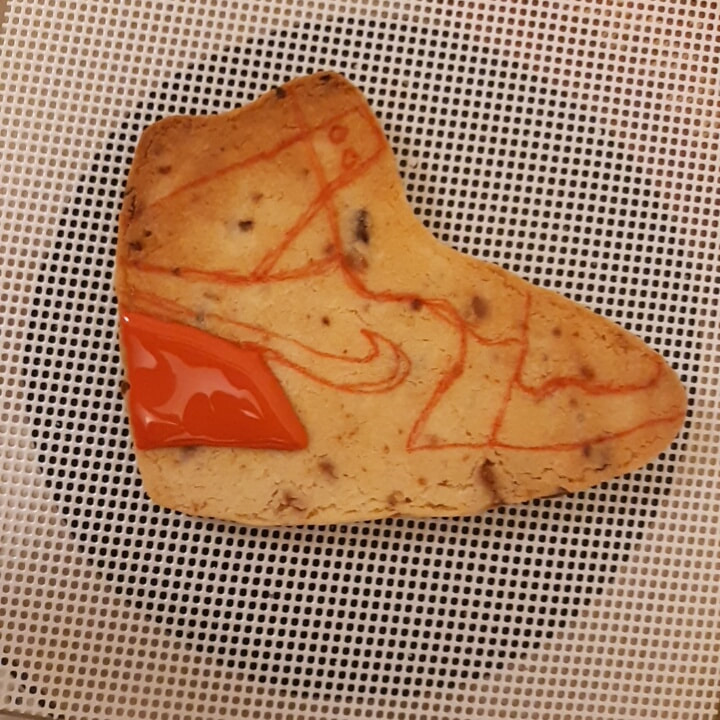
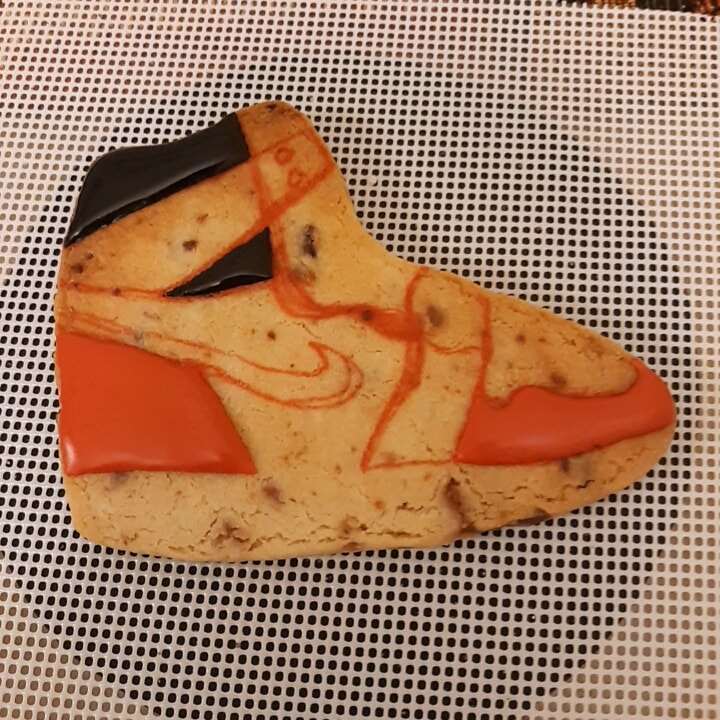
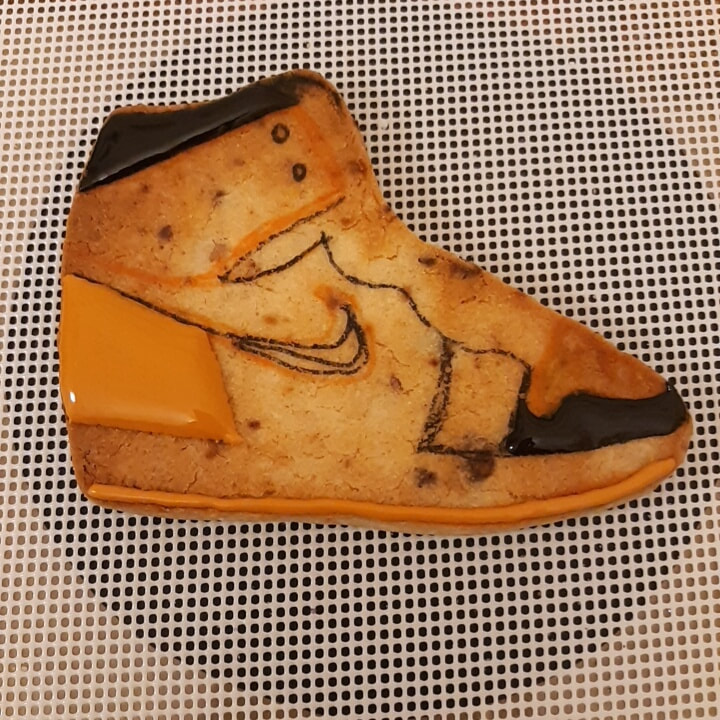
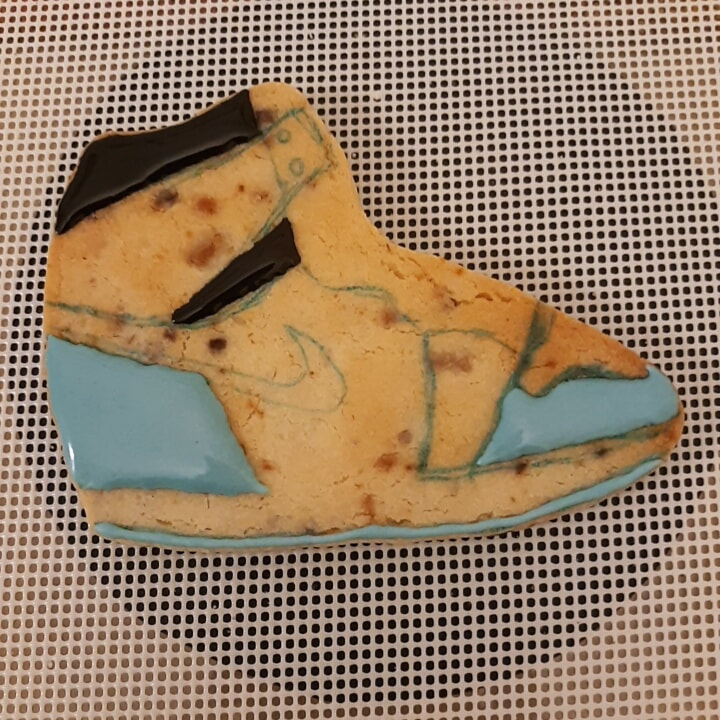
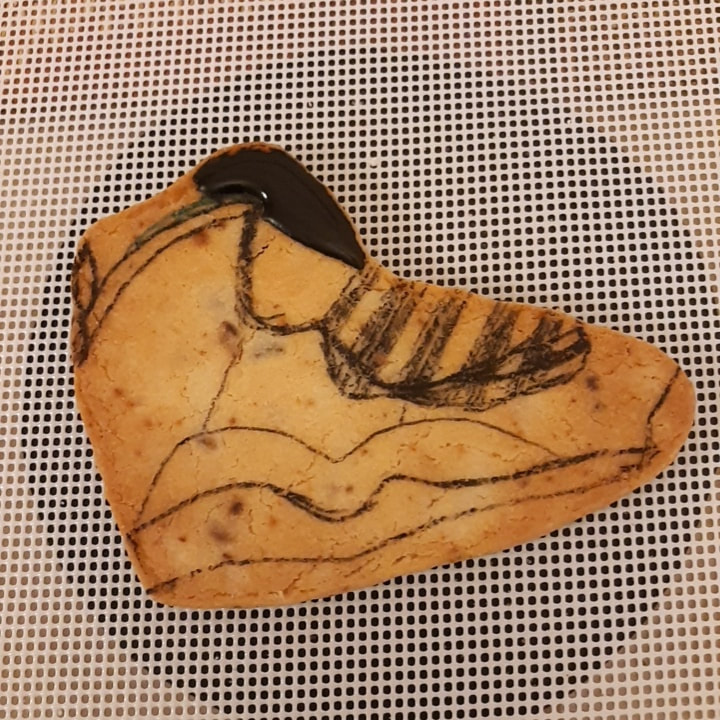
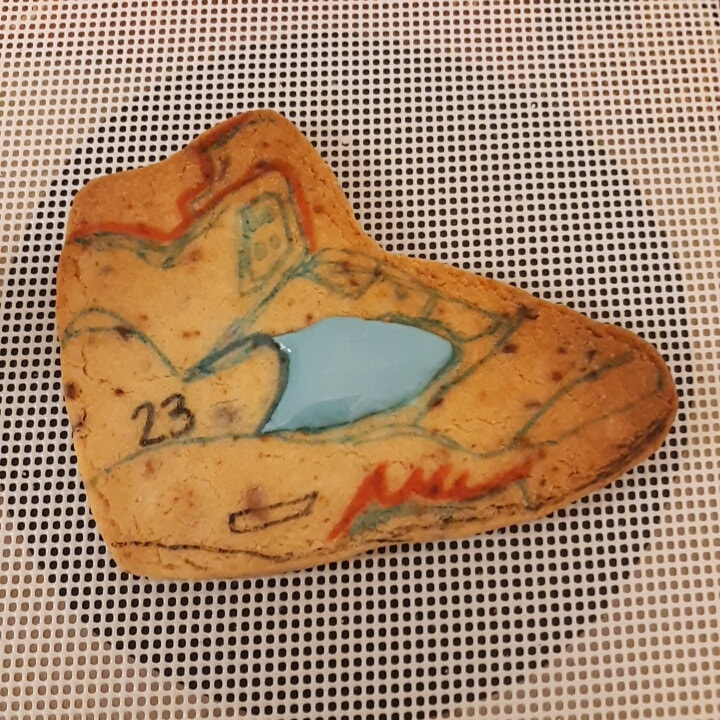
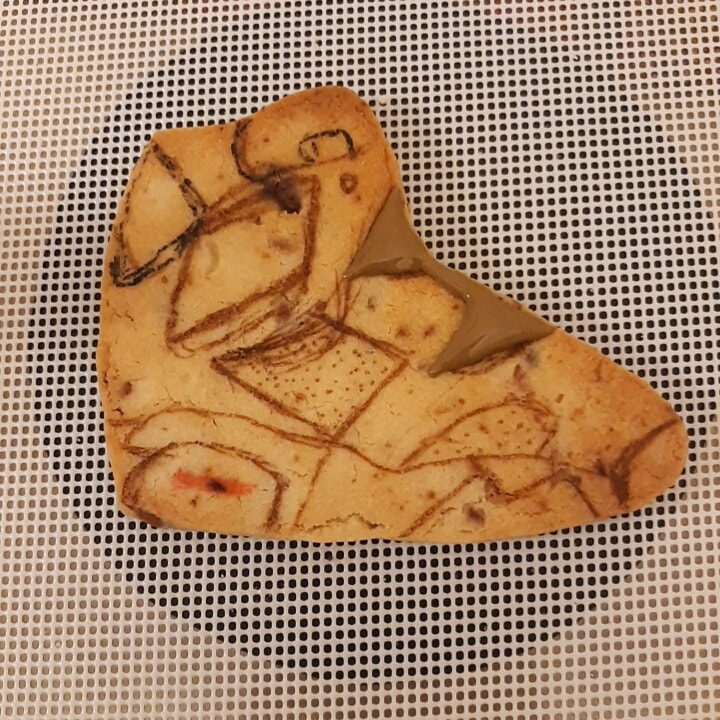
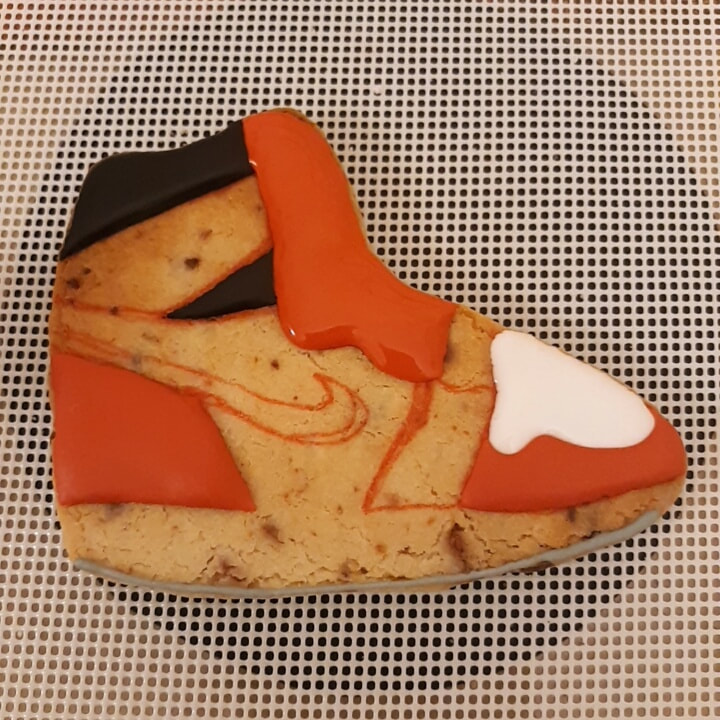
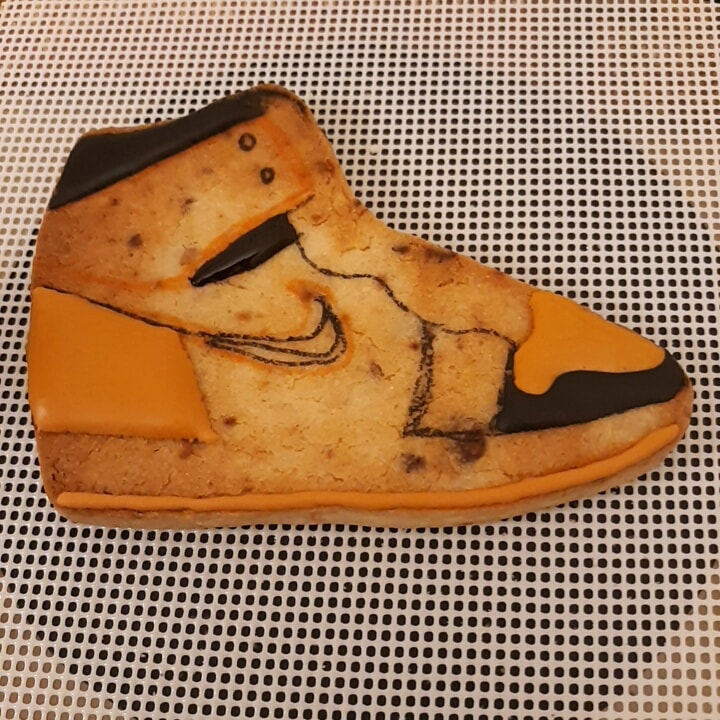
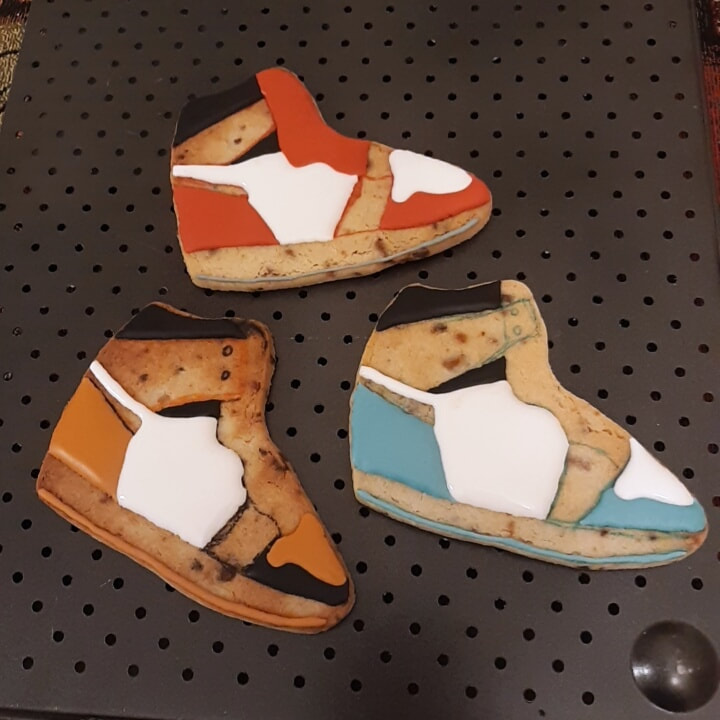
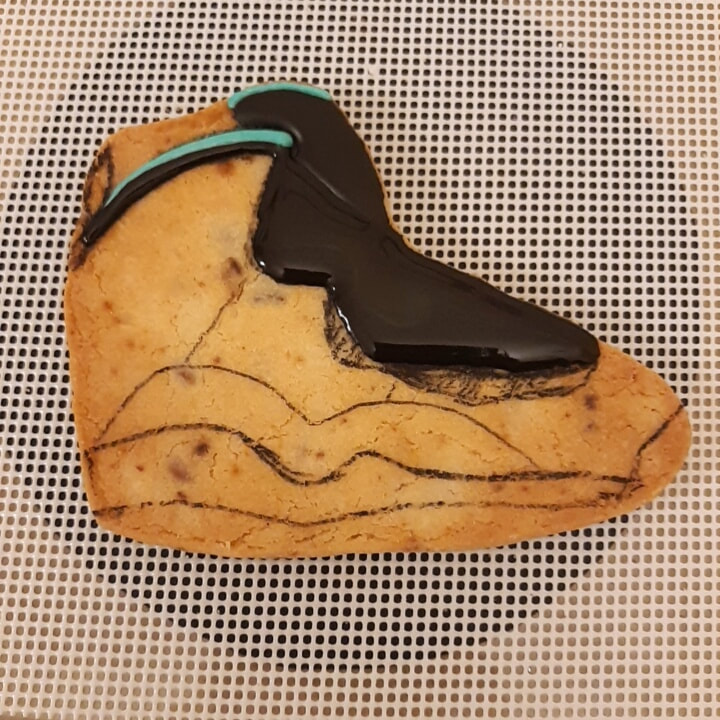
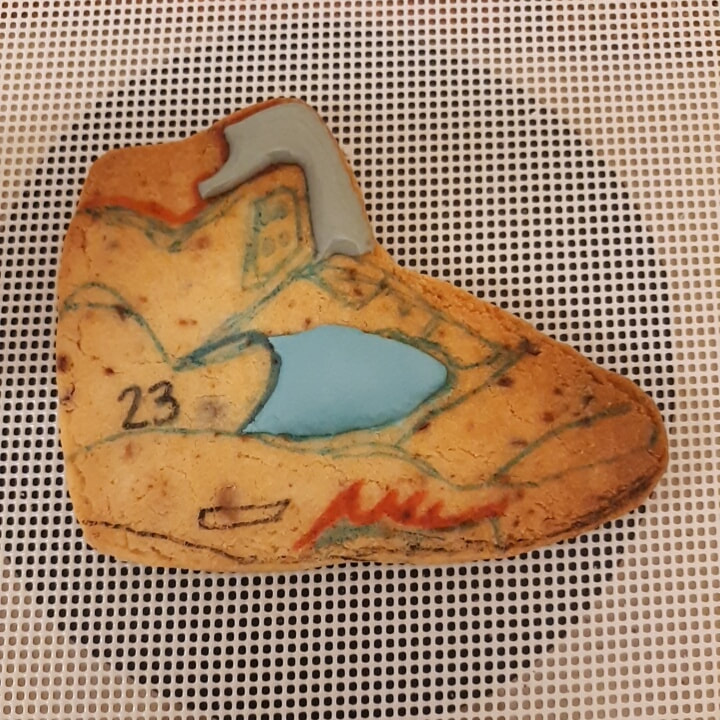
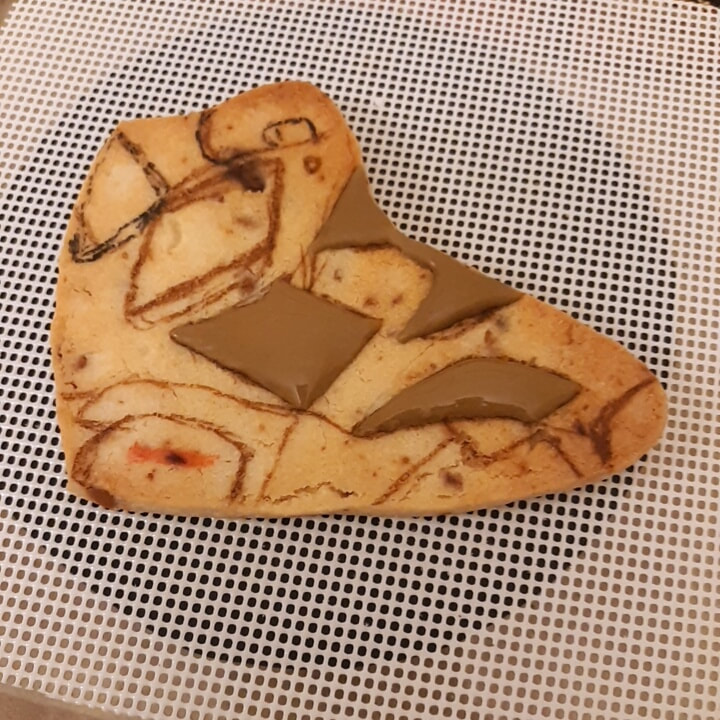
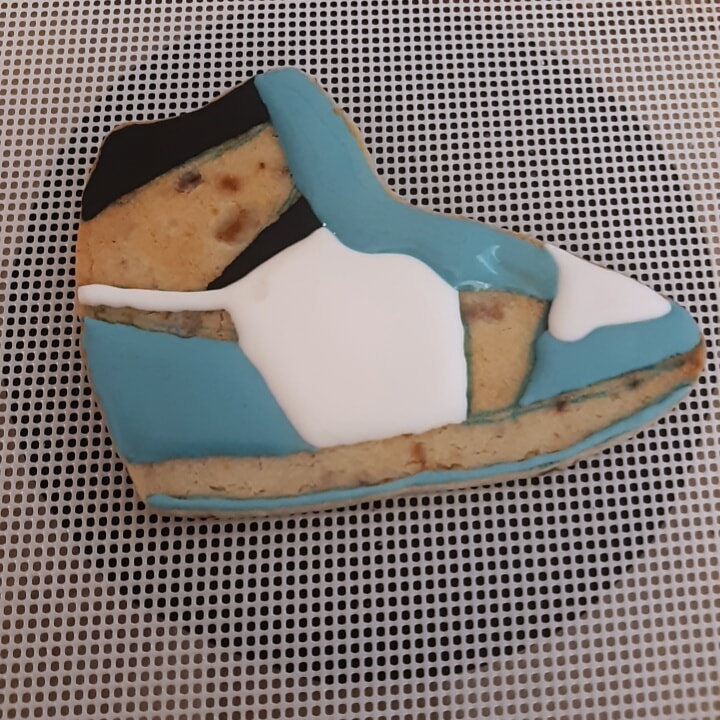
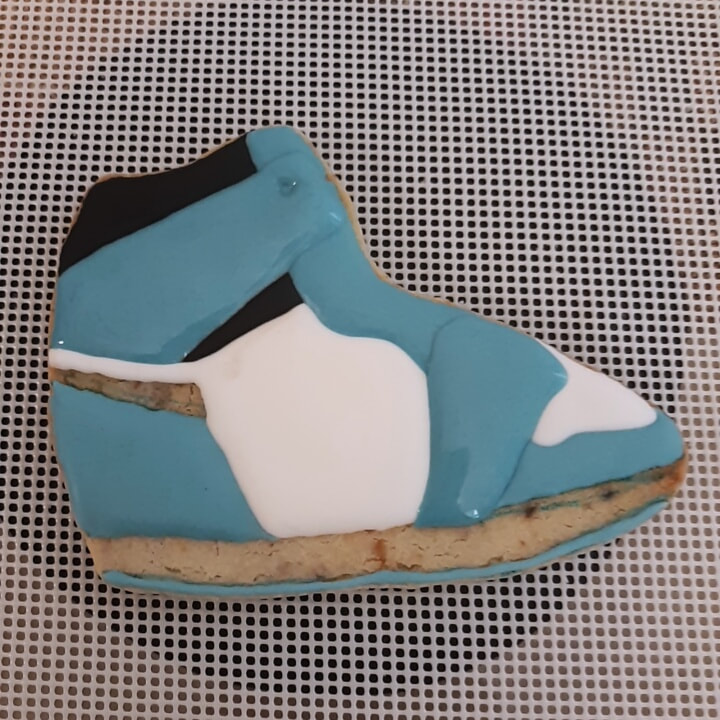
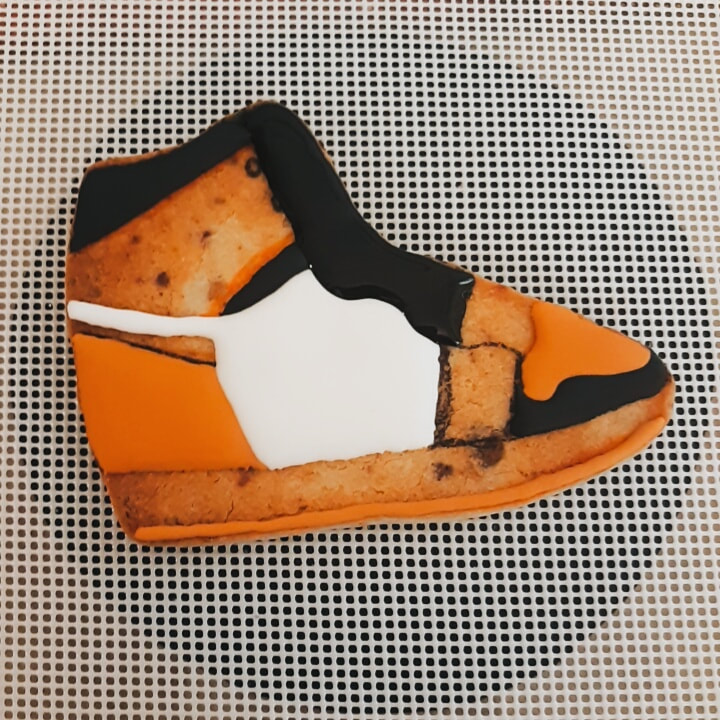
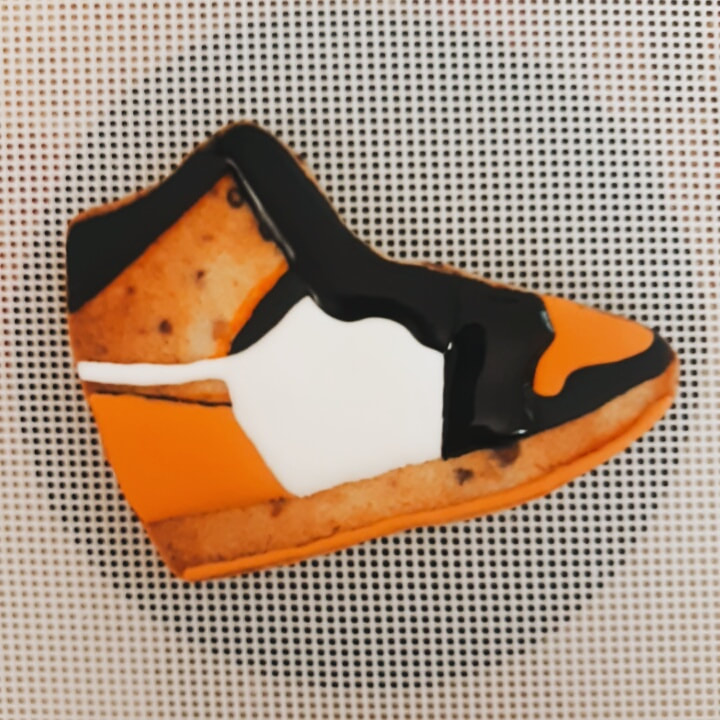
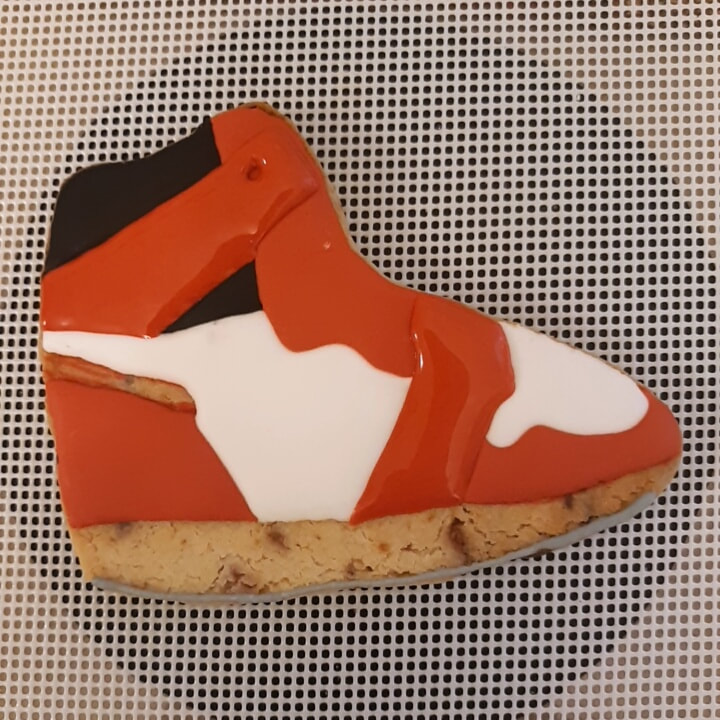
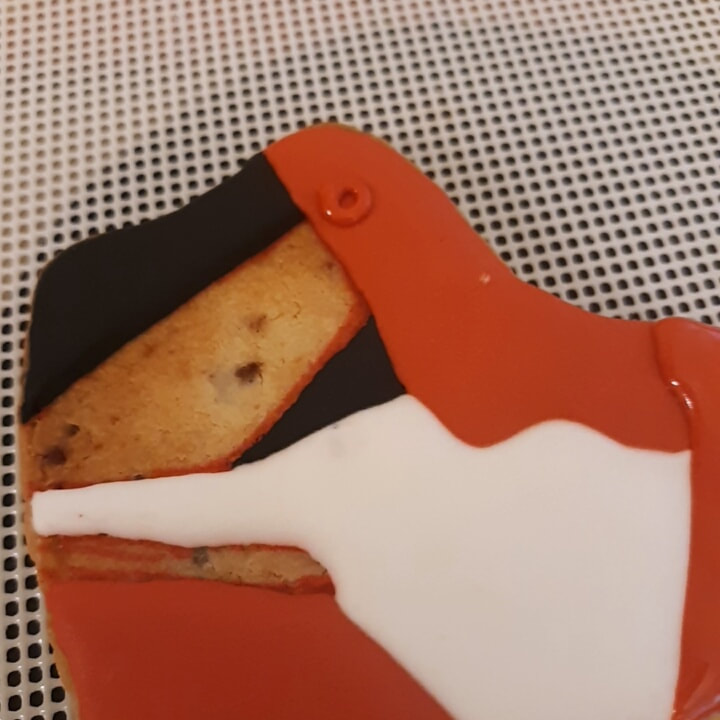
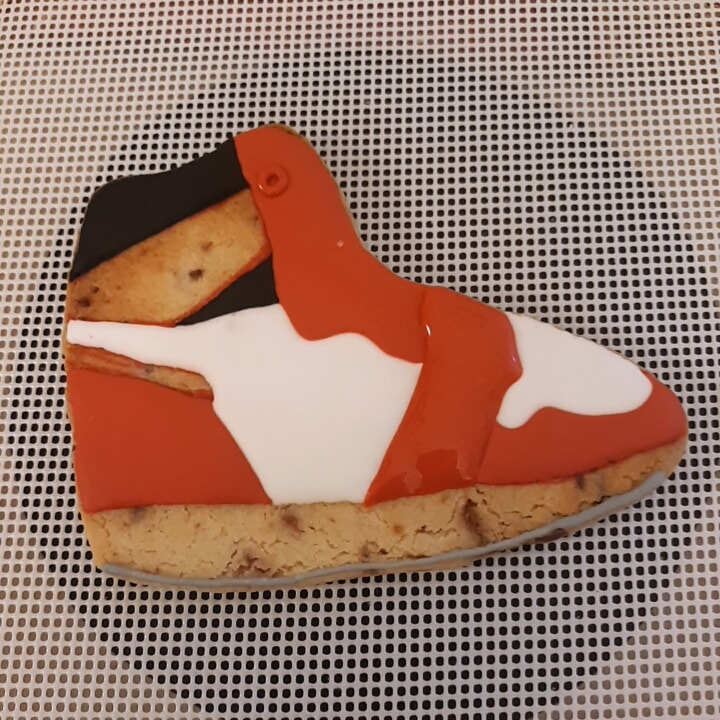
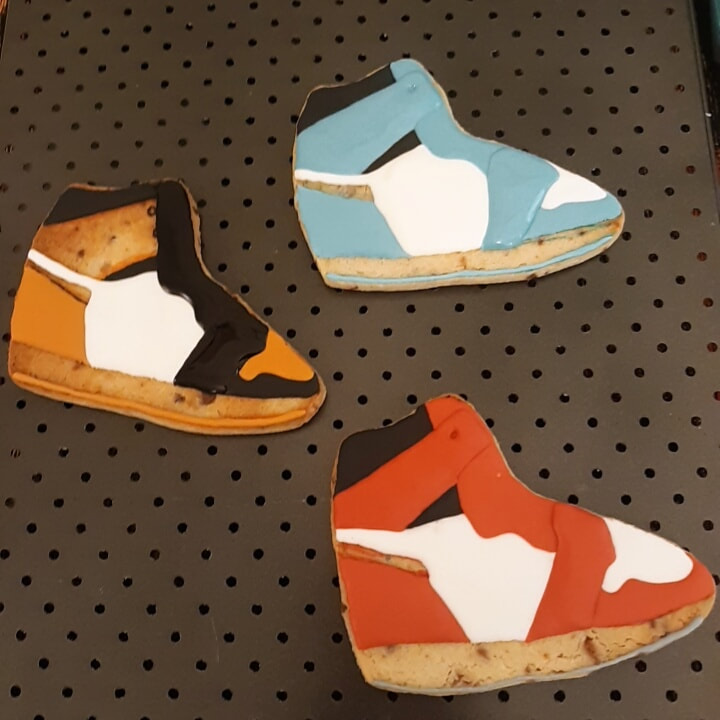
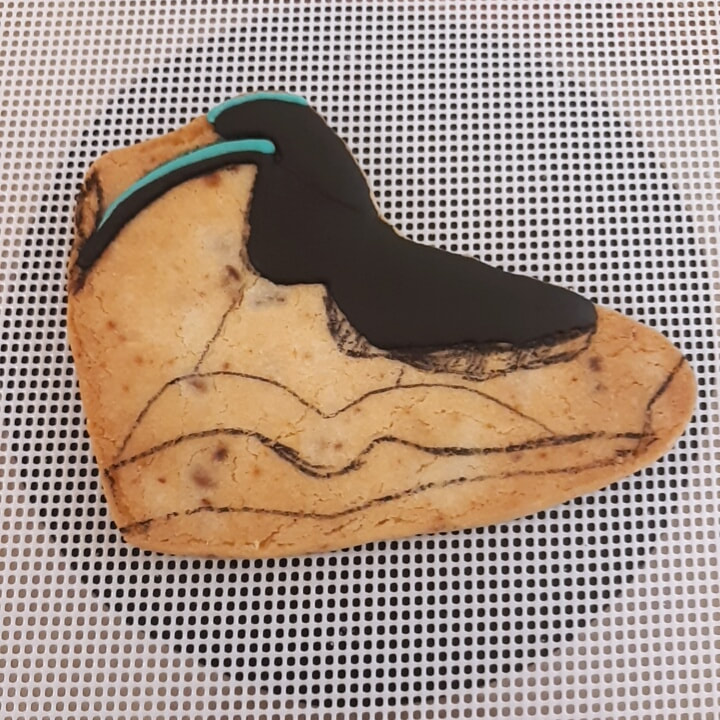
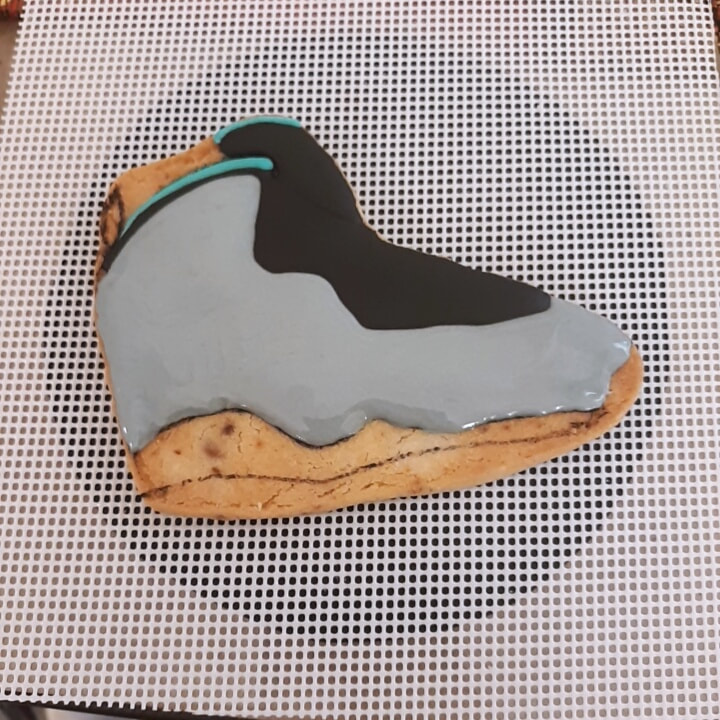
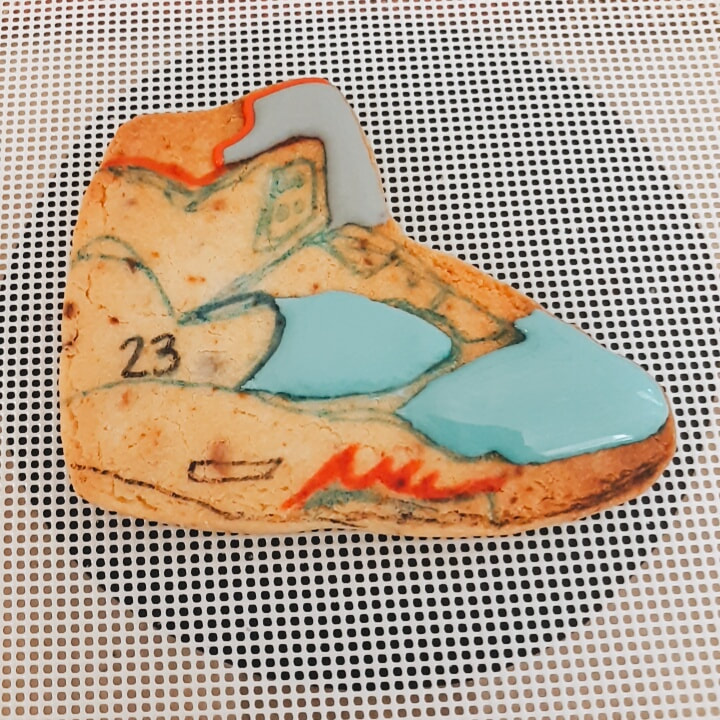
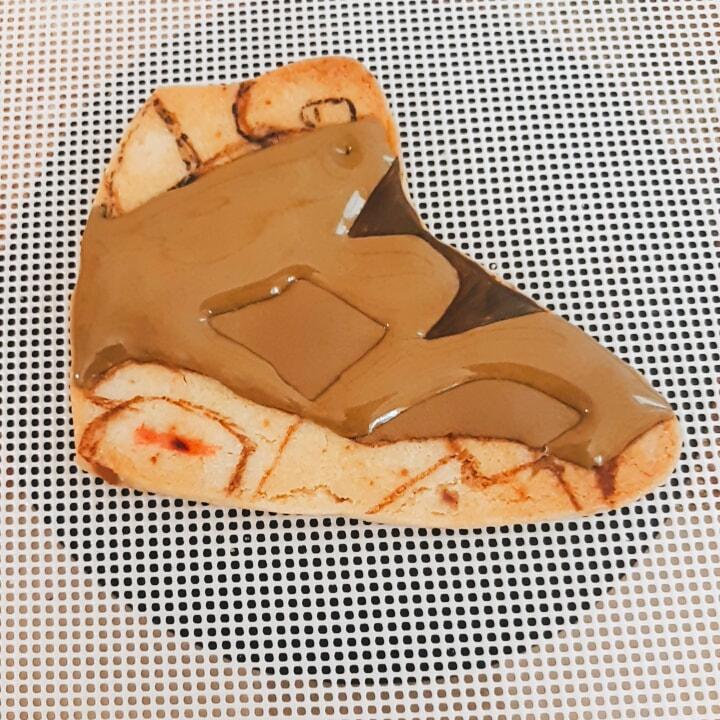
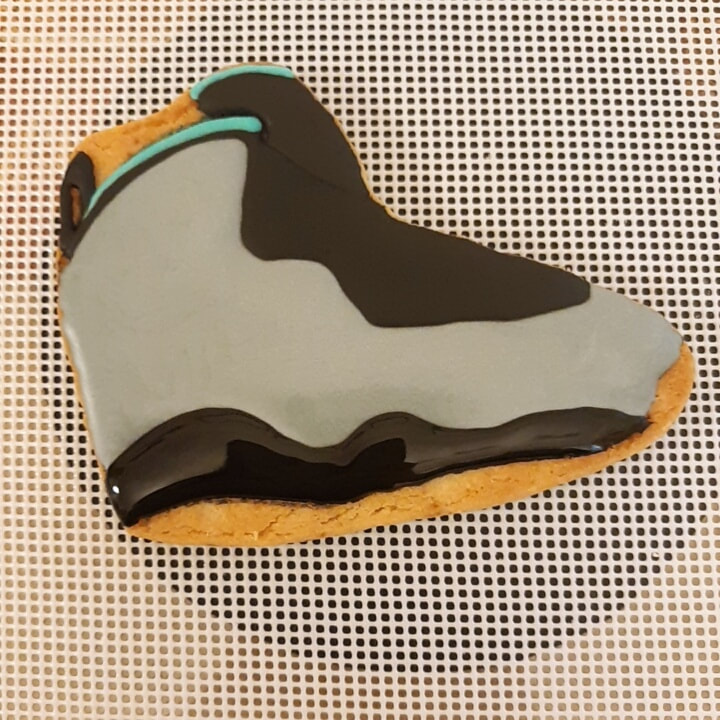
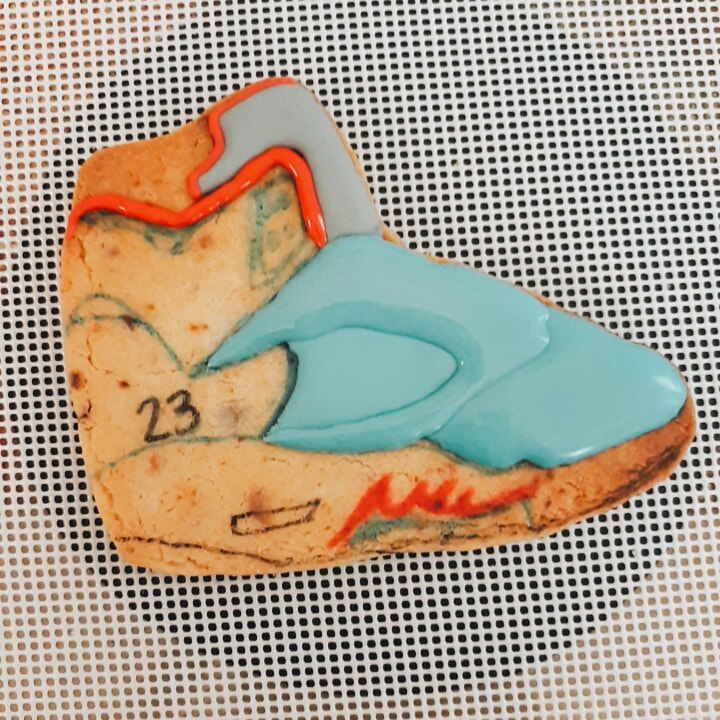
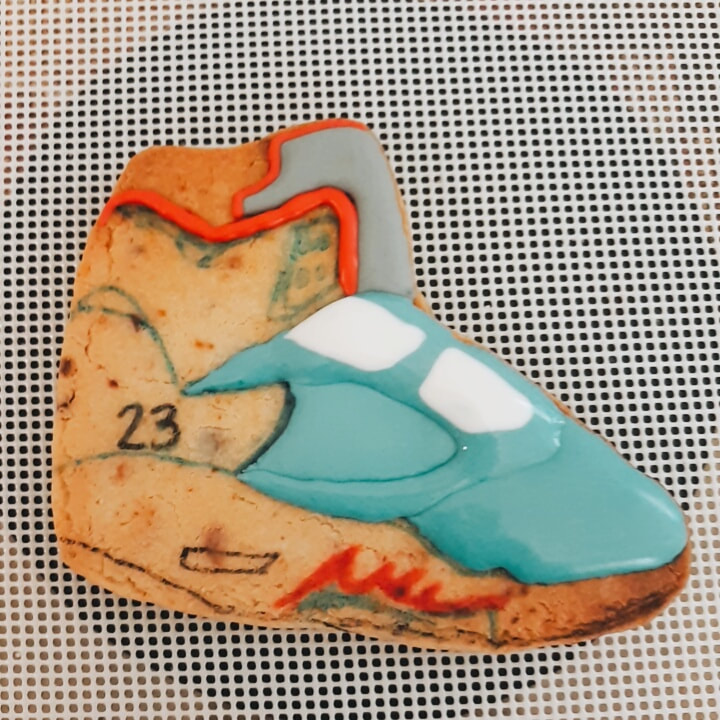
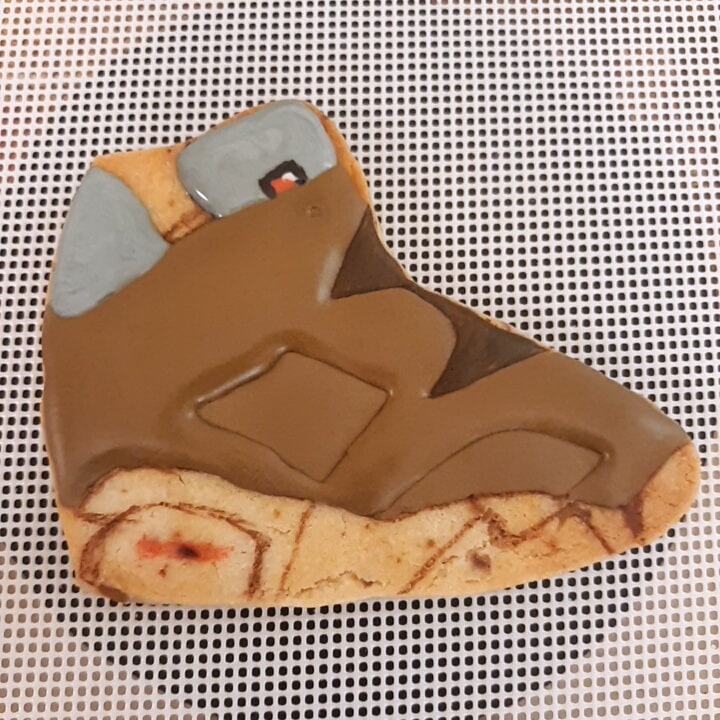
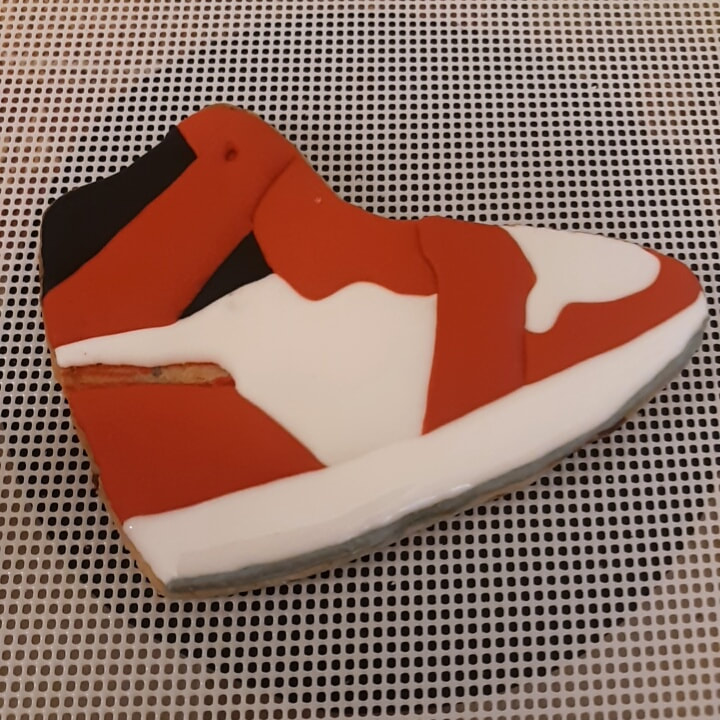
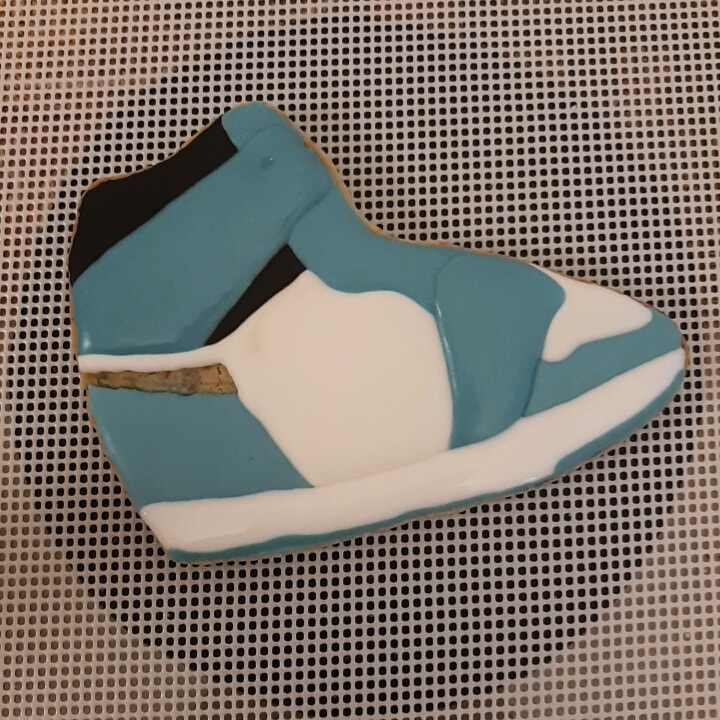
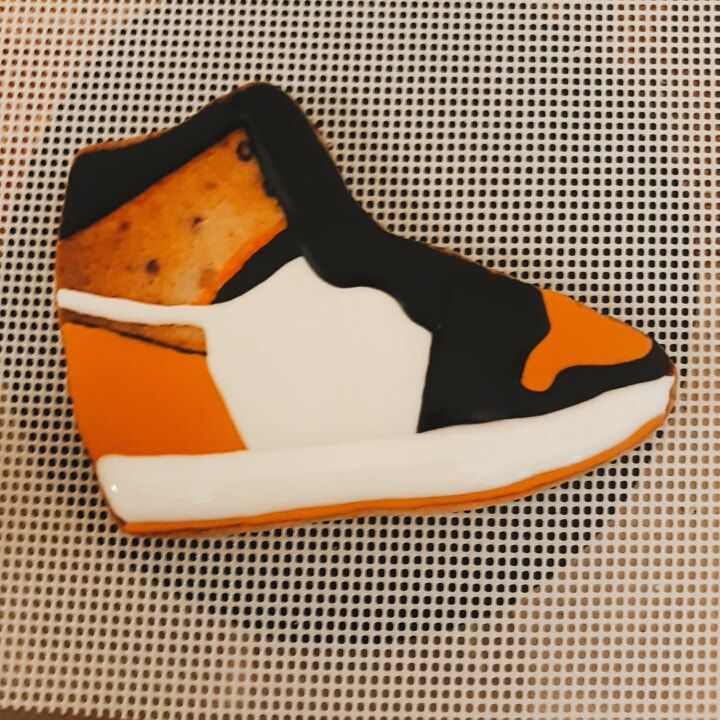
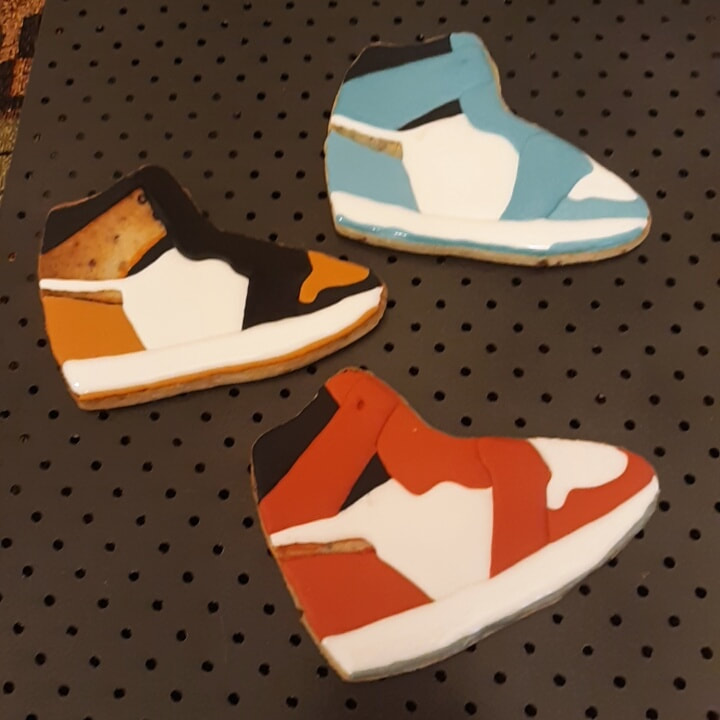
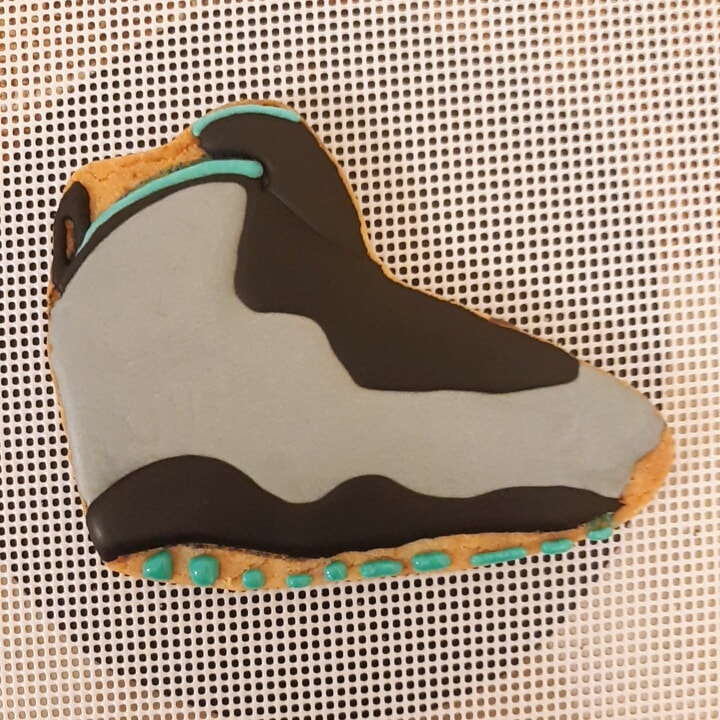
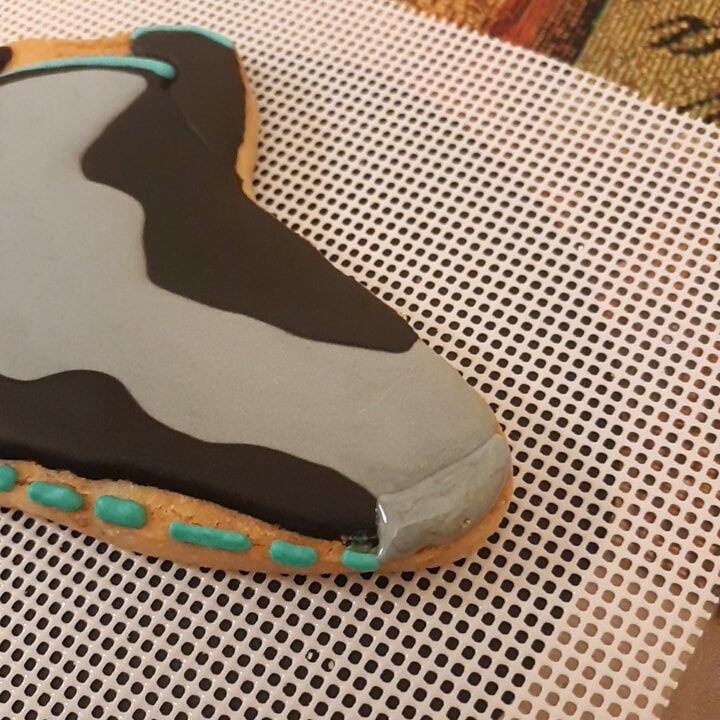
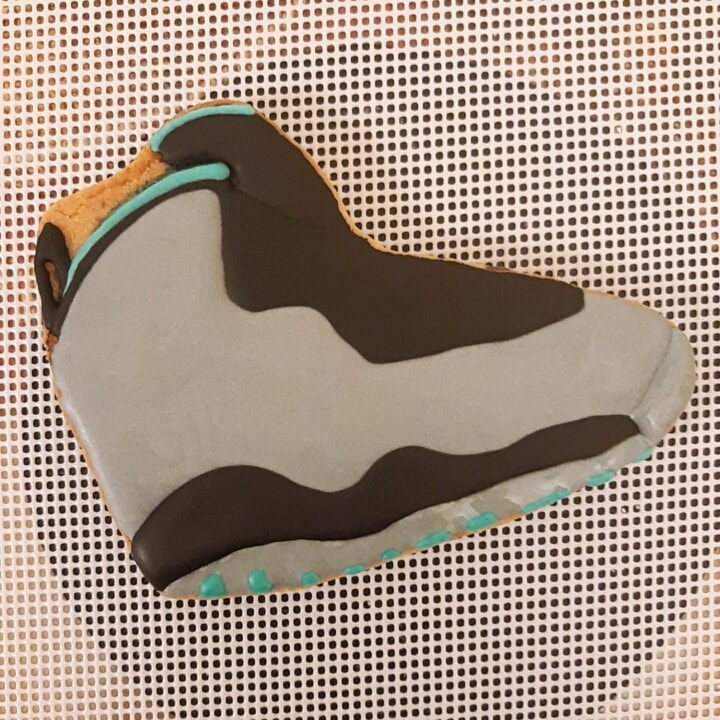
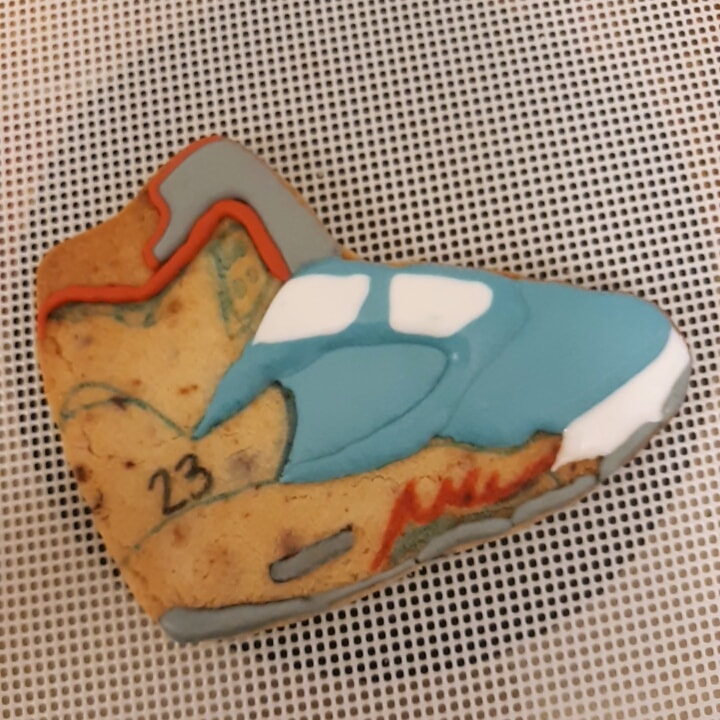
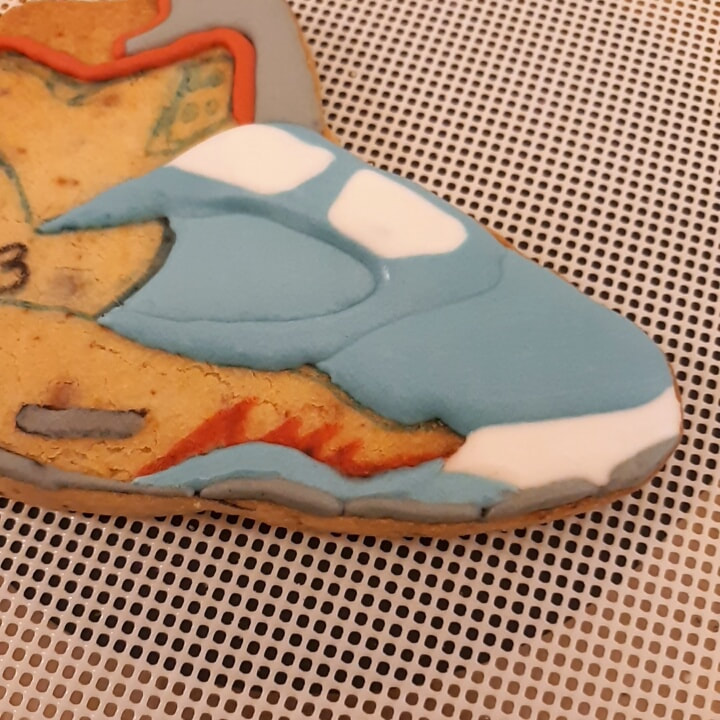
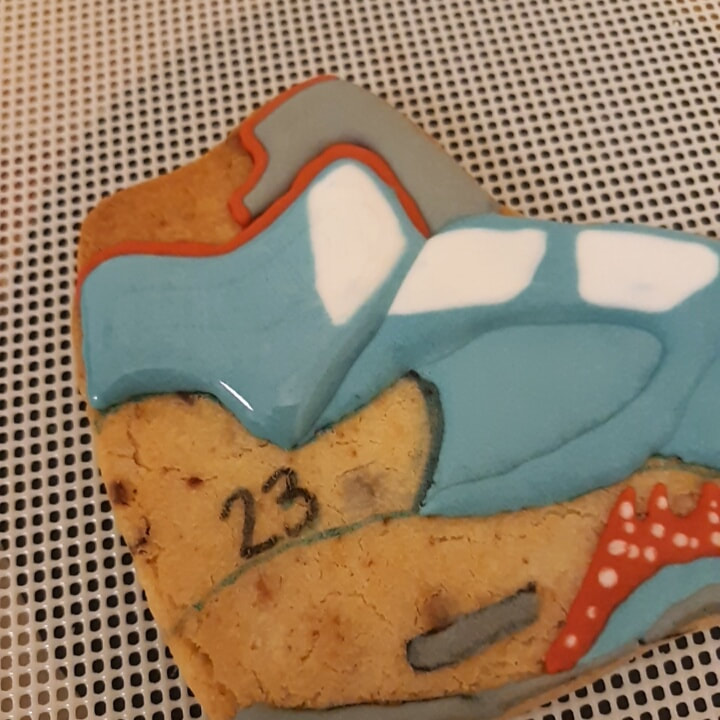
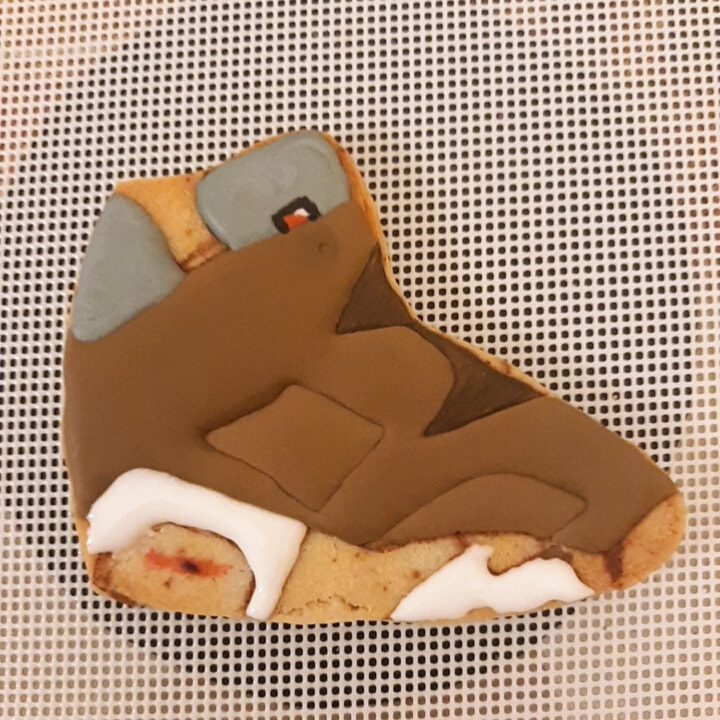
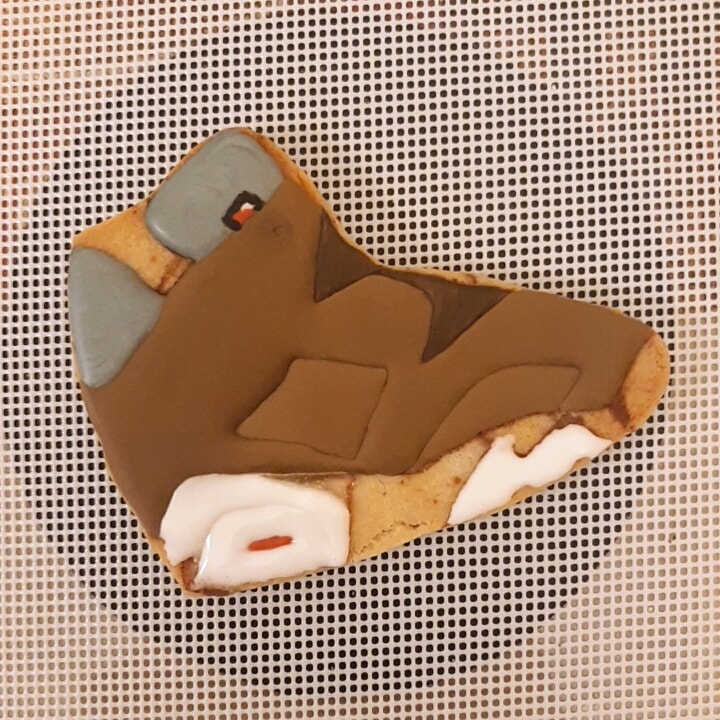
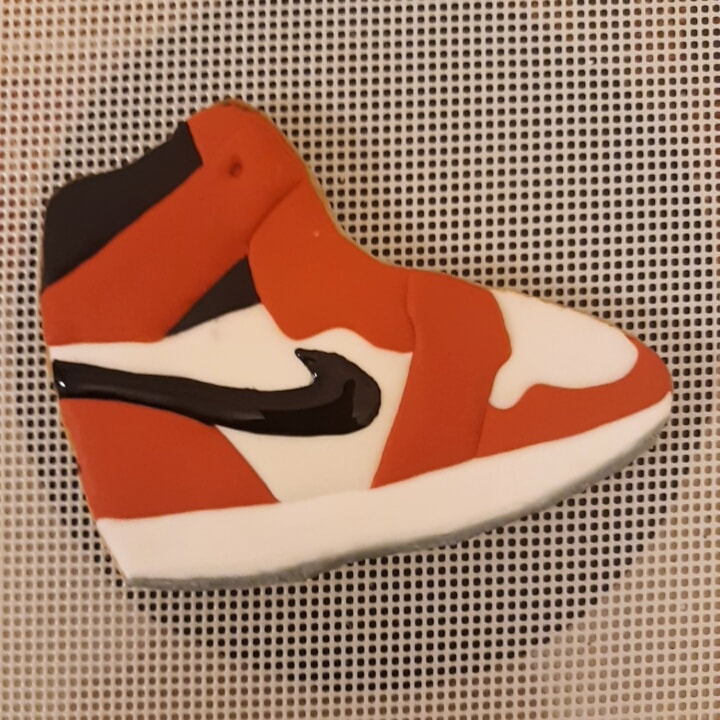
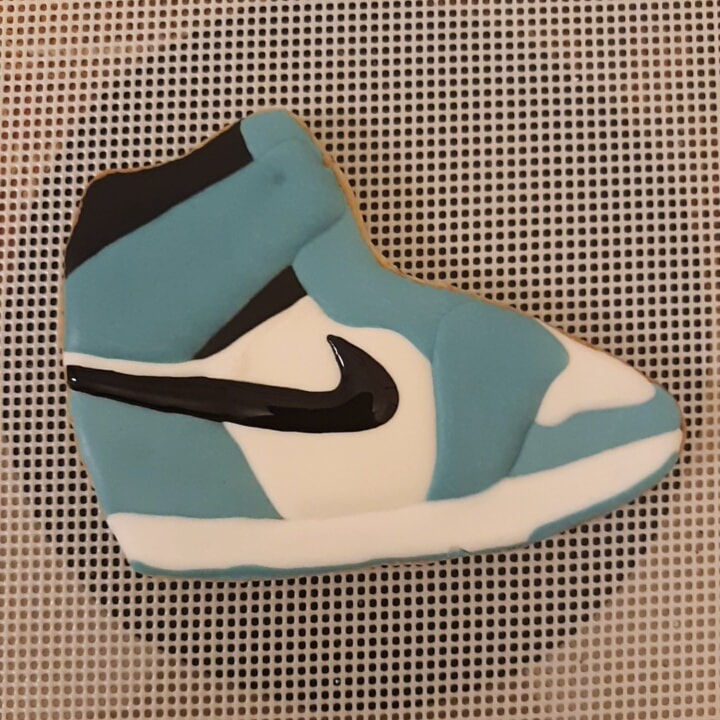
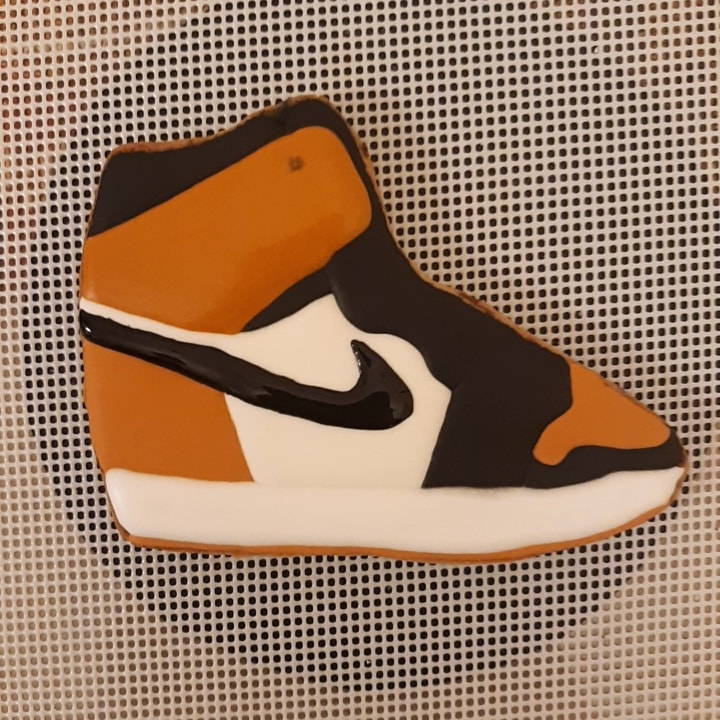
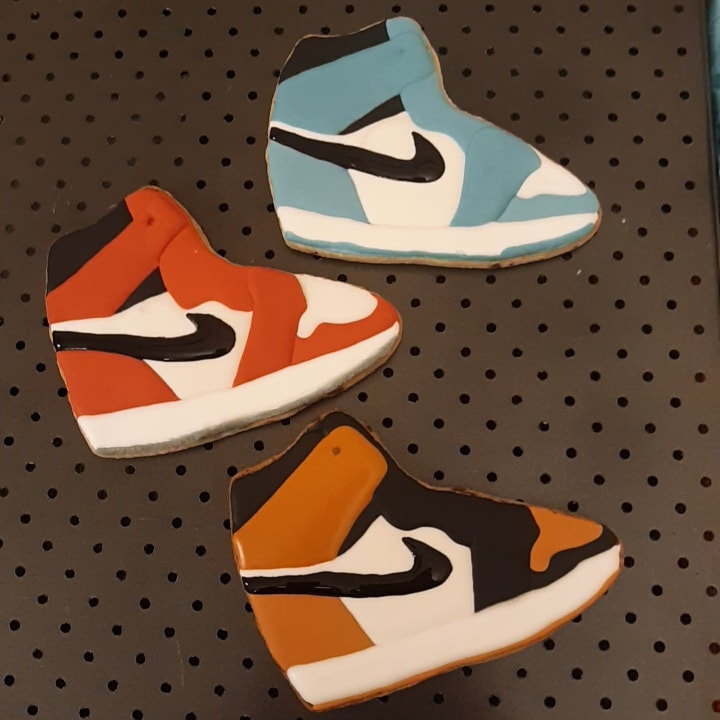
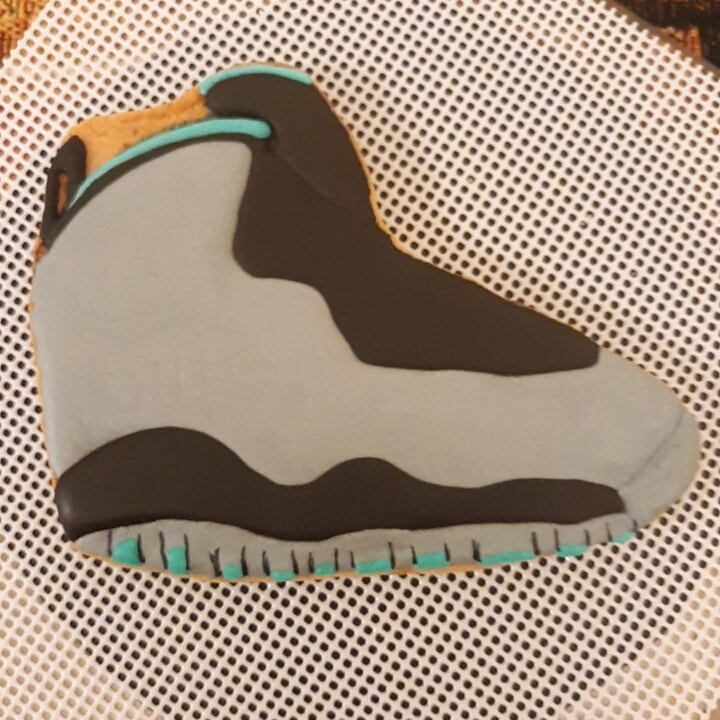
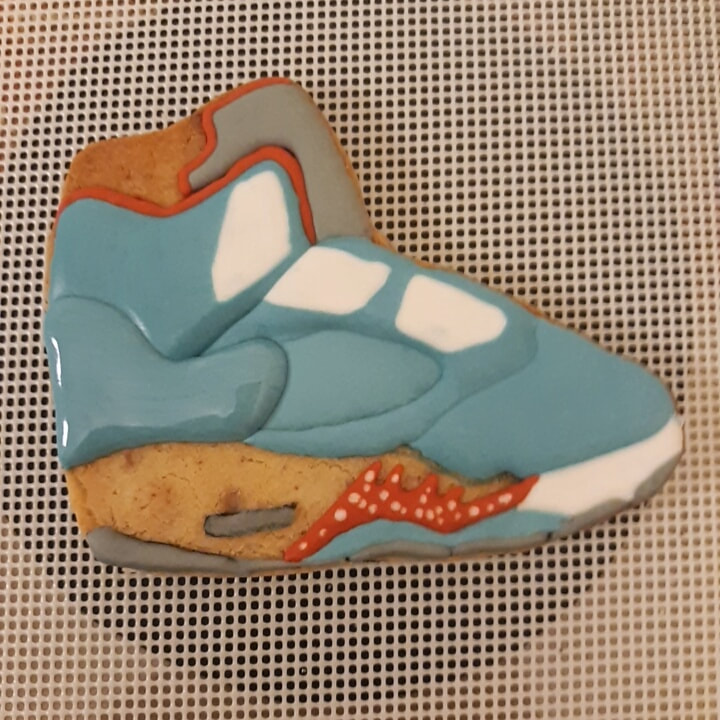
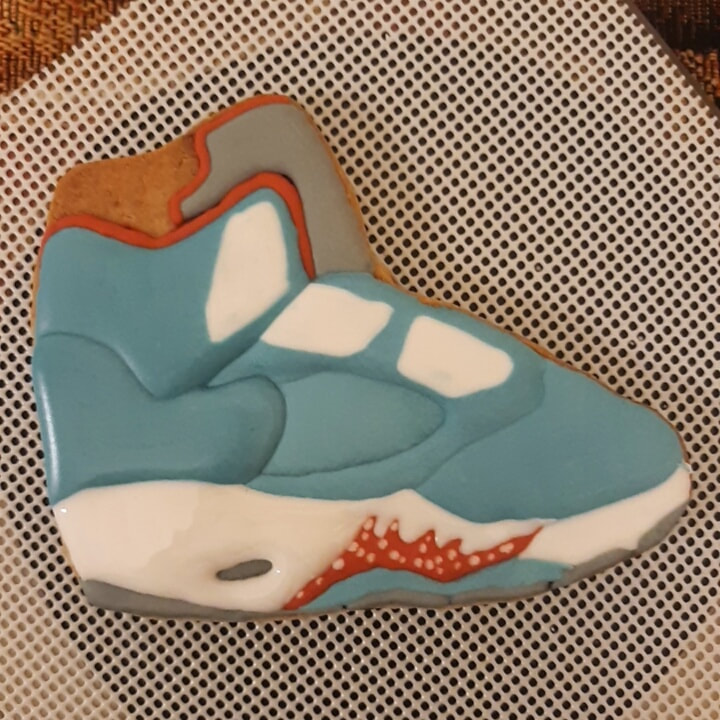
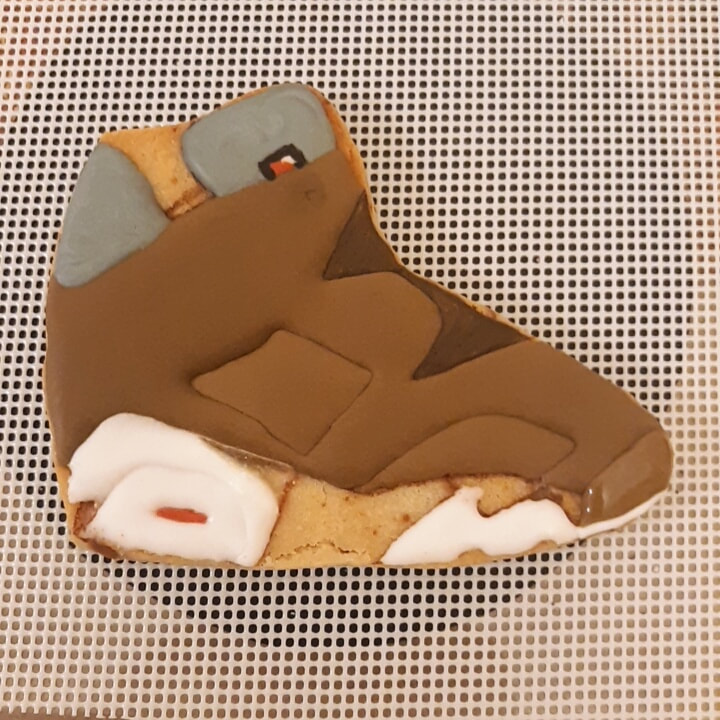
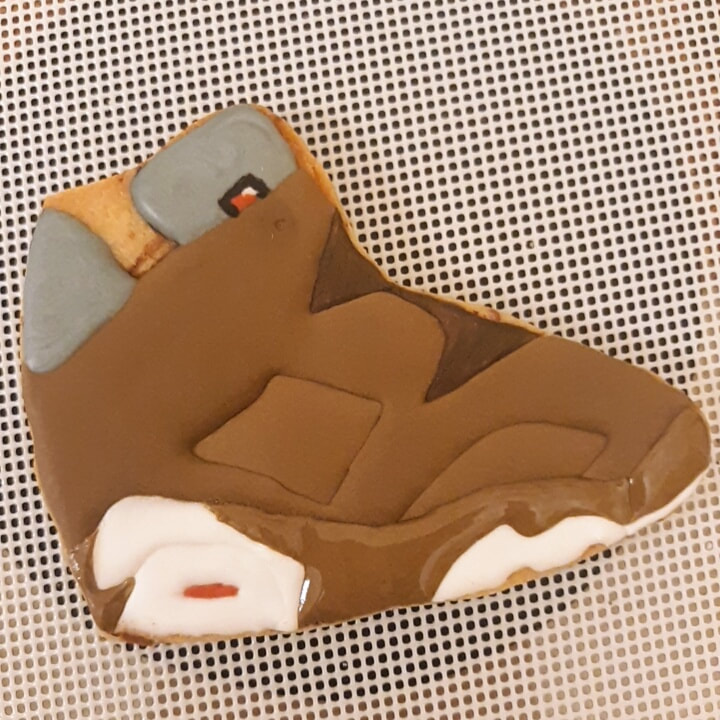
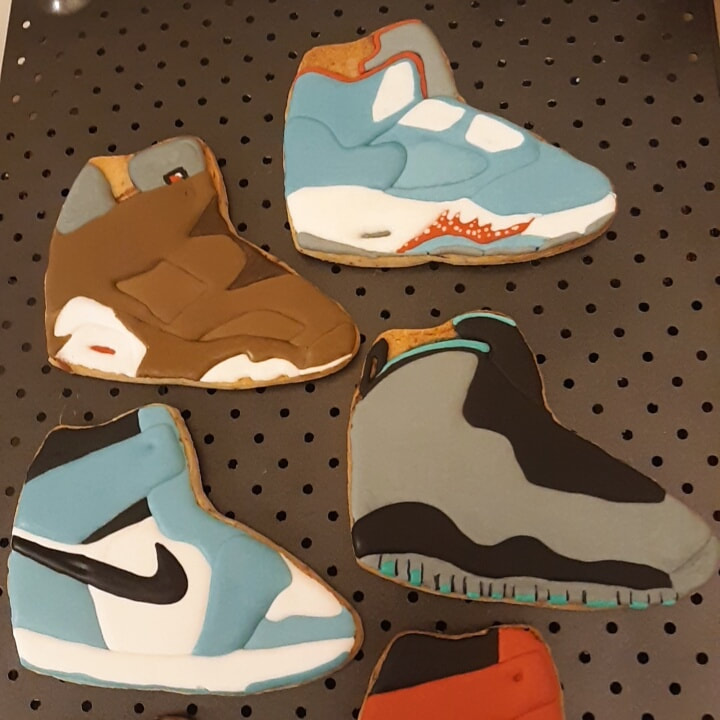
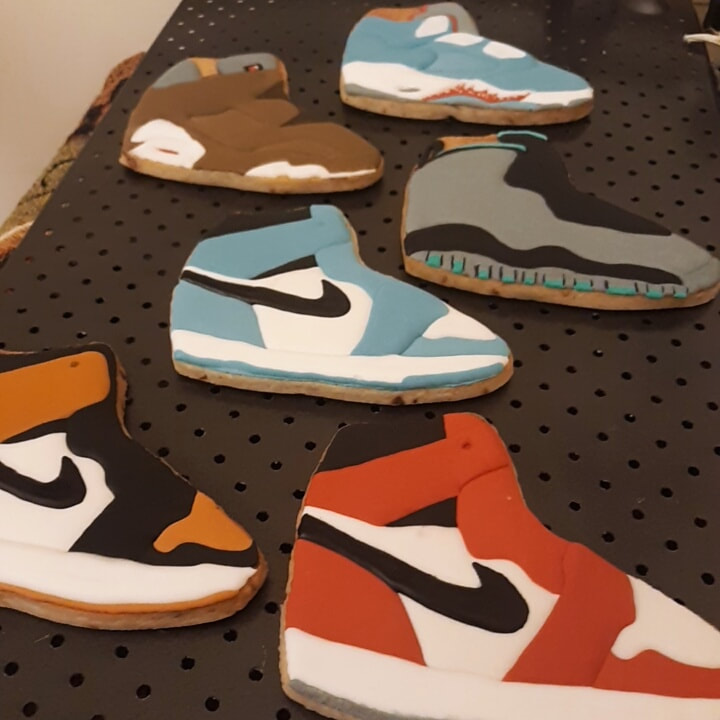
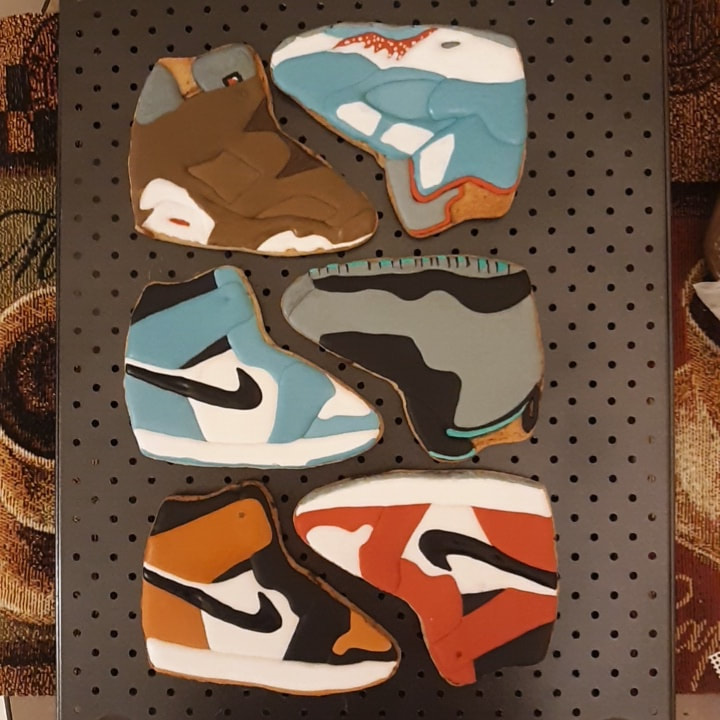
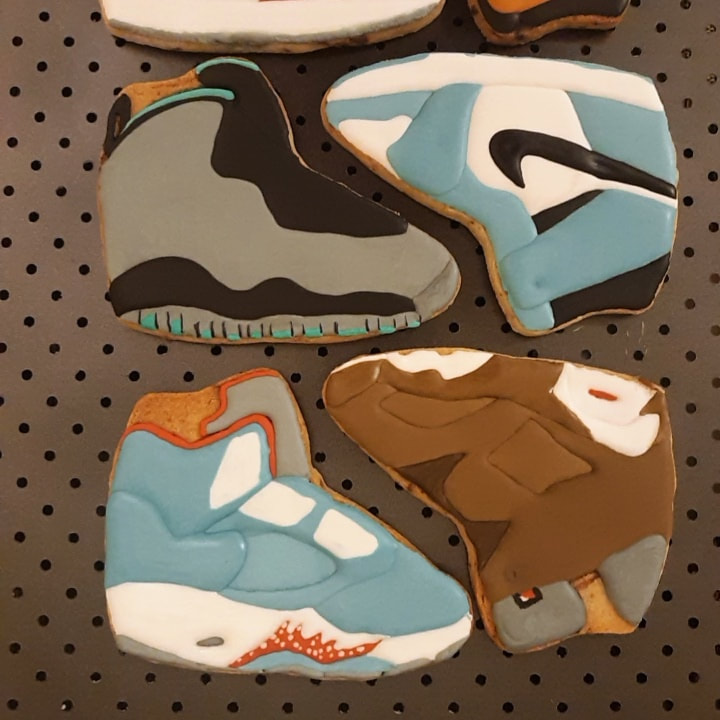
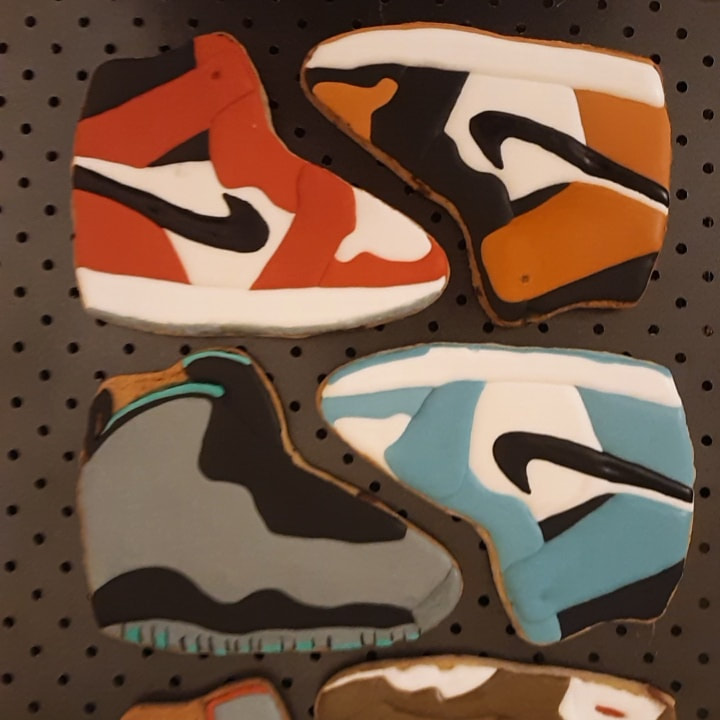
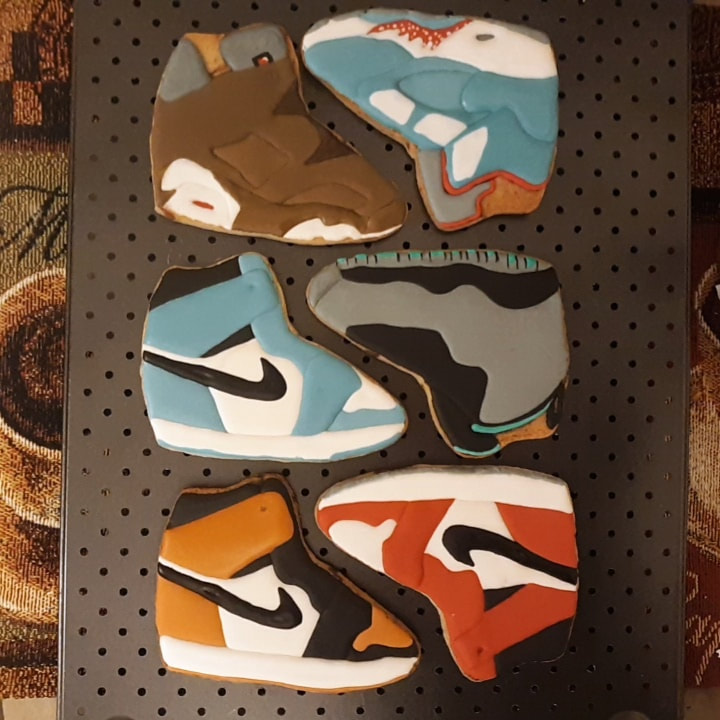
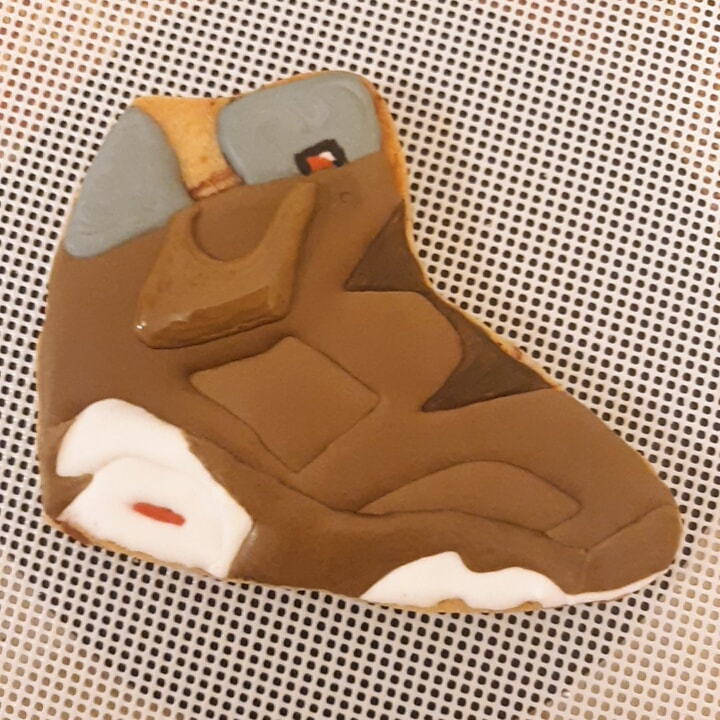
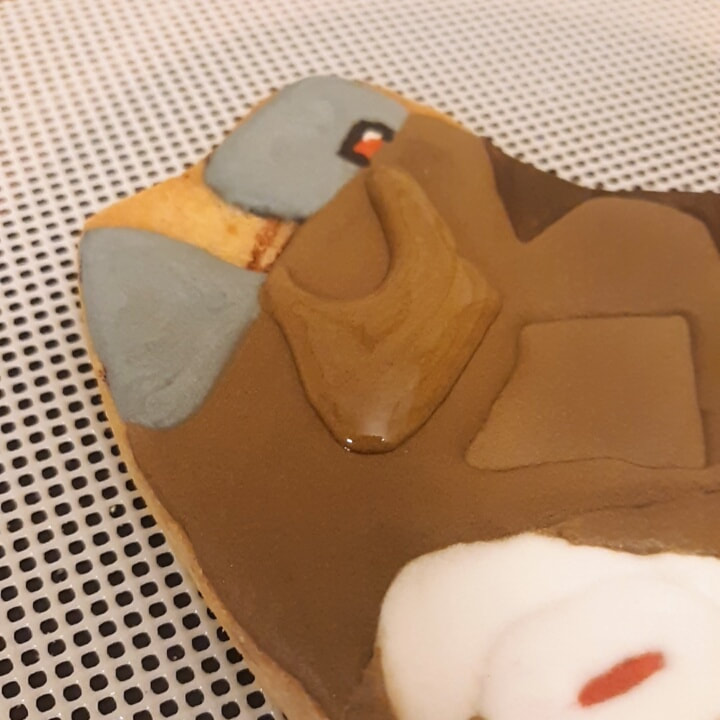
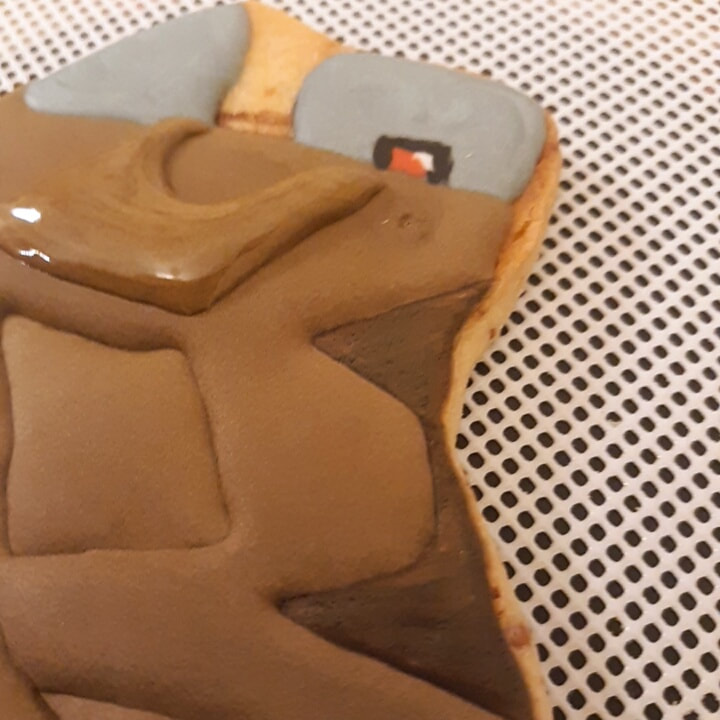
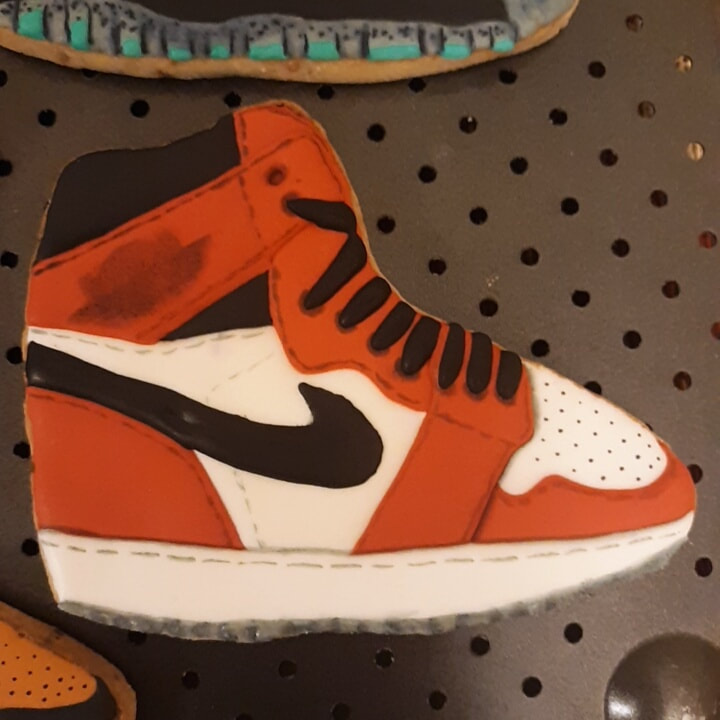
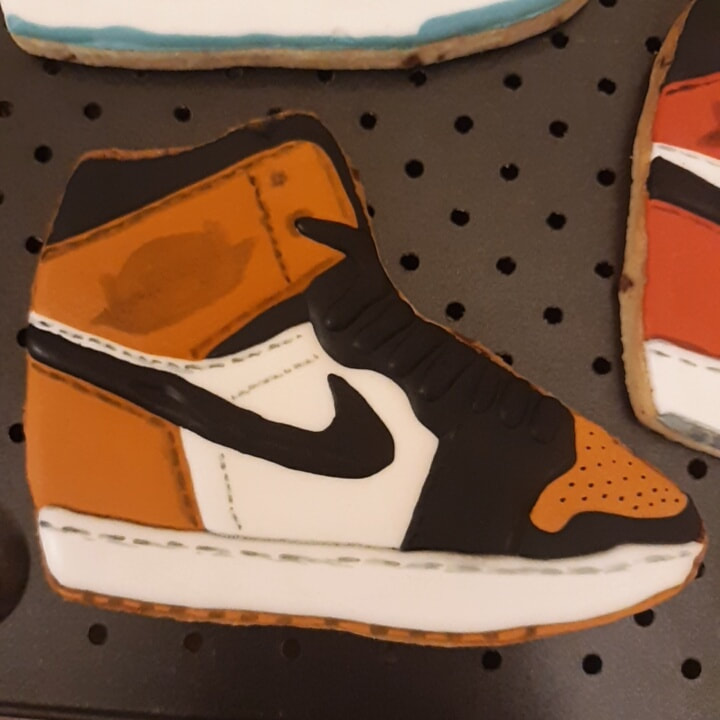
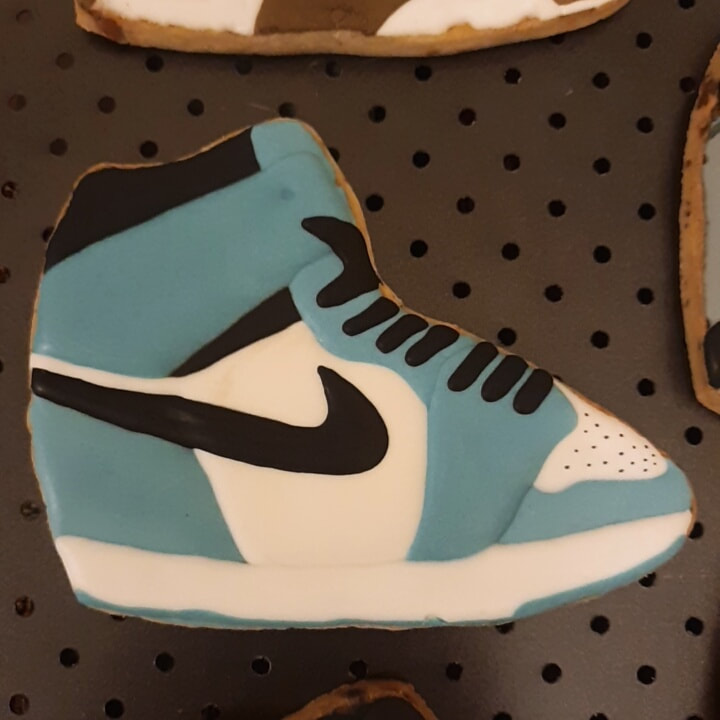
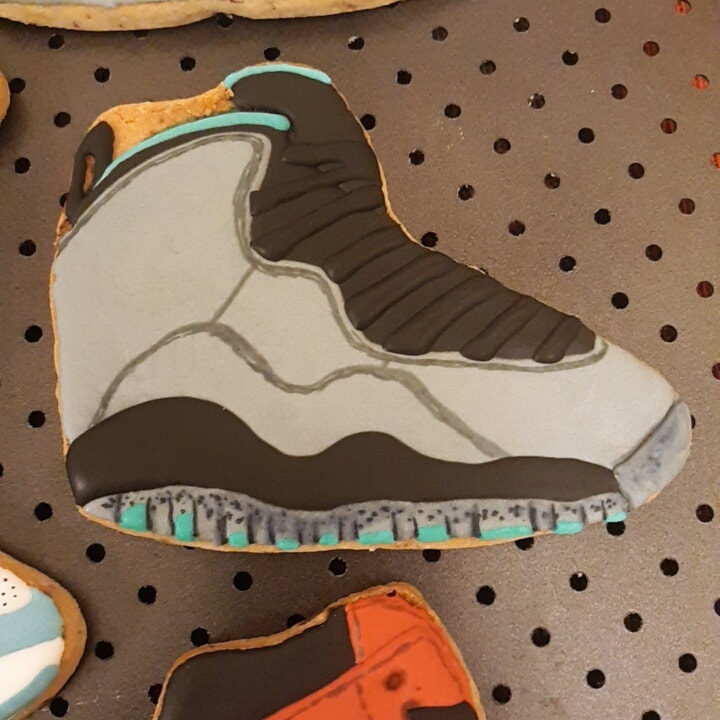
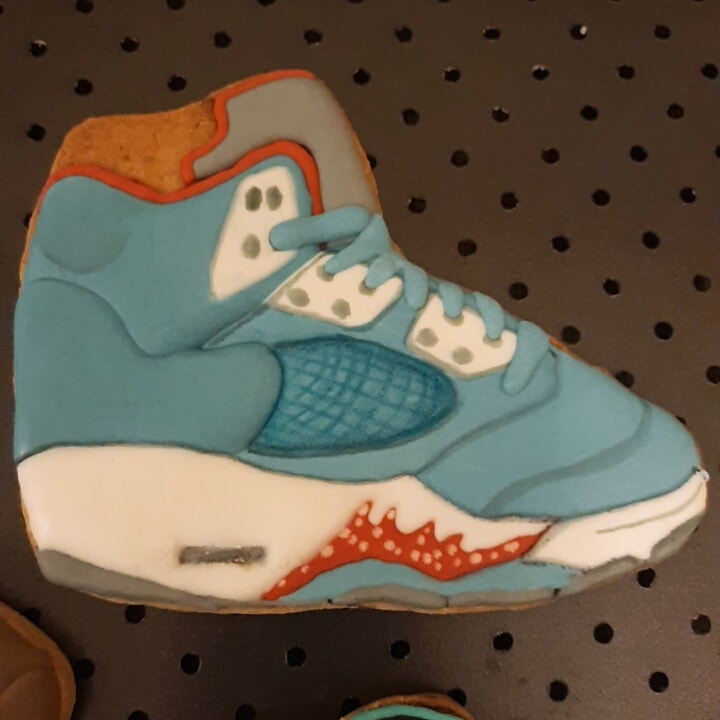
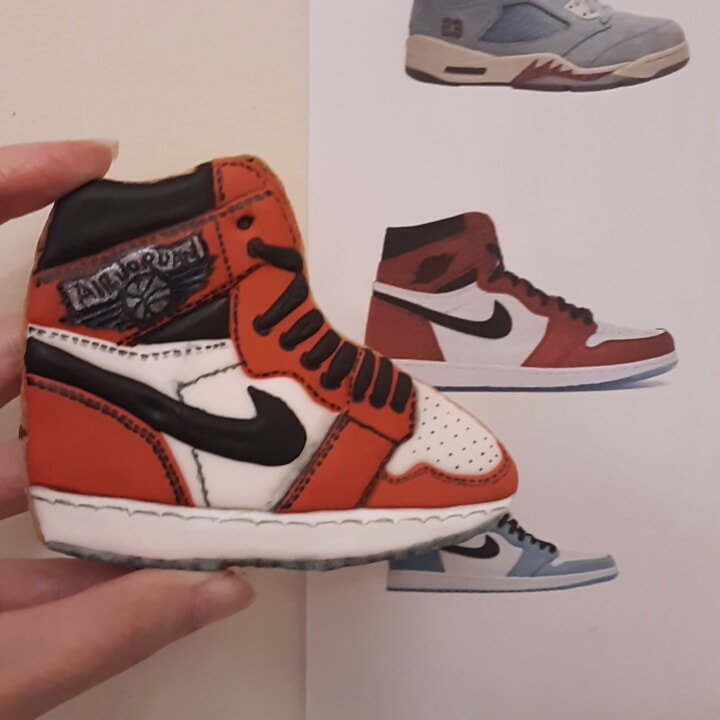
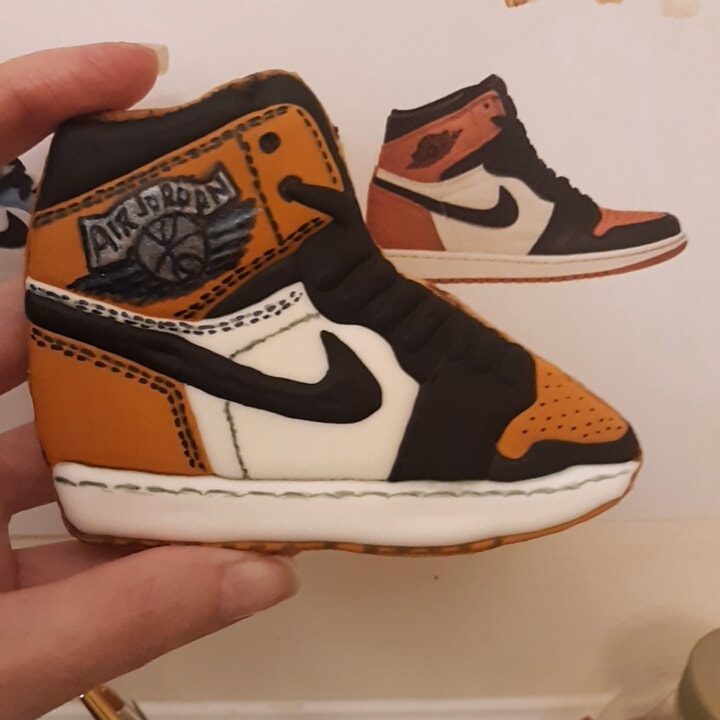
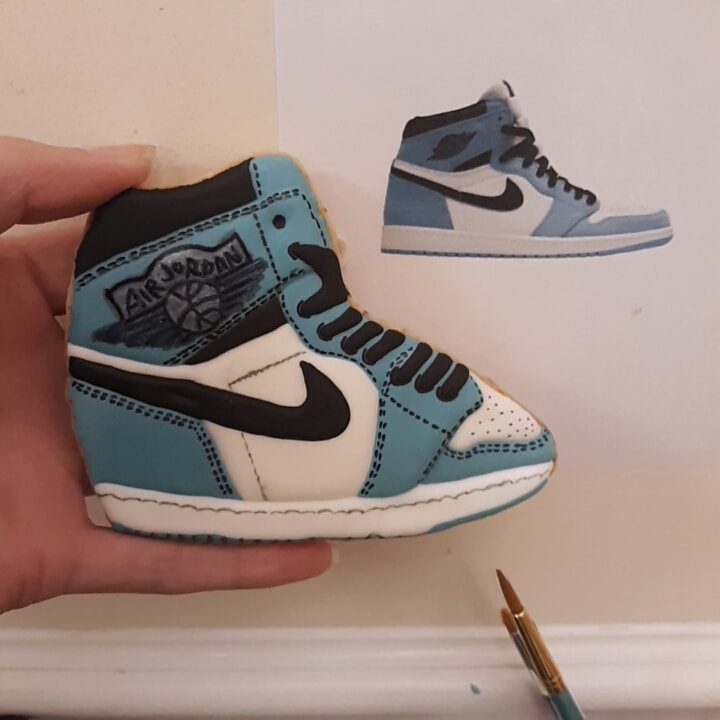
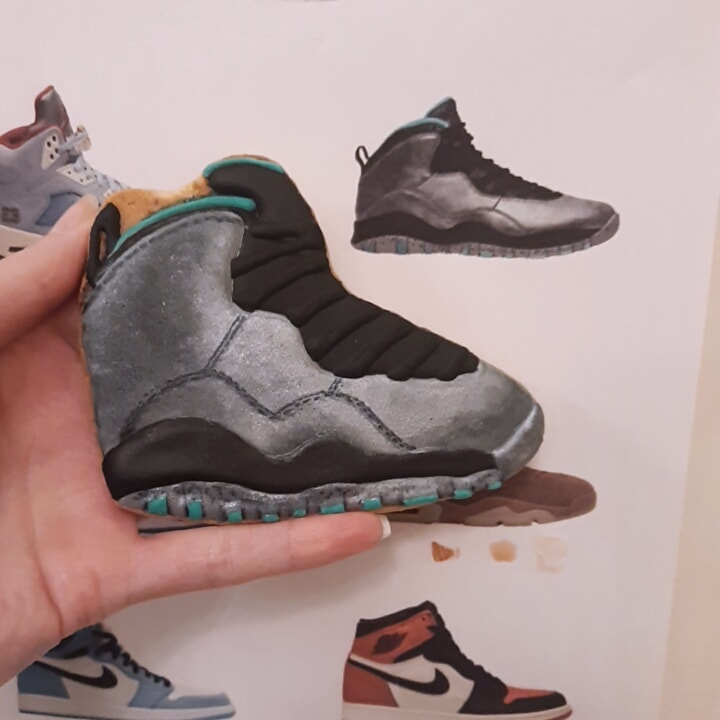
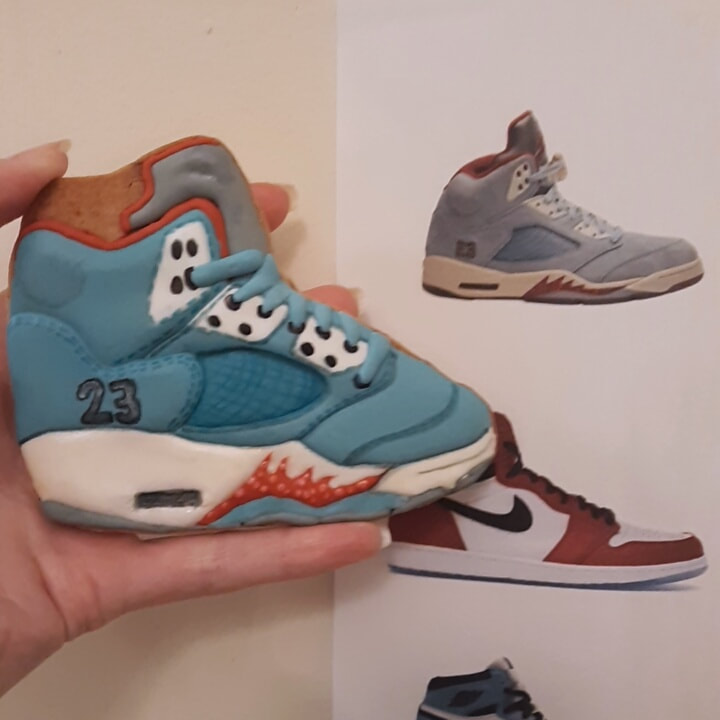
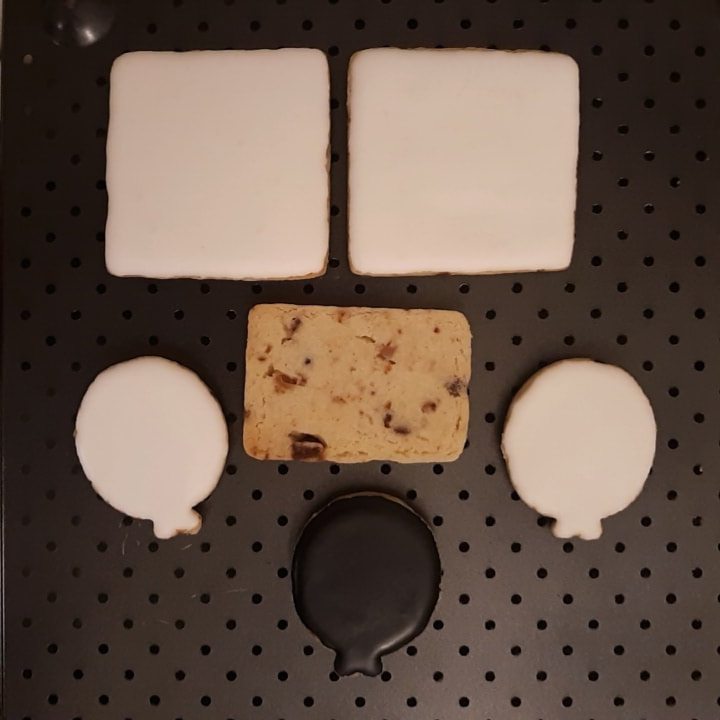
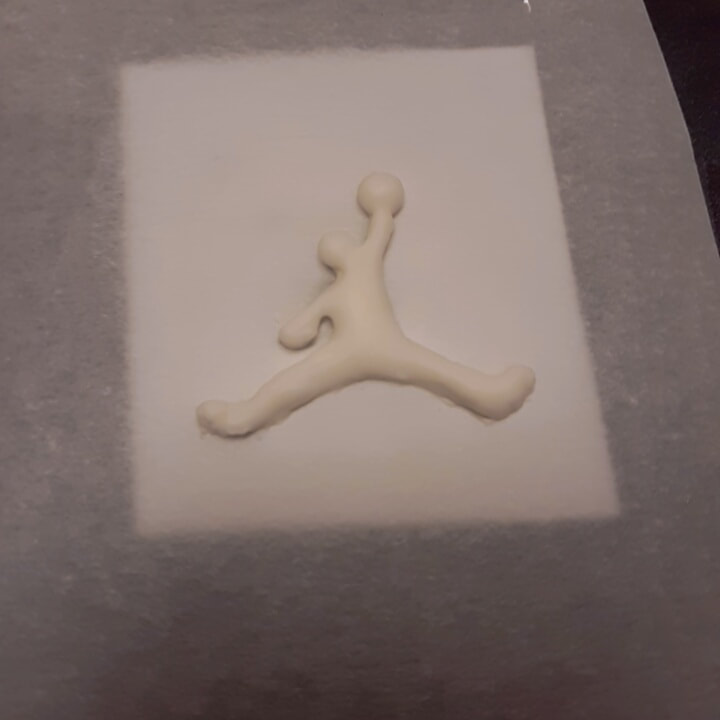
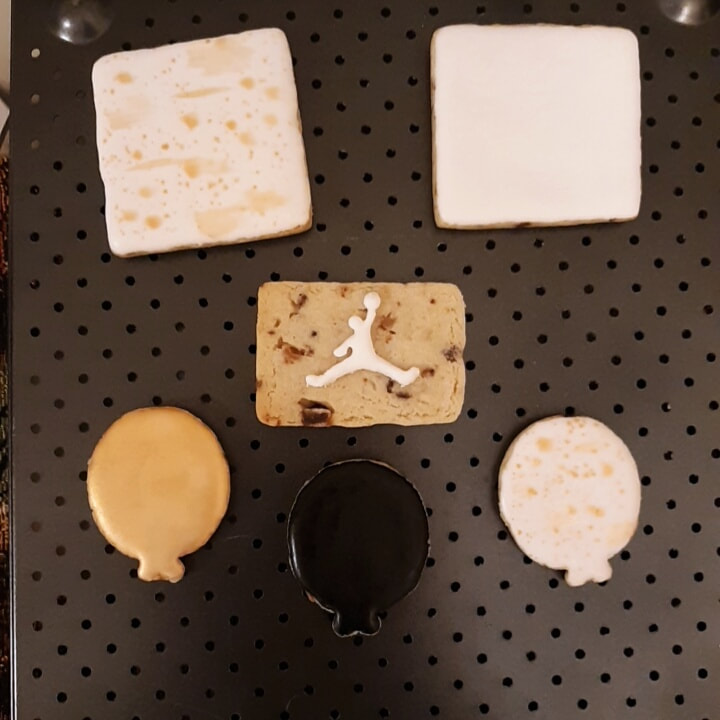
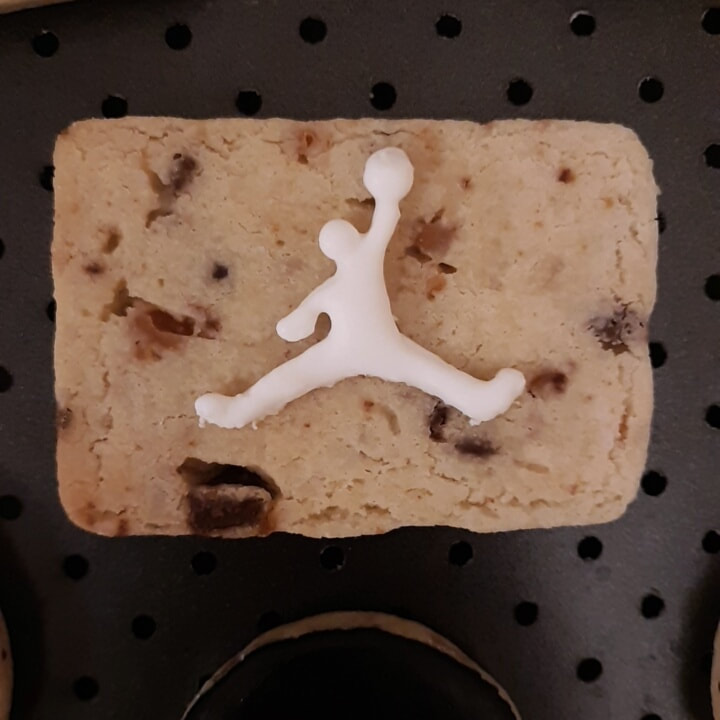
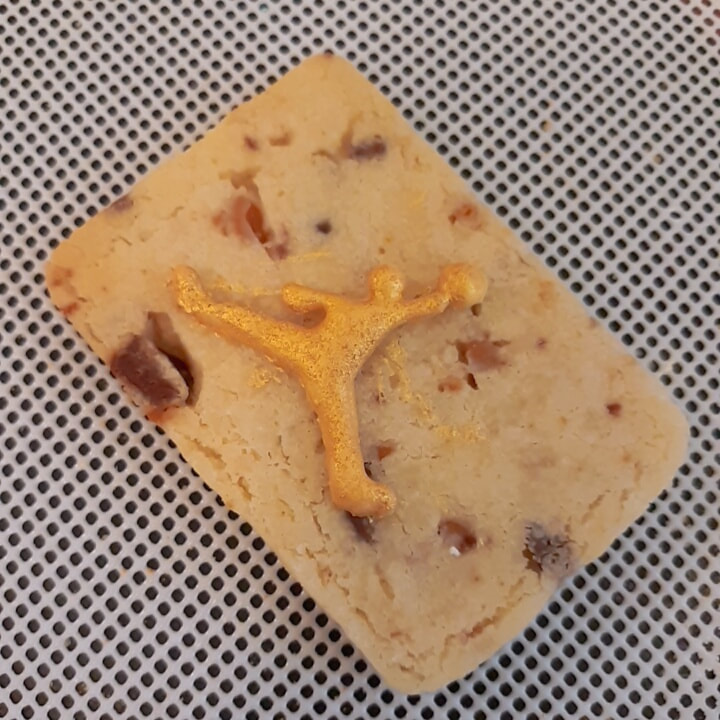
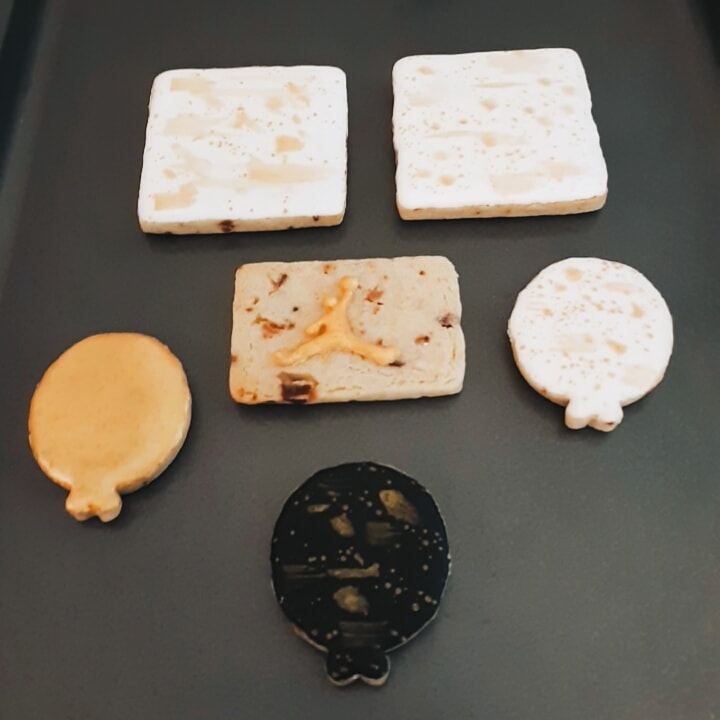
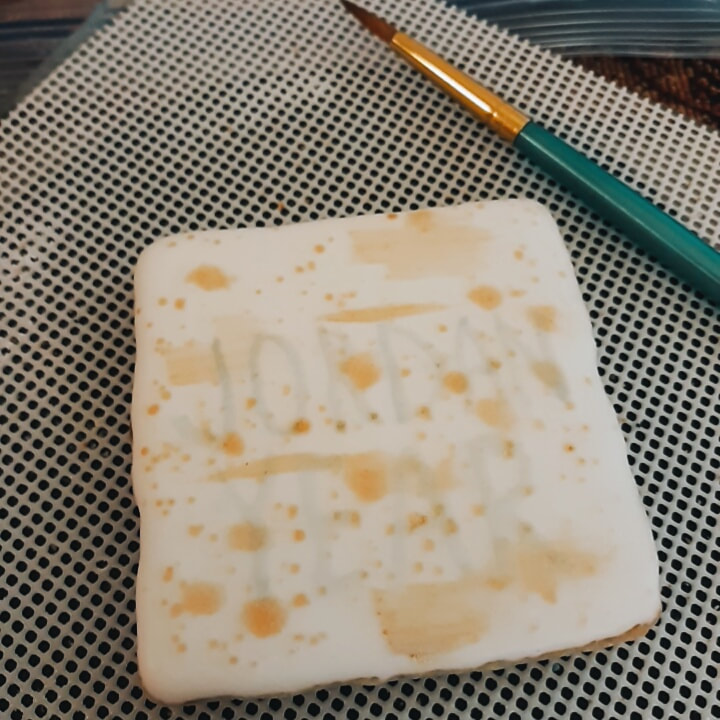
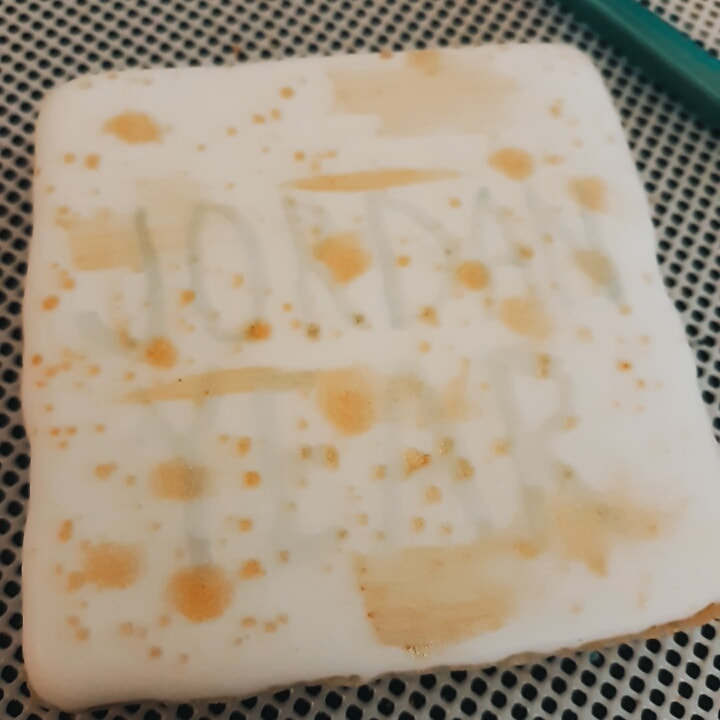
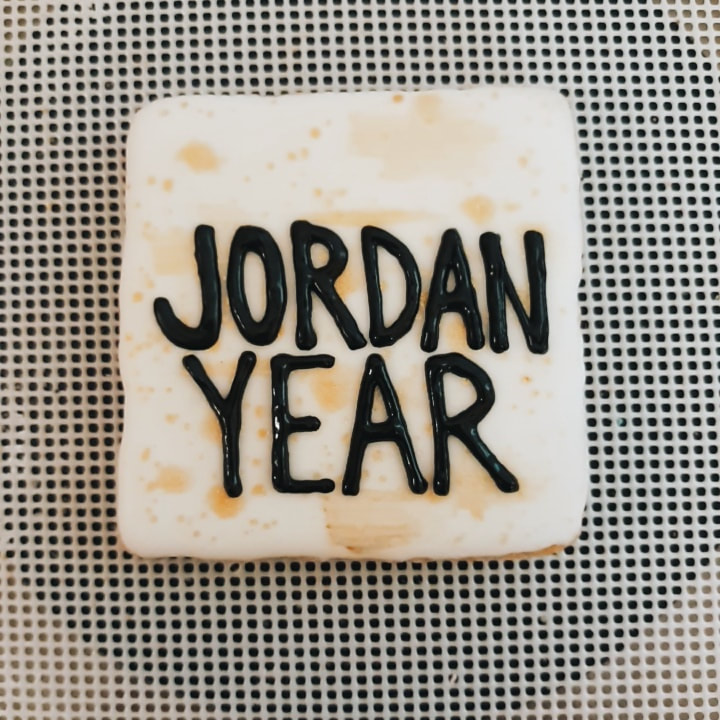
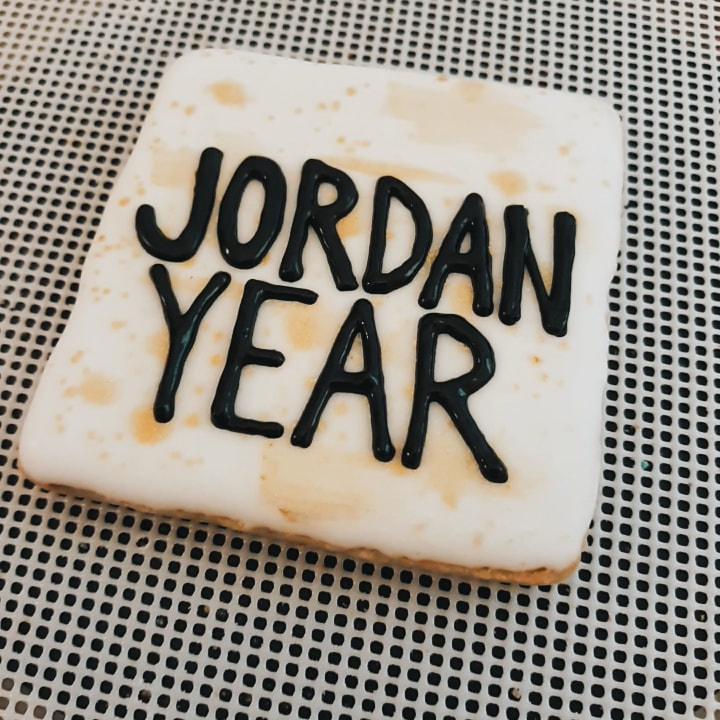
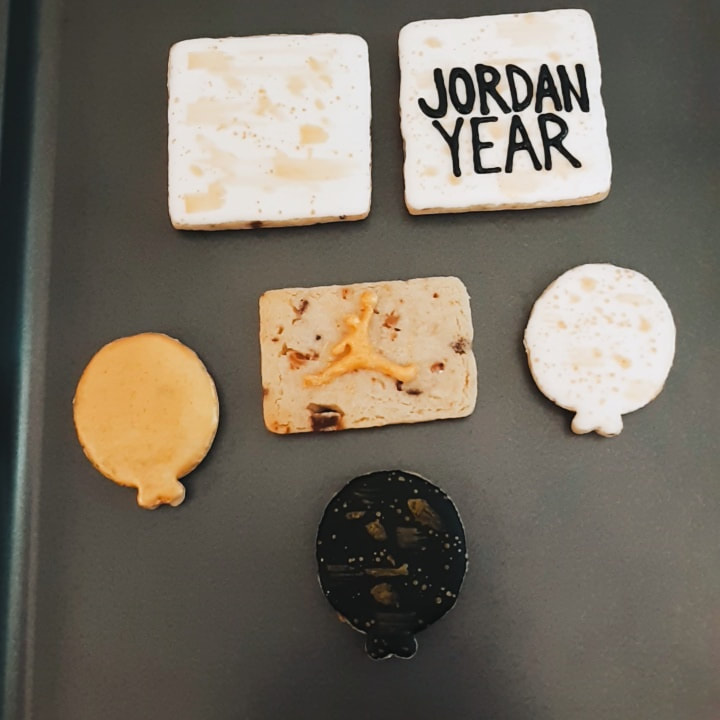
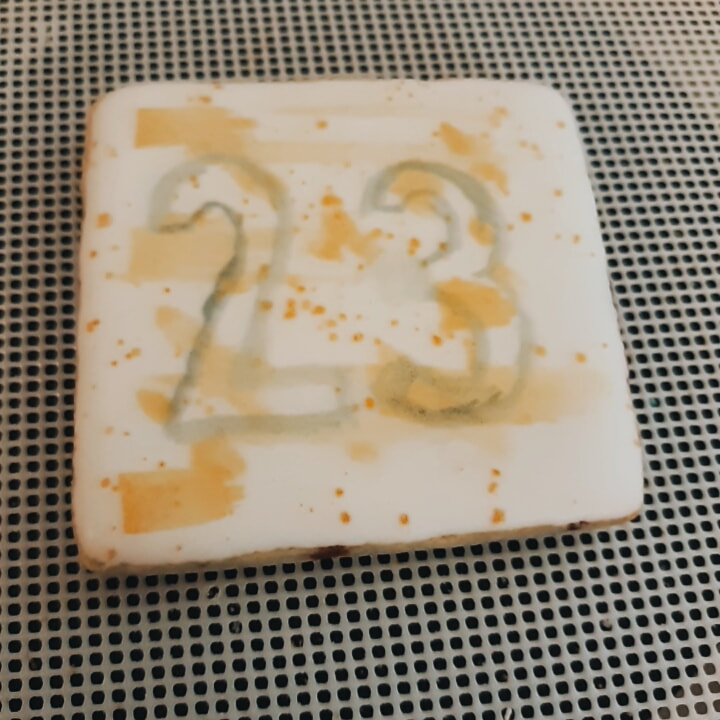
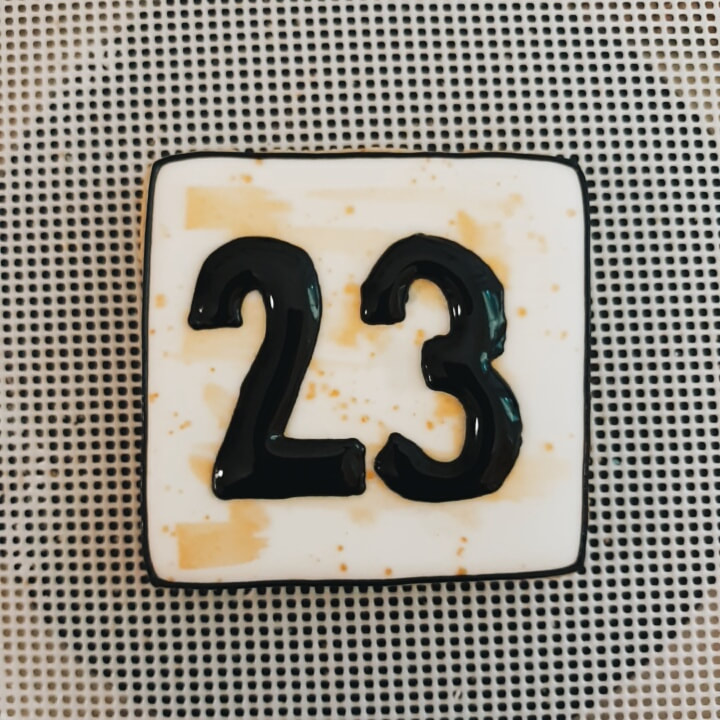
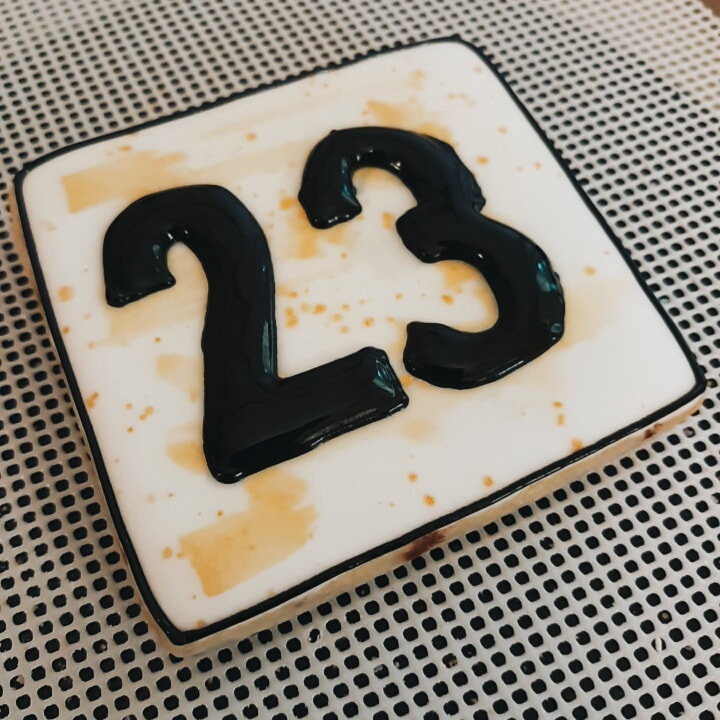
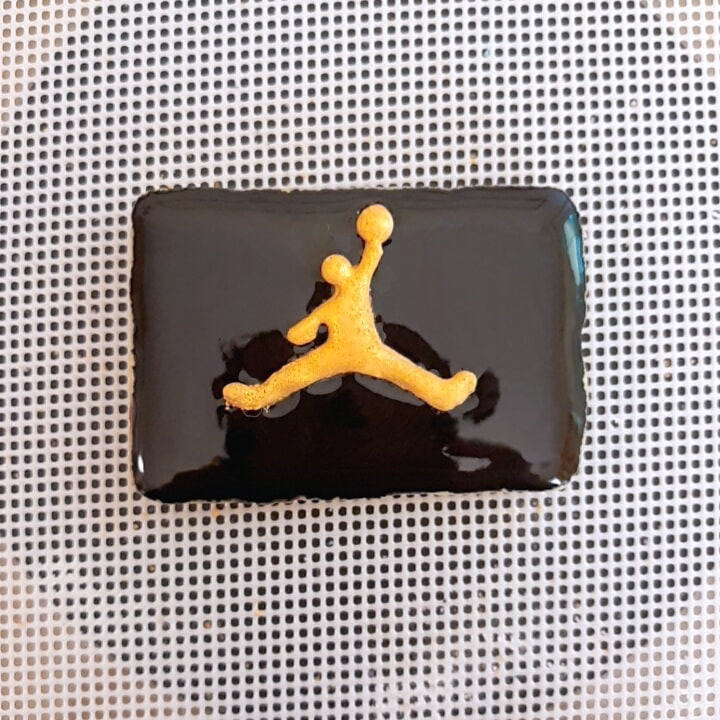
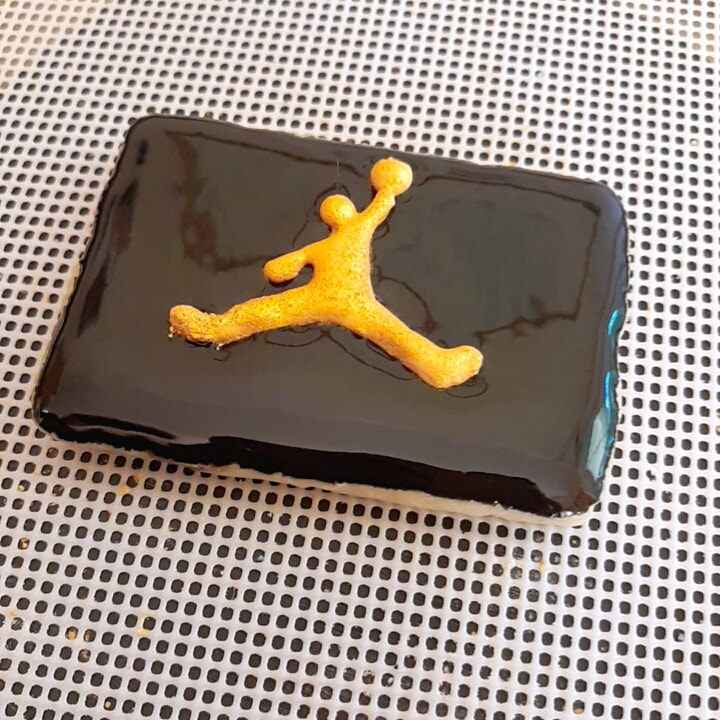
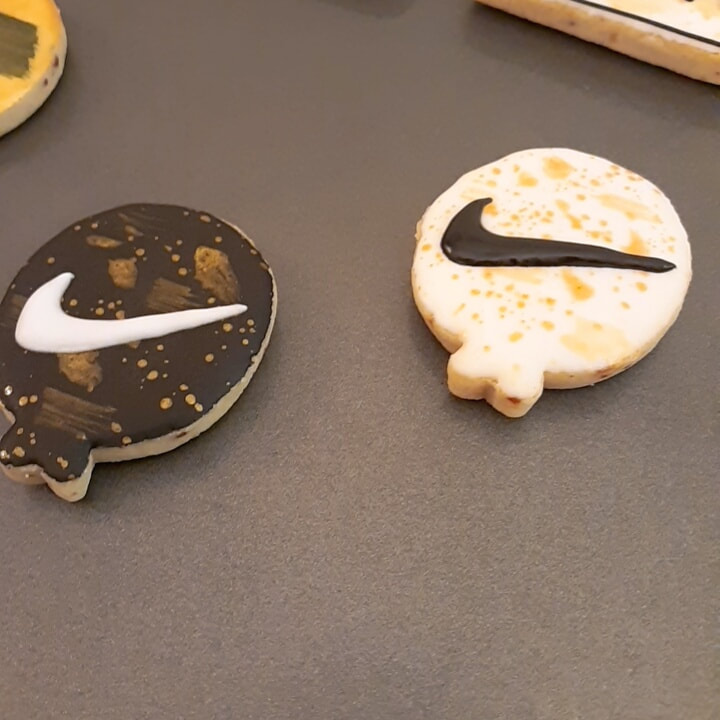
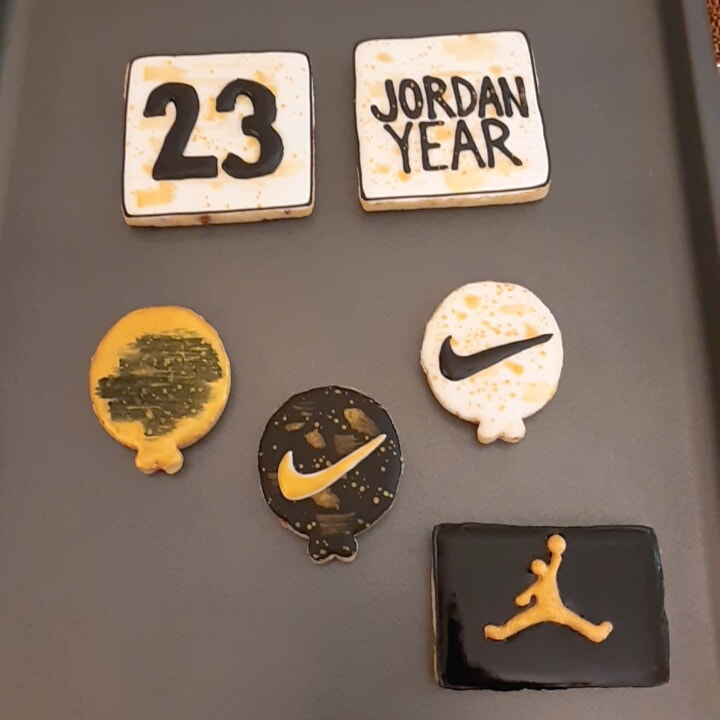
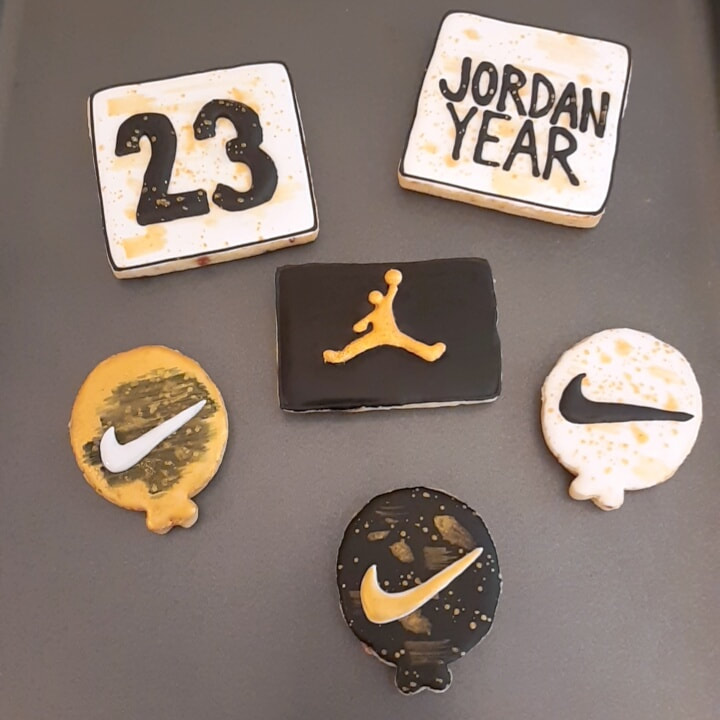
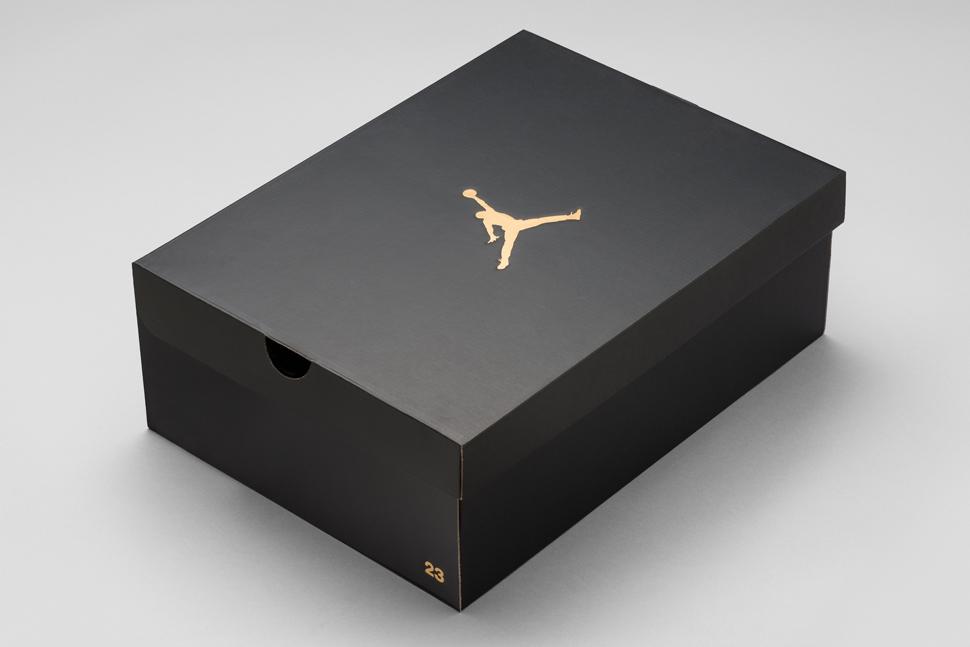
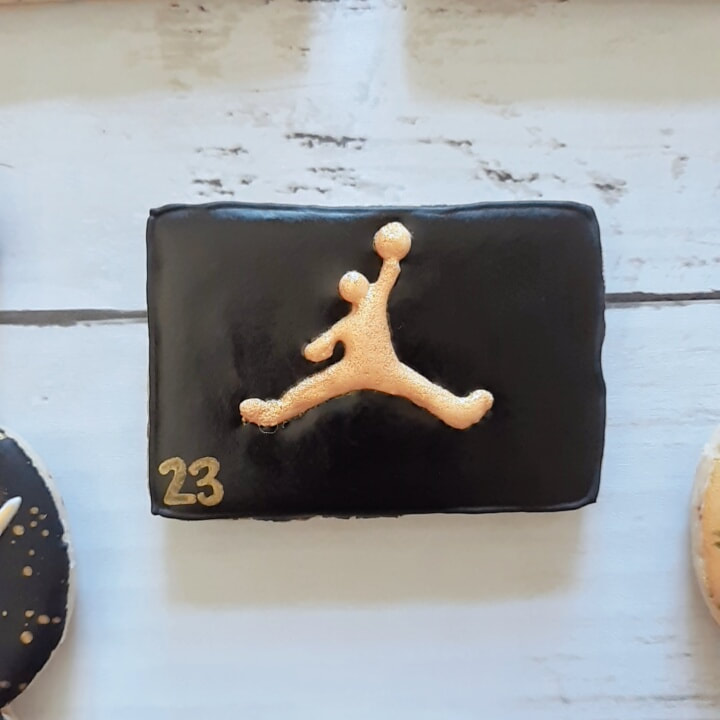
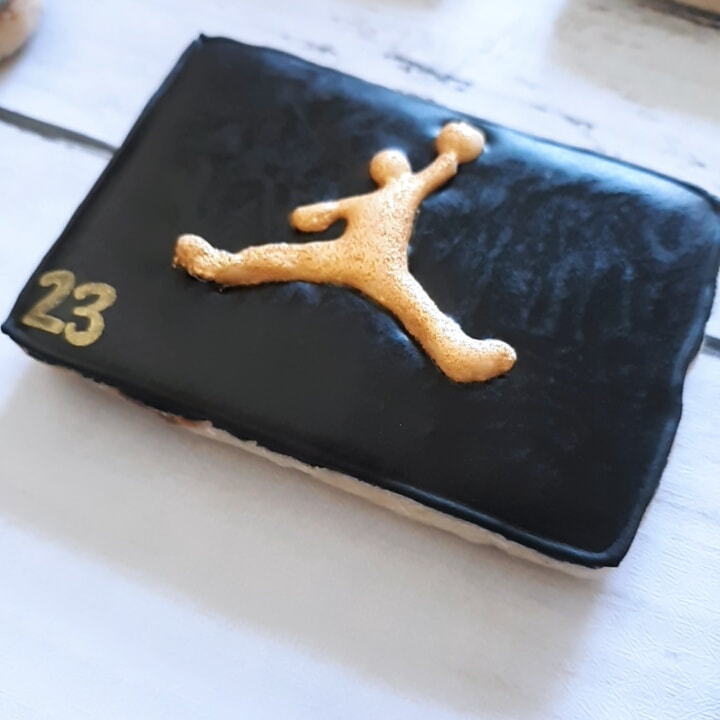
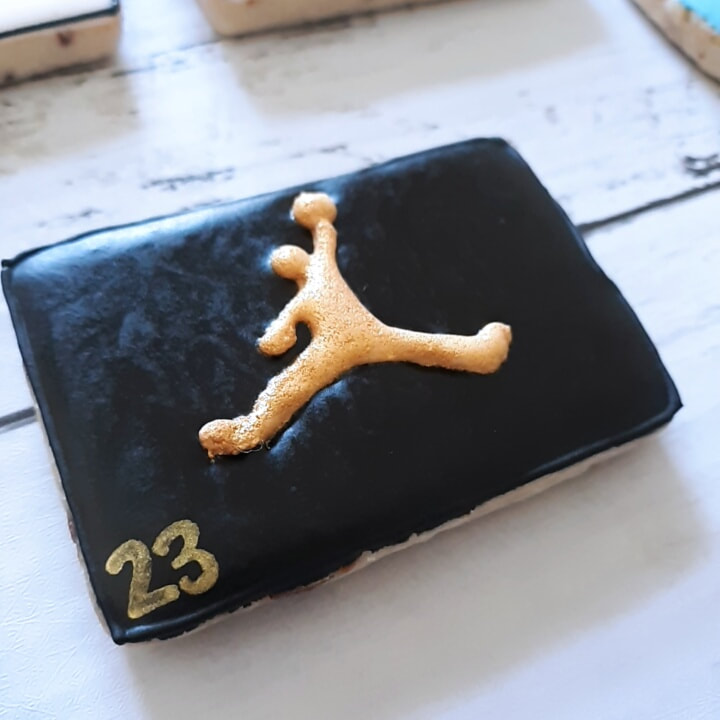
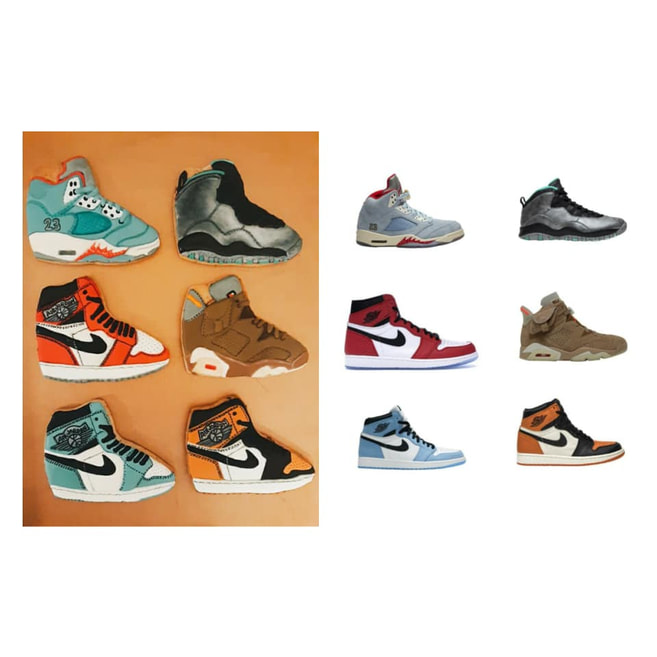
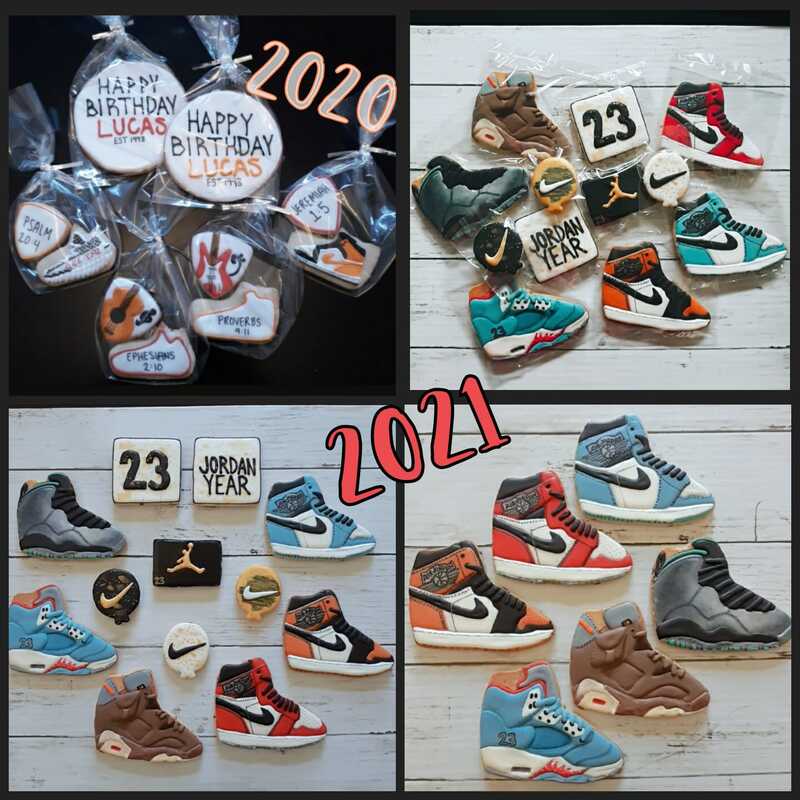
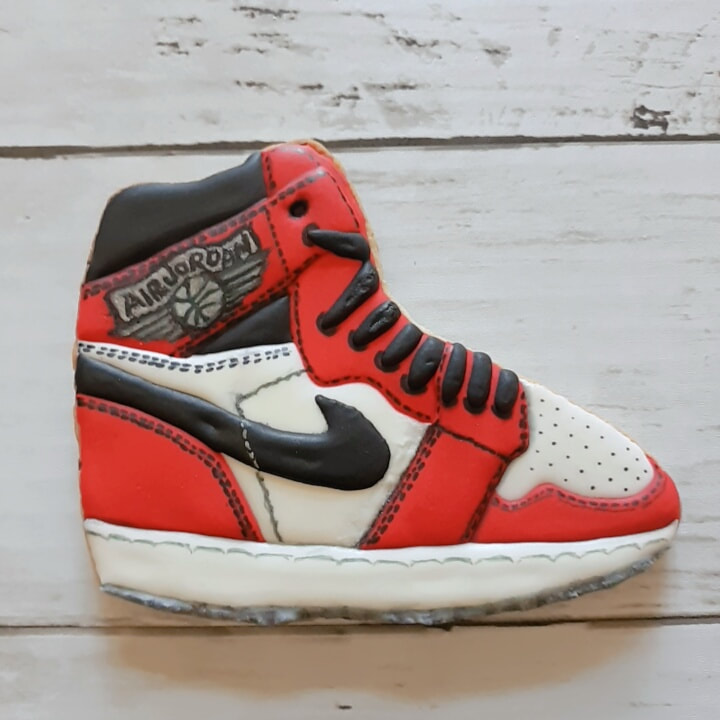
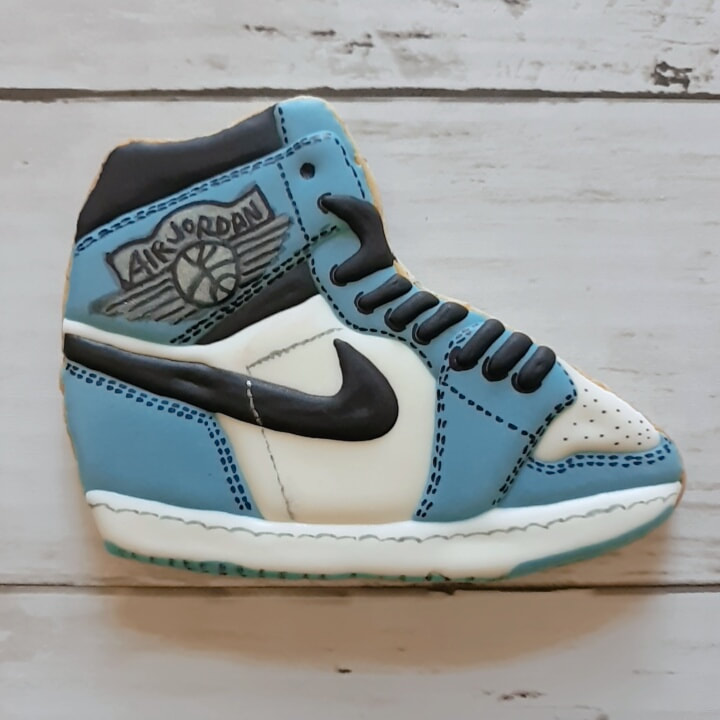
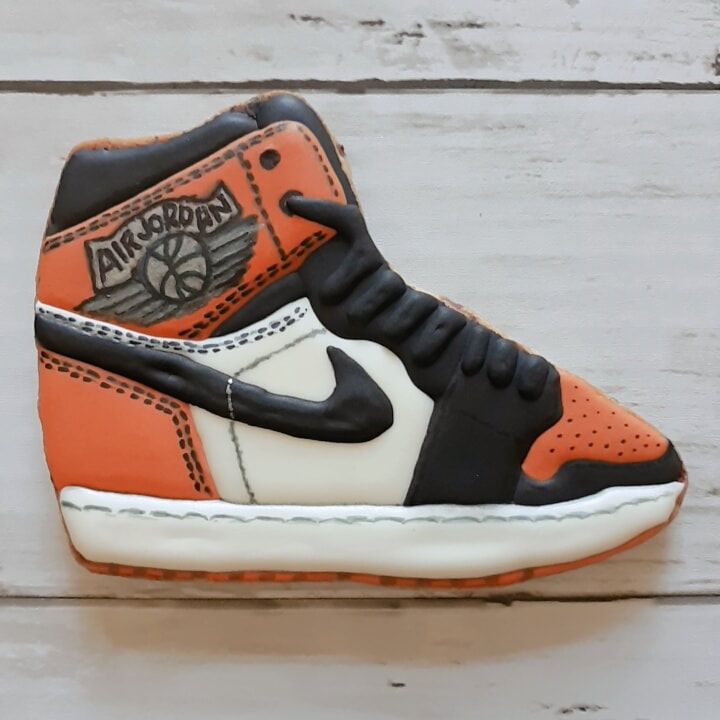
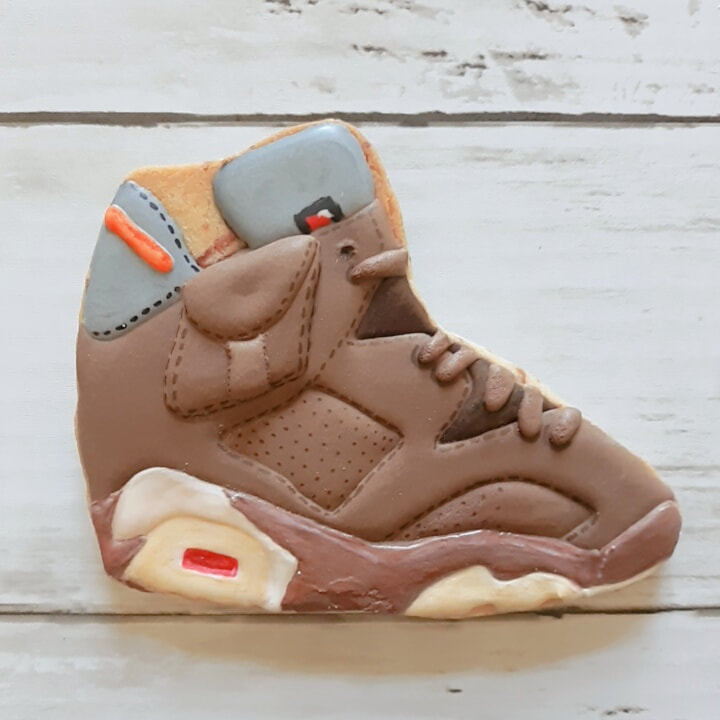
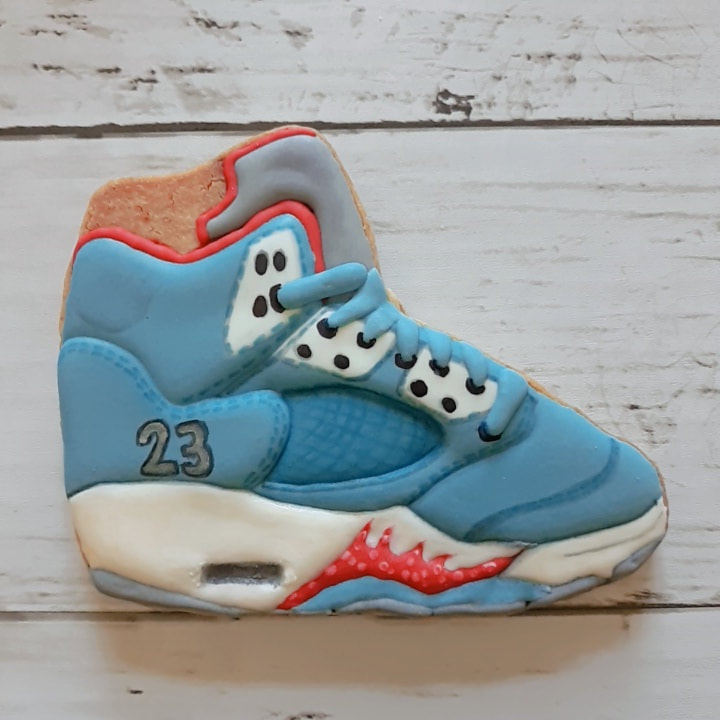
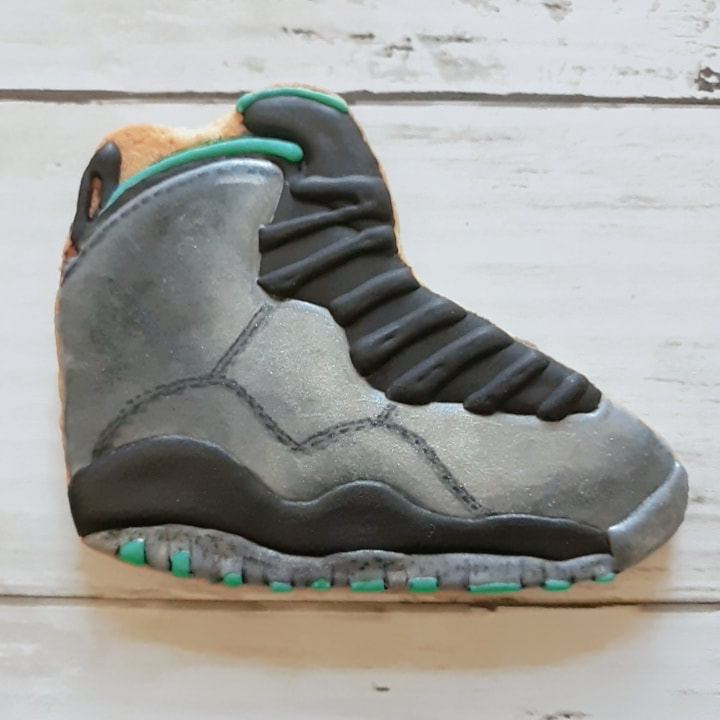
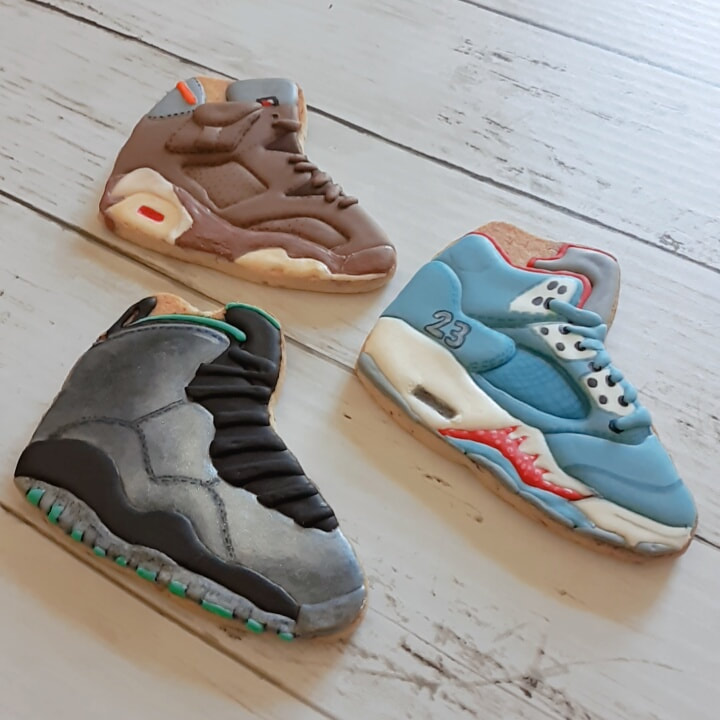
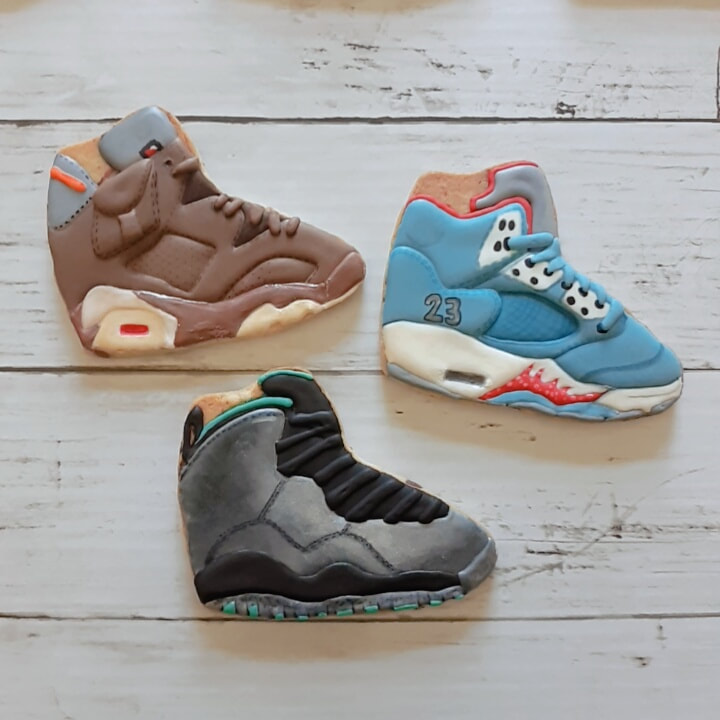
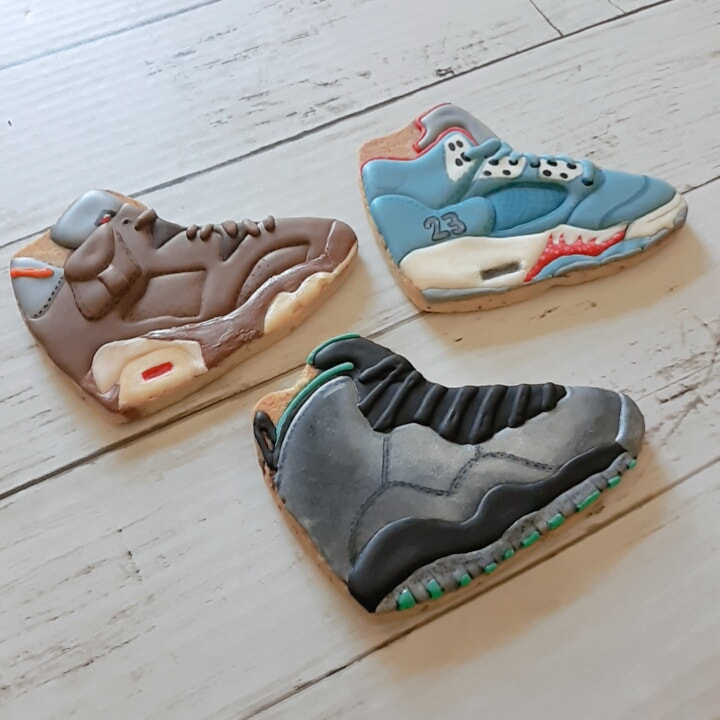
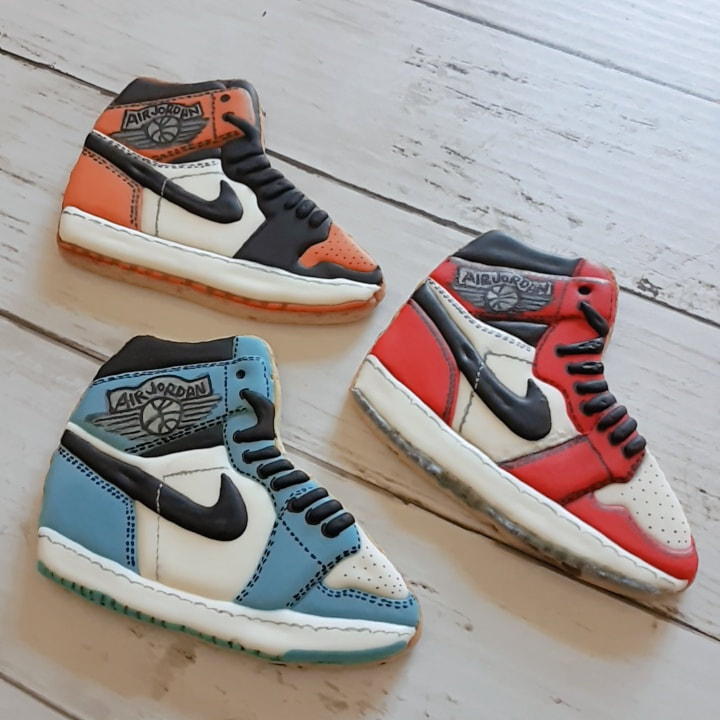
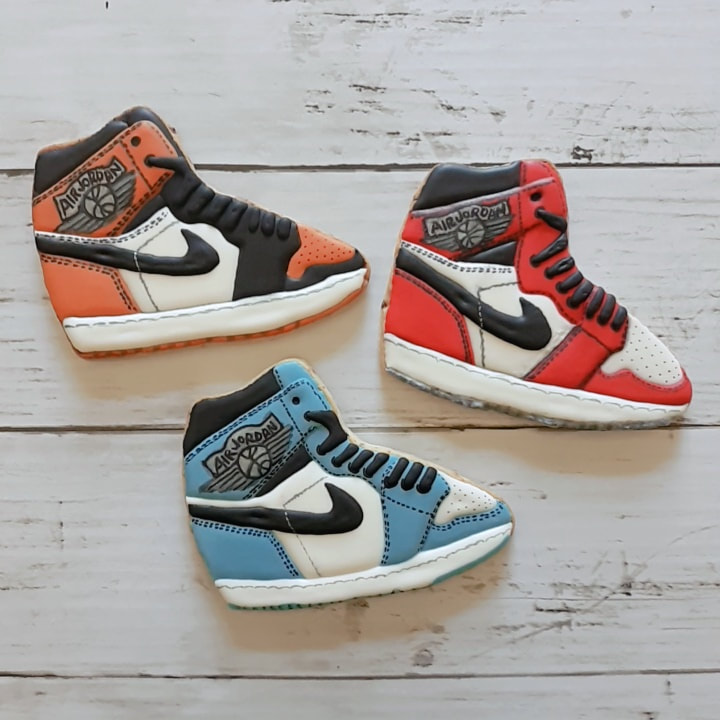
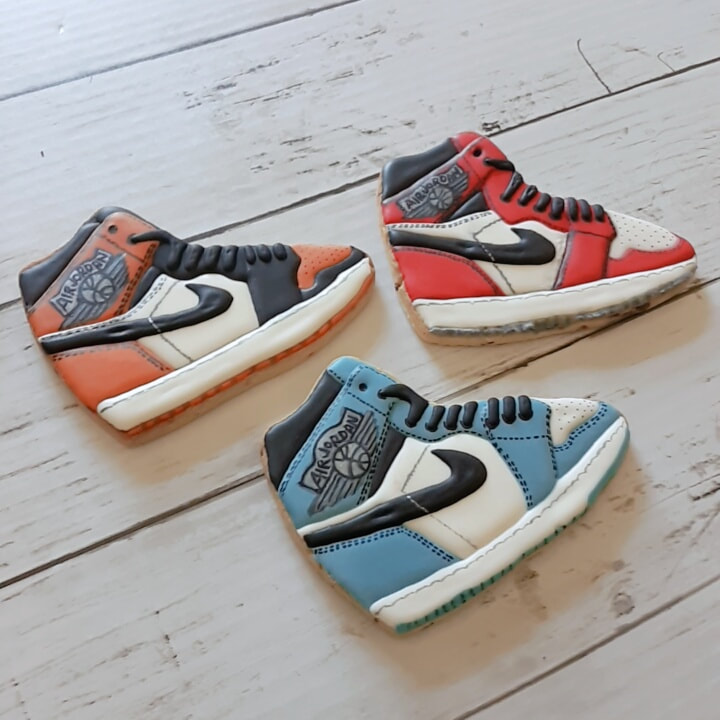
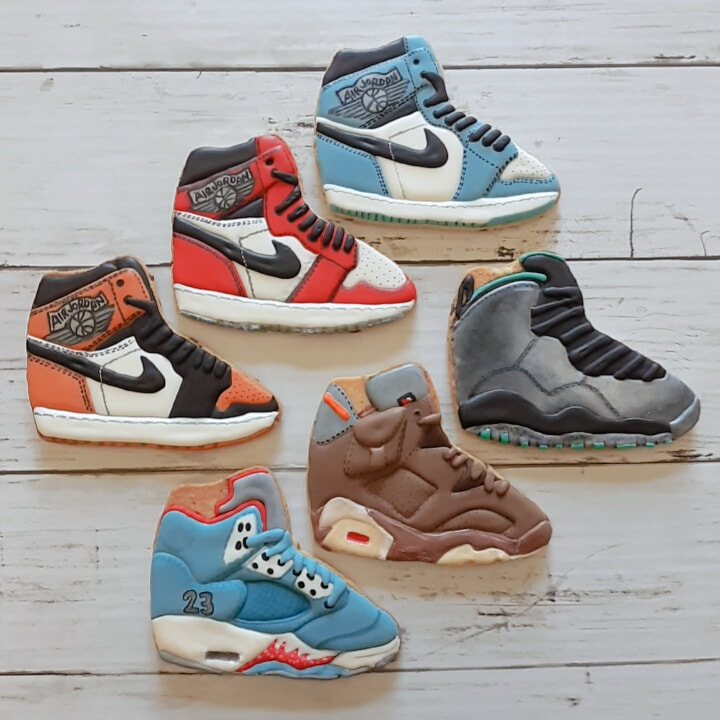
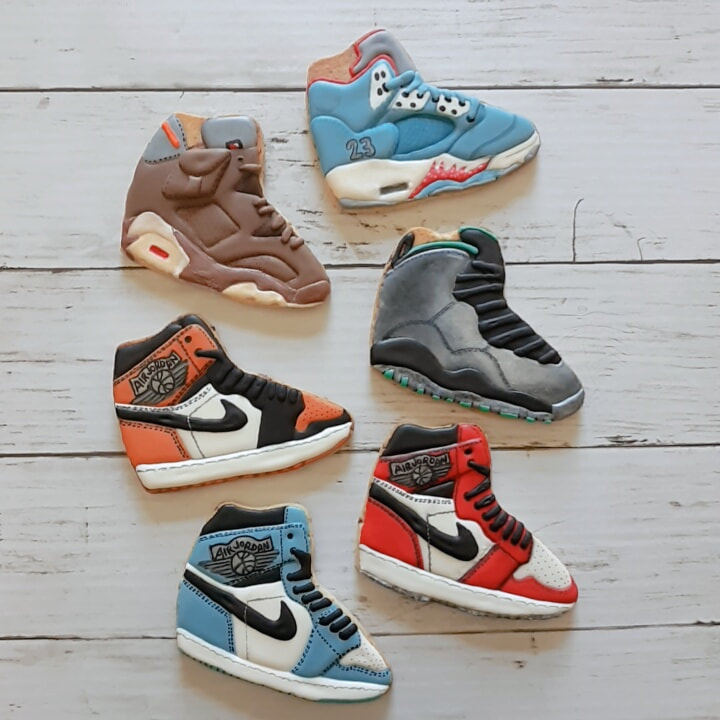
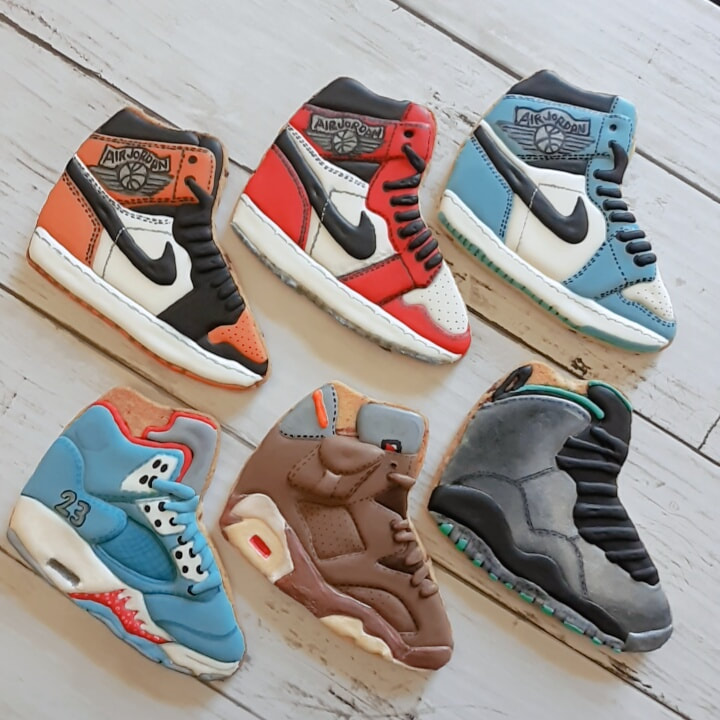
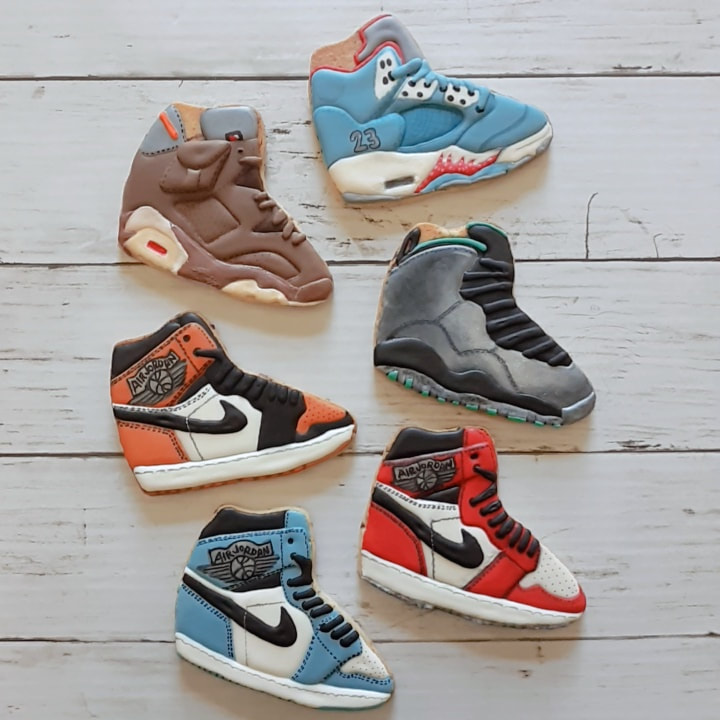
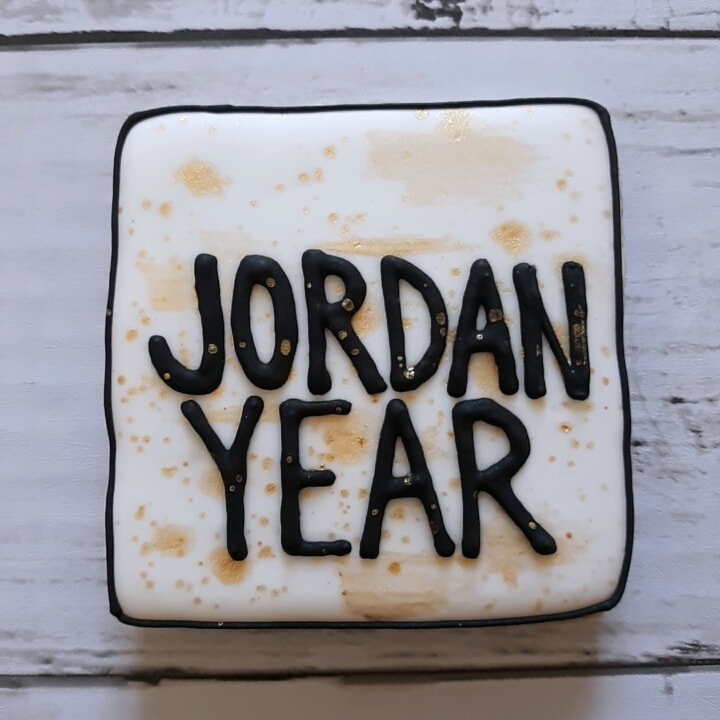
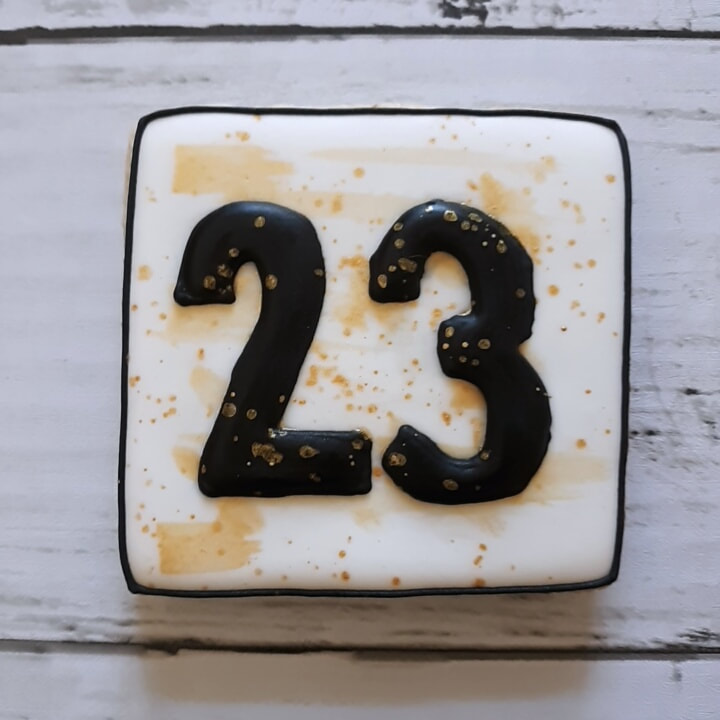
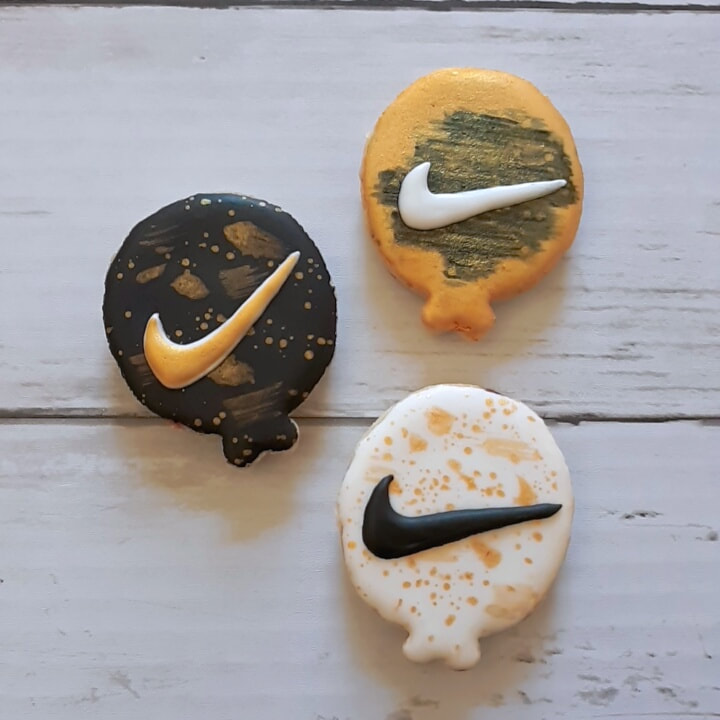
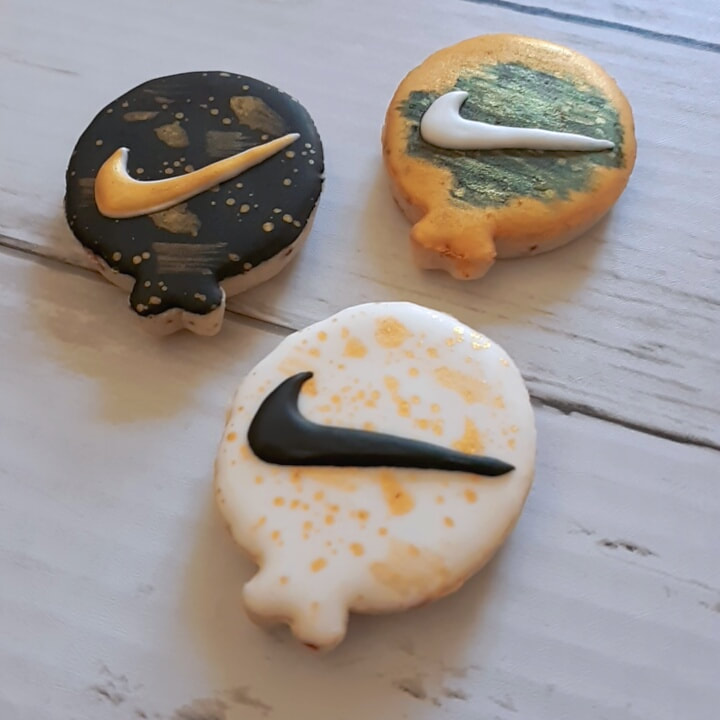
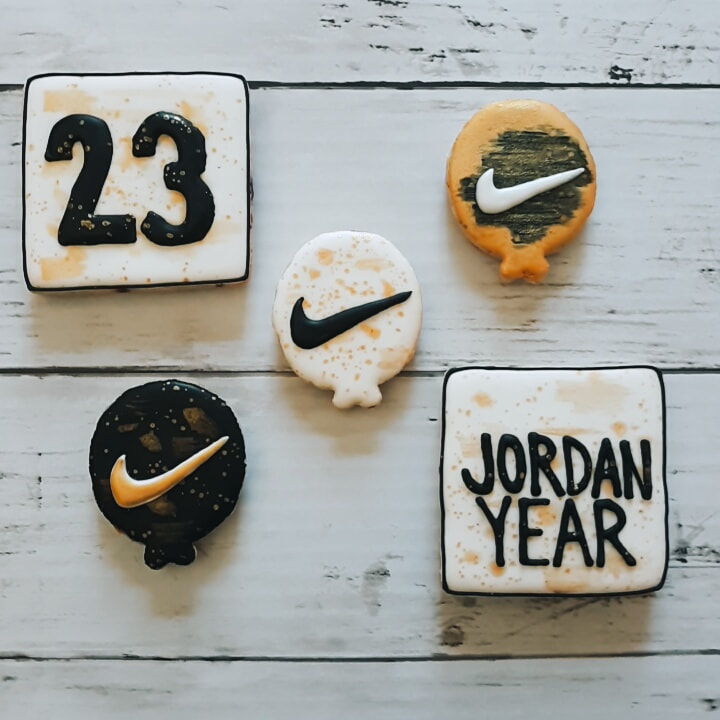
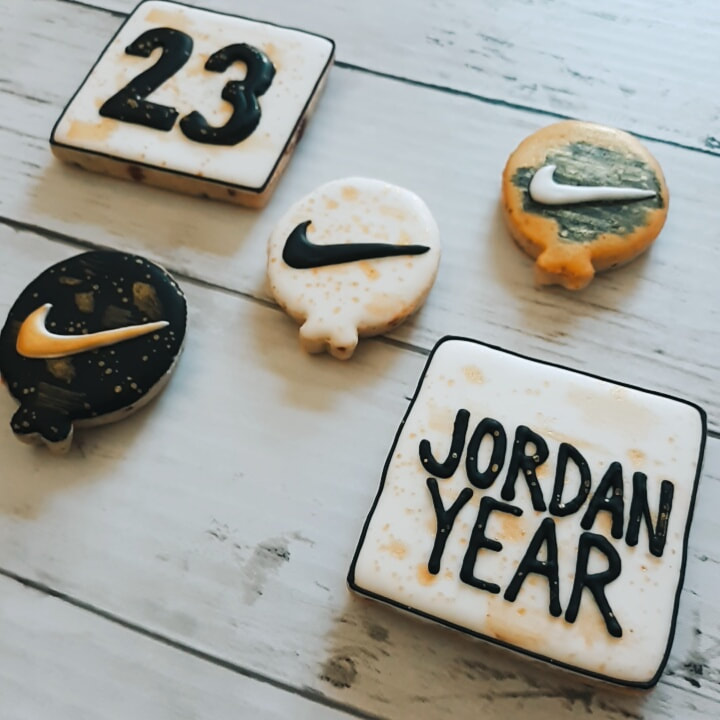
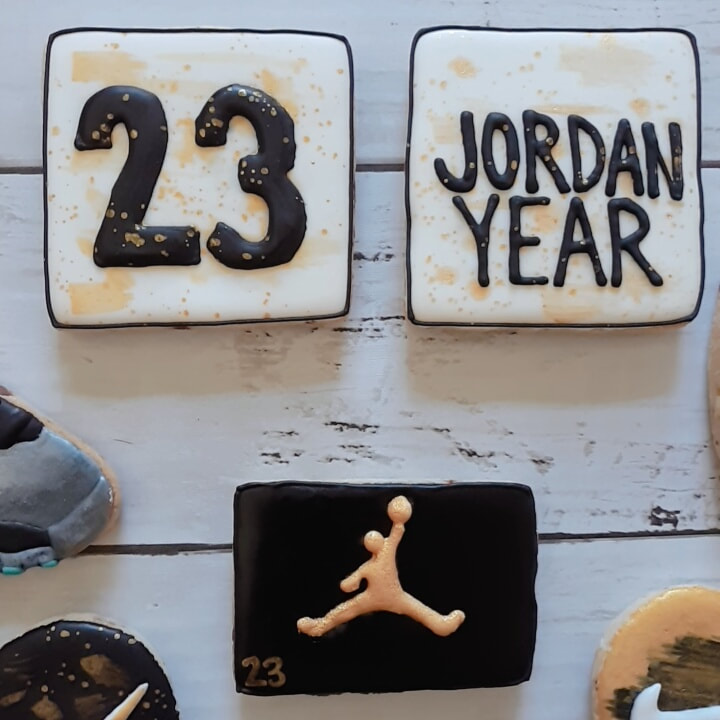
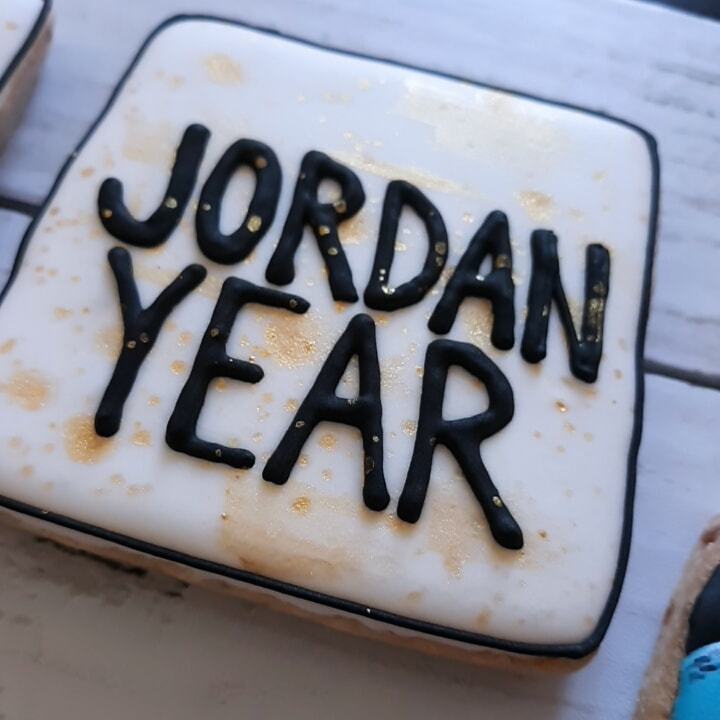
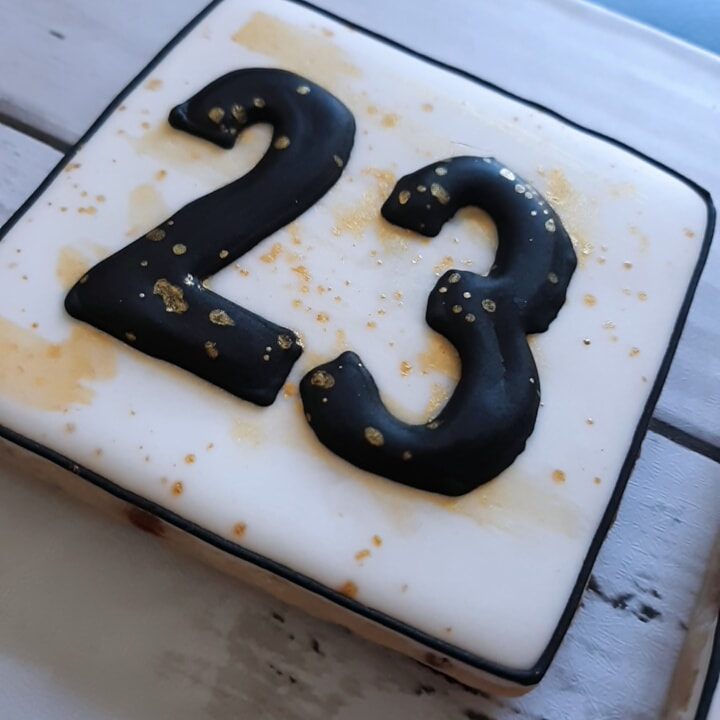
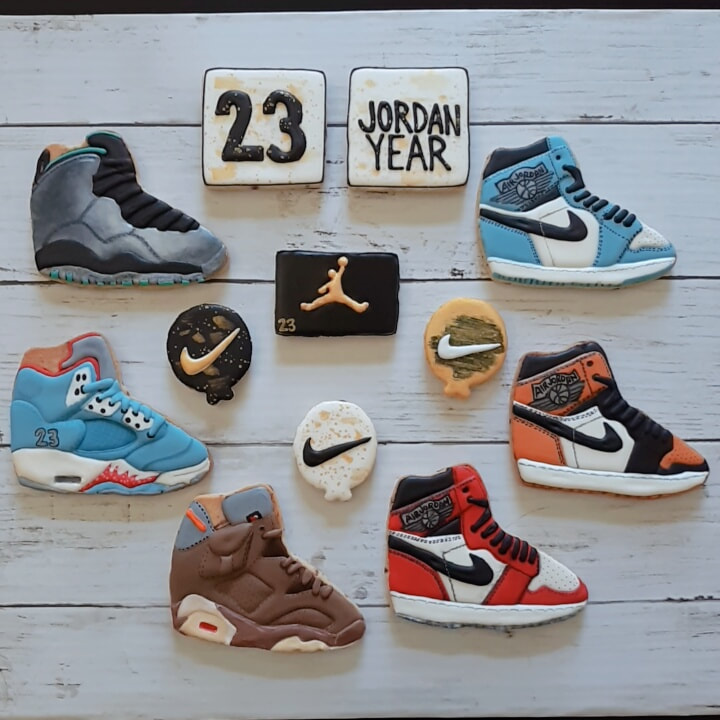
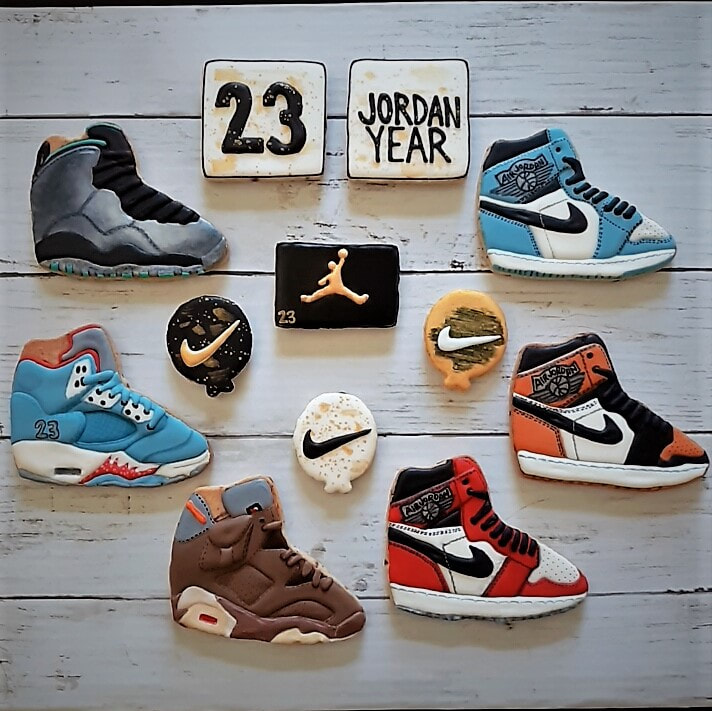
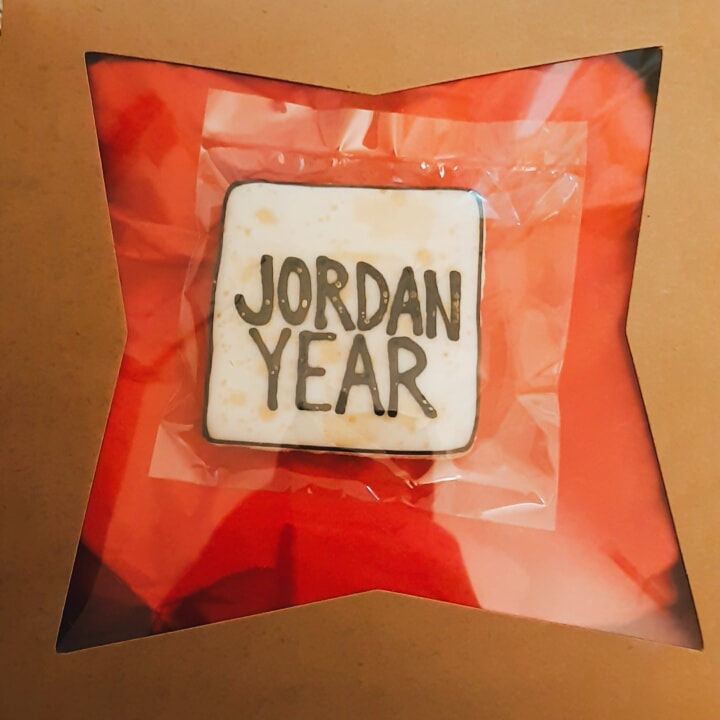
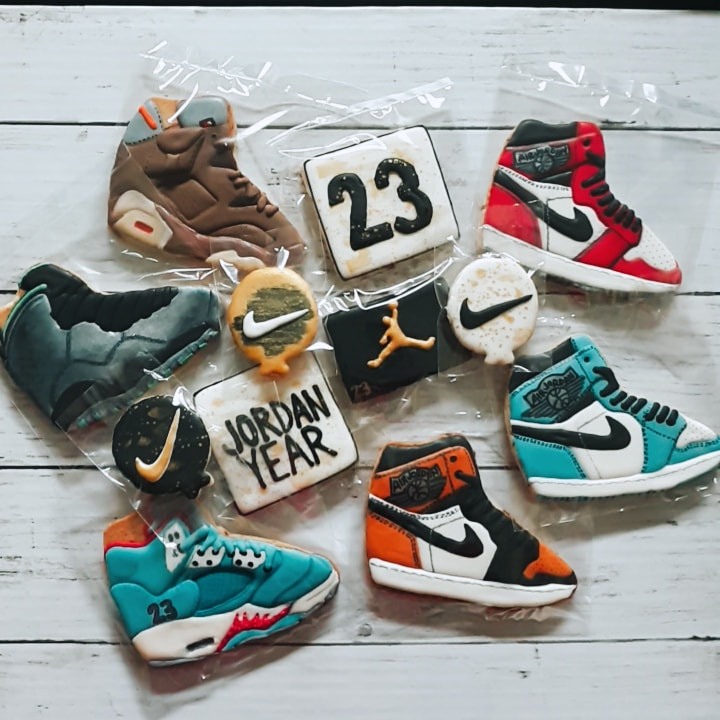
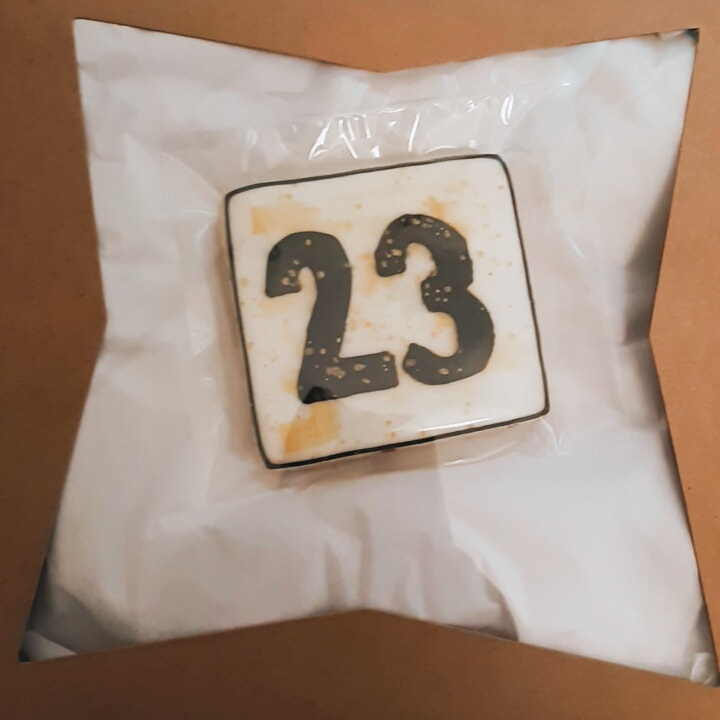
Hello! I have something pretty cool to share this time!! Disclaimer--this post is pretty detailed (long)... I fell more in love with these than I thought I would. So BUCKLE UP. As always I started with a sketch. This one took up two pages lol Once again, I had to break out my 'Make Your Own Cookie Cutters" set. Interestingly enough the last time I used it was also for a shoe haha. You can find that adventure HERE. I had a sneaker cutter but it wasn't quite what I needed. I NEEDED a high top. To my surprise, I wasn't able to find a decent one easily so I broke my kit out and I used the sneaker cutter as a guide. I just made the top higher and voila! High top sneaker. WooHOO. My brother loves chocolate and peanut butter so I made his cookies Chocolate and Peanut Butter Chip. Chopping up the chips is ideal. When you go to roll your cookies out you won't have chips sticking out. Plus most of the sugar cookies need smaller chips. I've only found plain chocolate in minis but the minis work great by themselves. Welp. Let's just get this out in the open at the very beginning. Yup I overbaked his shoes. LOL. They're bigger cookies so I didn't want them to be raw and I didn't want them to be so soft that they would break easily so these are on the crispy side. They're not burnt but they are cripsy. Lol. I always make tasters so they were acceptable but I usually don't bake my cookies to this level of doneness. With that out of the way, let's move foward here with the decorating!! I used my edible markers to "sketch" out the sneakers. I could have made templates and blah blah blah NO. Wasn't happening lol. Hand sketched. Let the icing begin! These were SO FUN to decorate. I was fully ready to hate these LOL. I did each section at a time keeping them separated. I wanted that layered look so that means time. It kinda felt like paint by number and I enjoyed it. These took FOR FREAKING EVER to dry though because there were so many steps. The biggest time sucker on these was drying time. Okay so at about this point I'm really becoming obsessed LOL. I took so many pictures it's unreal AND I decided I wasn't going to take pictures of the painting and all the tiny details because I wanted to have uninterruputed creative time. Details. Details. Details. These are technically the "before" the details where I paused on taking pictures for a bit. I ended up doing wayyyyyyy more detail than I thought... So these are pictures after ALL the details! I could not walk away from these... I did these in 2 days and both nights I had to drag myself away kicking and screaming at 2AM... Hahaha not really--- but kinda.... Now that those are done it's on to the other half of the set. I didn't over bake these LOL. I had a HARD time with color scheme... I have to say this was the HARDEST set to design. I must have stared at my sketch book for 3 days. Initially I expected him to pick a red and black theme being that it was "Jordan Year" so I was already planning and dreading that (red and black are the hardest colors to mix). Then he sent me that set of 6 and my brain exploded LOL. I finally decided on black and gold and white. I decided to use the transfer method for the Air Jordon logo on the top of the box. I did a double layer and to my delight it did not break!!! I used some light food coloring paint to give me a guide for my letters. That worked well. "Jordan Year" wasn't in a great position but eh I'll work on that next time. Text is hard. Something I get to practice more of. I'd like to improve on my text placements. The 23 did me right though. Inspiration:At a glance it's probably hard to tell what my Jordan box was supposed to be but side by side it's not too shabby LOL. This is a side by side of the cookies and the images I was sent. I don't think he expected me to do them all but he lucked out by sending me 6 lol That was already a half dozen I just had to create the other half... Not easy this time by the way... as I mentioned haha. For the last bit of the inspiration section here I want to show y'all how far my skills have come in a year! It's kind of hard to believe that it's only been a year looking at these photos. I still don't feel like I've reached my potential but I can tell I've improved... My love for the art has grown and my process as far as dough and icing is pretty solid now. All that helps a lot. I'm making these sets much faster than when I started and they're much more detailed. I'm heat sealing them now too. Upgrade. OKAY. I'm finished with all the blabber it's time for... PHOTOSHOOTWooo you made it!
Thank you SO much for hanging out! I greatly appreciate it! Have an awesome day and until next time. Much Love. Amanda
0 Comments
Leave a Reply. |
Previous
June 2024
|






 RSS Feed