|
Hello hello! Okay. I know. They're NOT cookies... BUT it was my kid's birthday and he wanted cupcakes... not cookies. So I had to go with fondant toppers. Now that we've gone over that, get ready for this adventure! Homemade fondant is kind of a chore the first few times you make it, but after some experience you get wise and learn a few things and it gets easier.
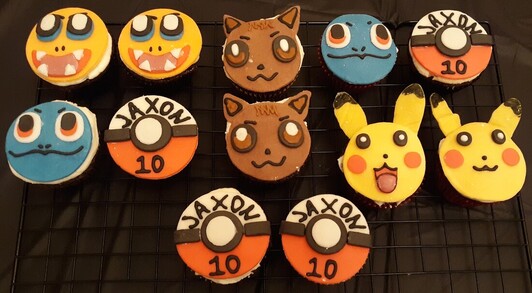
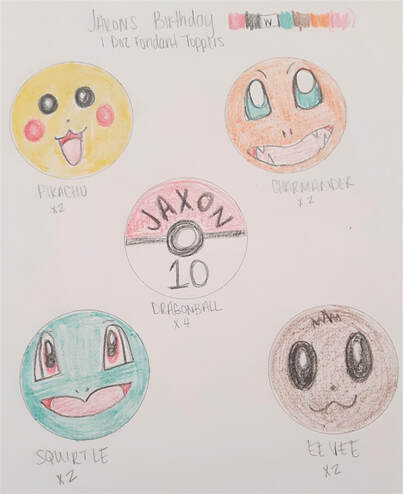
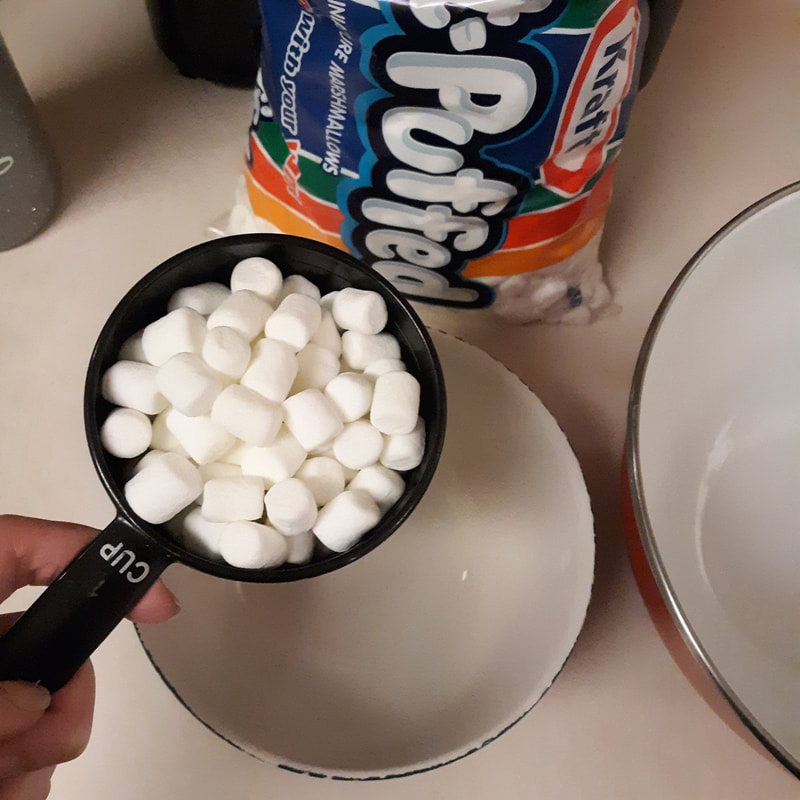
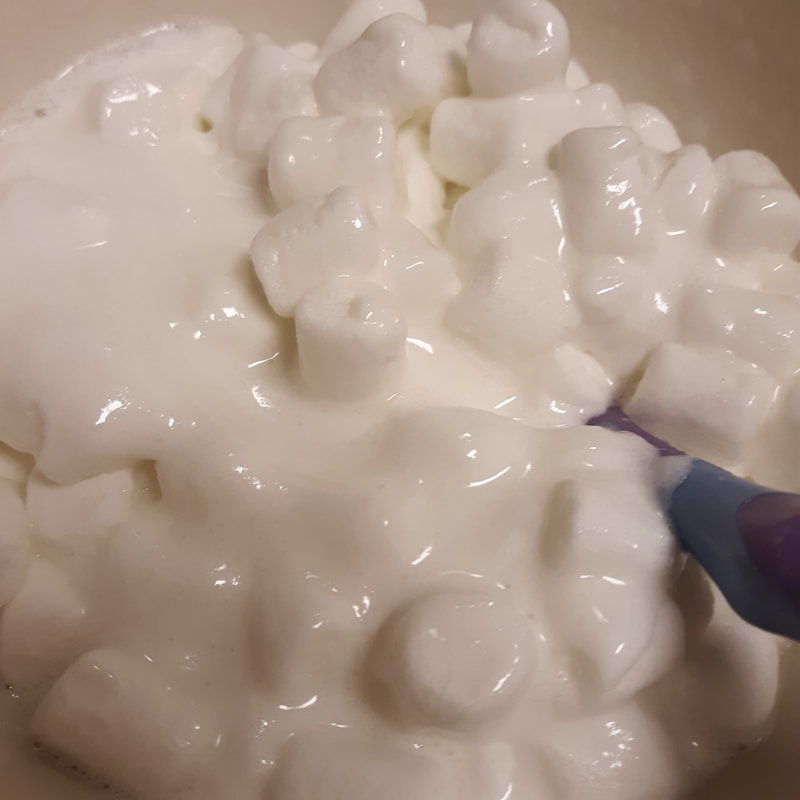
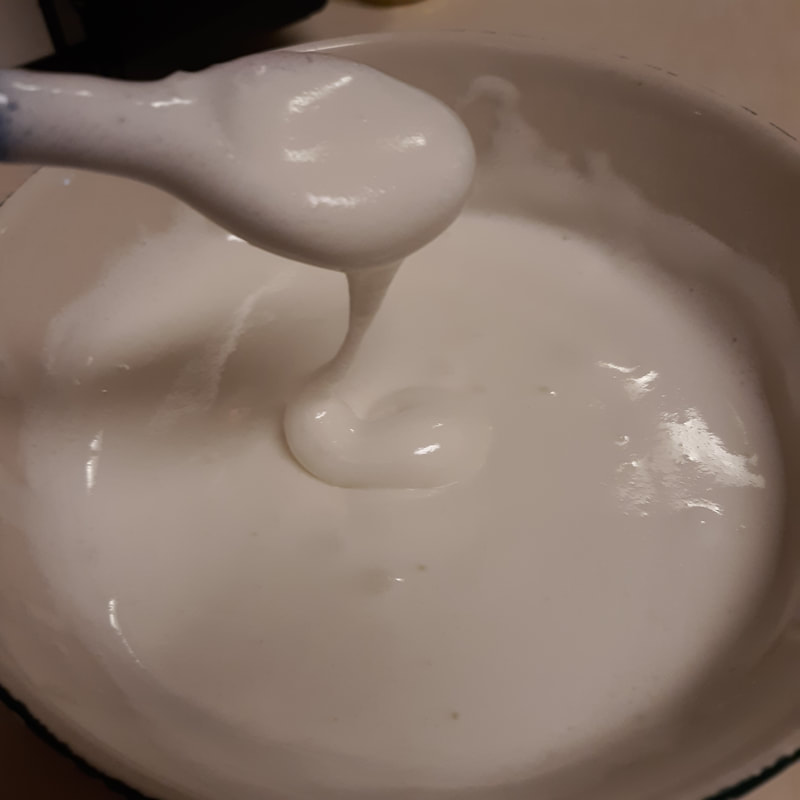
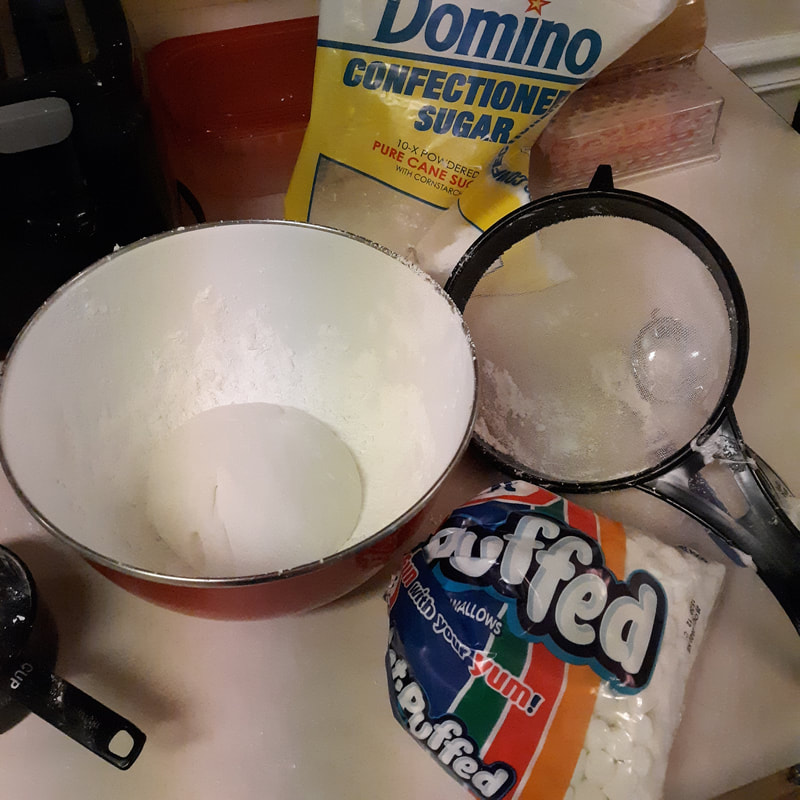
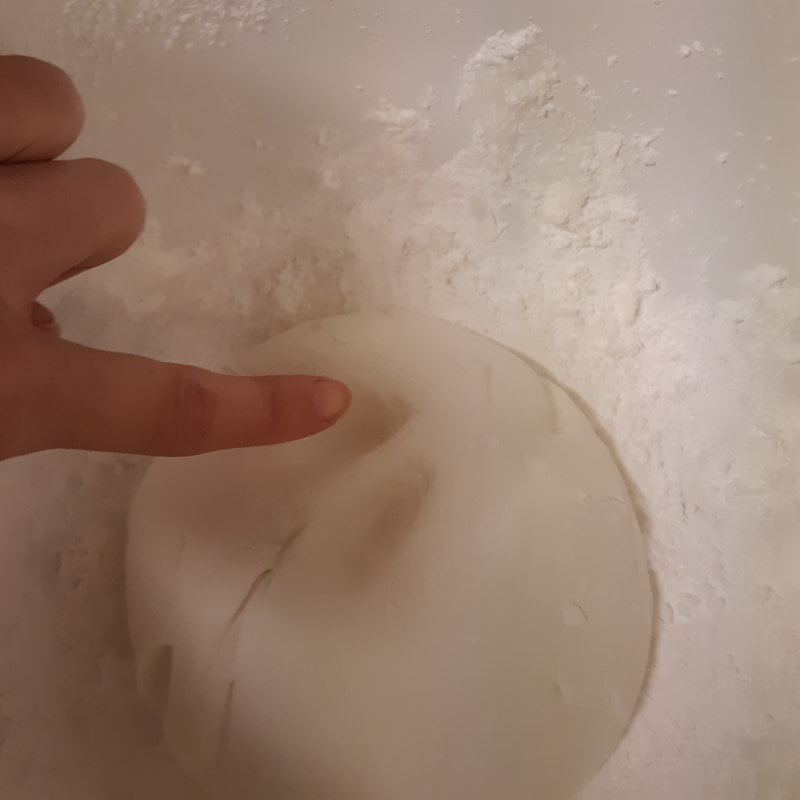
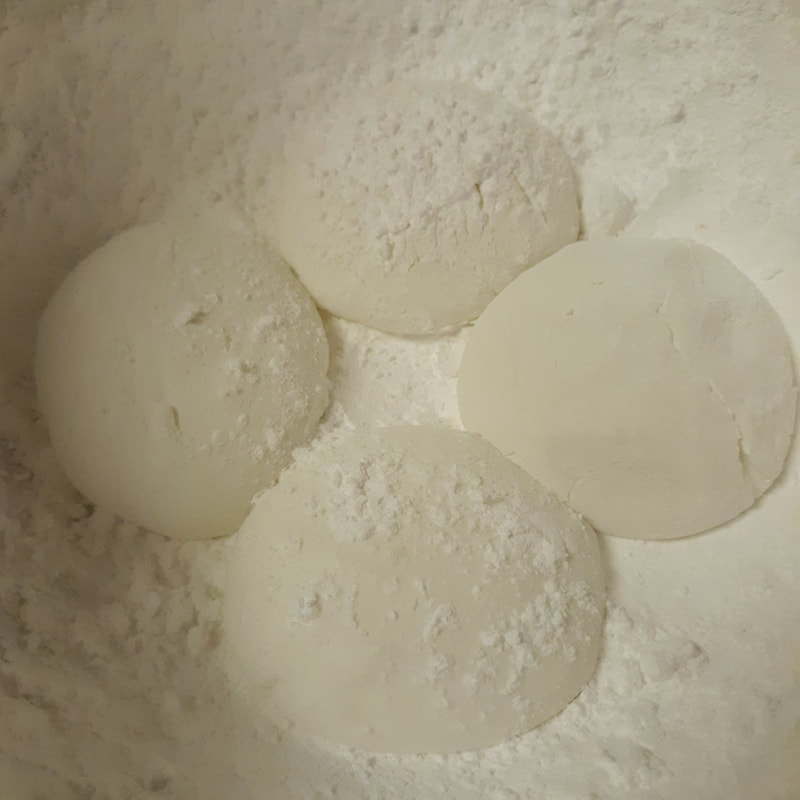
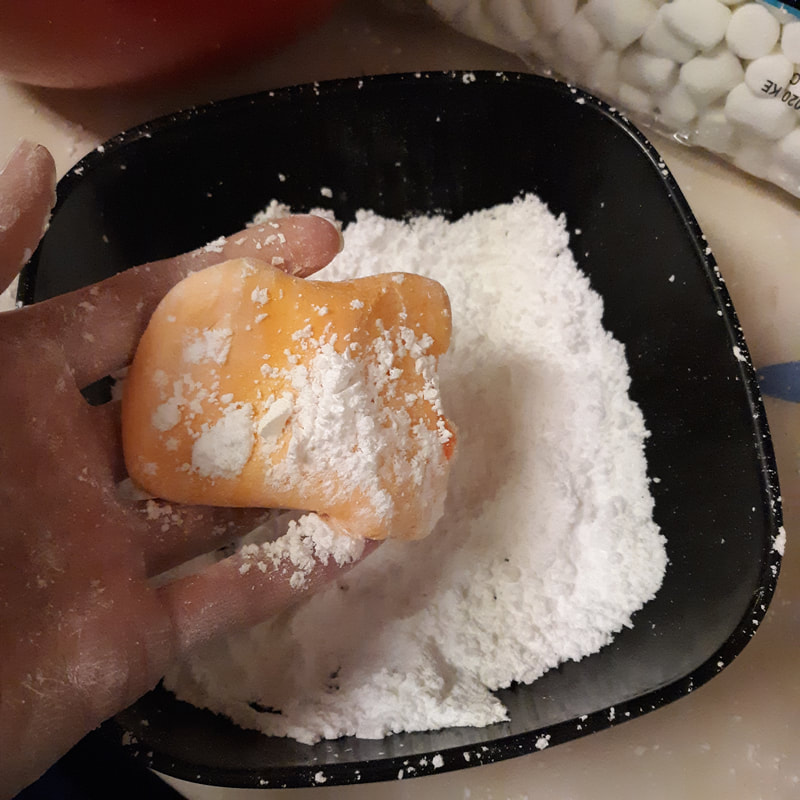
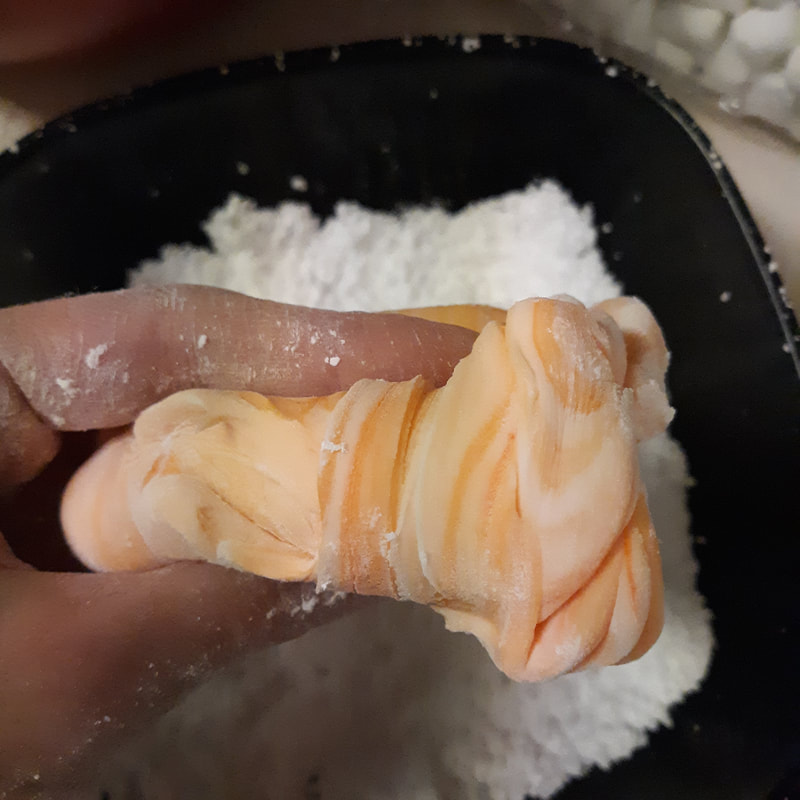
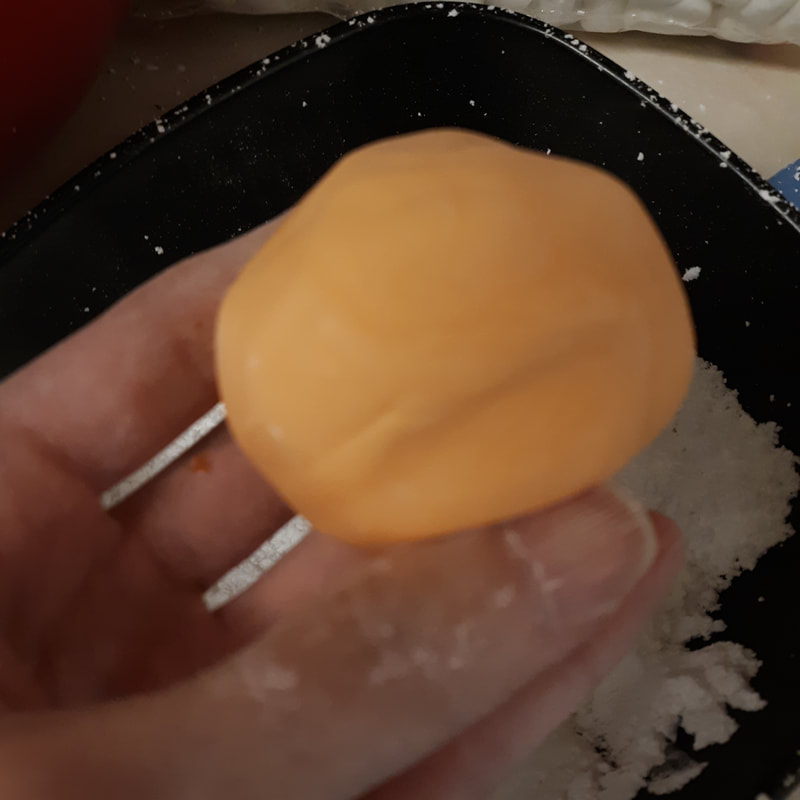
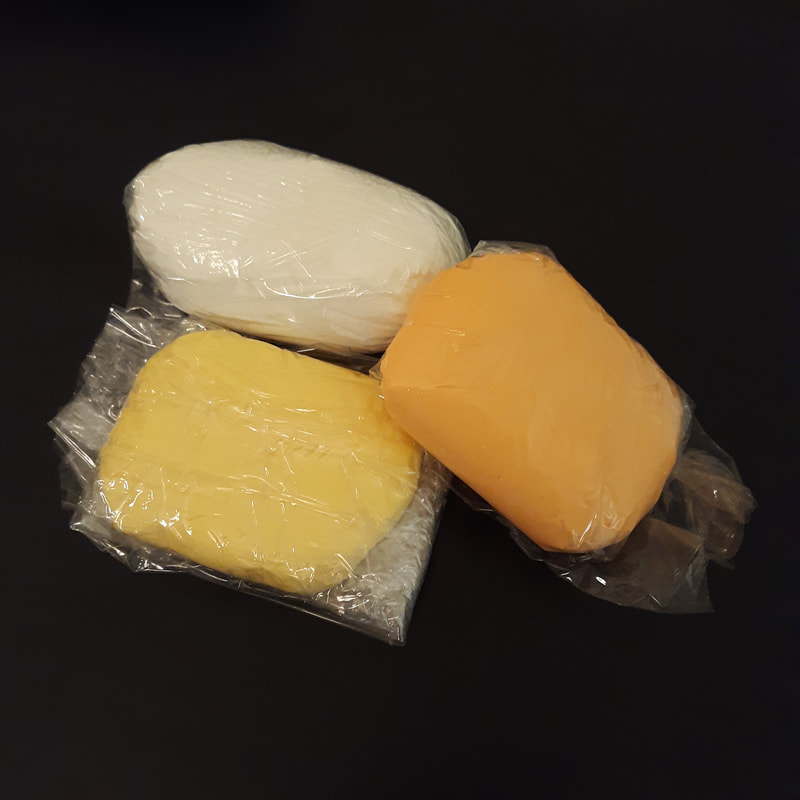
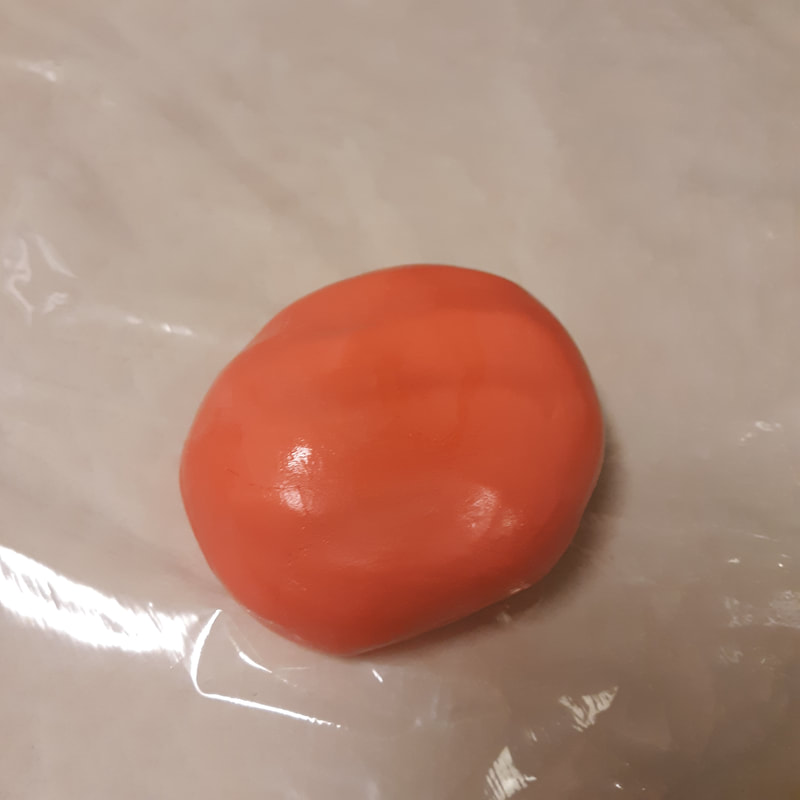
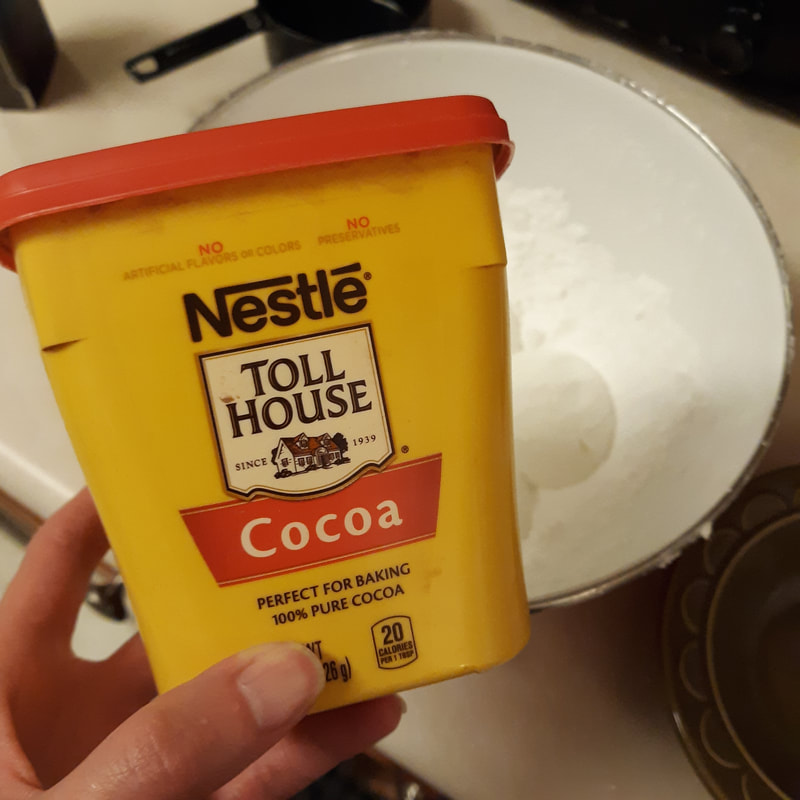
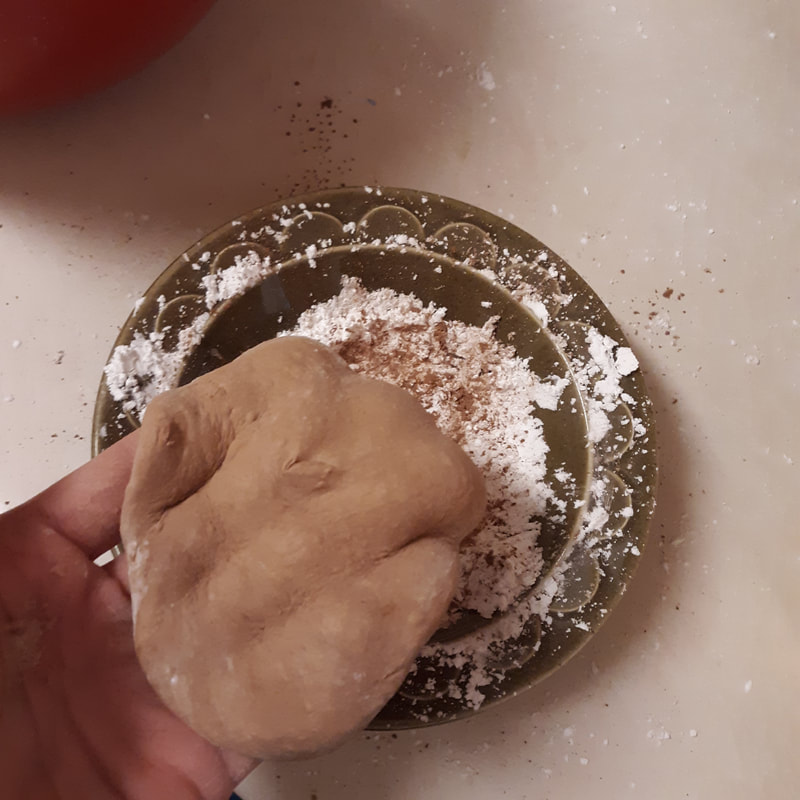
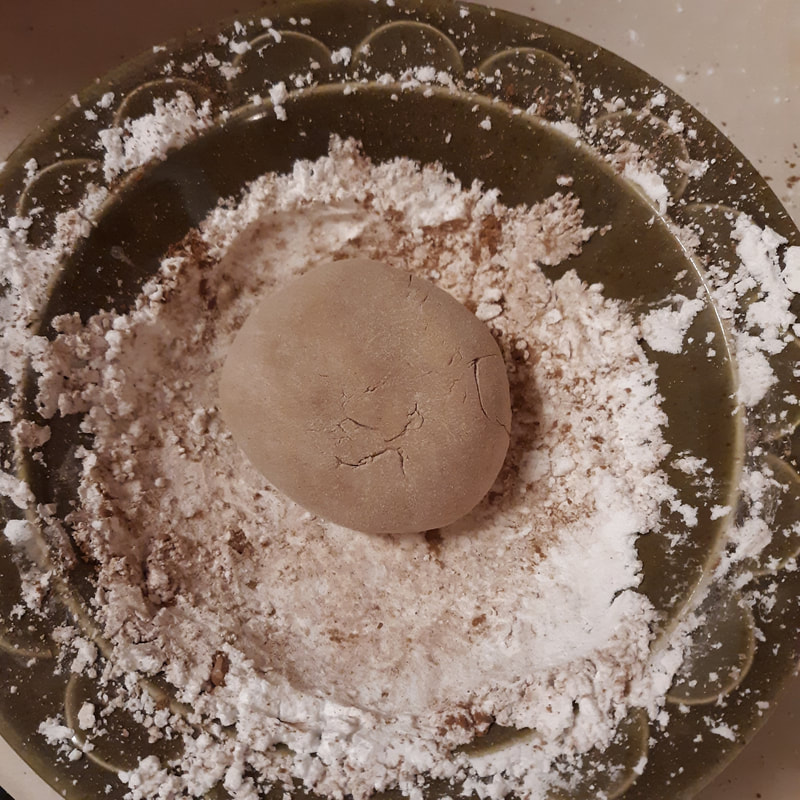
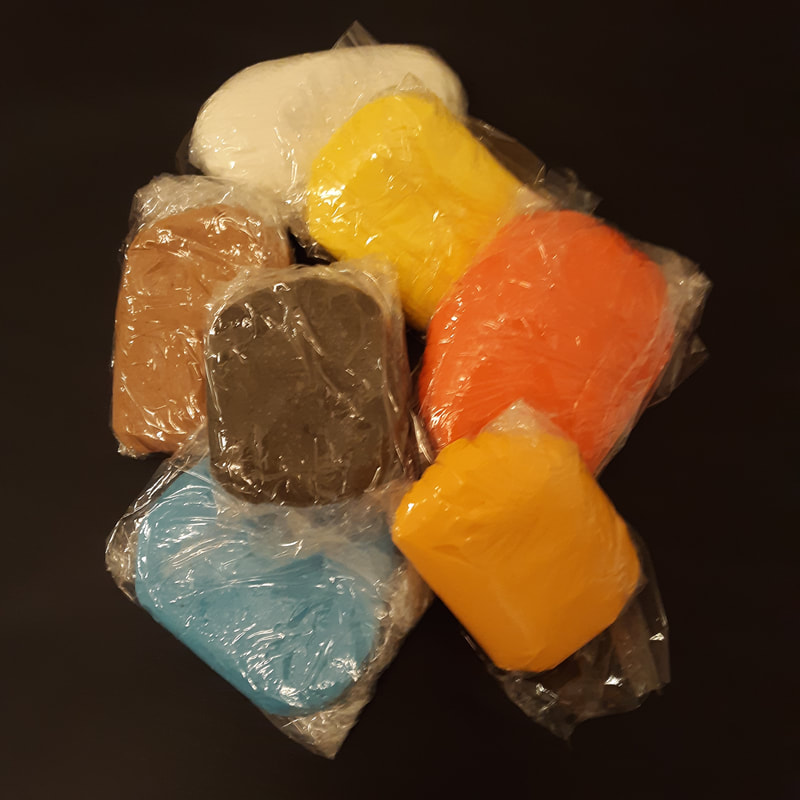
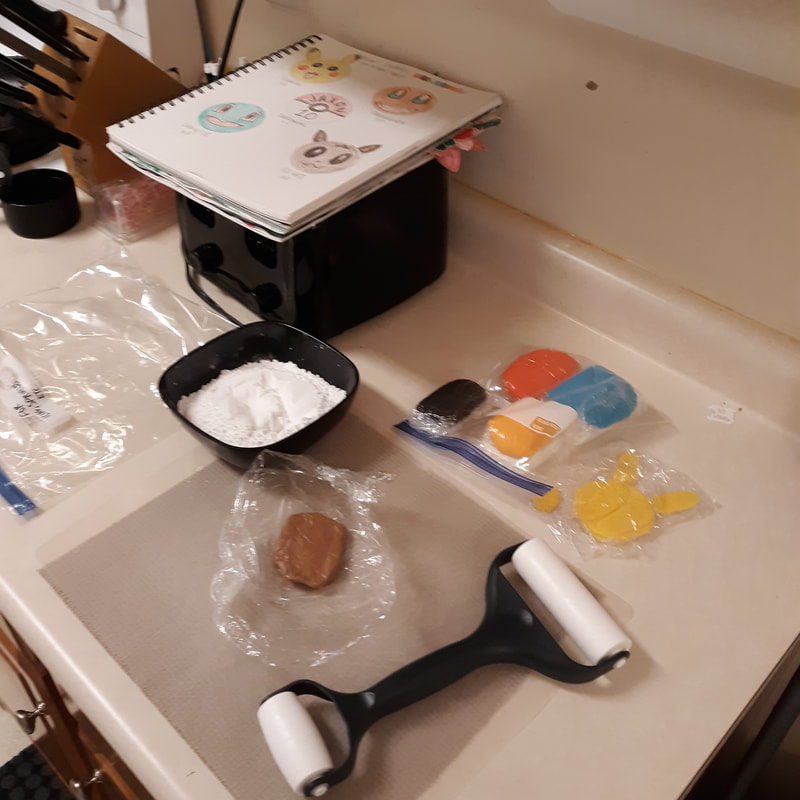
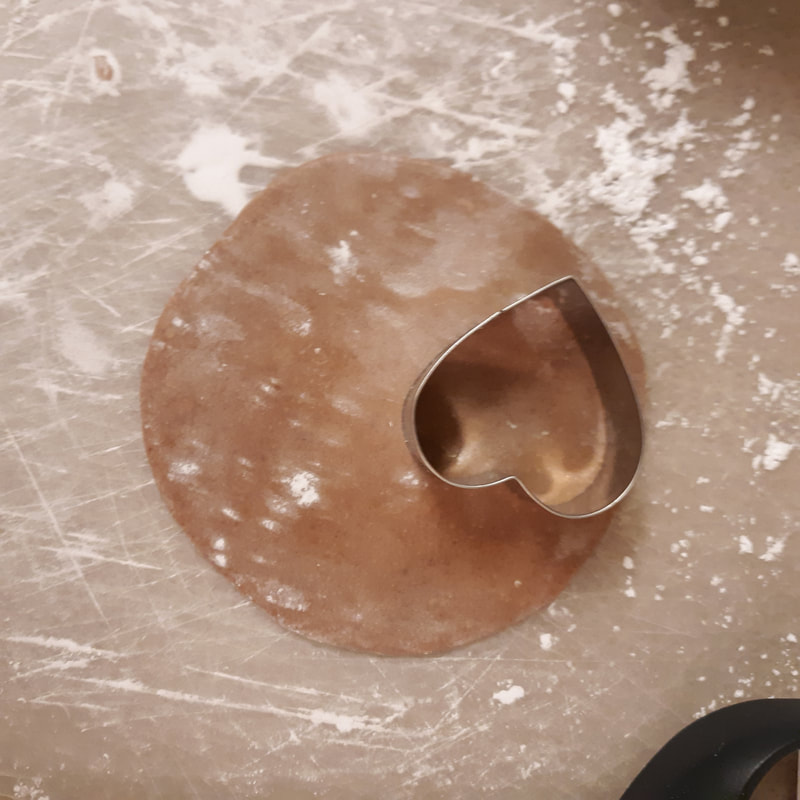
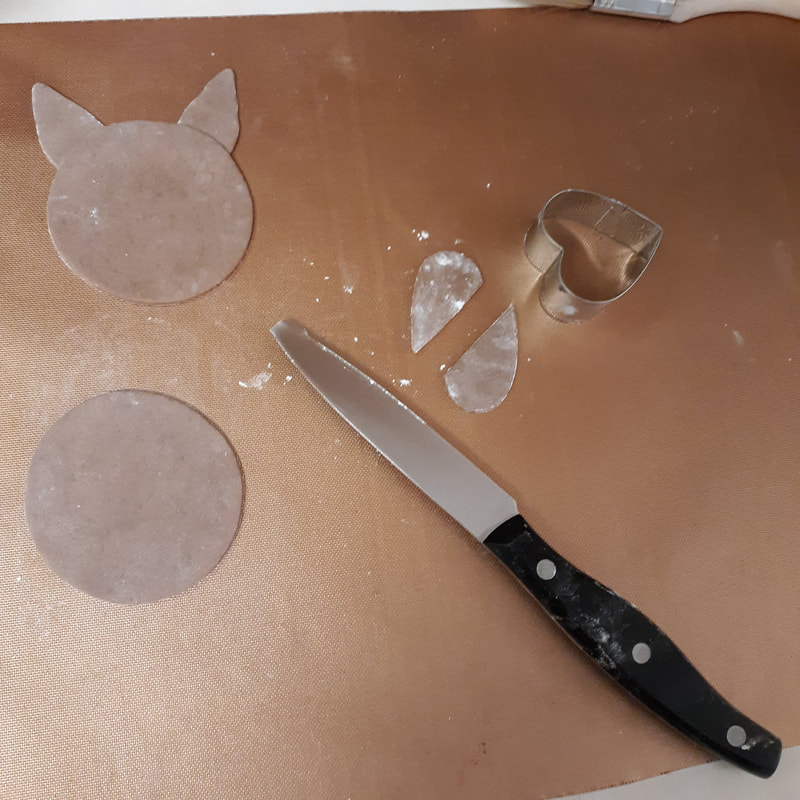
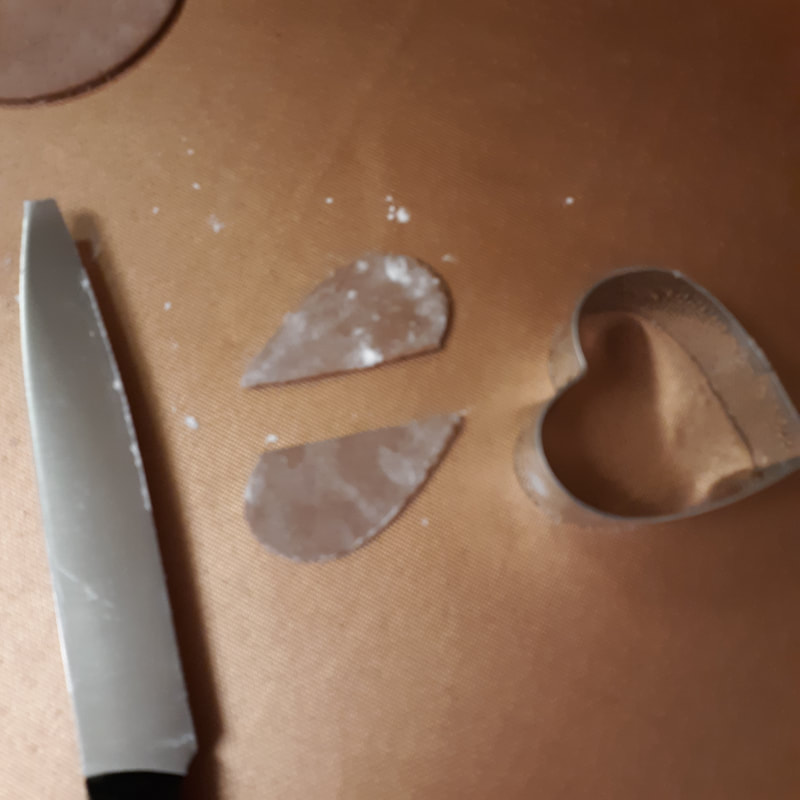
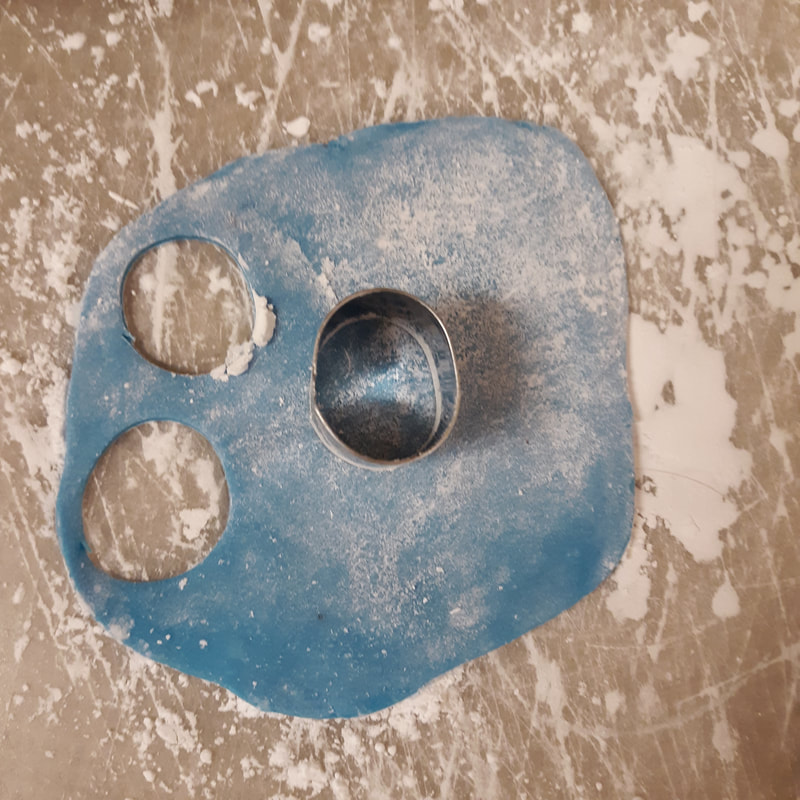
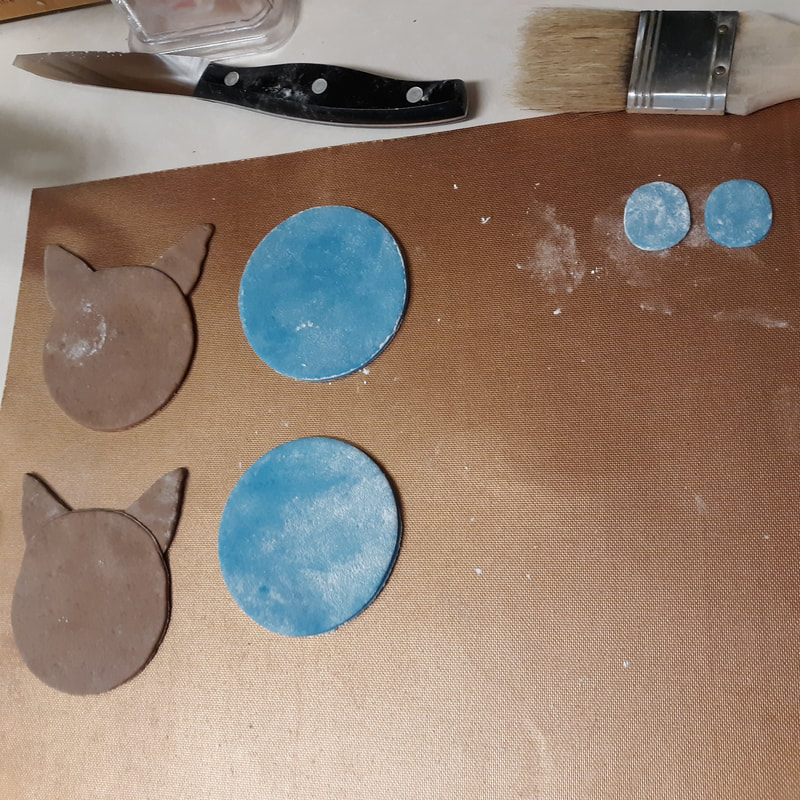
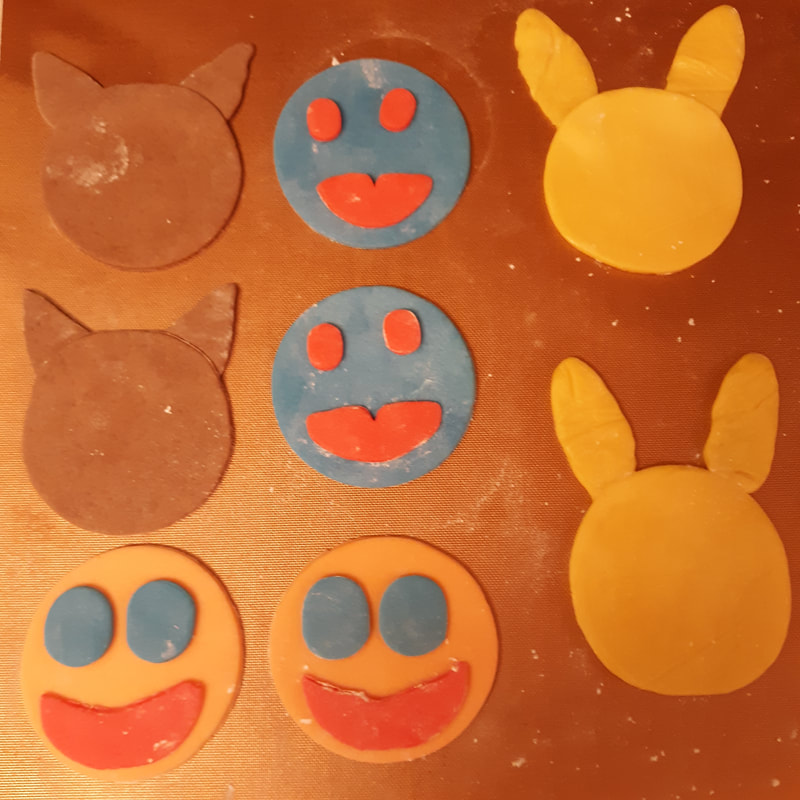
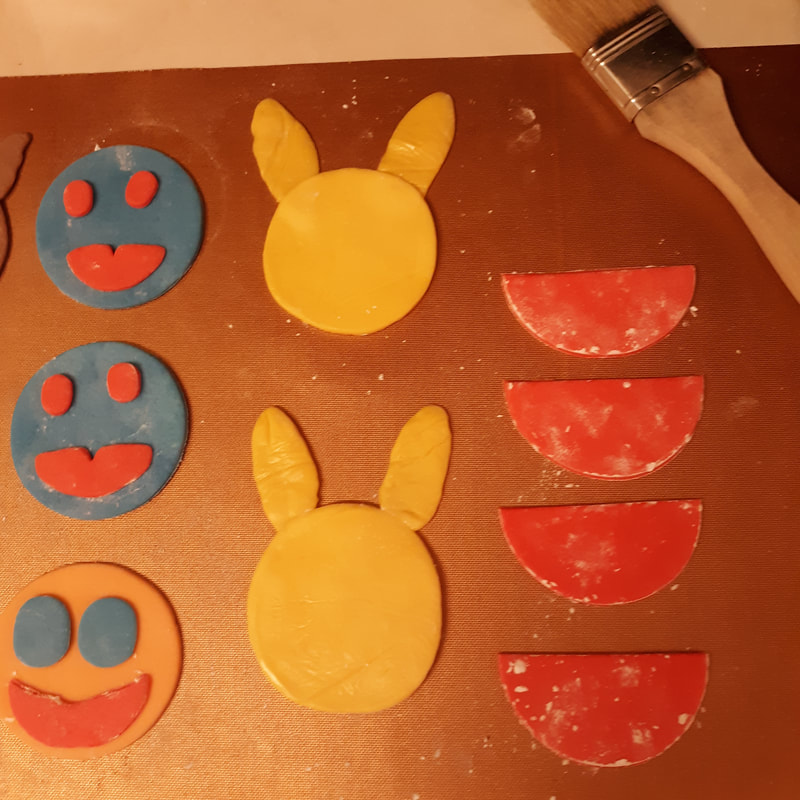
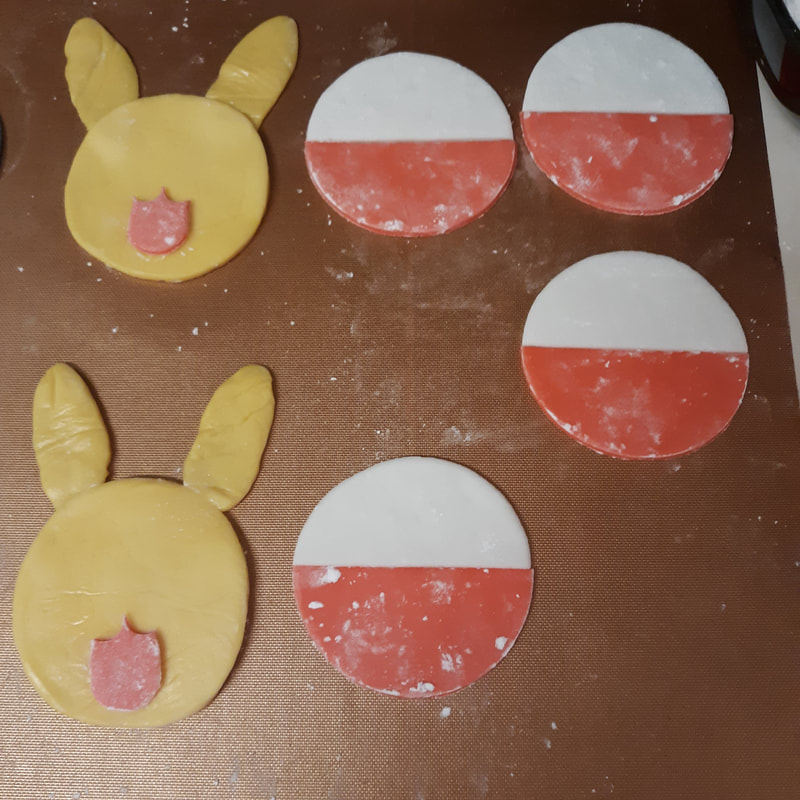
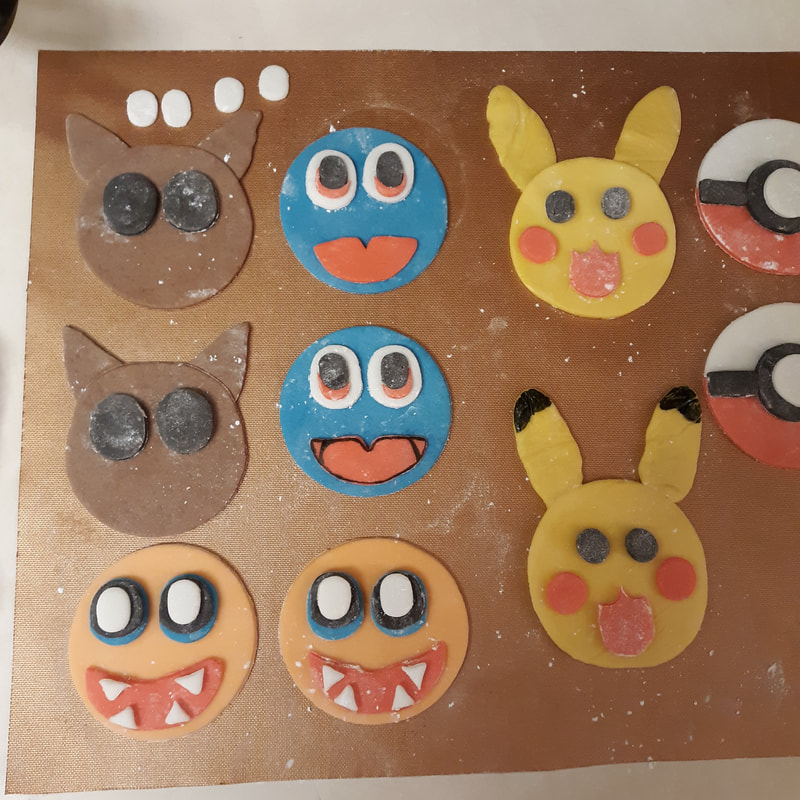
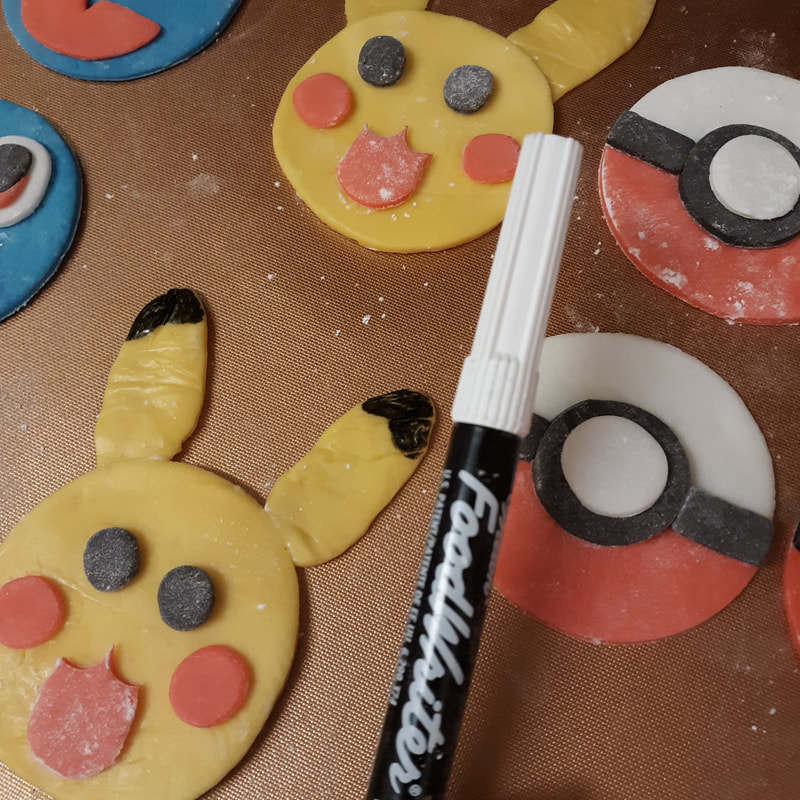
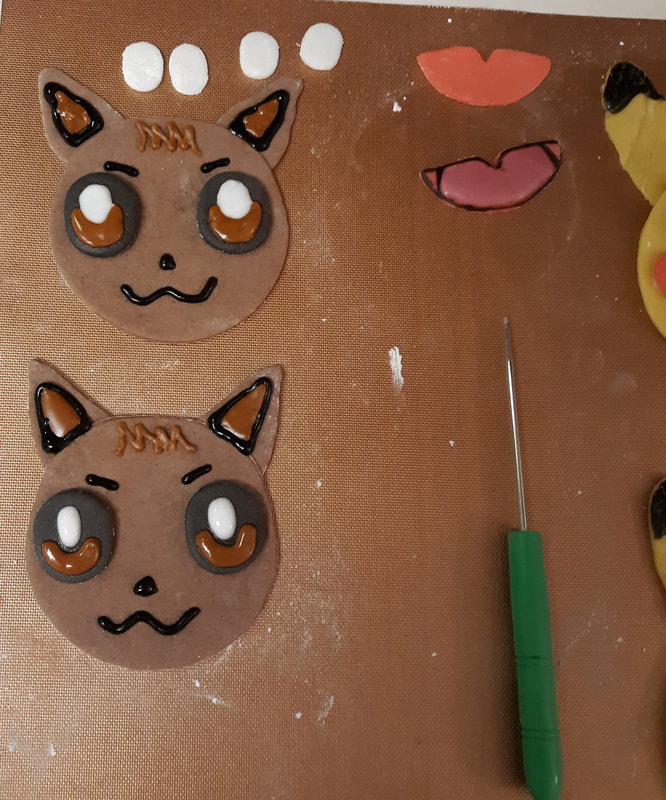
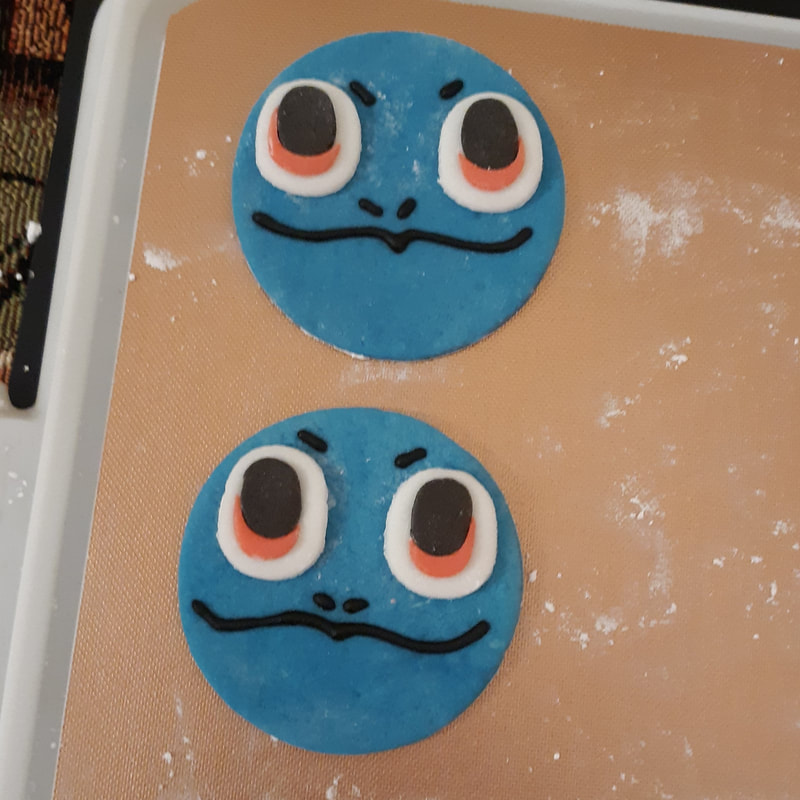
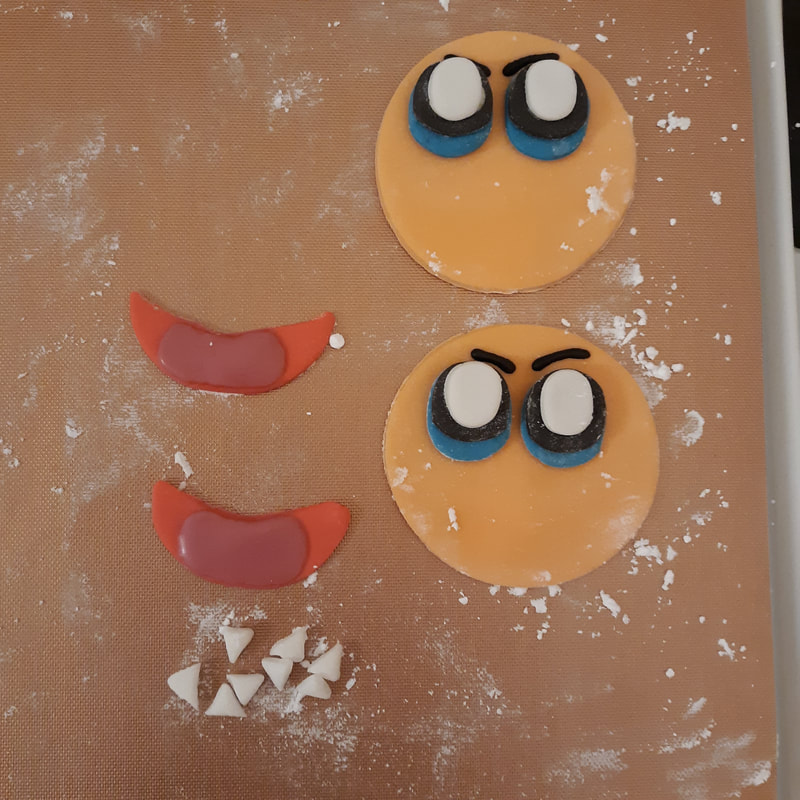
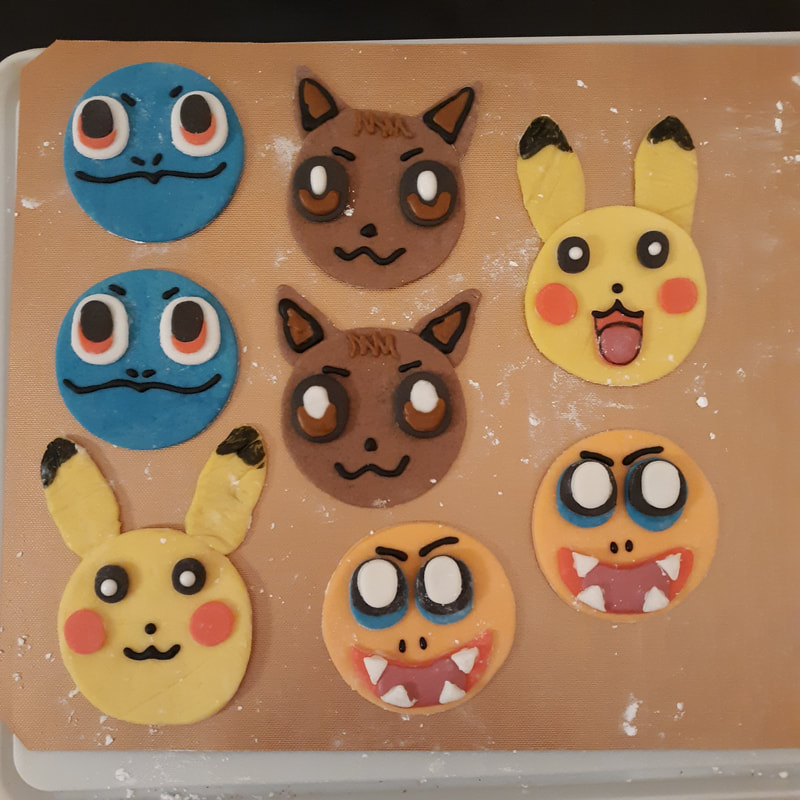
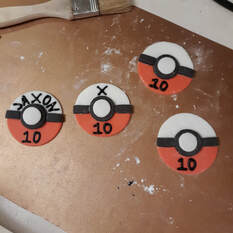
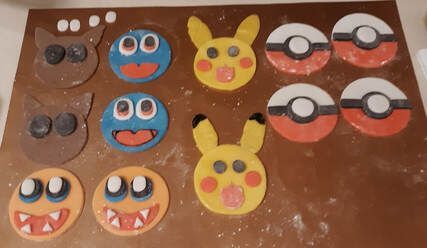
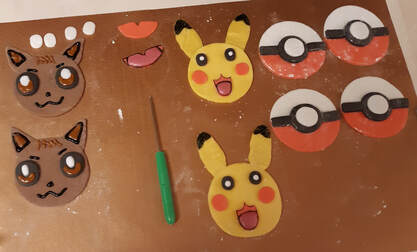
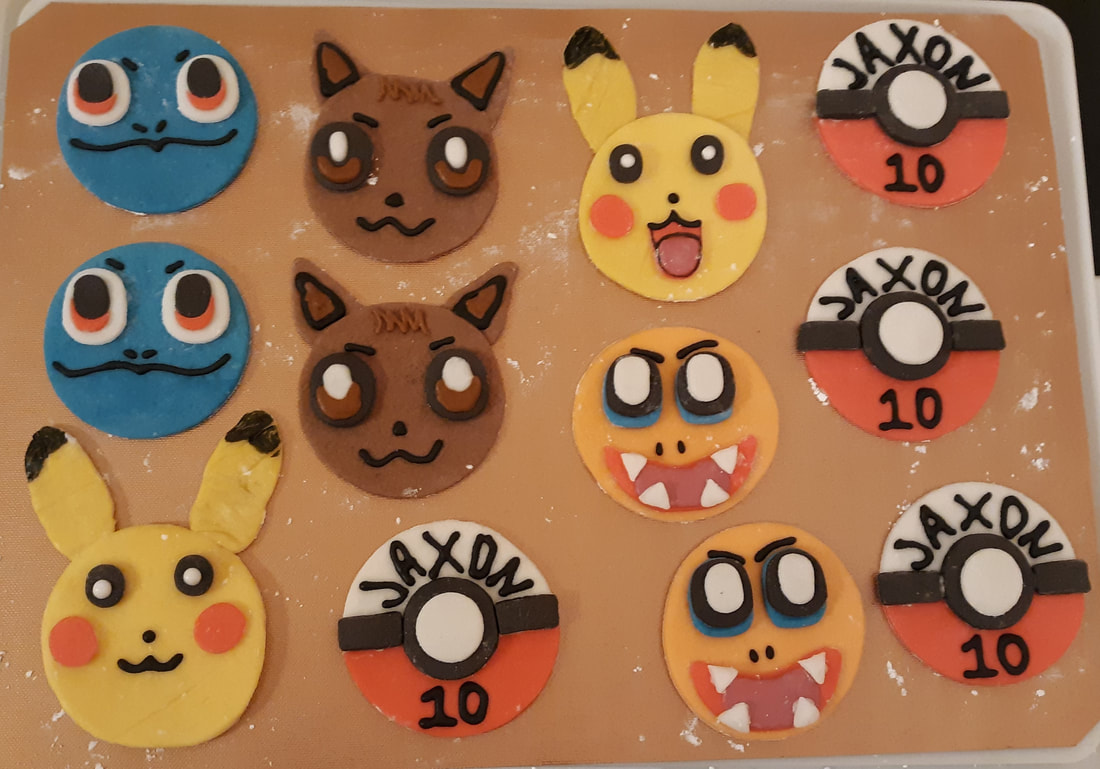
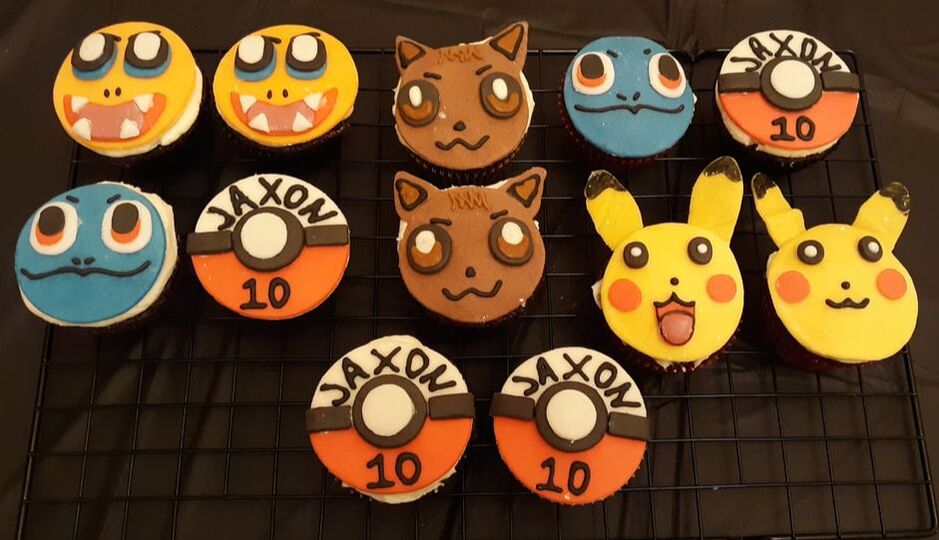
Anyway onto the creating! First stop is making the fondant. It's just marshmallows and a tsp of water into the microwave. Melt them down. Once it's a melted sticky mess you start adding powdered sugar until a dough forms and it's no longer a big sticky mess. You want to sift your powdered sugar so you don't have to deal with lumps. Absolutely no one has time for that. Okay so fondant is made. I'm pretty sure I ended up using 2 cups of marshmallows and I wasn't sure that was going to be enough but it was PLENTY. I still have some in the freezer... probably never going to use it LOL. Well I did use a tiny bit for a Father's Day set I made, but I digress, we'll get to those later. Next step is adding color. This is where I got wise... If you plan to make fondant and need to color and work with it extensively.. use powdered sugar like bench flour and keep it in the powdered sugar both while it's sitting and as you work with it.. it will get sticky really fast and you will get frustrated within minutes if you don't do this. Trust me I've been there.... nightmare. It doesn't affect the color as much as you'd think.. it soaks it up quick and becomes sticky again pretty fast.. I used both gel and liquid color as needed. Neither one gave me issues. *Please note I live in the South so it is HOT in June and humid... so other climates may not have as many issues but I still consider this a #protip. Okay I wanna pause for the cause right here because I heard a rumor that I could add chocolate powder to not only my fondant, but also royal icing to get a black faster... and I needed brown anyway so I figured eh let's go for it. I Will still be testing this with royal icing in the future but after seeing how well this went I don't see why it wouldn't work and also... it makes it taste absolutely DELICIOUS. And there we have it all the colors are made and we got our chocolate fondant for Eevee and our black which... yes much easier to get to black from brown.. no doubt. Now on to cutting out the shapes and making the Pokemon! Okay so #ProTip time... Let your fondant sit a a day or two before attempting to work with it. I wish wish wish wish I had known that earlier BUT knowing it for this project was a lifesaver. I think I let this fondant sit for a few days I can't actually remember, but I wrapped each one in plastic wrap as you can see from above and then I bagged them all up. I let it sit on the table in my kitchen at room temp for a few days. (the key is to keep it sealed so it doesn't dry out. Once it dries out it's like hard candy, however, you can save it by putting it in the microwave -I've been told but not tried myself) It was much easier to work with after allowing it time to rest. Still sticky though so keep that bowl of powdered bench sugar handy. *IMPORTANT SIDE NOTE* Y'all see that cute little roller in picture number one at the top. That was a gift from my bestest friend and it was the freaking best thing ever. It was SOOOO nice not to have to worry about a huge roller on my counter while I was working with my fondant and I felt like I had more control. I highly recommend it and if you want one you should holler at my girl right HERE on her Pampered Chef page and she'll hook you up! Okay credit has been applied where credit is most certainly due so onto the rest of the characters. OH! Well before we go here I just want y'all to know... they look super creepy while they're being made LOL. I don't know what it is about faceless circles but they're durn creepy. So... trigger warning.. or something? LOL. I do a lot of creating at night so the light is wack on a few of these but eh... Also I'ma talk about those mats for a minute. I'm not sponsored or anything and I don't really know what they're called but I got them from WalMart they are nonslip/stick cooking mats... Y'ALL I have found absolutely NOTHING that sticks to them... as a matter of fact I've almost lost cookies because they are SO nonstick.. I can't decorate cookies on them anymore because I've almost flung cookies right off of them too many times!! They are oven and grill safe and I've used them to cook everything from potatoes to chicken to whatever.. I've tried to use things that normally stick like crazy and it washes RIGHT OFF. I think it was like $10-$11 for a set of 4 and they were all pretty big.. I had to cut them down to size (which is a thing you can do.. pretty cool) OKAY I know that was kinda boring but hey man... it was necessary. I wish I knew about them sooner. Stop using all that aluminum foil and getchu some of those babies. #SaveThePlanet Umm what's next. Welp I got most of the work done it's time to add details and finishing touches and time to scrap some things. I did end up using royal icing for some of the details seeing as nowadays I have royal icing in just about every color in my freezer. I only used the food marker for Pikachu's ears and then I was like.. naw bro get that icing out. Okay so we're at the finish. Notice how everything has pretty much stayed covered in powdered sugar lol that was absolutely necessary. Do the thing. Use the powdered sugar. Some of the pictures up there are farther along than these below. That's only because of the size and shape of them. They didn't fit properly in the set... Annnnd they're finished!! I used royal icing for the whites on Pikachu's eyes, his noes and mouth; Jaxon's name and 10, Charmander's eyebrow situation, Squirtle's mouth, nose and eyebrow situation and Eevee's ears, little hairs, the white and brown of his eyes and his nose and mouth. I think also Charmanders mouth and Pikachu's little tongue as well. I glued all the pieces on with royal icing as well. So these needed to sit overnight UNCOVERED so they'd harden up enough to sit on the cupcakes and not droop everywhere. In retrospect I wish I had done them a few days ahead so they would have been even more stiff but eh they worked just fine. And there they are!! It's hard to tell they're on top of cupcakes but woooo it was so late by the time we got back from doing all the birthday fun and my buttercream was still pretty cold and not exactly wanting to cooperate, it was a race to get them together but Jaxon was soooo impressed and so happy it was worth every second! Well that's all I've got for now!!
I hope you enjoyed this post and maybe learned something! Feel free to drop a comment or a question! Thanks for being here! Much Love Amanda
2 Comments
Ryan Webb
6/25/2020 11:57:17 am
Love, love, love the way these turned out! I loved seeing your process from start to finish and will definitely be using your tips the next time I brave working with fondant! ❤️
Reply
Amanda
6/25/2020 12:12:47 pm
Thank you!!! It is messy so just know you're not getting around that LOL but it was worth it! Definitely let me know how it goes the next time you decide to make it!
Reply
Leave a Reply. |
Previous
June 2024
|

 RSS Feed