
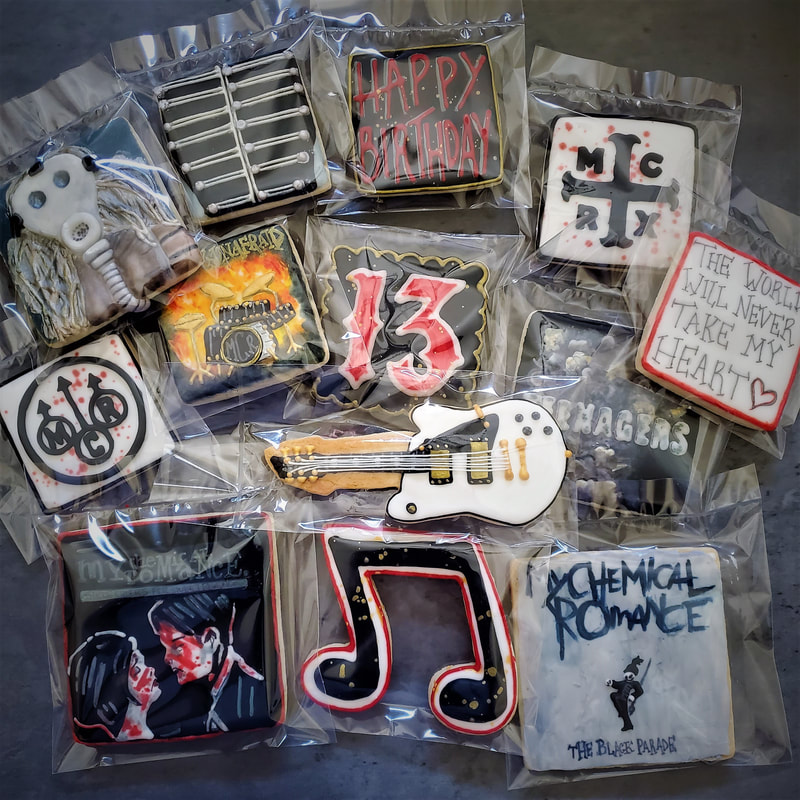
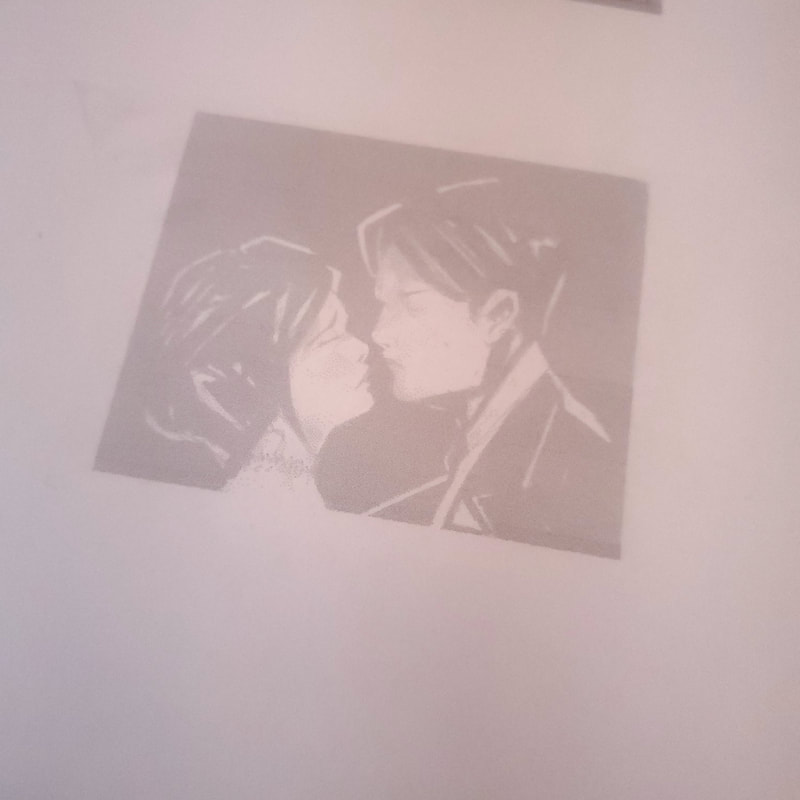
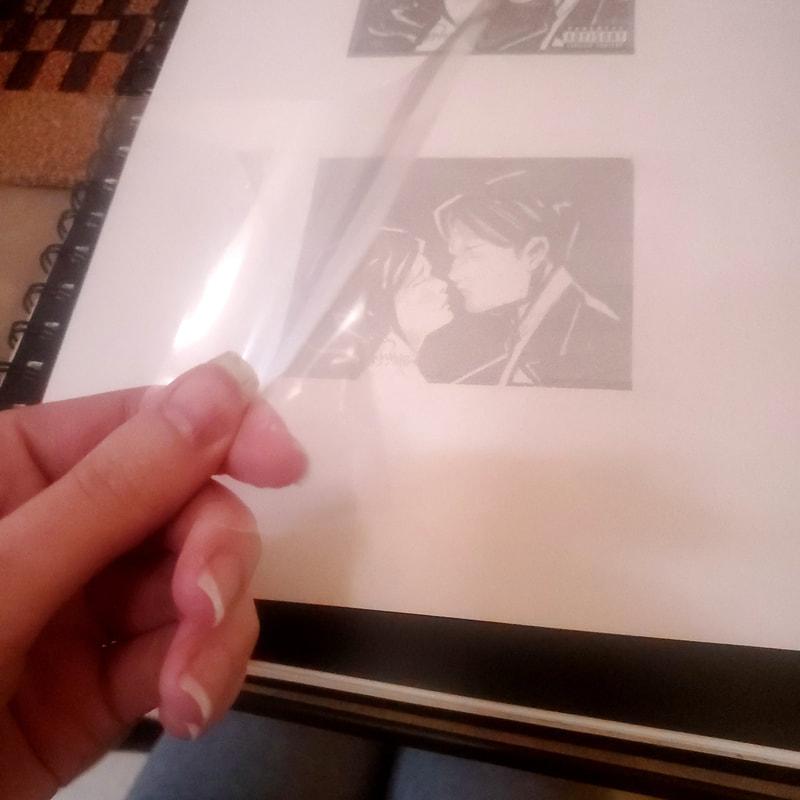
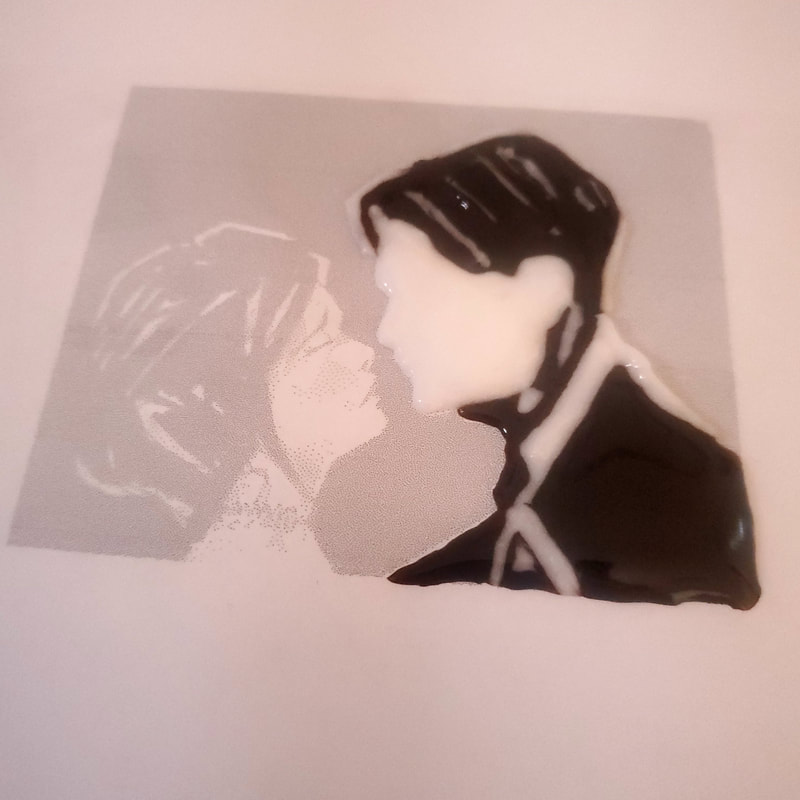
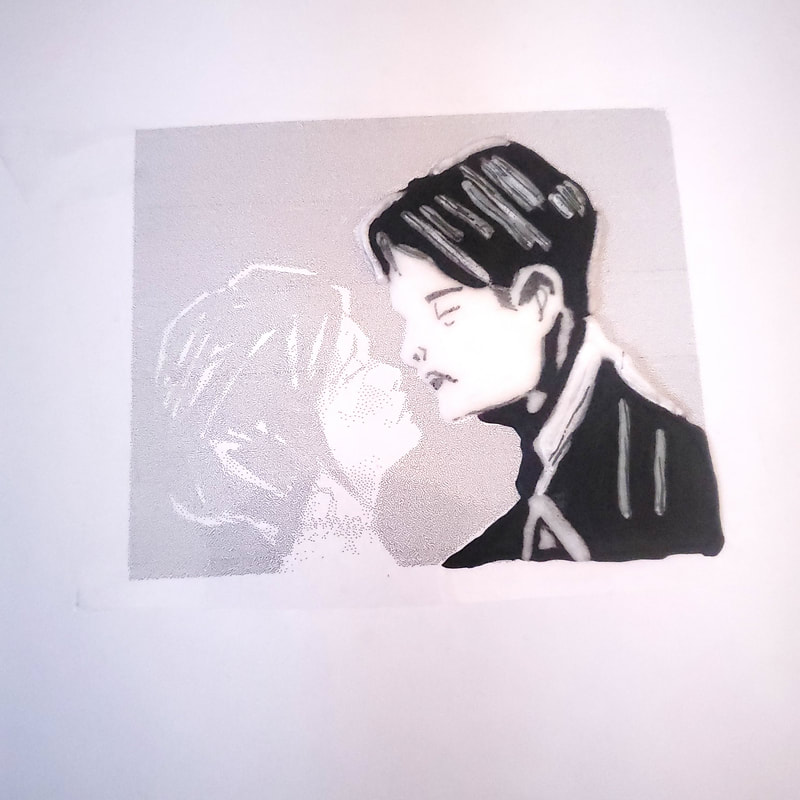
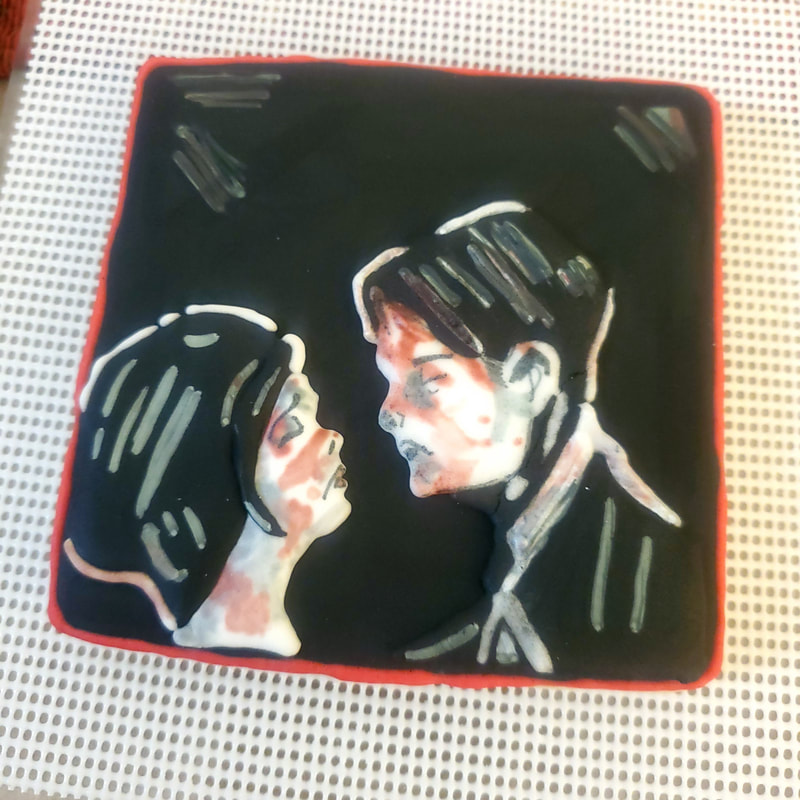
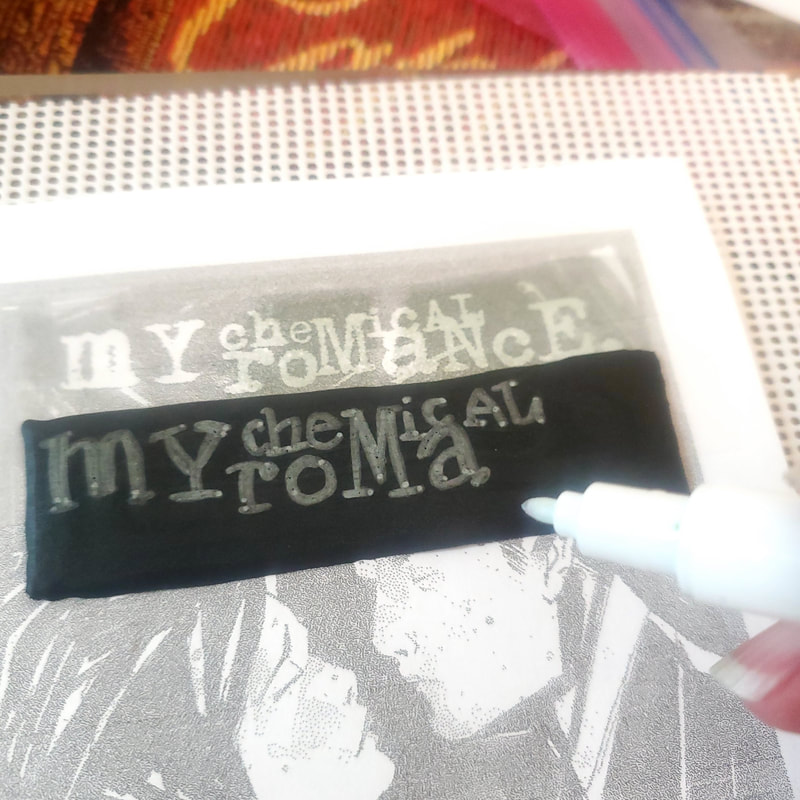
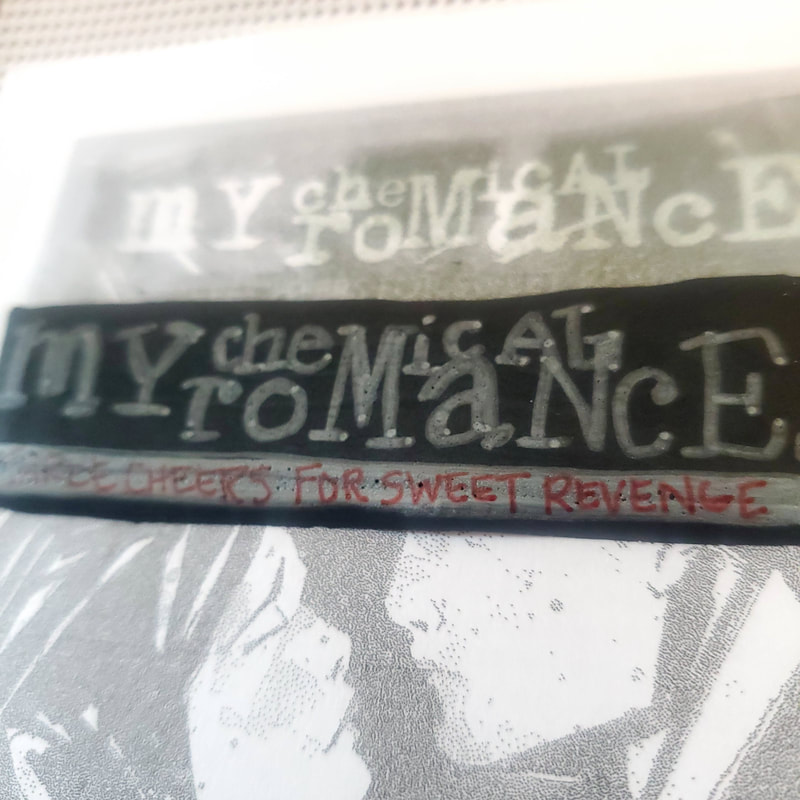
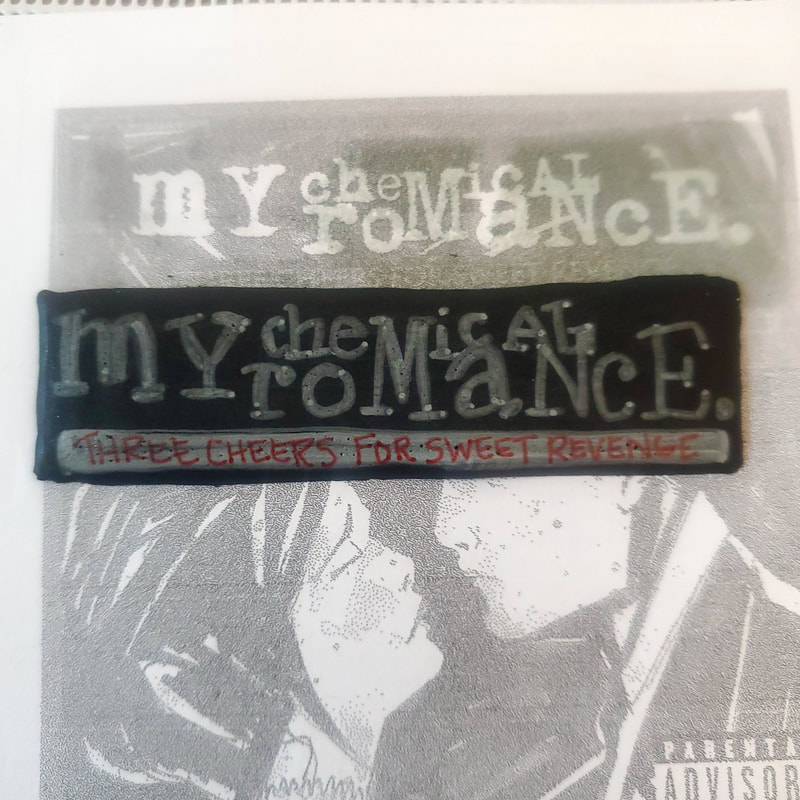
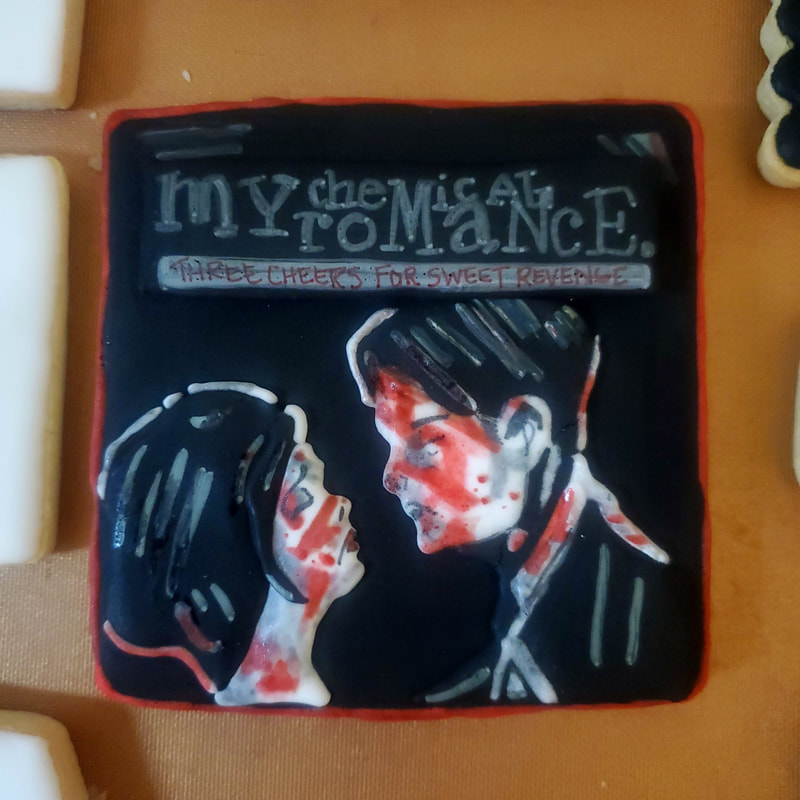
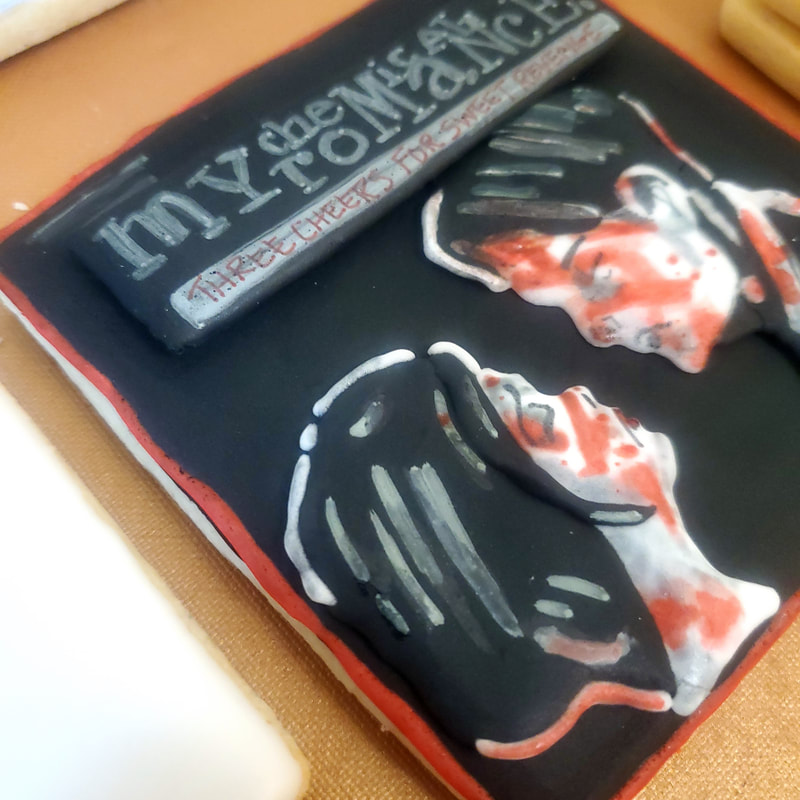
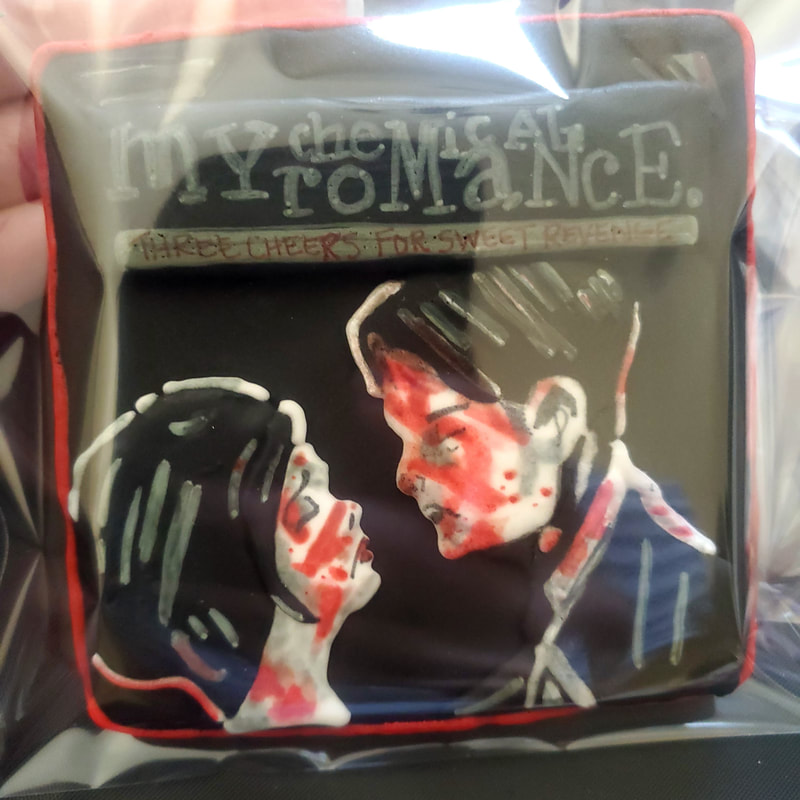
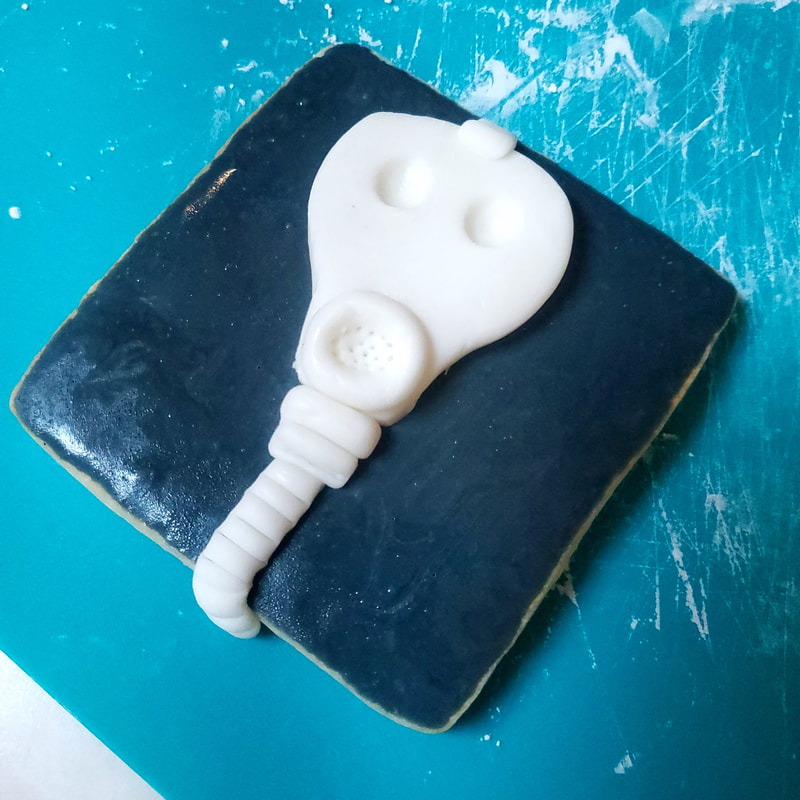
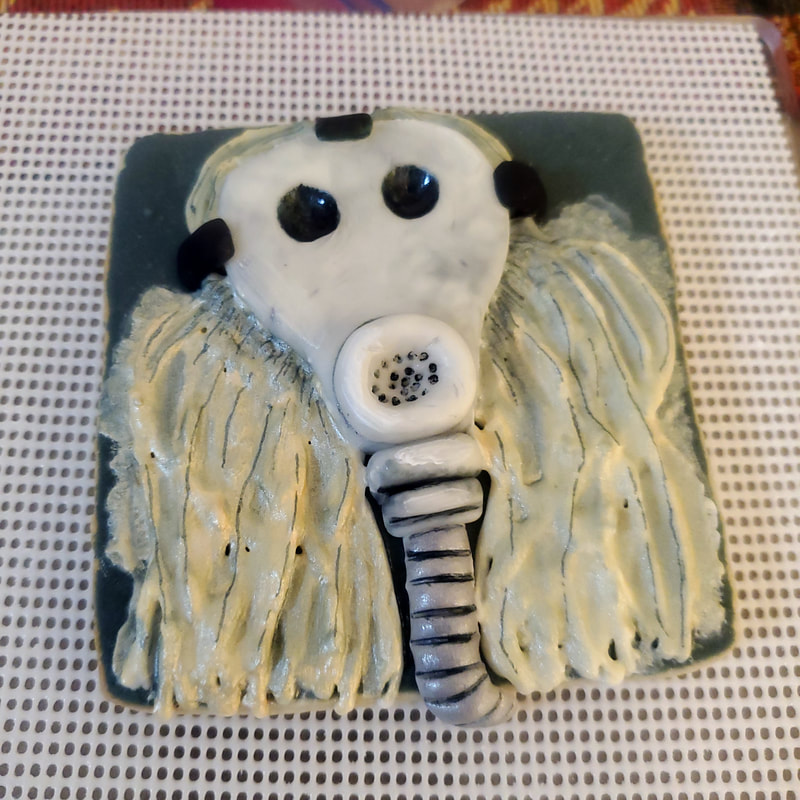
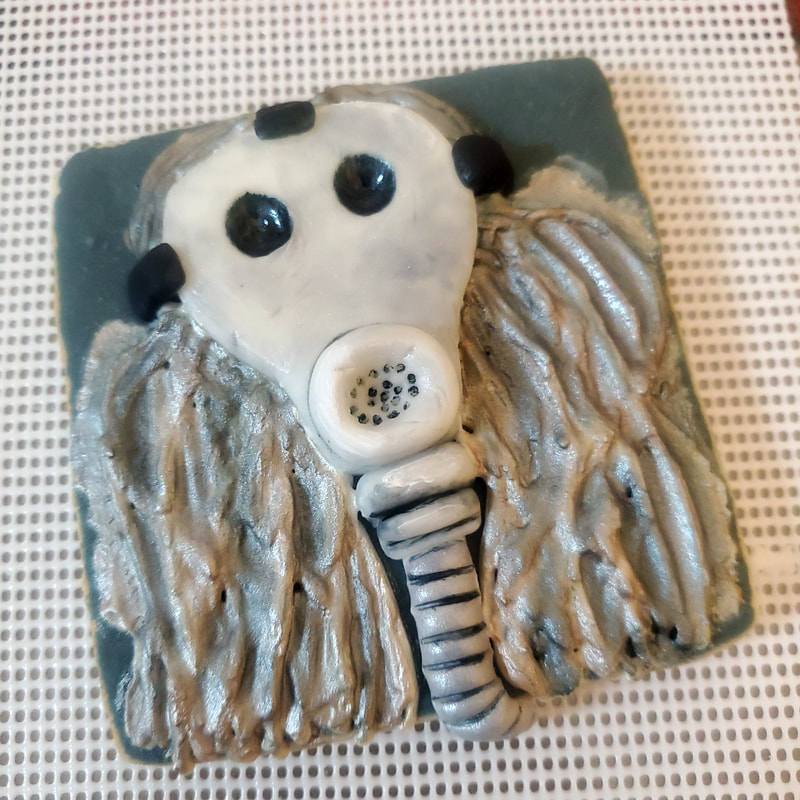
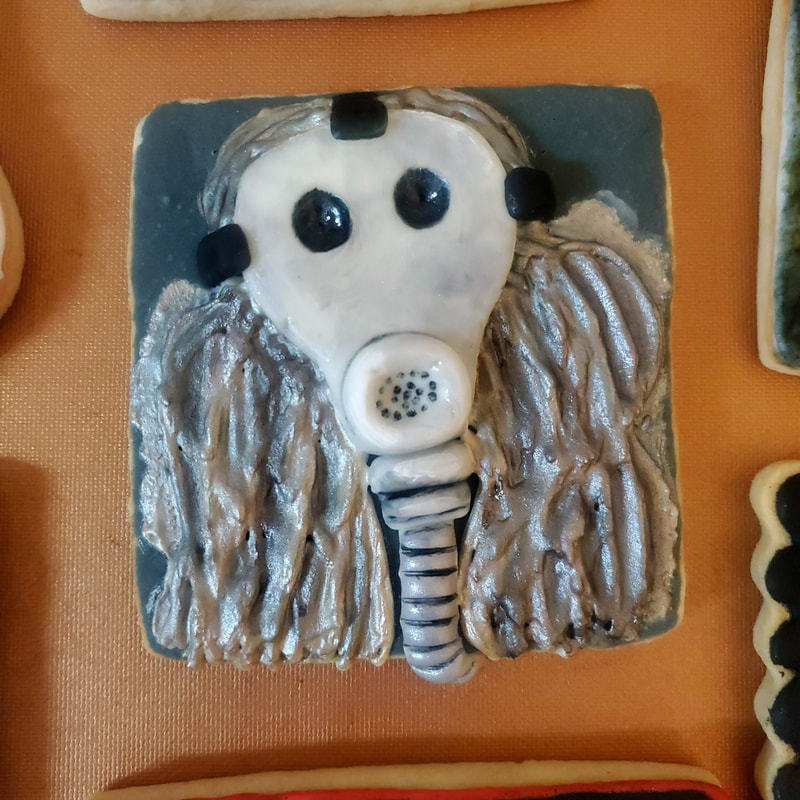
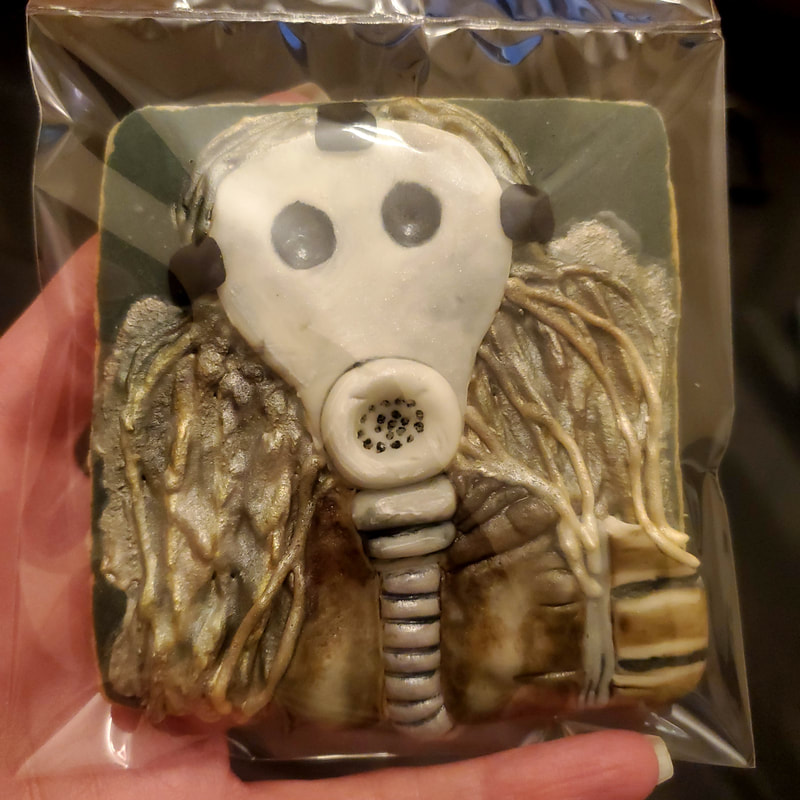
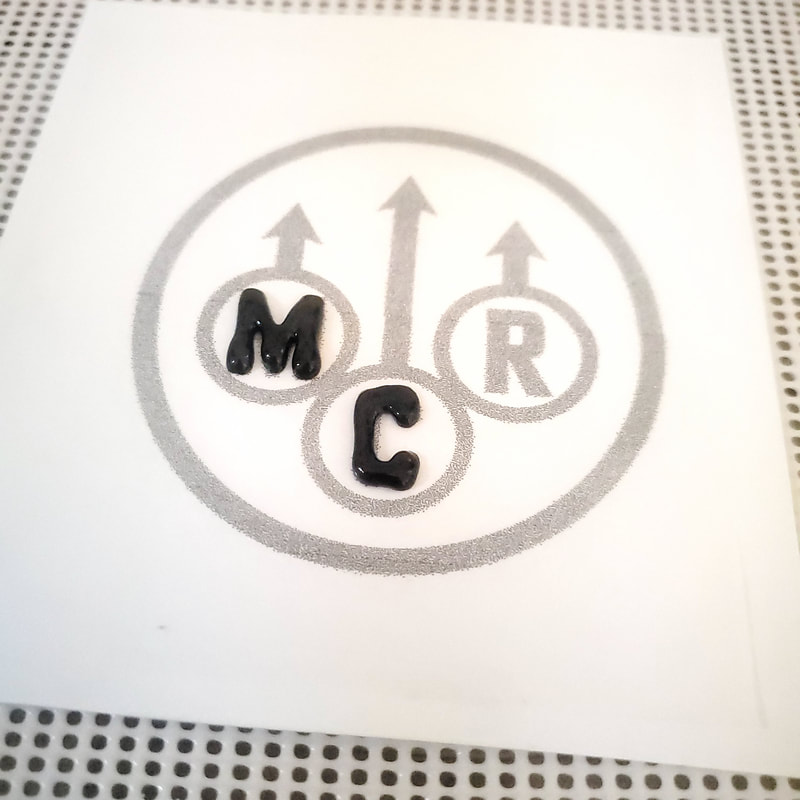
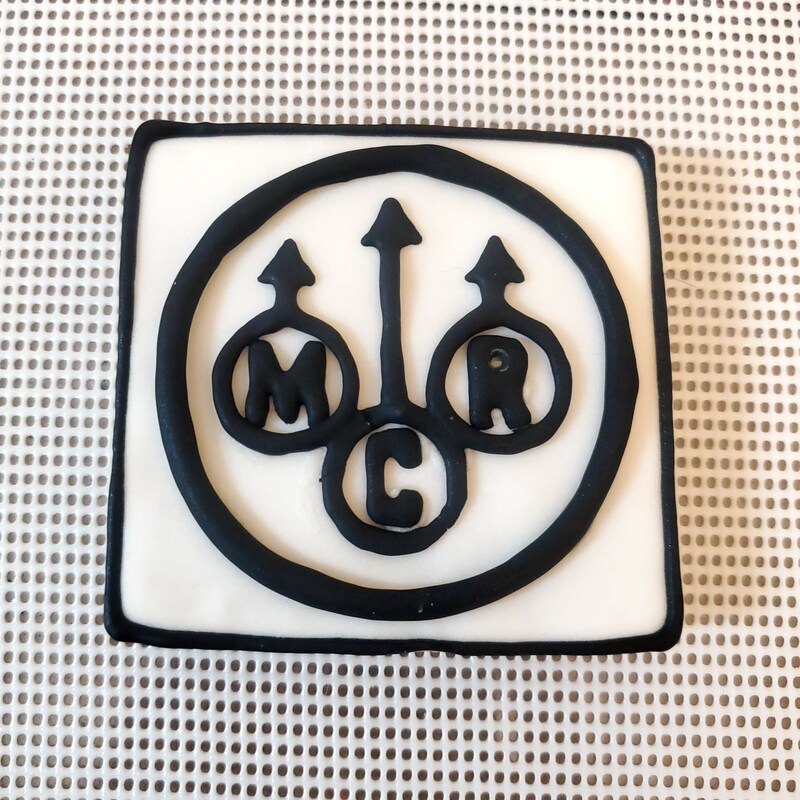
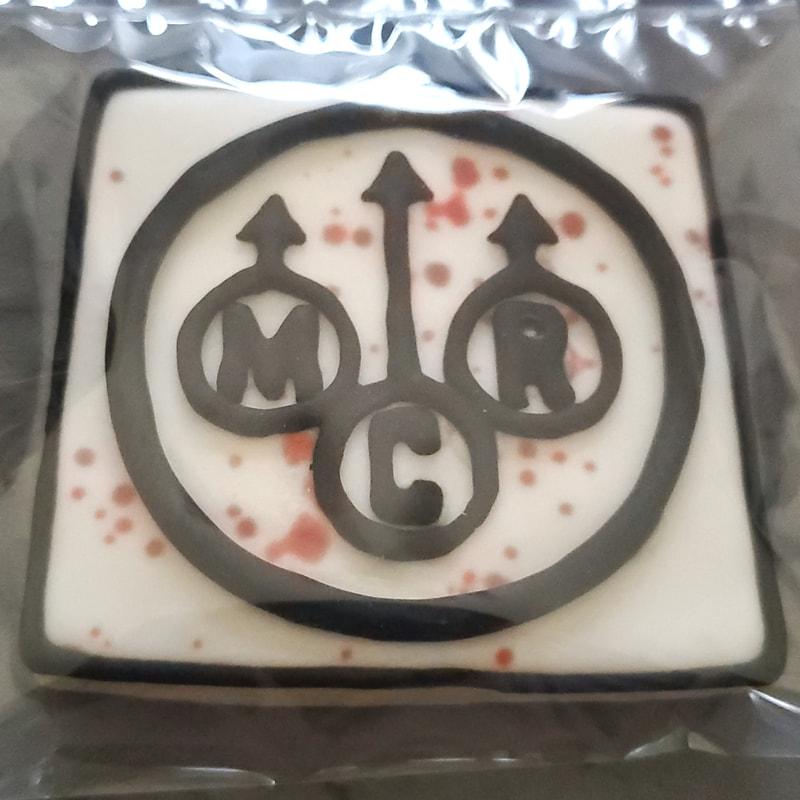
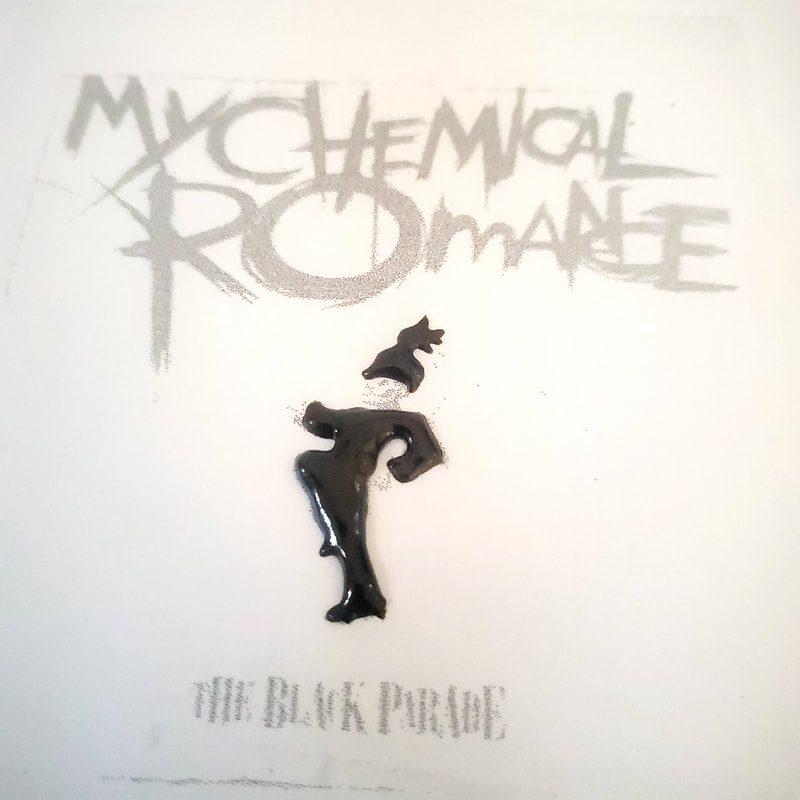
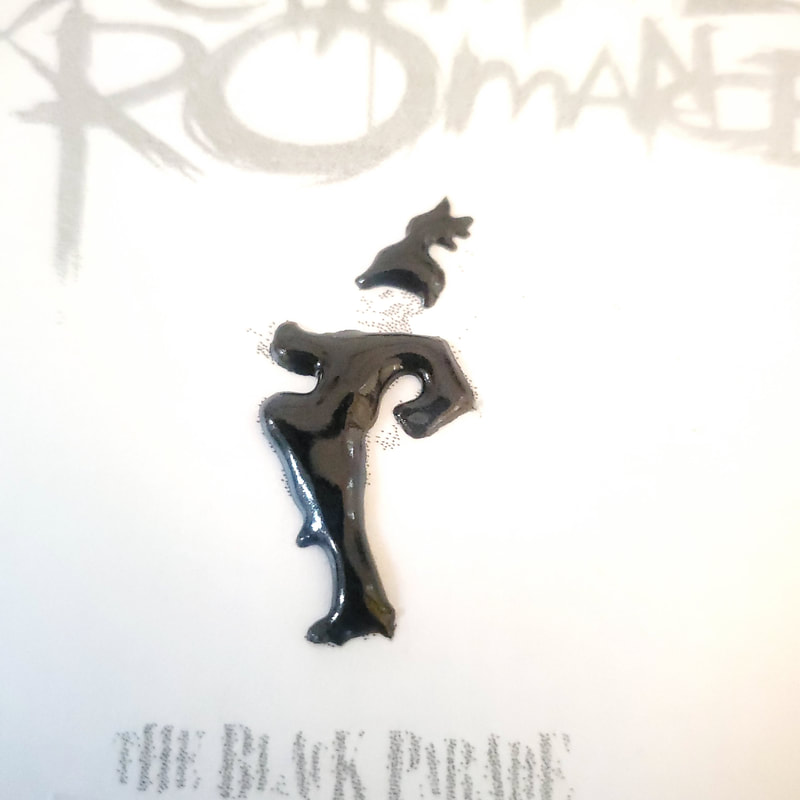
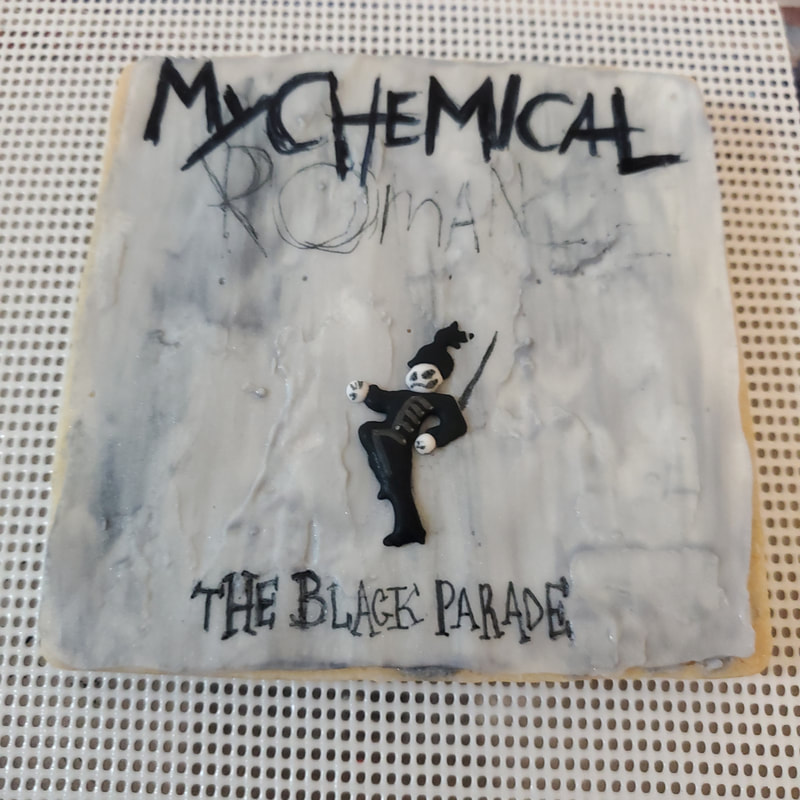
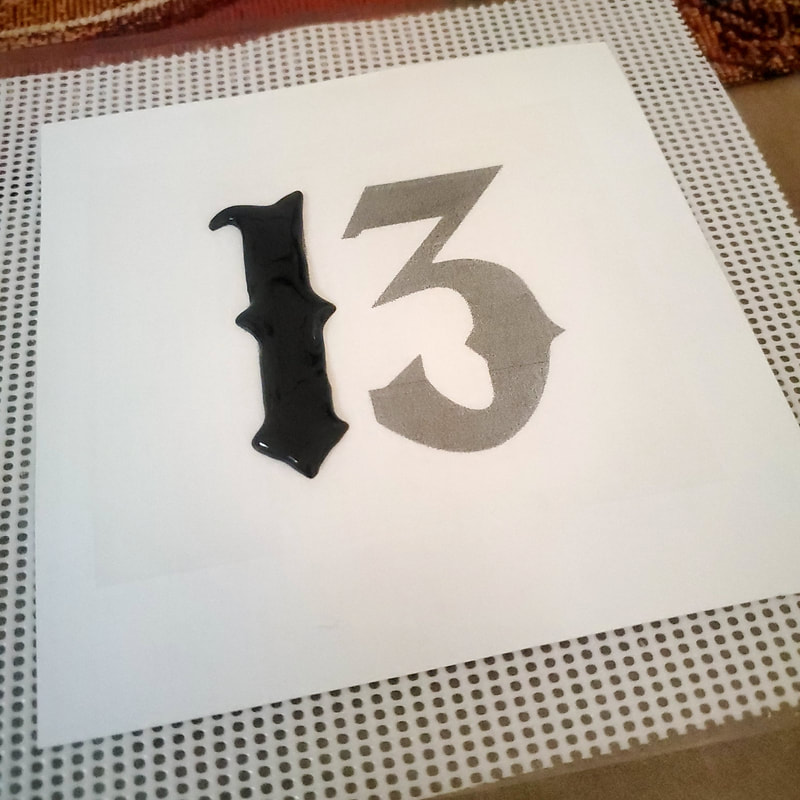
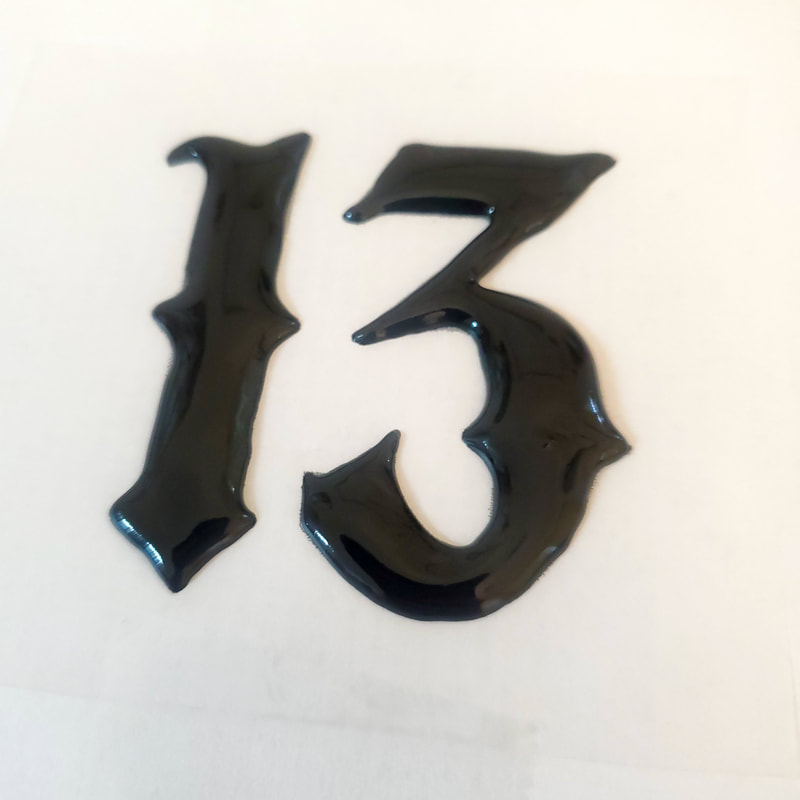
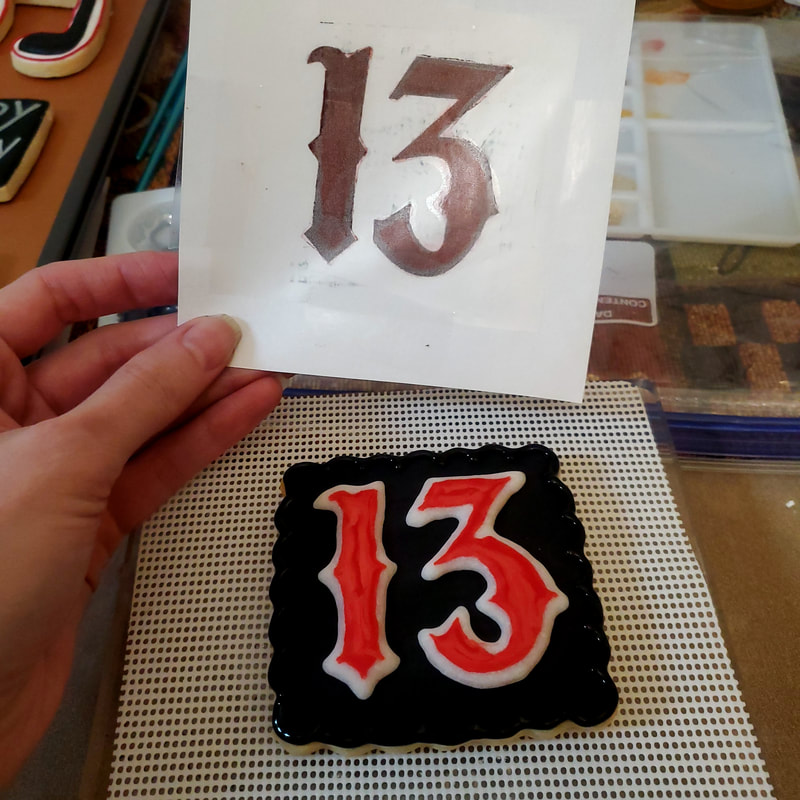
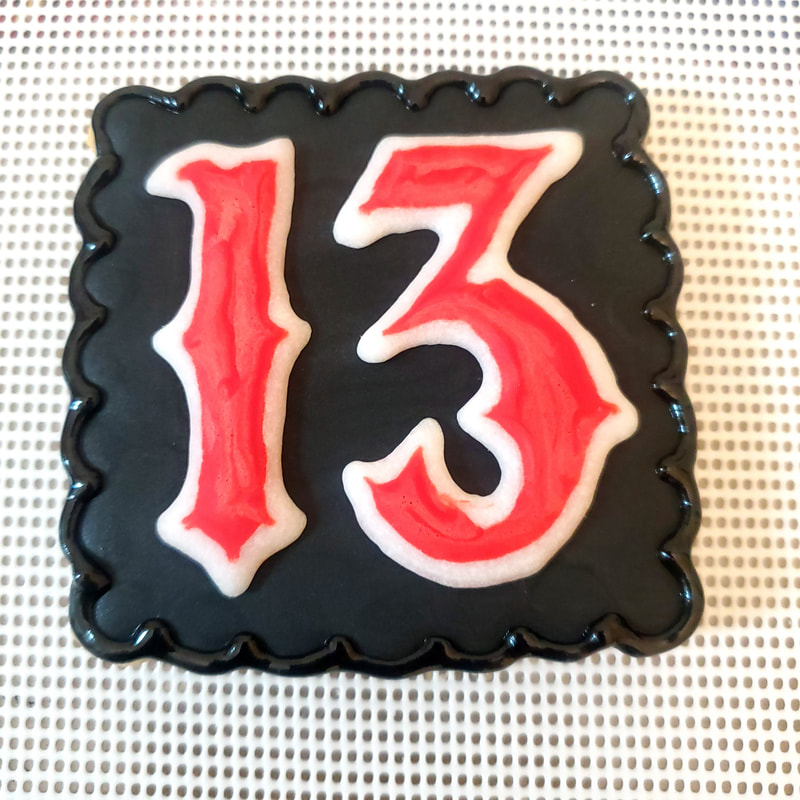
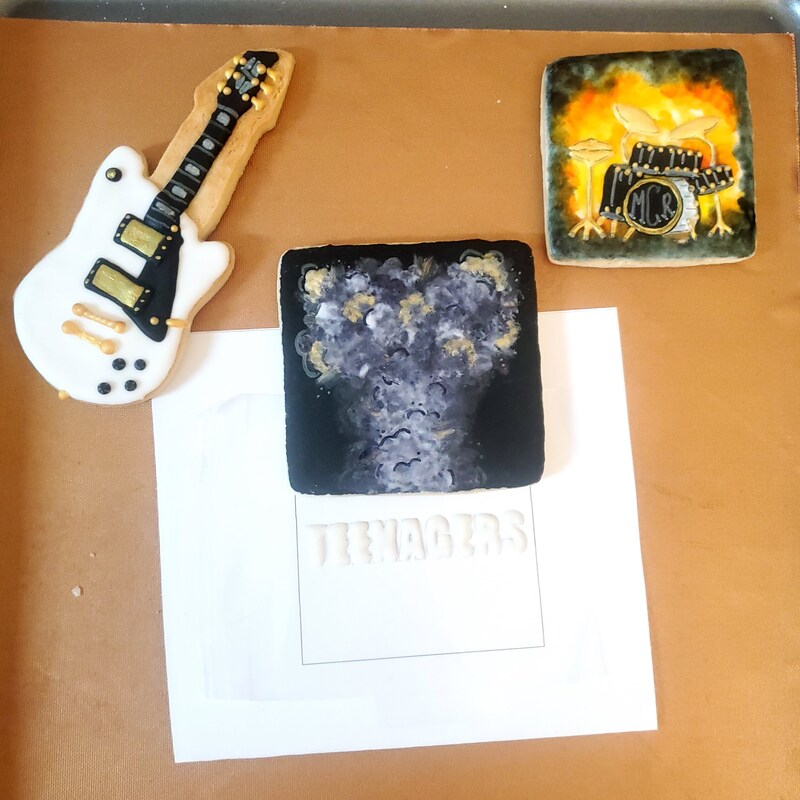
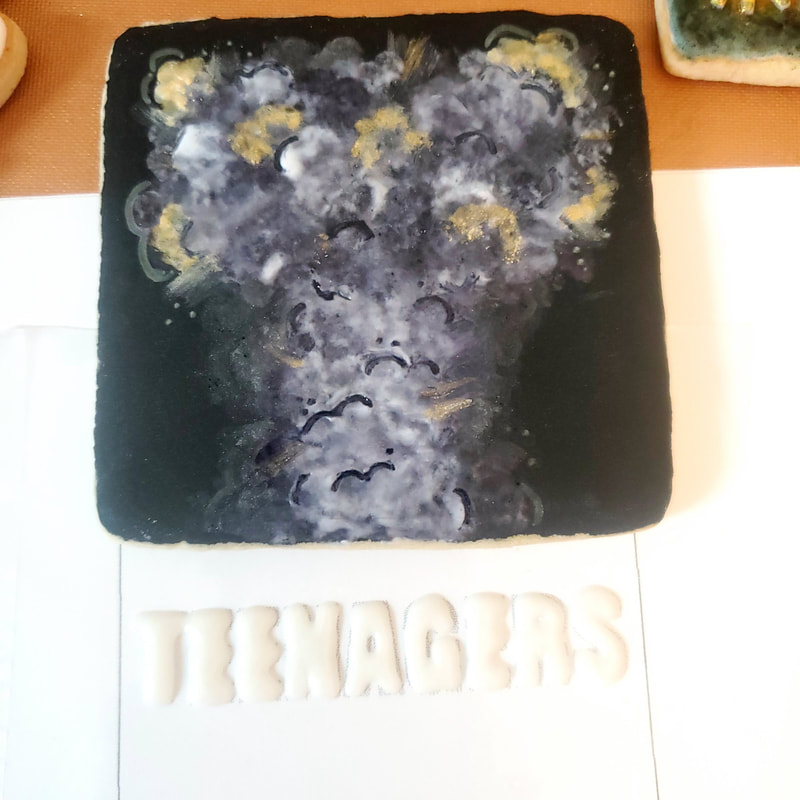
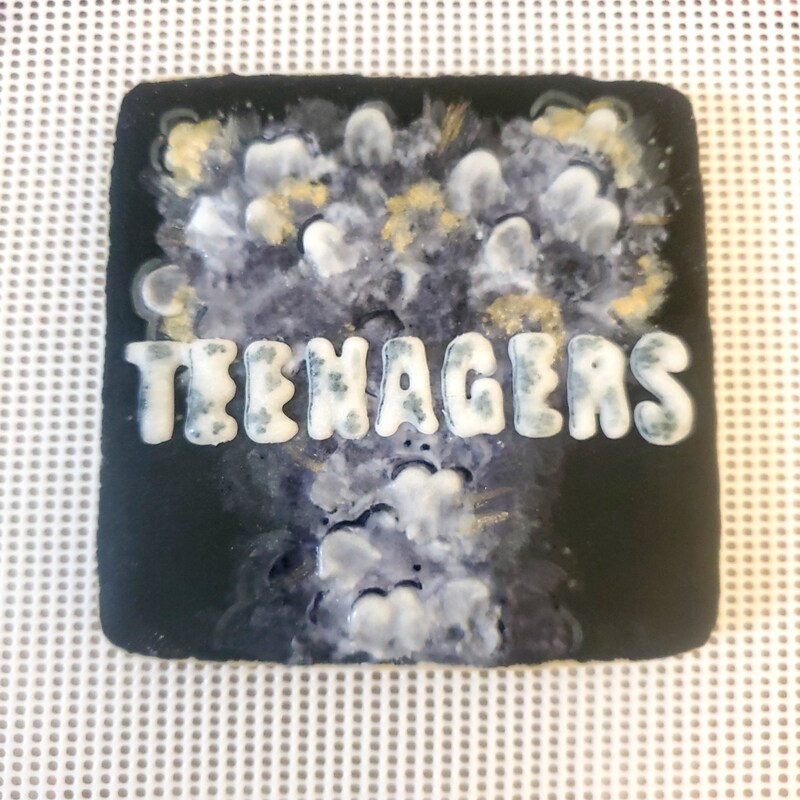
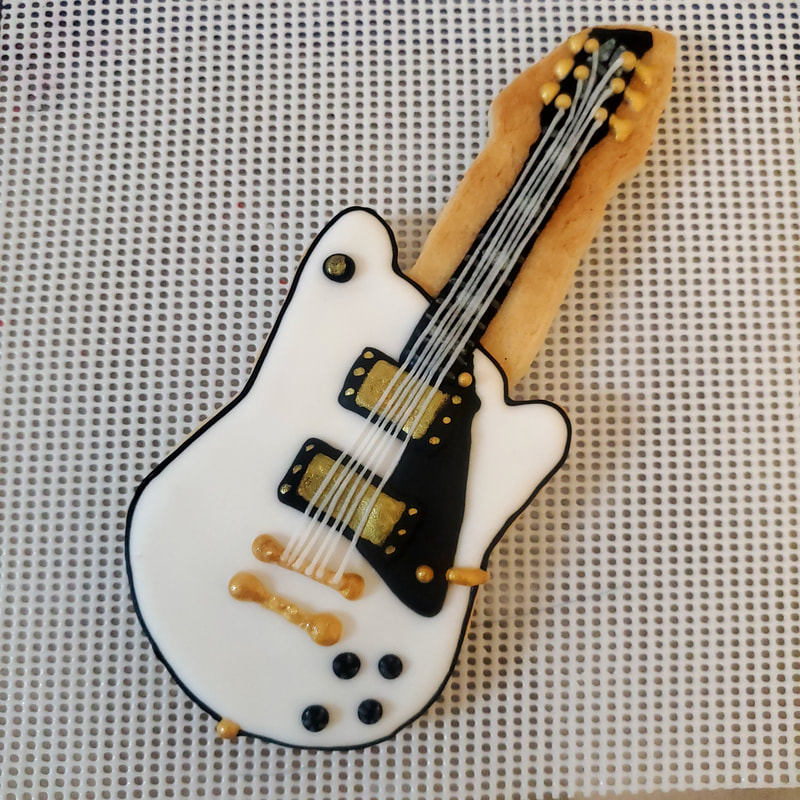
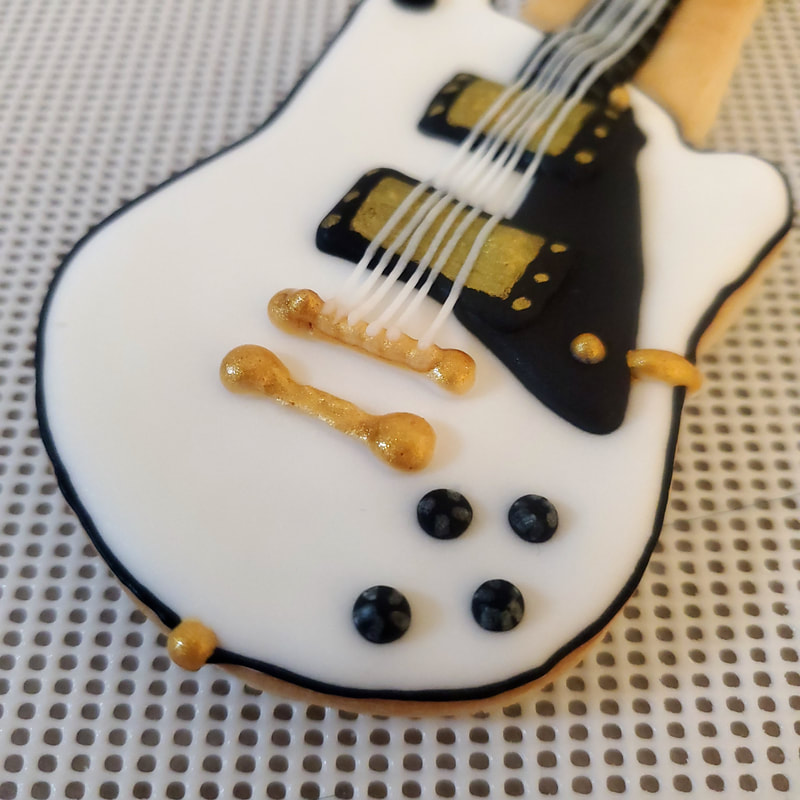
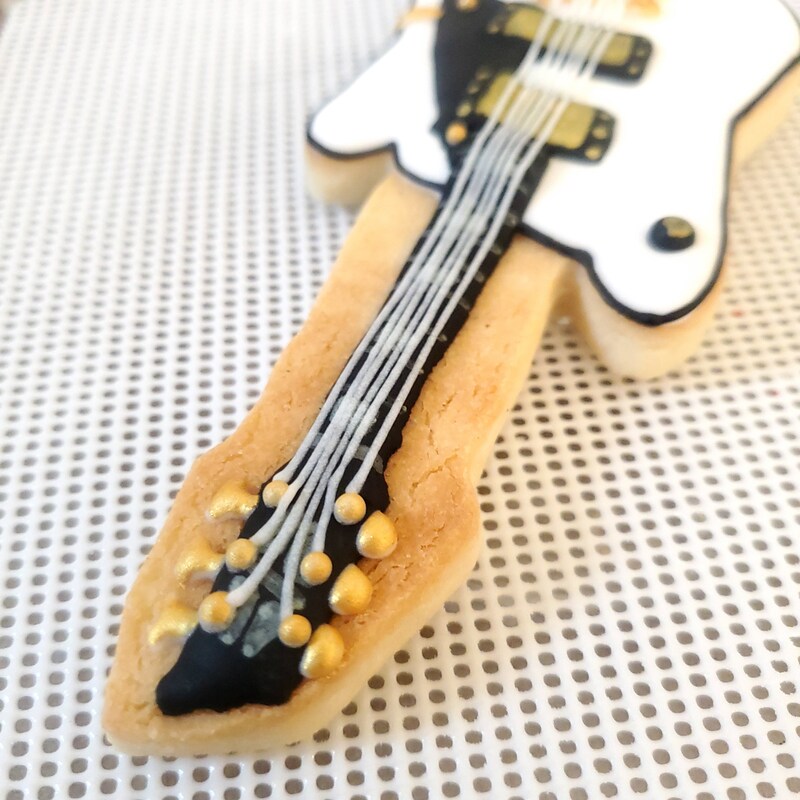
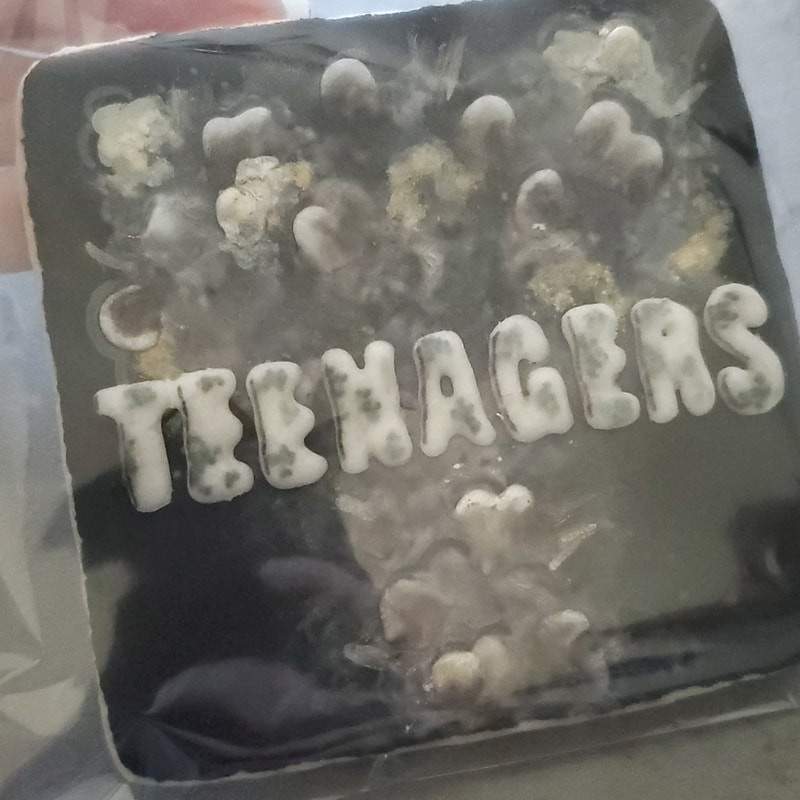
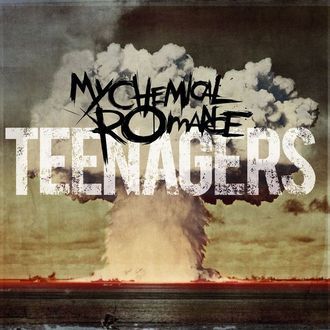
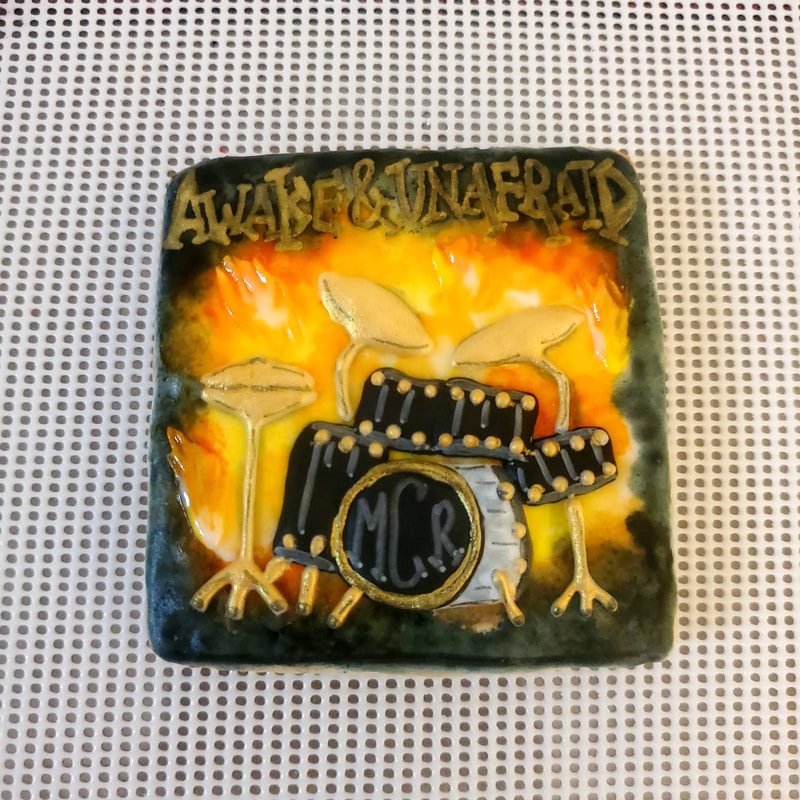
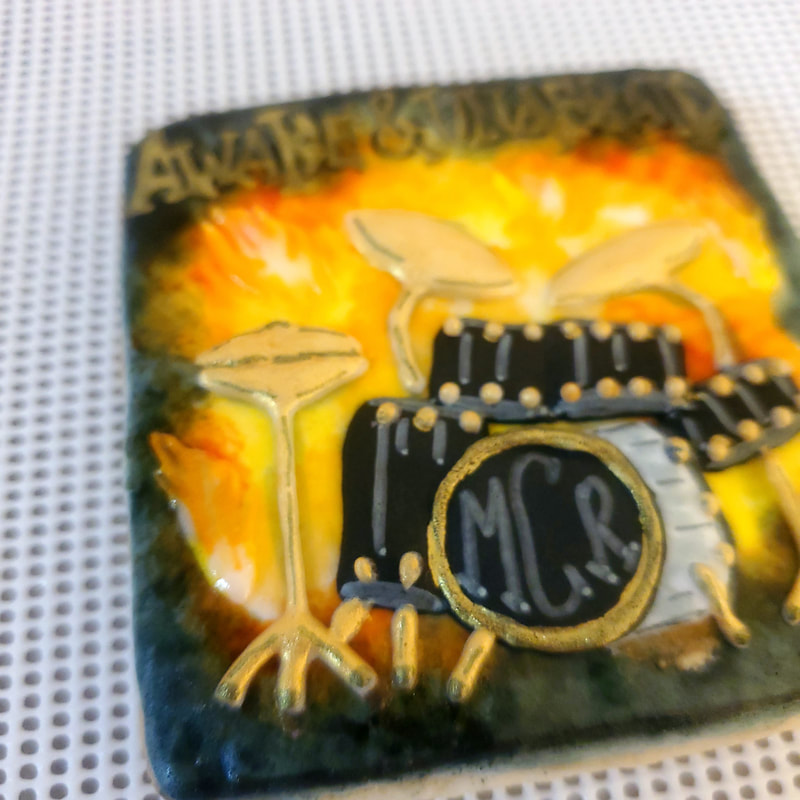
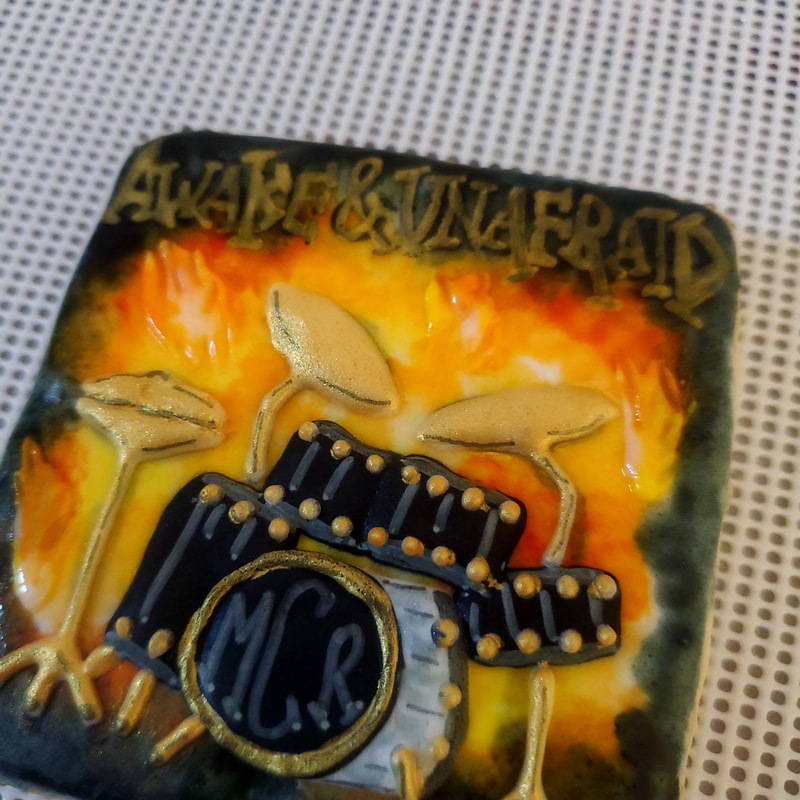
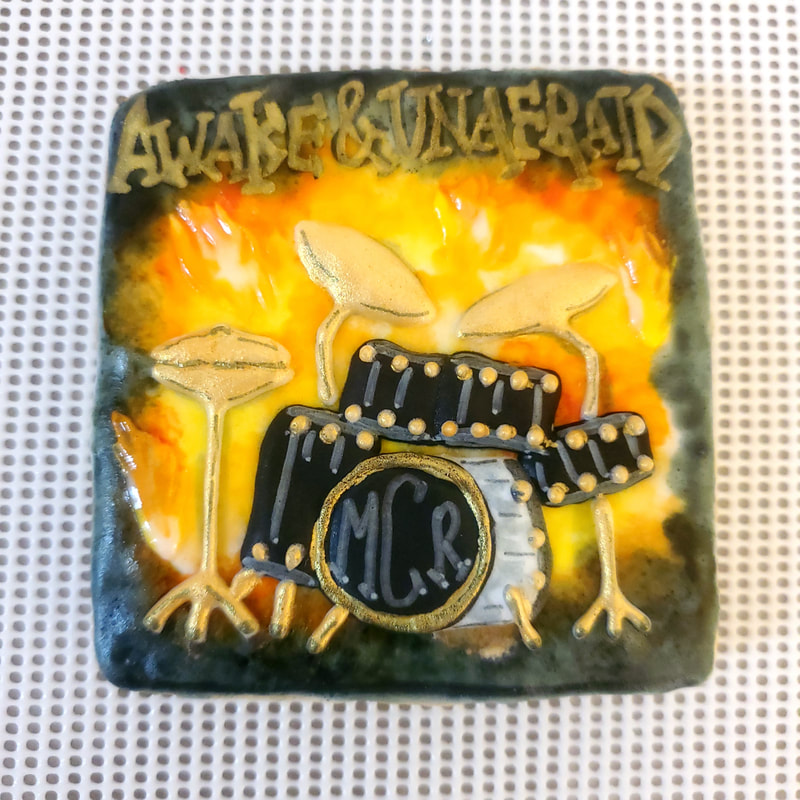
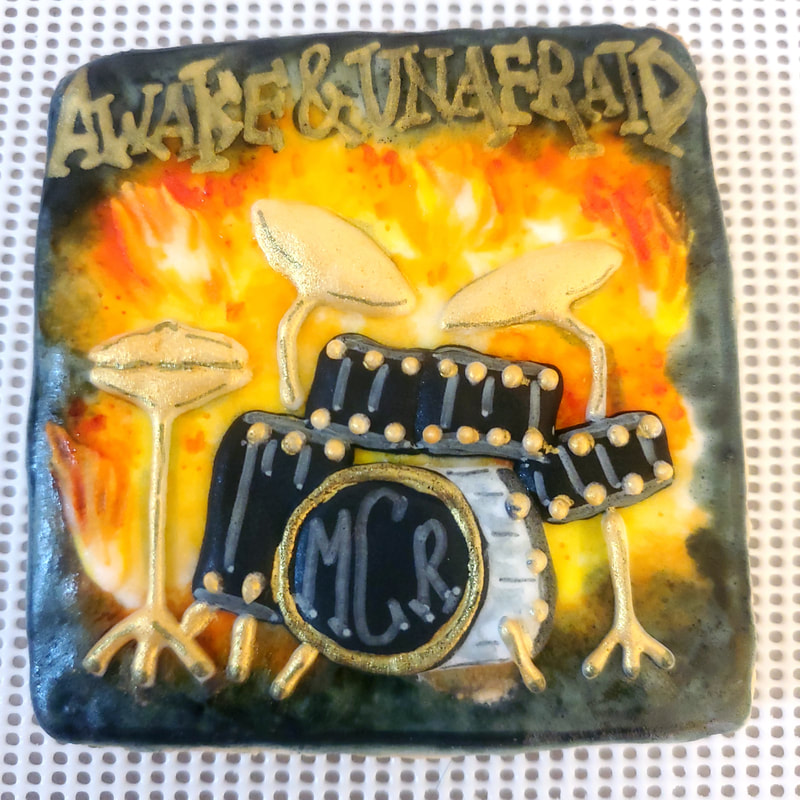
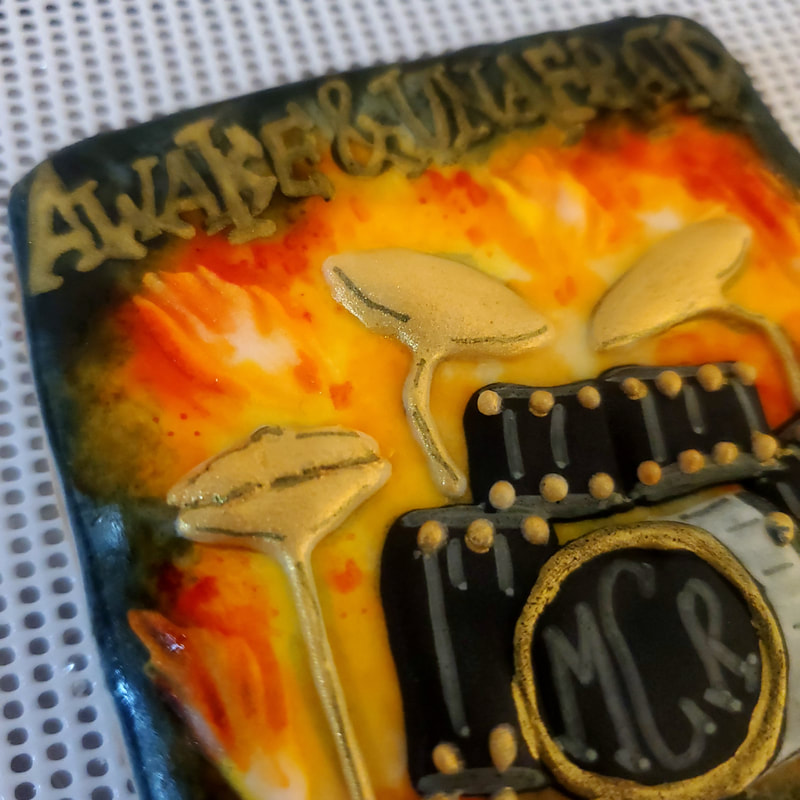
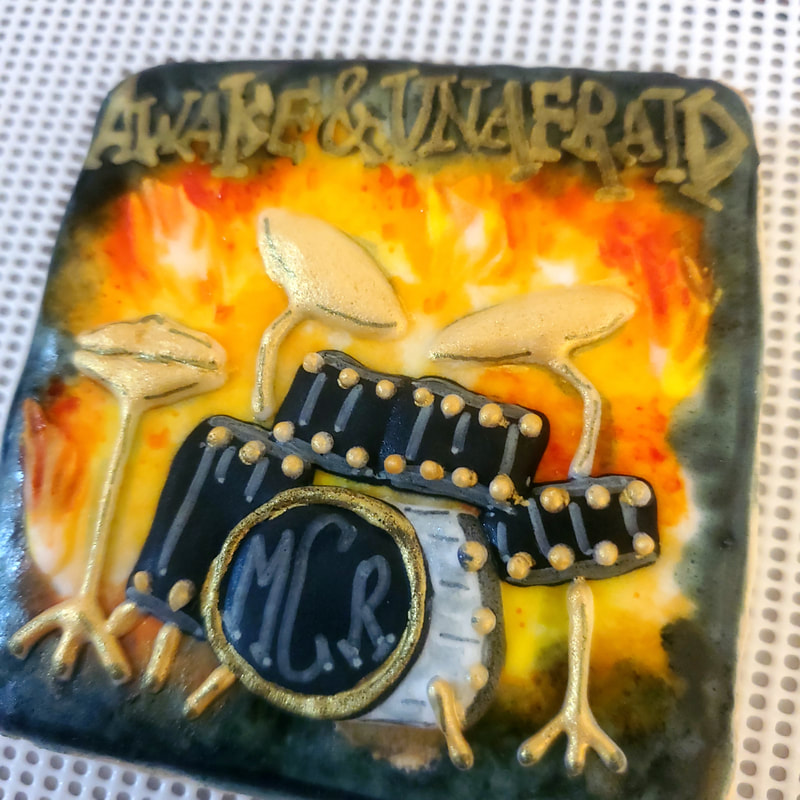
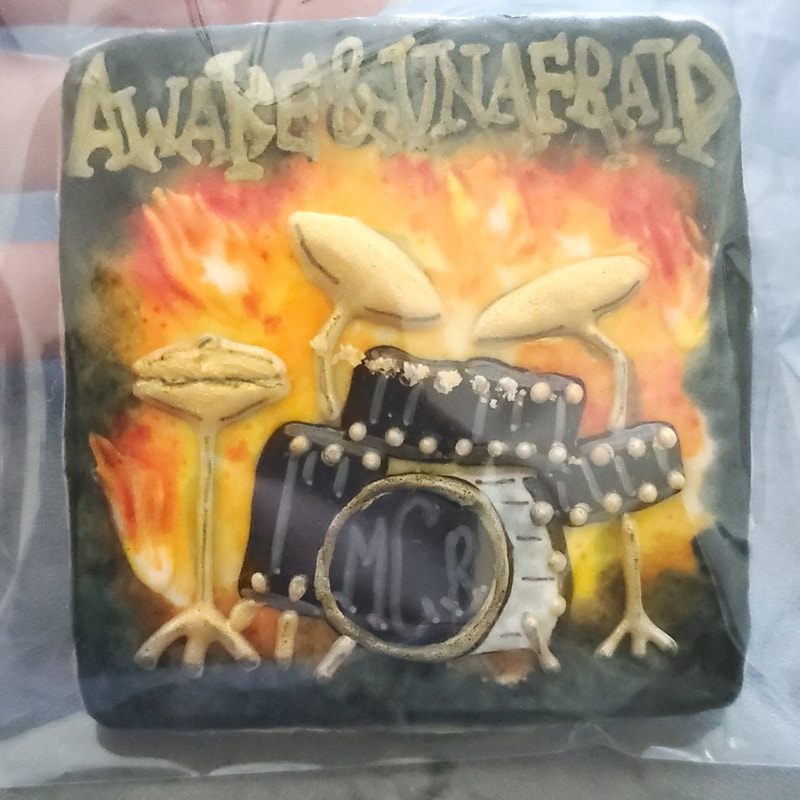
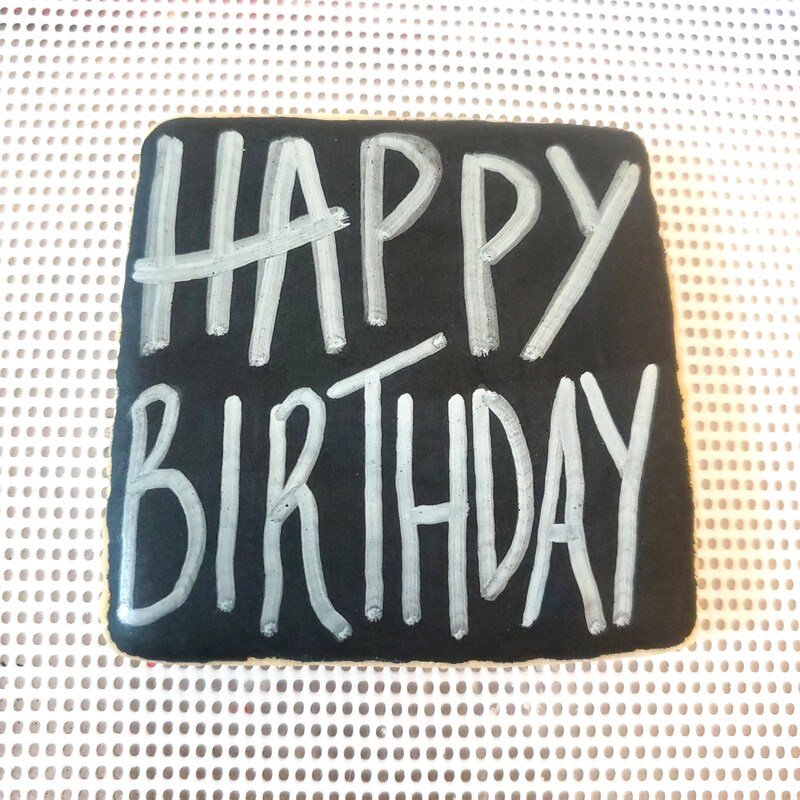
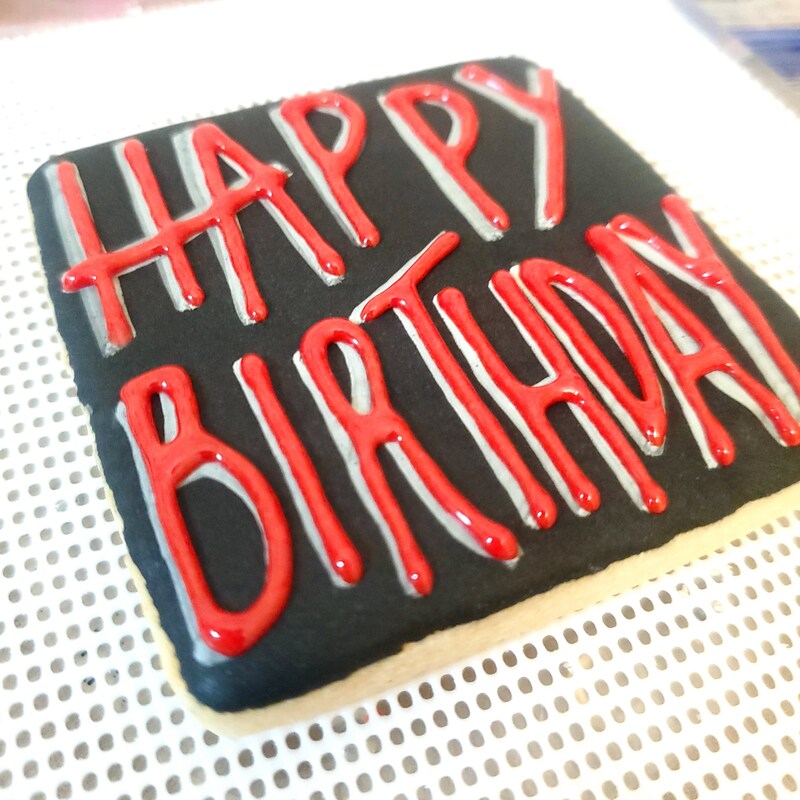
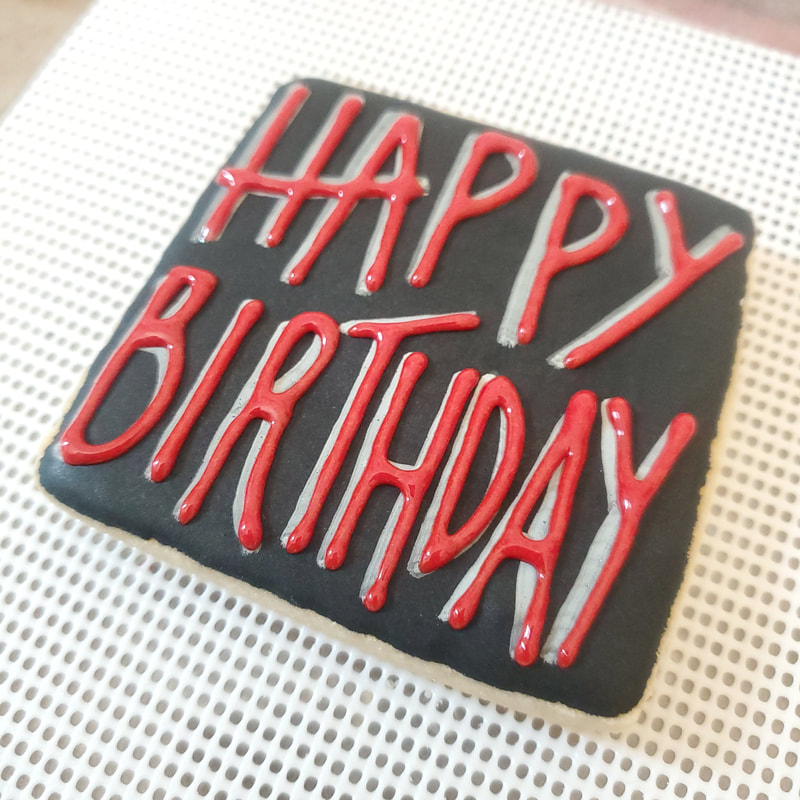
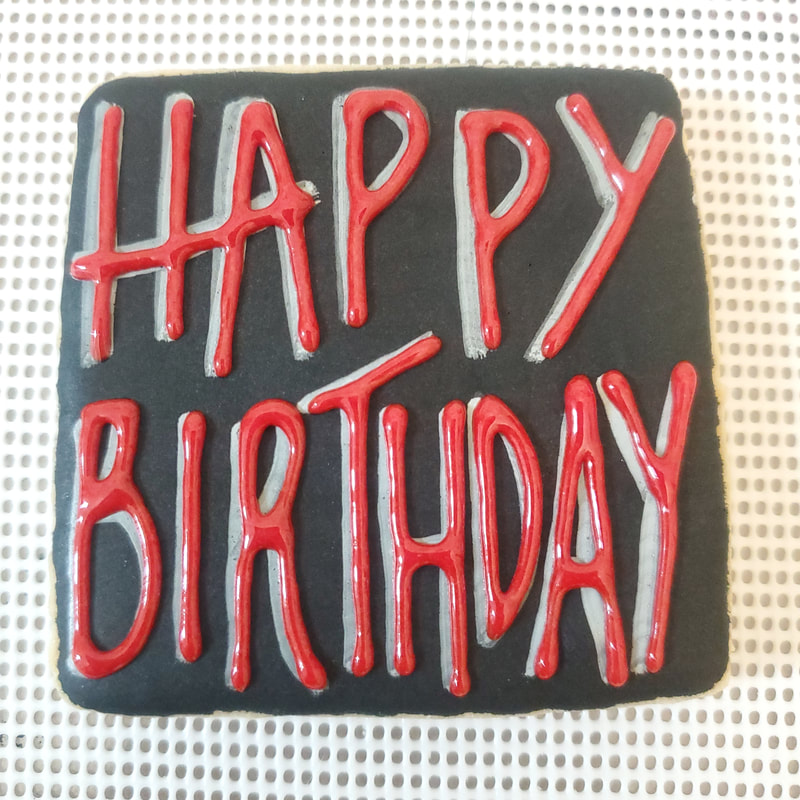
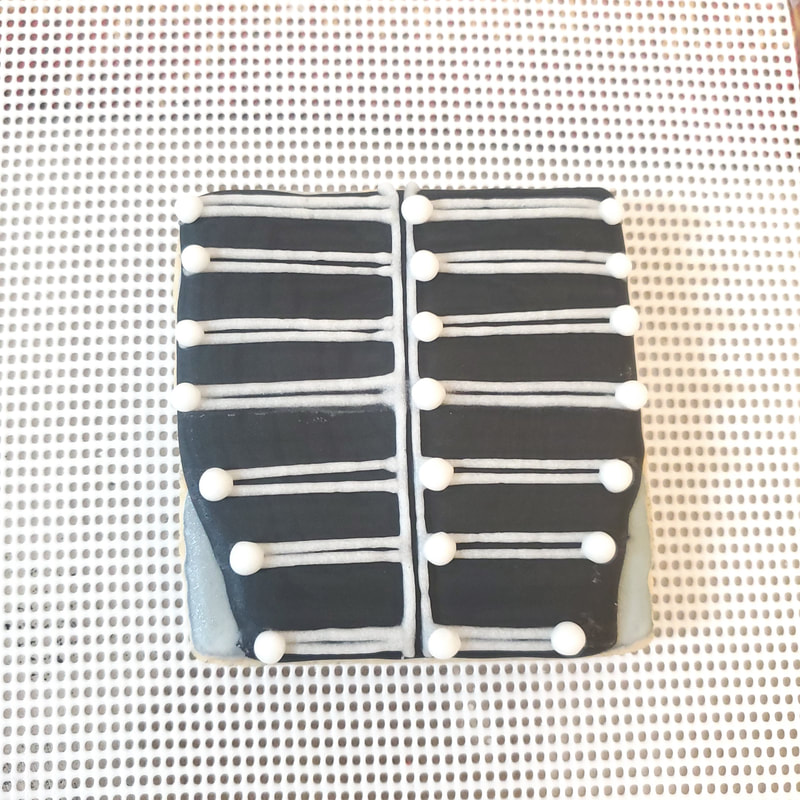
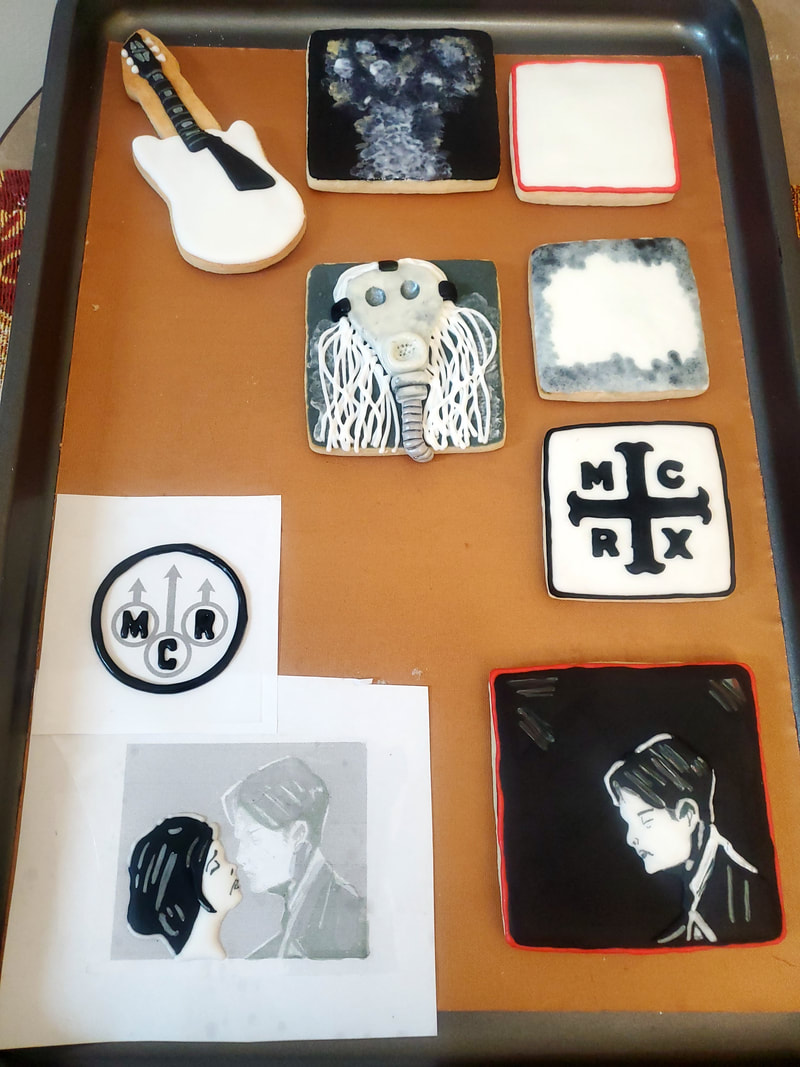
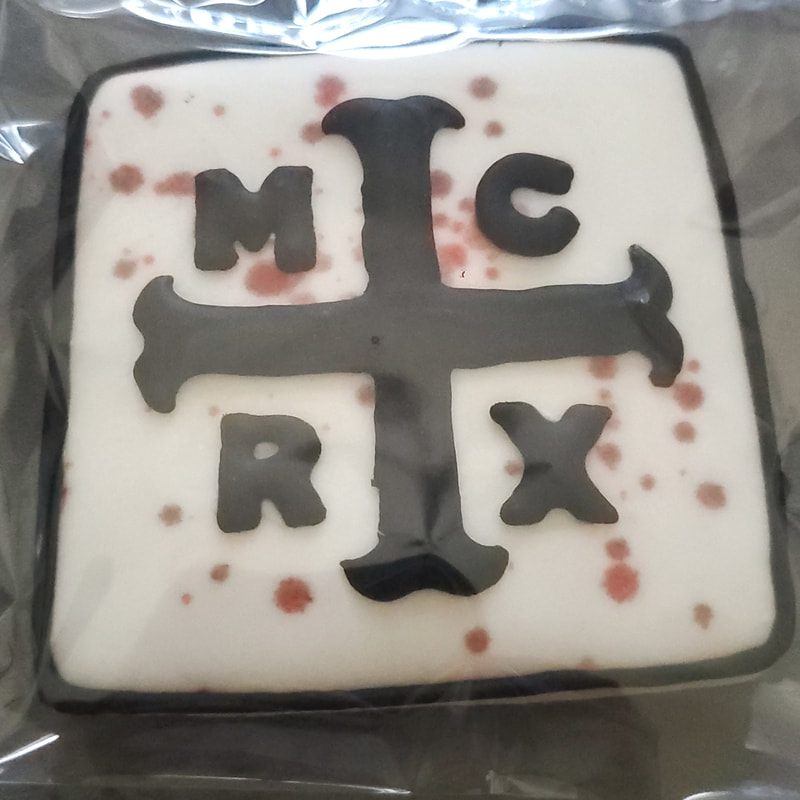
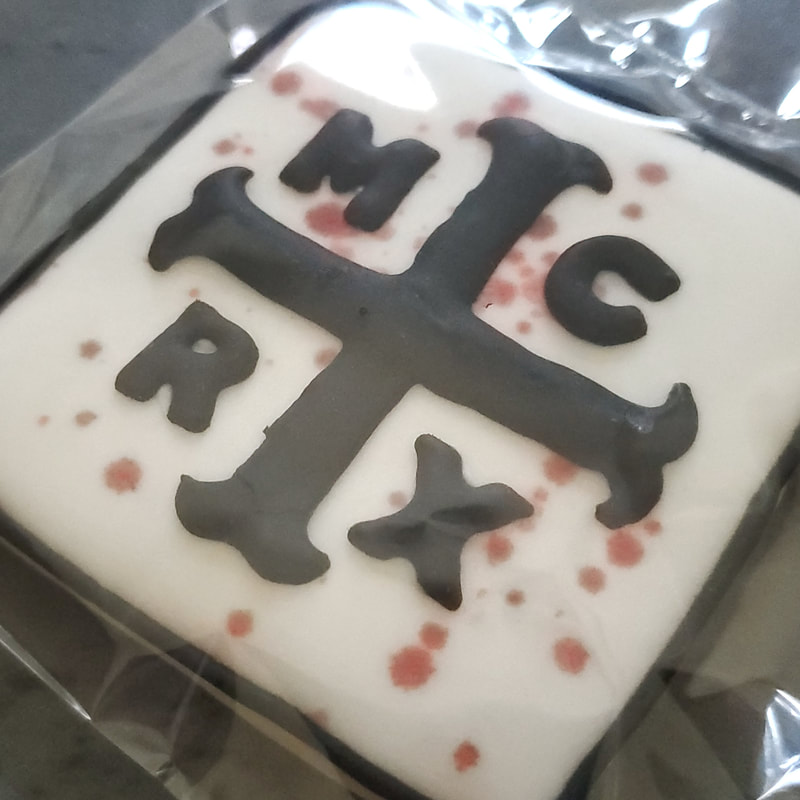
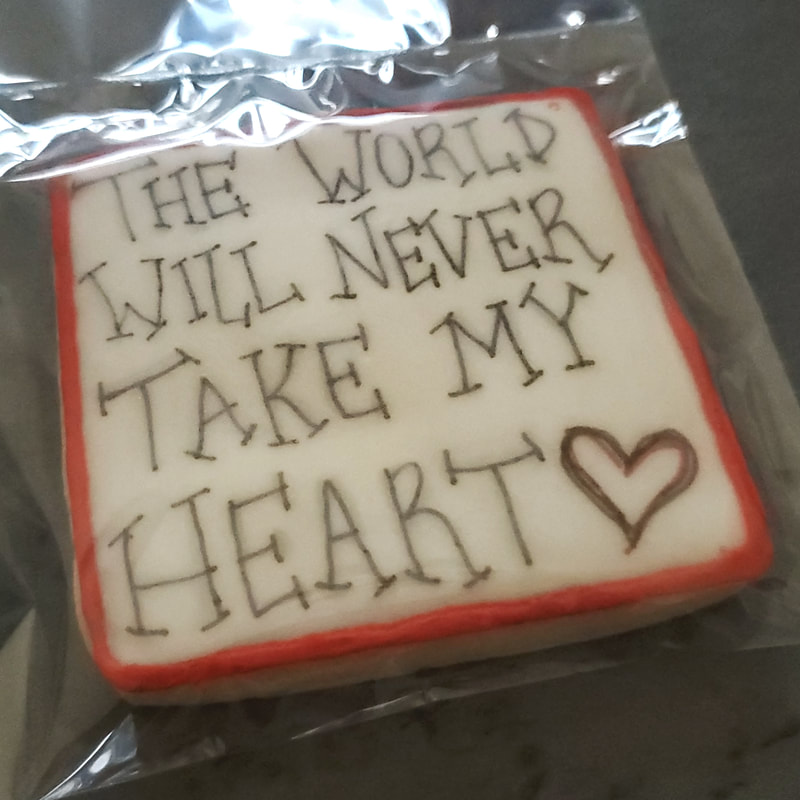
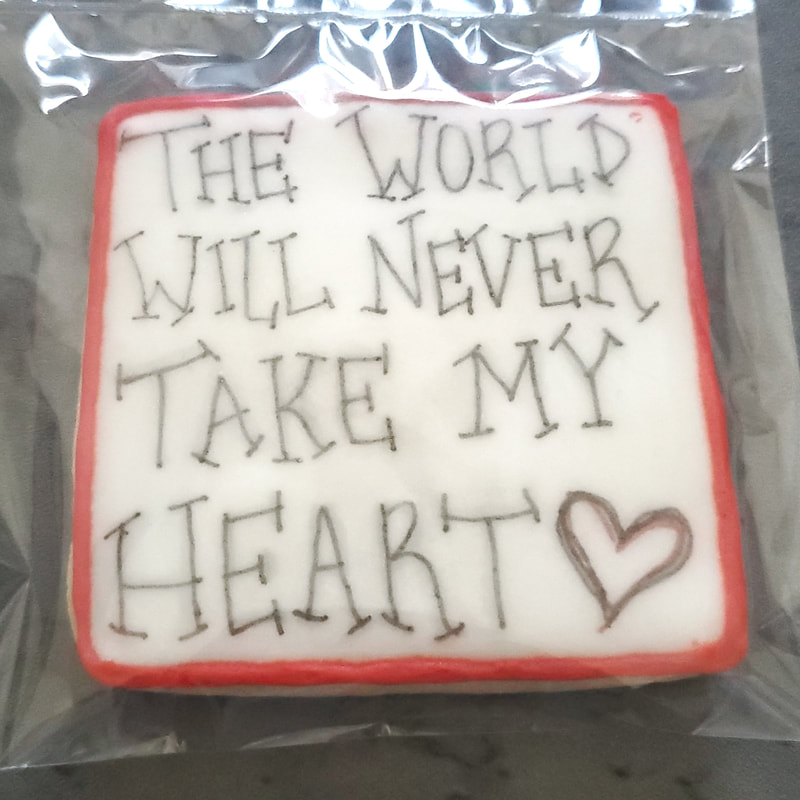
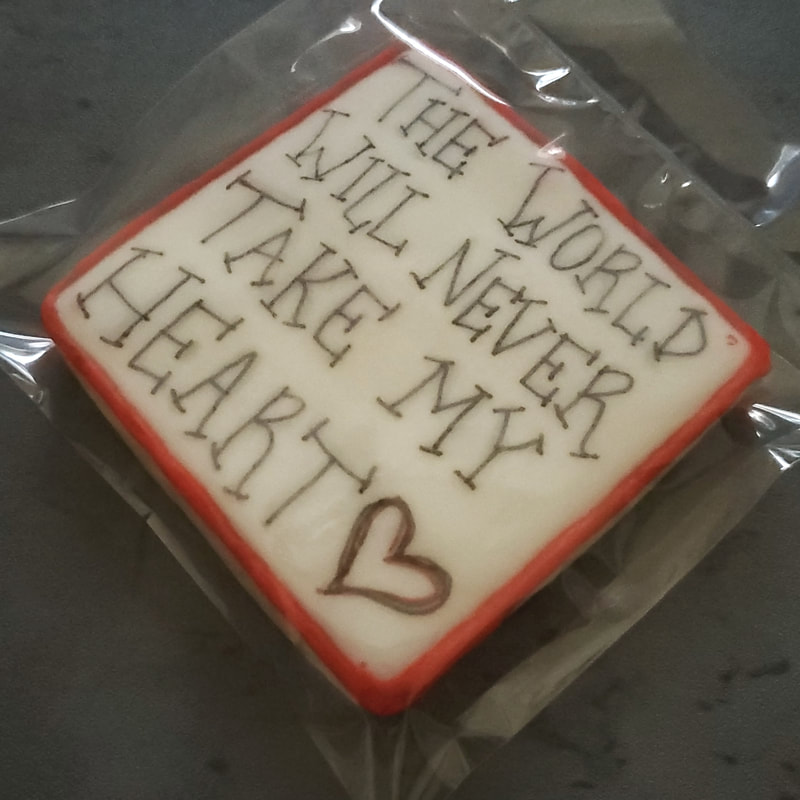
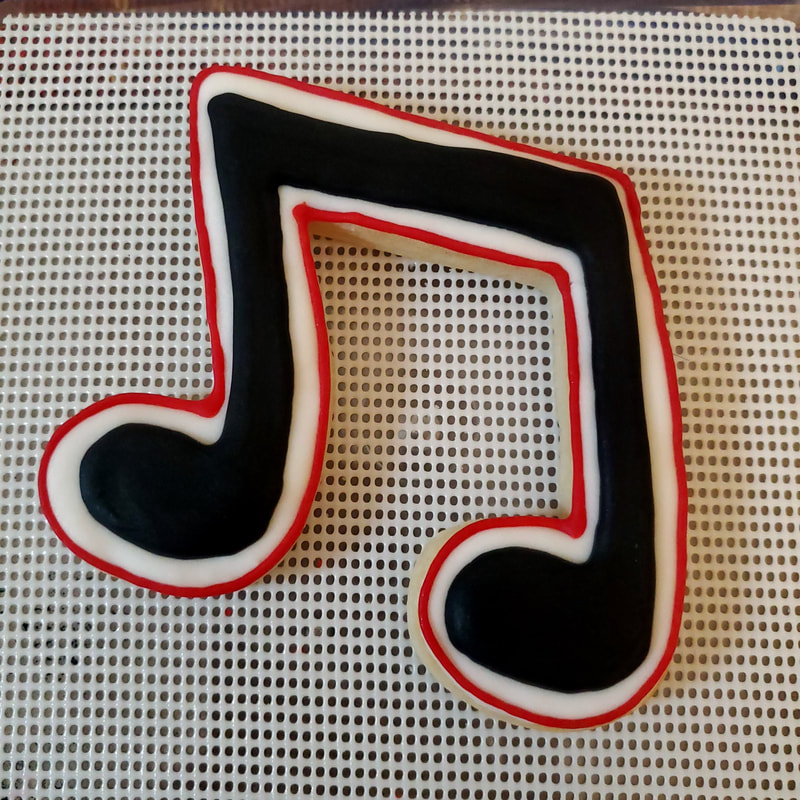
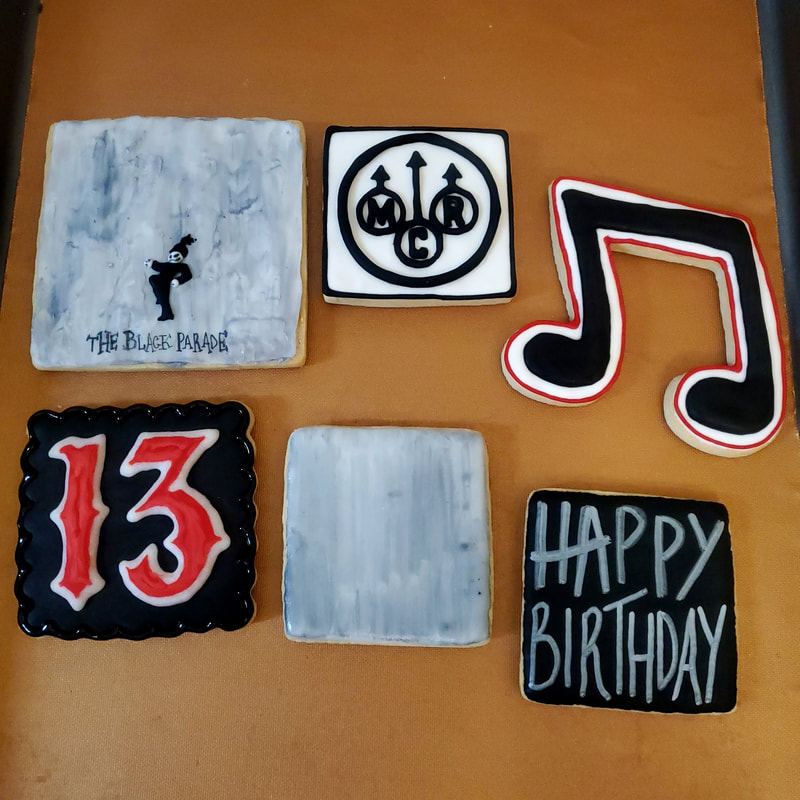
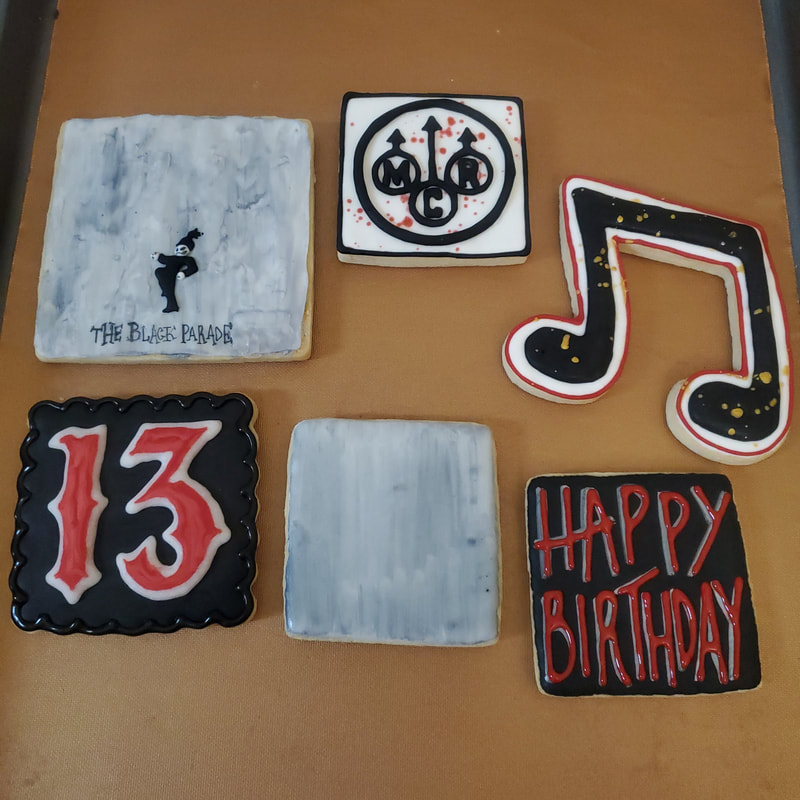
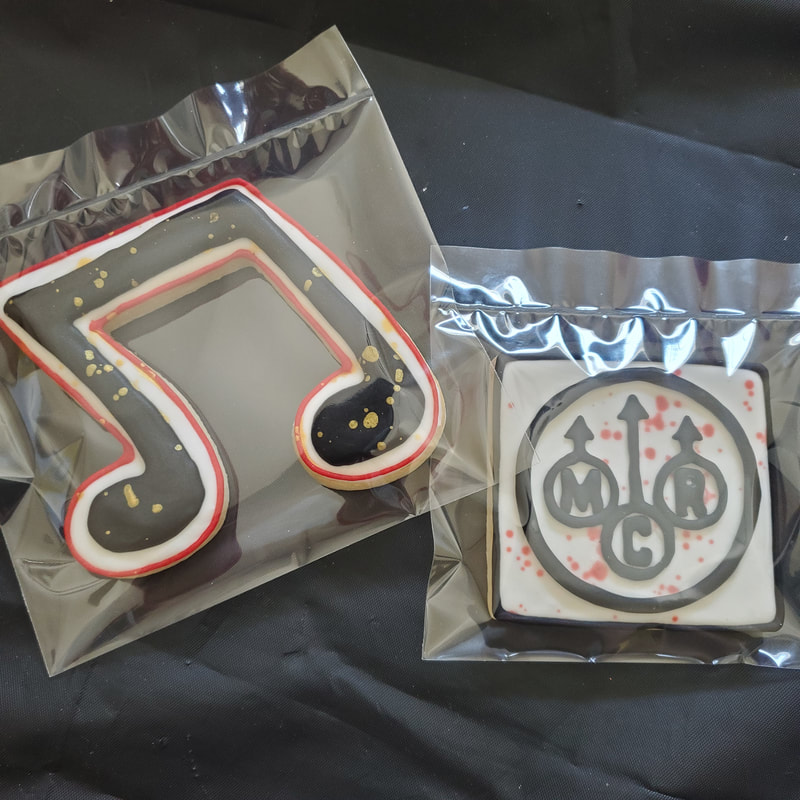
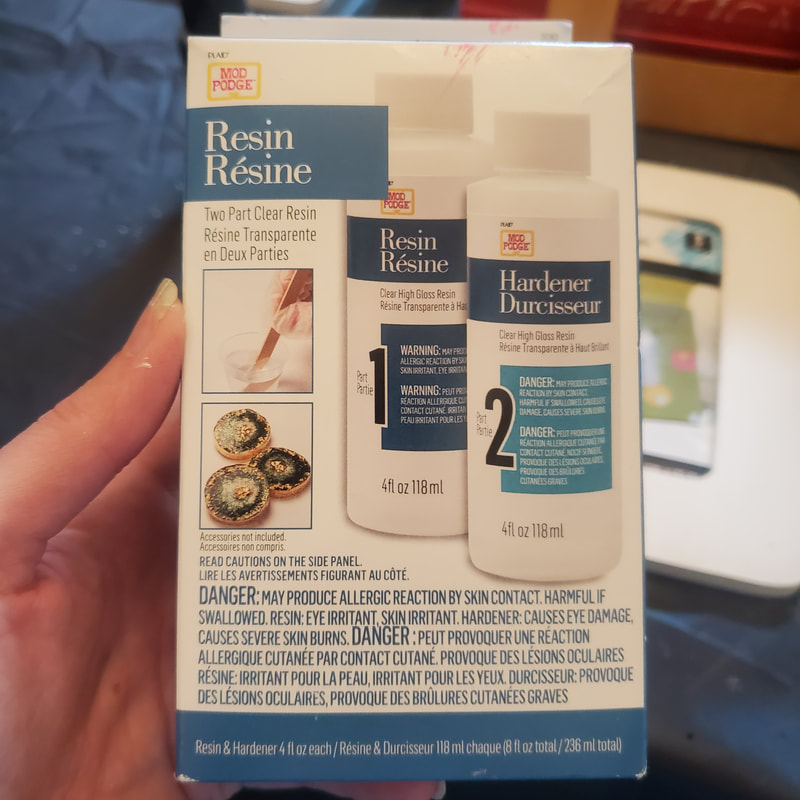
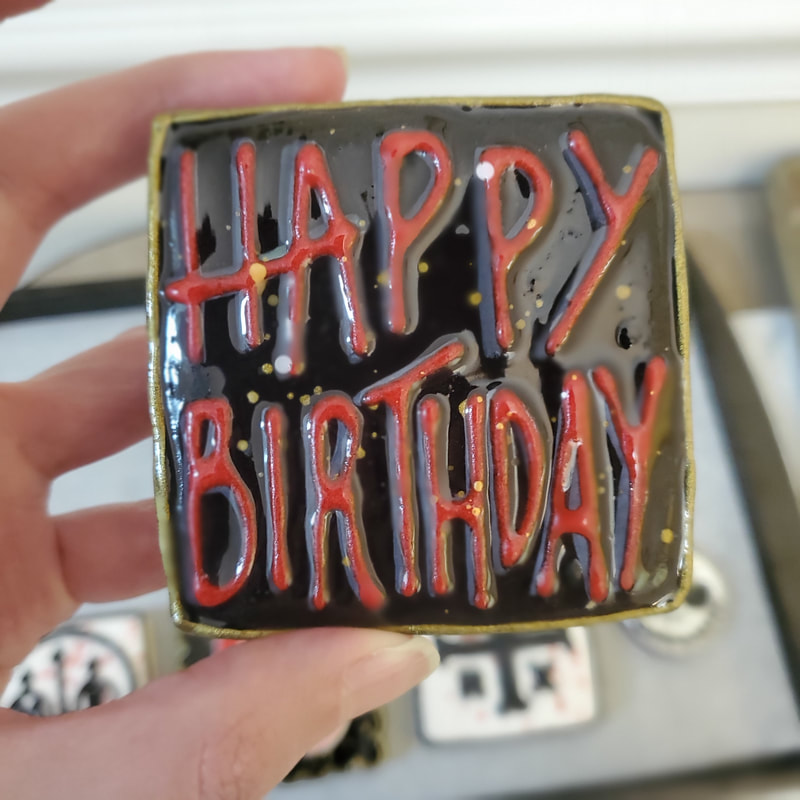
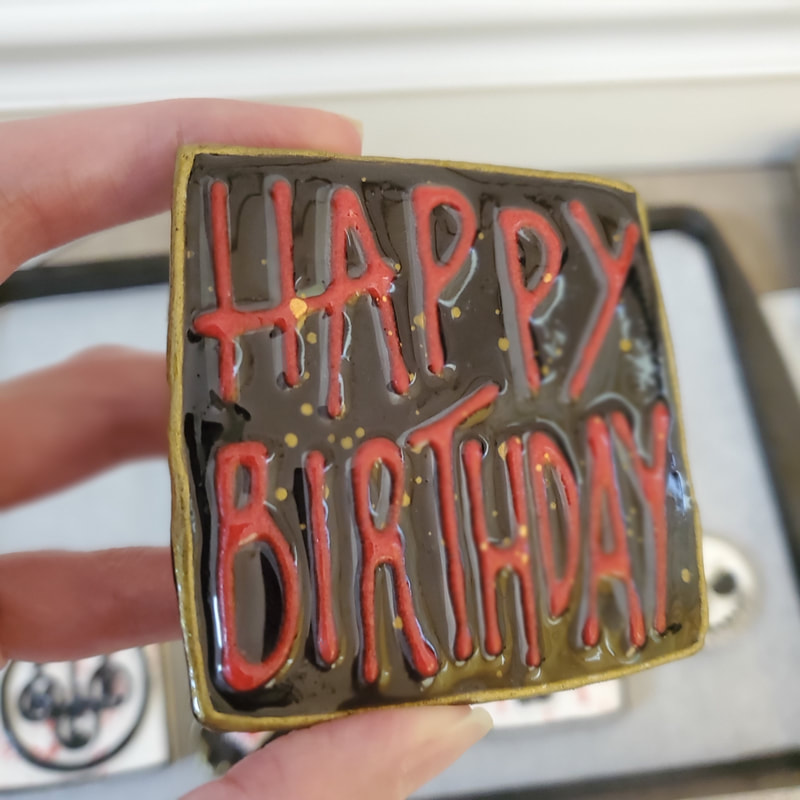
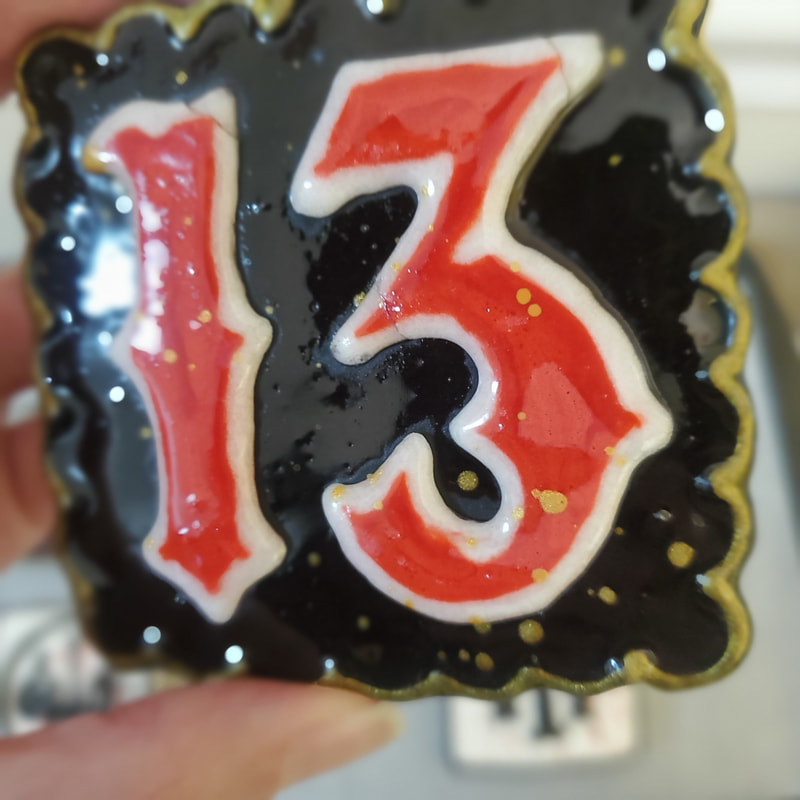
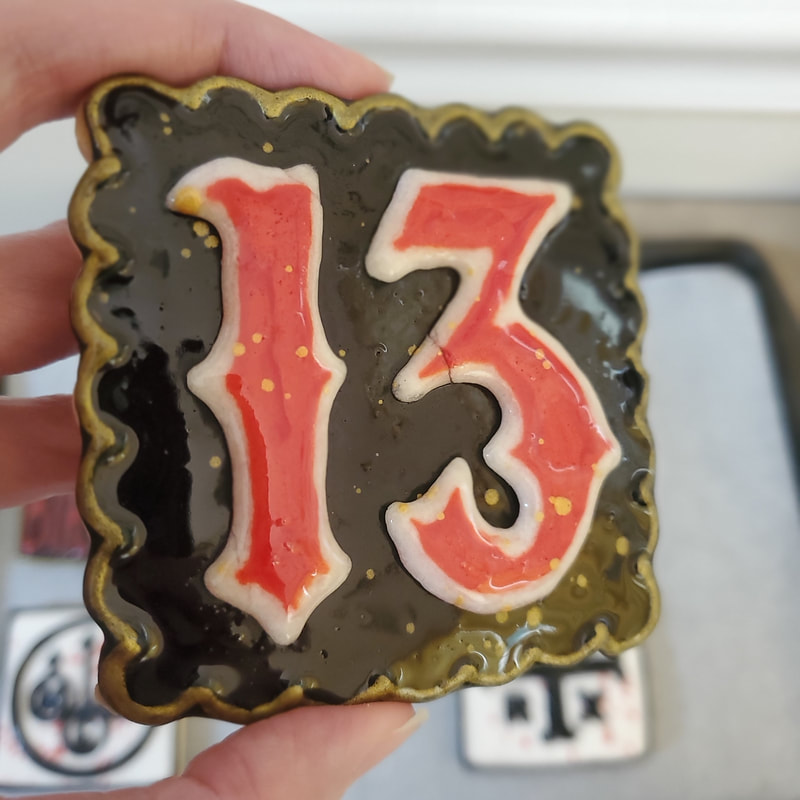
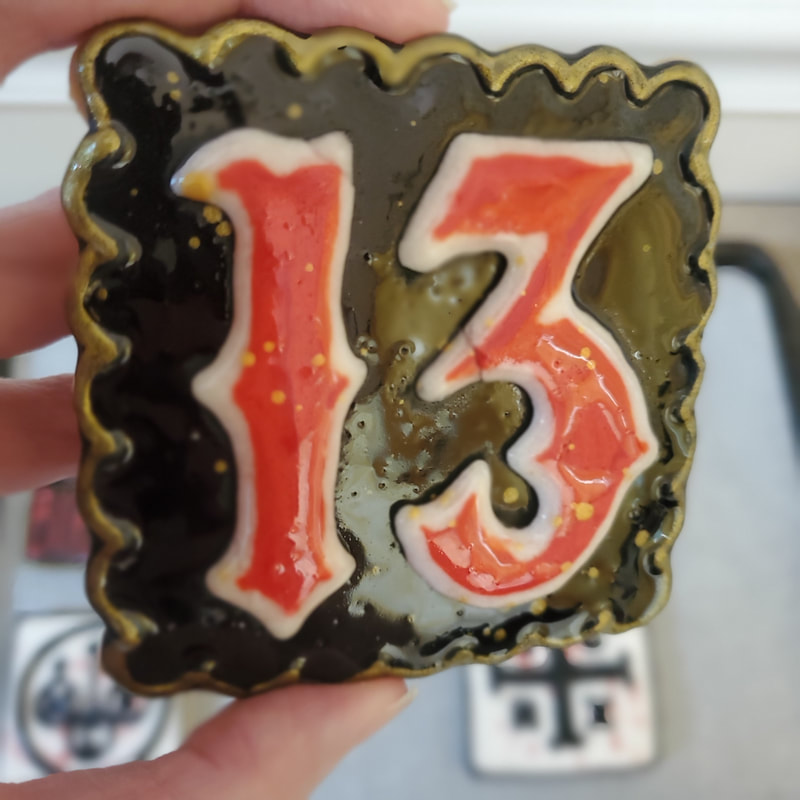
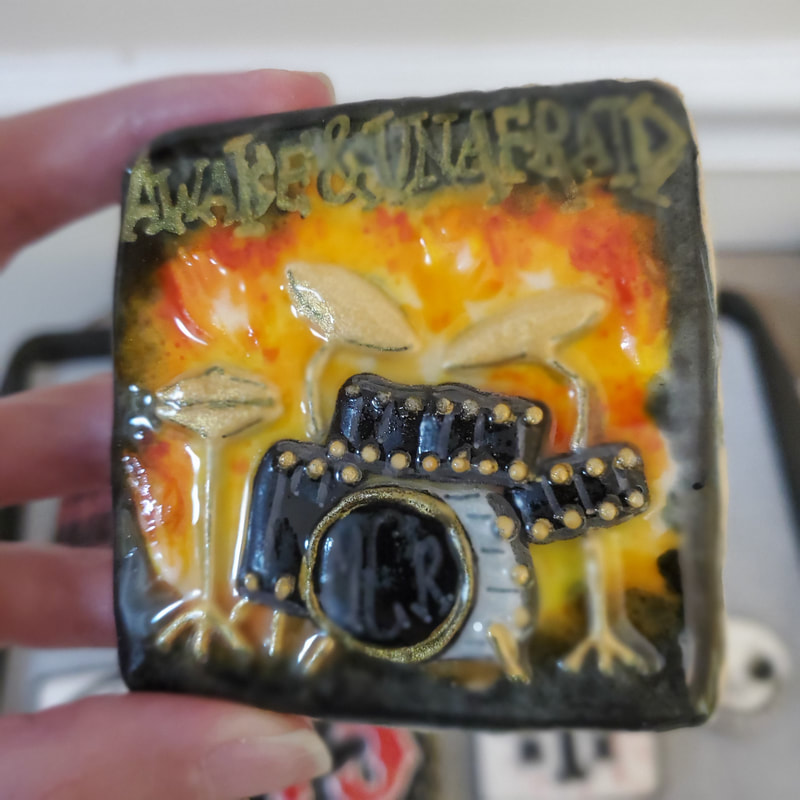
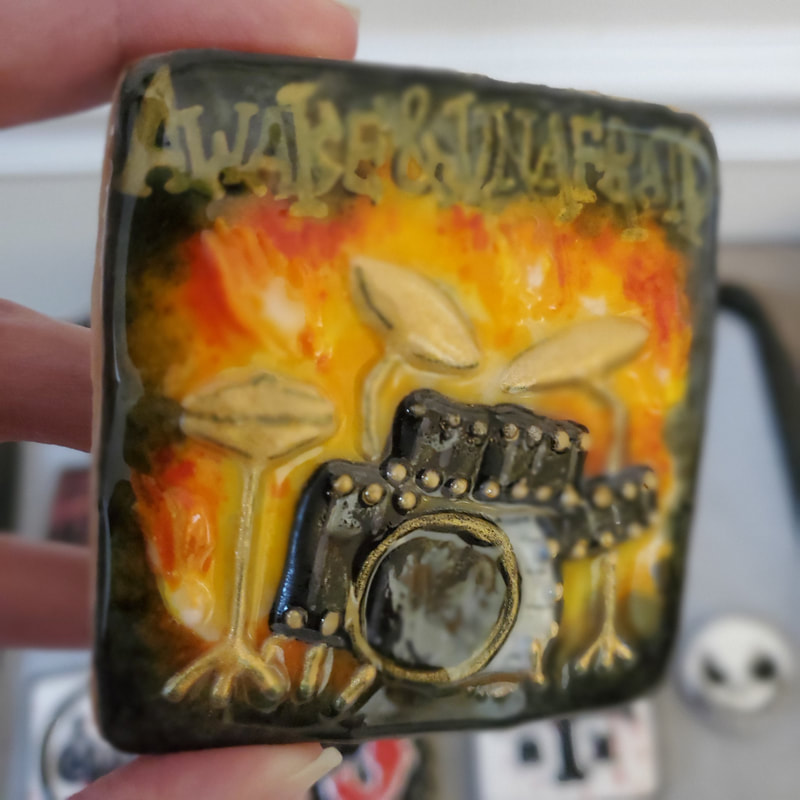
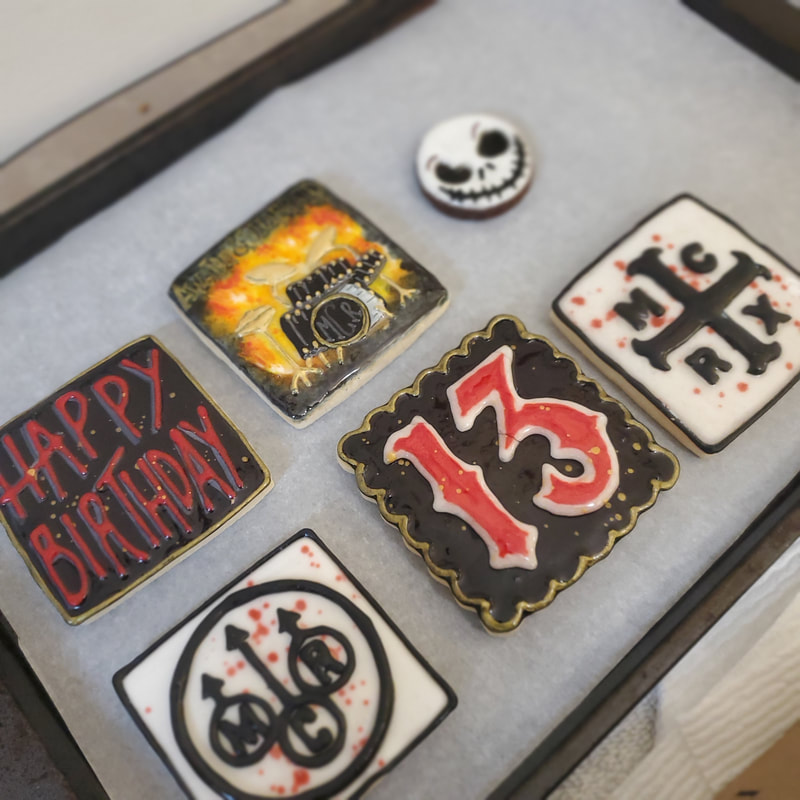
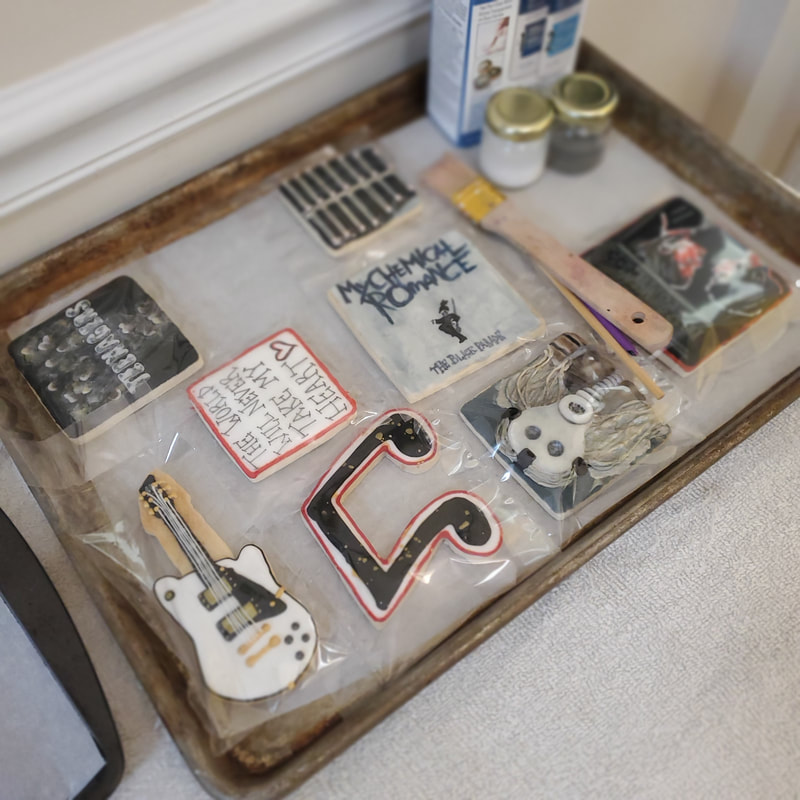
 Here is how I created my son's My Chemical Romance cookies. I hope you enjoy the process and maybe learn something new! SketchMy Kiddo asked for My Chemical Romance cookies for his 13th birthday and that's what I created! Here's how it started:  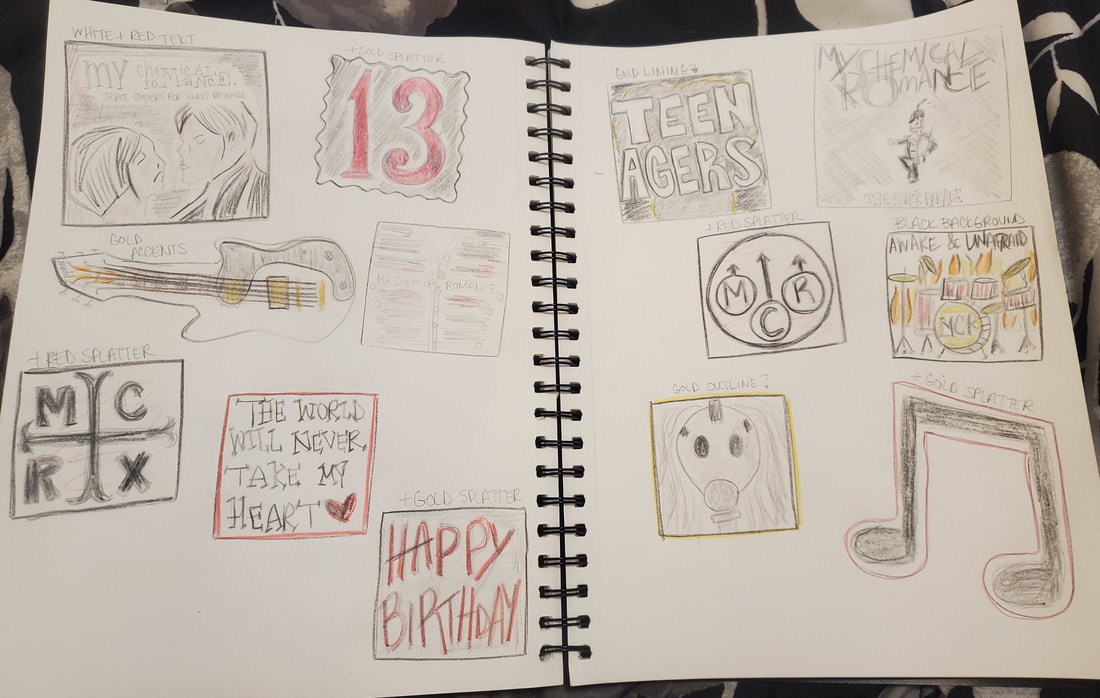 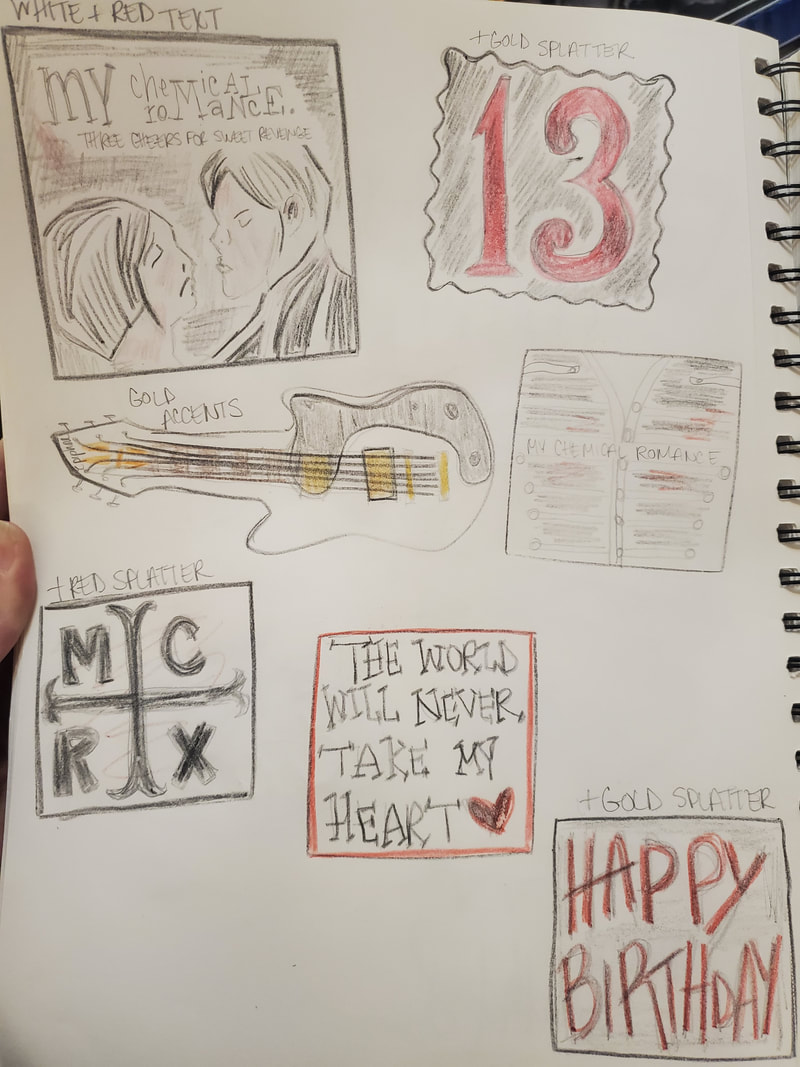 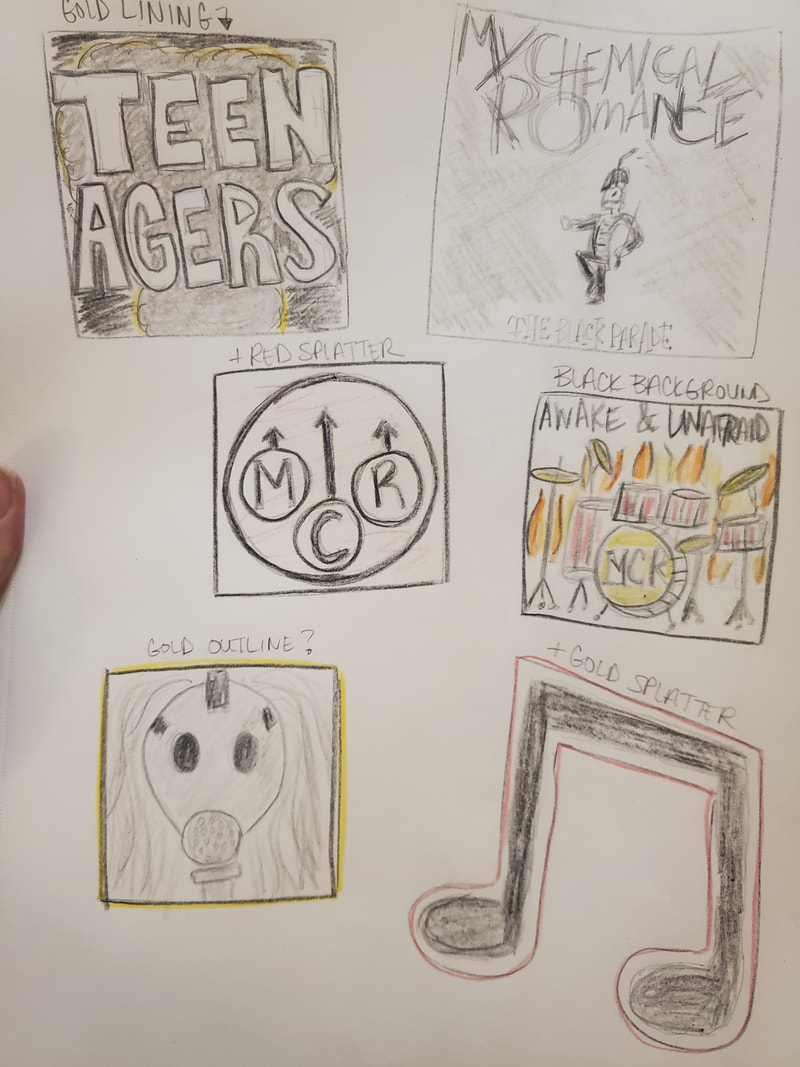 ProcessI used a lot of transfers for this set but I really wanted it to be perfect! The MCR Couple, the 13, and both MCR logo cookies were created using transfers. I used the inside of a few cookie bags to pipe the icing onto since they're food safe and the cookies usually go inside them anyway. Worked perfectly. *Reference Photo* 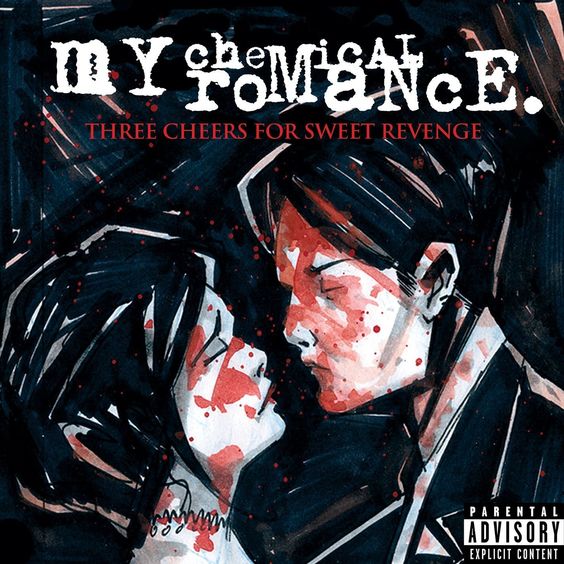 The "Mother War" cookie was created using Fondant and Royal Icing. I really enjoyed creating this one. I hope I have more opportunities to use Fondant, it's pretty fun. *Finished product next to reference photo* TransfersI'm 6 months pregnant AND I want these to be perfect. As much as I do by hand, I decided to save myself some stress and use transfers for these. *Finished Product next to reference photo* *Reference Photo* 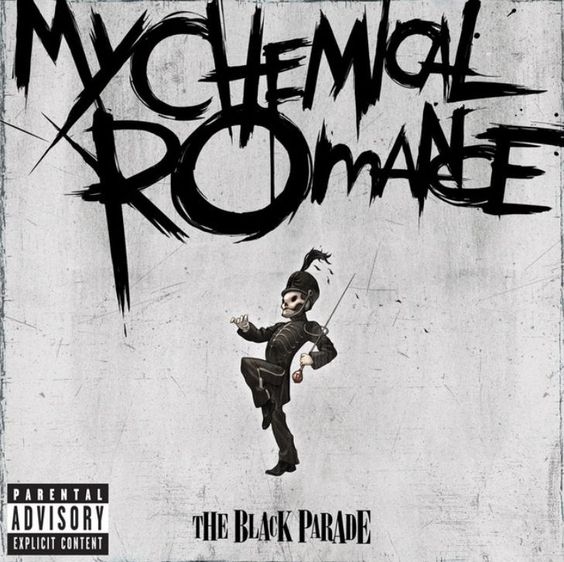 Sometimes things don't go your way... Especially when it's June in Alabama. But that's no reason to quit. I had to do the 13 over and honestly I think it was a blessing because the 2nd time around looked much better. Unfortunately I didn't get any pictures of the switch but I just used white icing as the base instead of black and I added the red icing right on top while it was till wet. I love how that cookie came out. The gold around the edges sealed the deal. The "Teenagers" and Guitar cookies are my favorites from the set. I love the texture on the Teenagers cookie. It came out better than I thought it would and it was fun to create. *Finished product next to reference photo* The drum set on fire was kind of a hot mess and of course I can't find the reference photo for this one. I remember it being a mash up of a few pictures. Either way my kiddo liked it all the same so chalk it up to a learning experience. I'm fine with it for what it is. I usually don't like doing text cookies especially since I do all mine freehanded but this one came out really good. I'm proud of it. *Finished product next to reference photo* I only got the 1 picture of that cookie in progess but it was pretty simple and I used a transfer sheet. *Finished product next to reference photo/transfer sheet* I just did this cookie in one go with edible ink and I added a border in red. Wasn't much to document. This is the best I did with the process on the music note as well. Not much to document though. Pretty simple design. That's pretty much it for the "how to"/"how I did it" part of the post. This one has a extra section though because I am working on preserving these. My son asked me to and lucky for him I already wanted to dabble in preservation as I've had lots of people ask me if it's possible. I can tell you that yes it is.. and I'm in progress of preserving this set. So here is part.... 1.5.... there will be an actual "Part 2" sometime in the future. Preservation Trials |


 |

Thank you for stopping by!
Hope you enjoyed!
I will have an update on cookie preservation in the future!
Much love!
Amanda
Hope you enjoyed!
I will have an update on cookie preservation in the future!
Much love!
Amanda
0 Comments
Leave a Reply.
Previous
April 2024
February 2024
March 2022
January 2022
December 2021
November 2021
October 2021
August 2021
July 2021
June 2021
May 2021
April 2021
March 2021
February 2021
January 2021
December 2020
November 2020
October 2020
September 2020
August 2020
July 2020
June 2020
May 2020
February 2020
January 2020
 RSS Feed