|
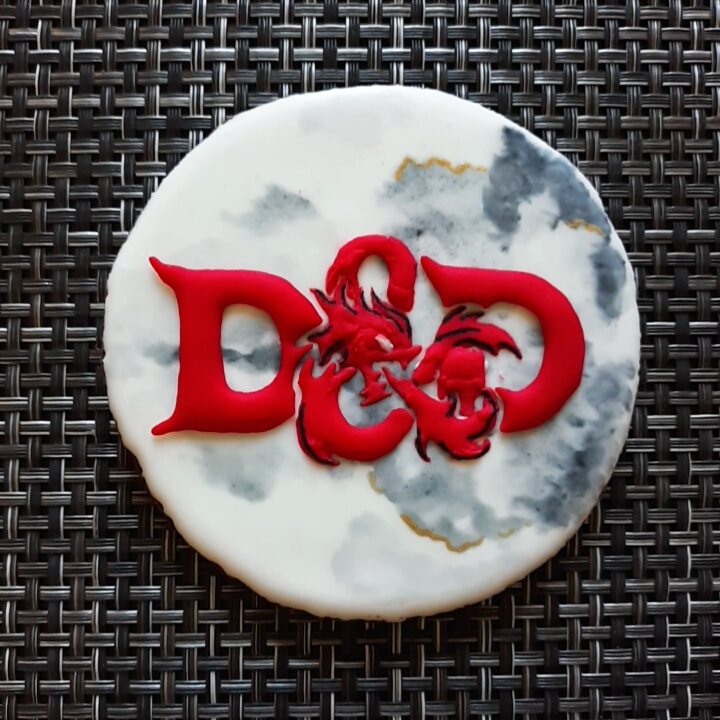
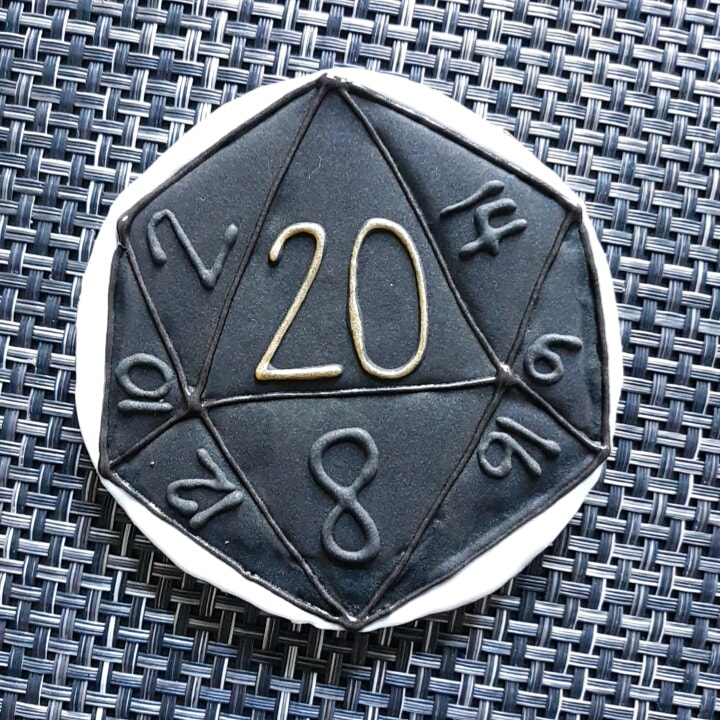
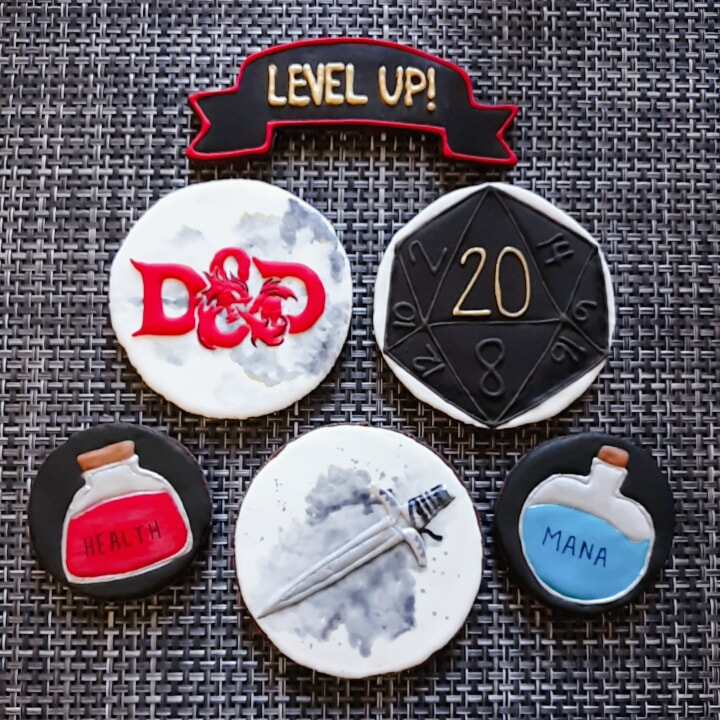
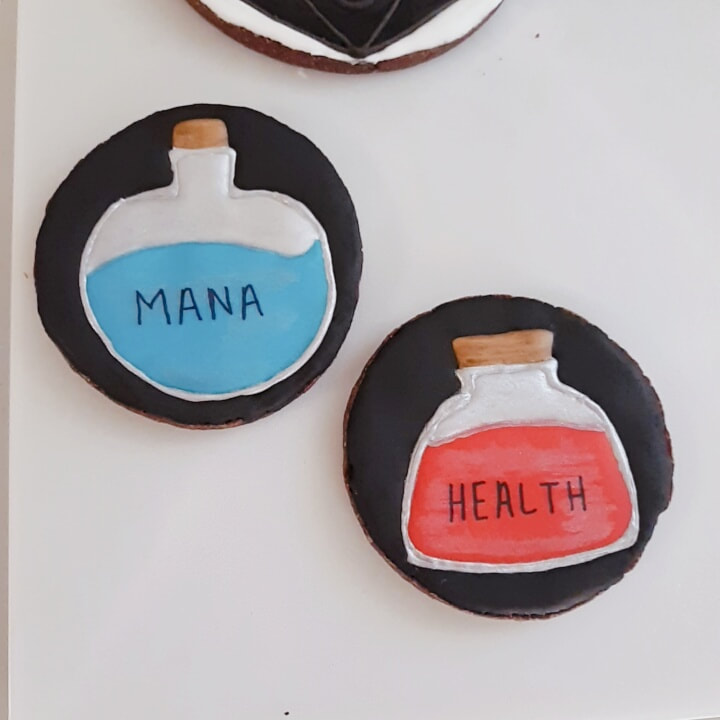
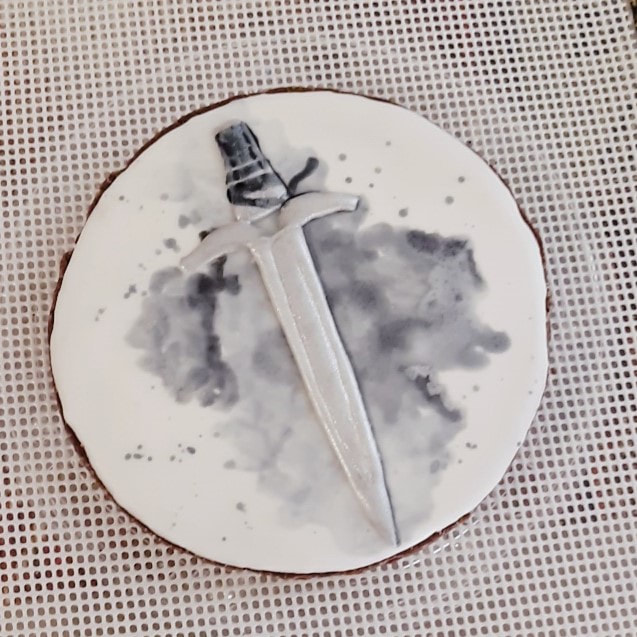
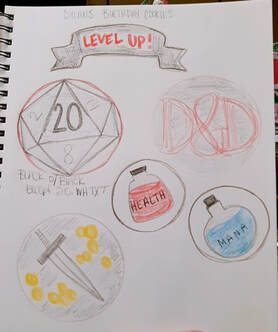
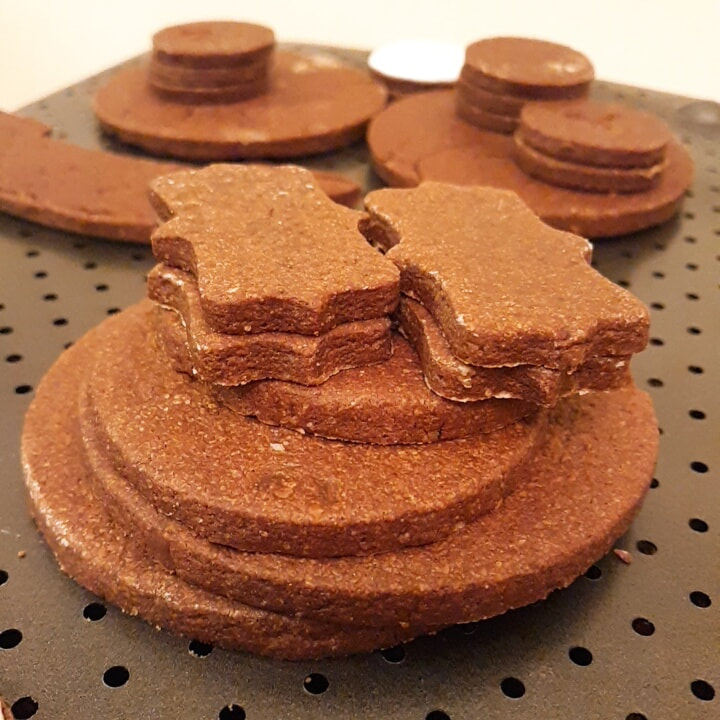
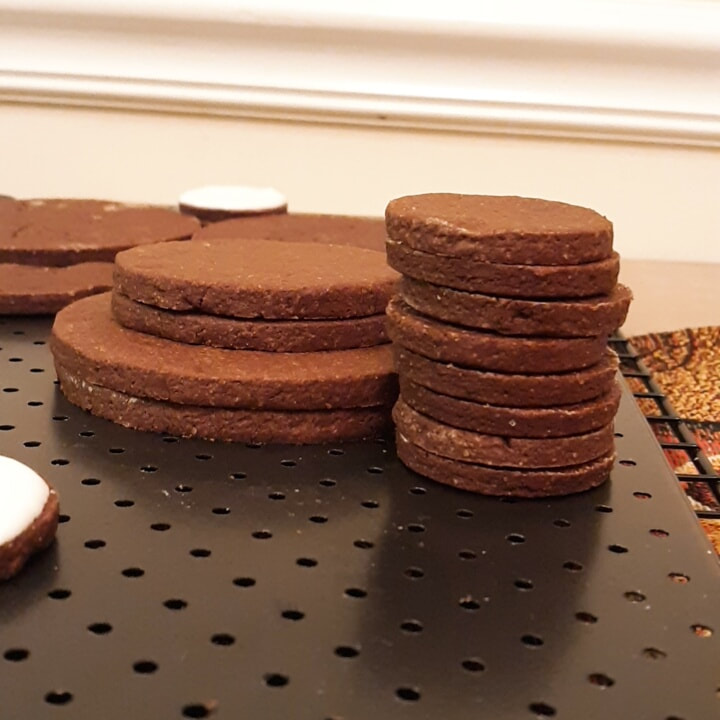
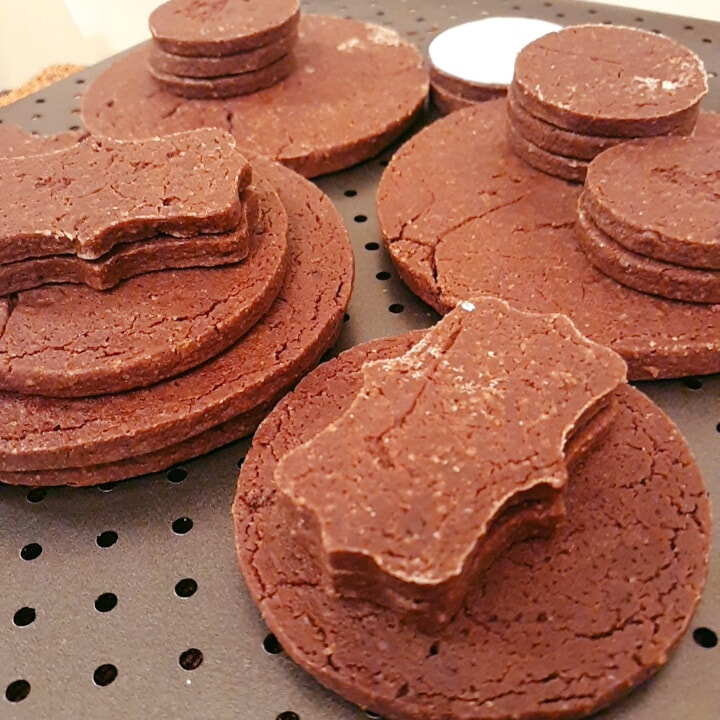
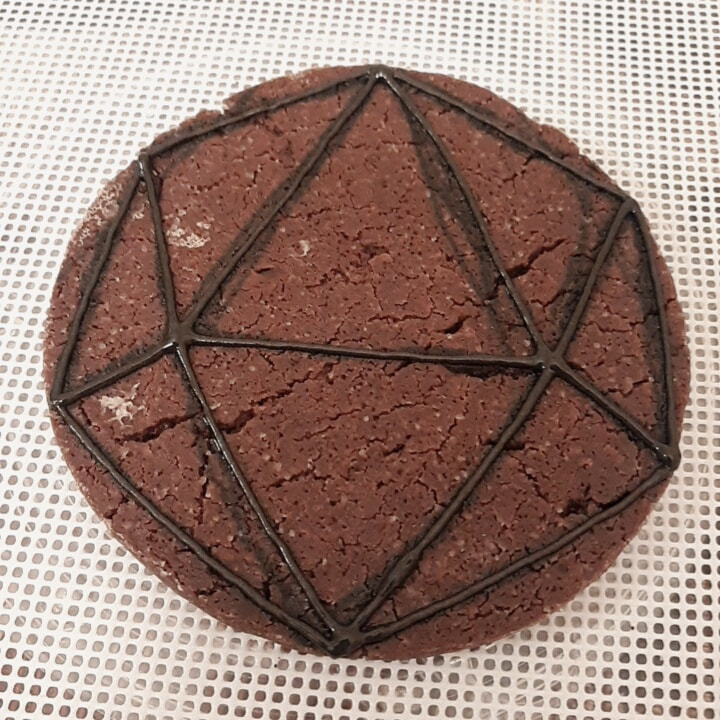
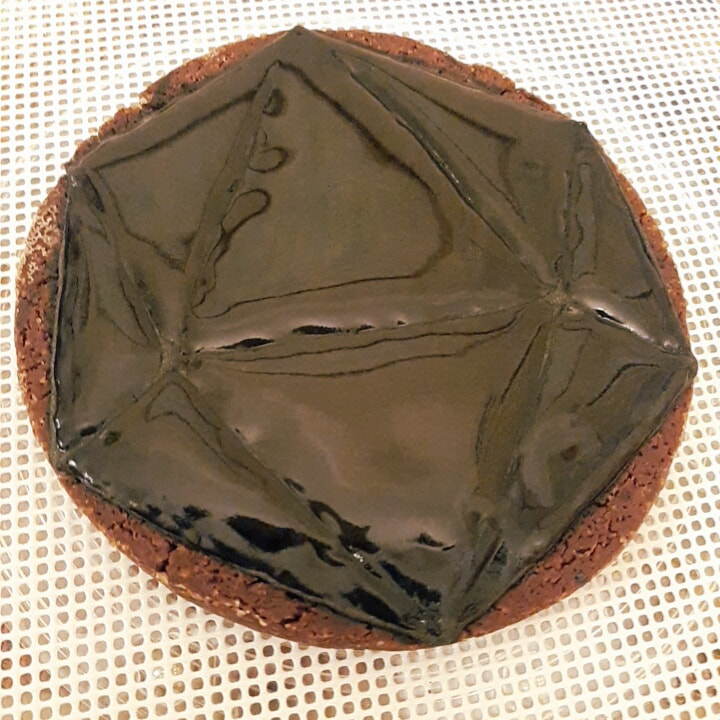
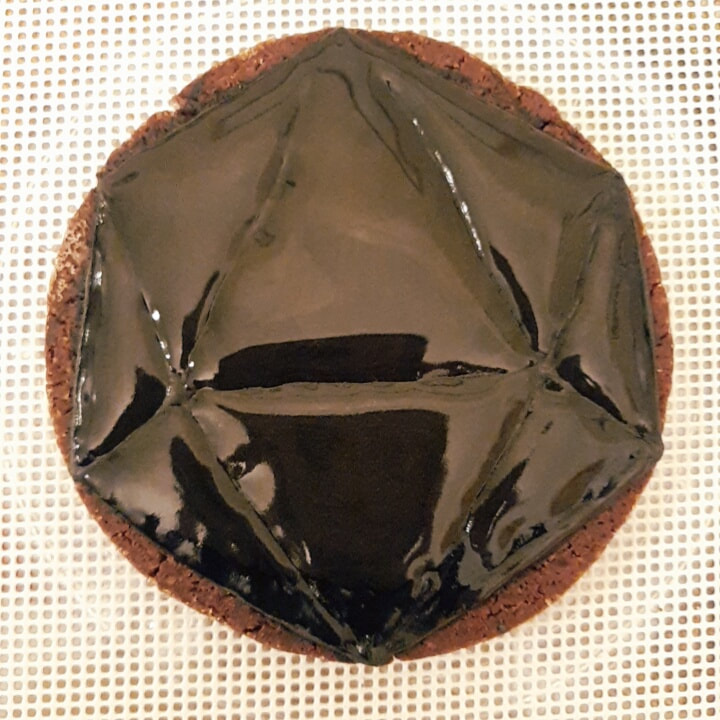
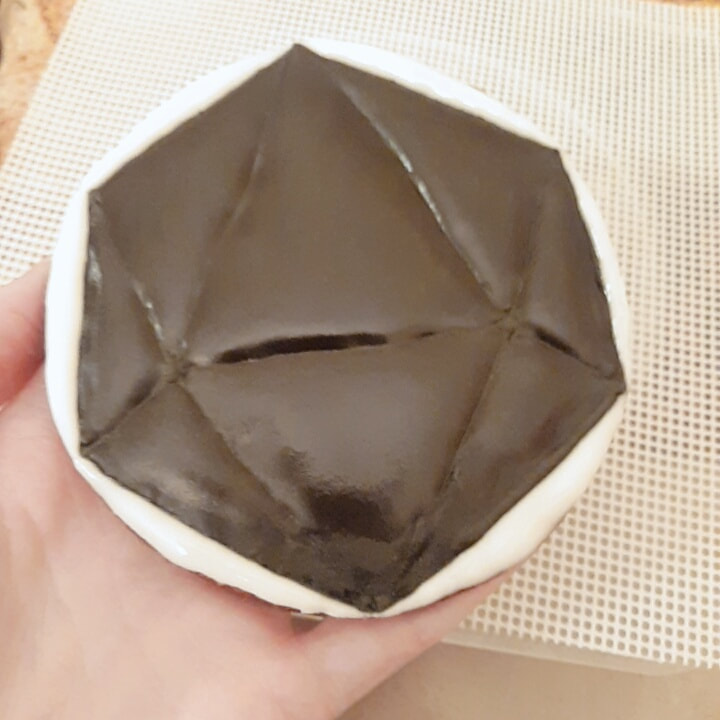
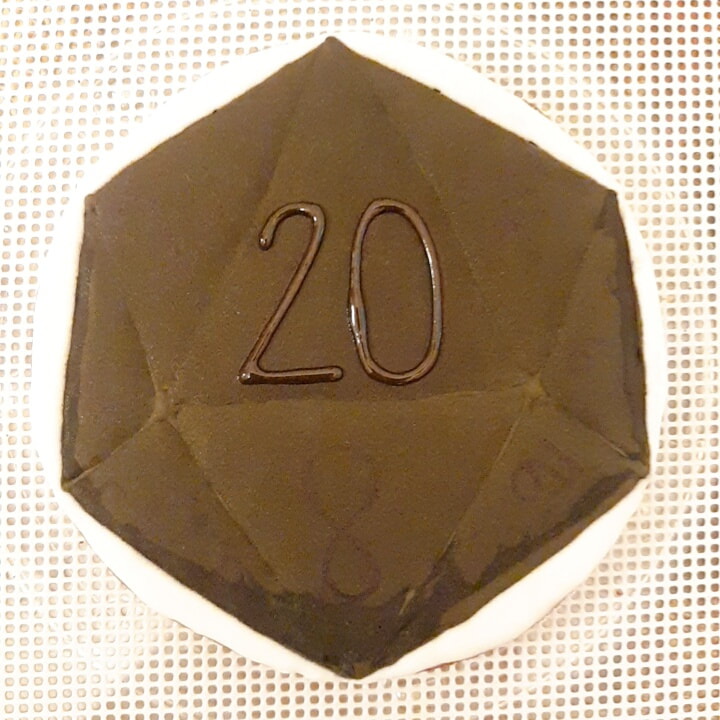
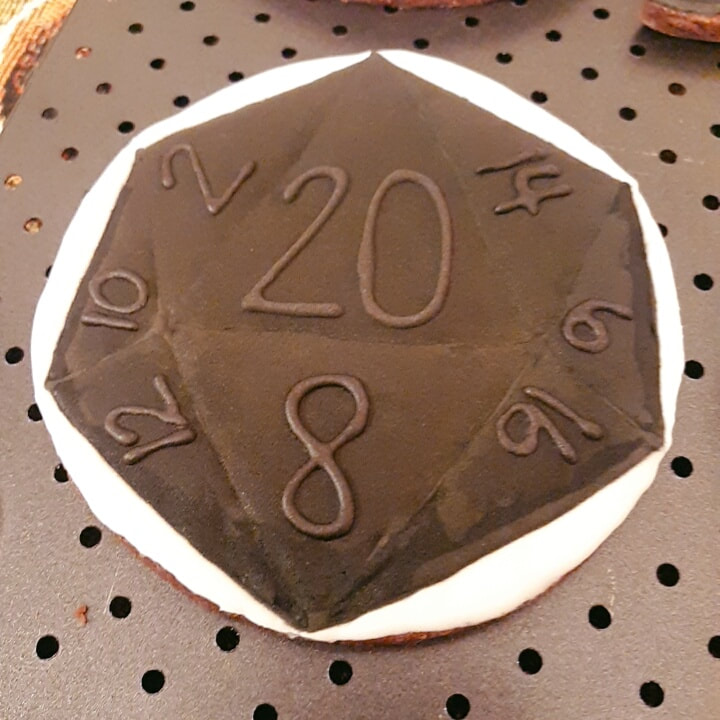
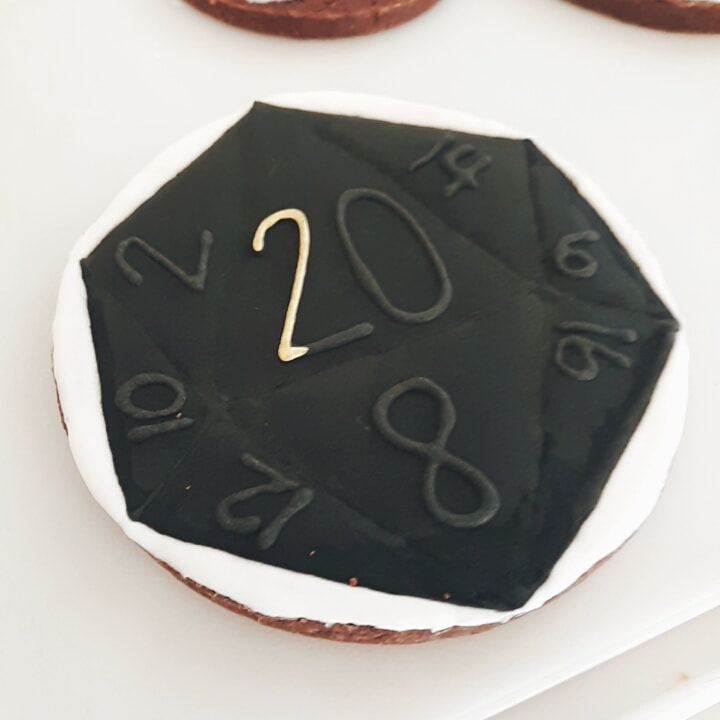
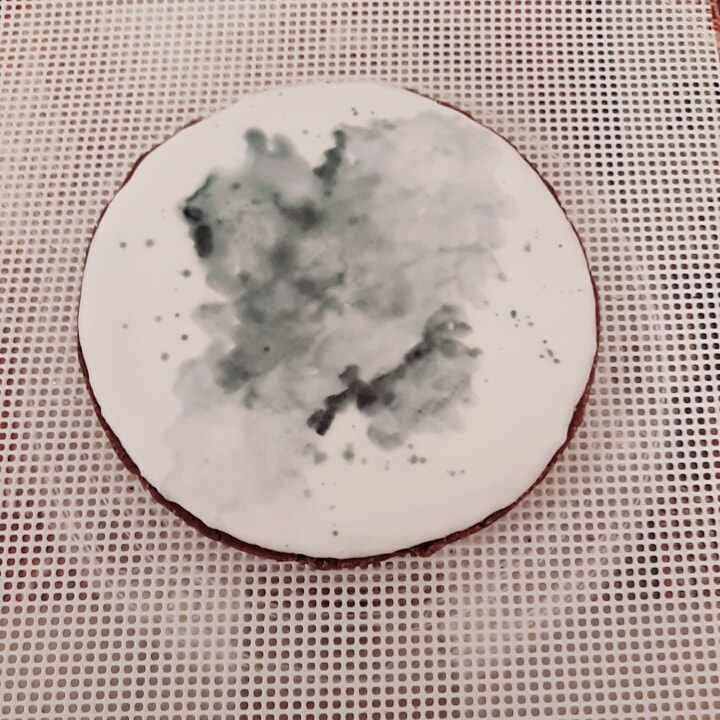
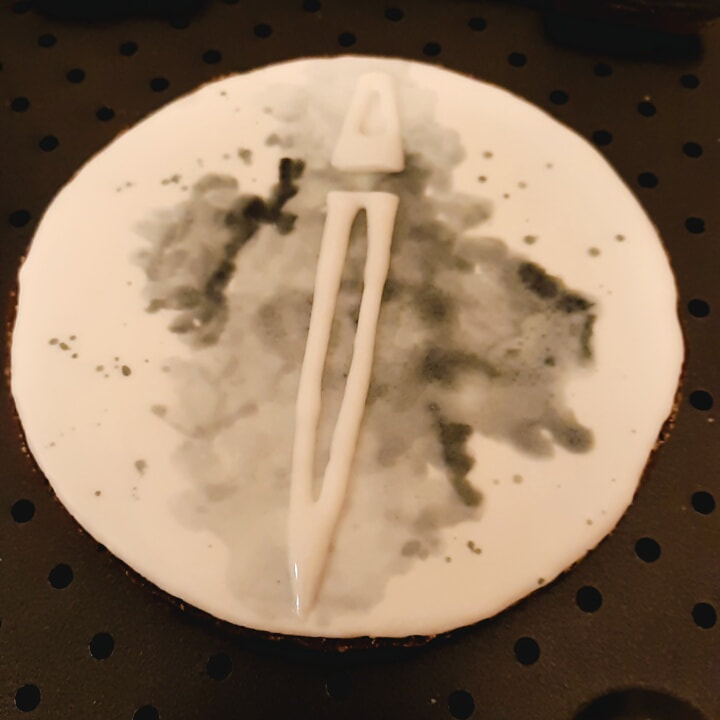
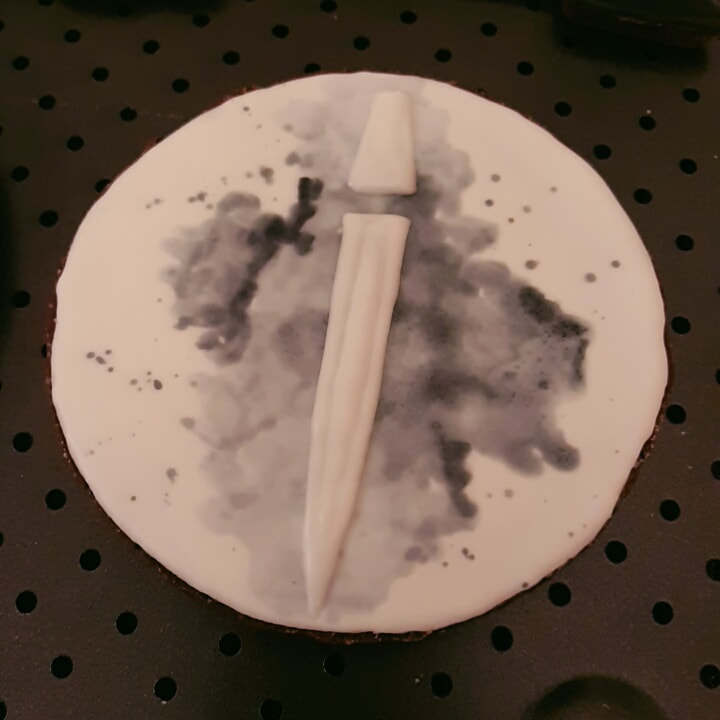
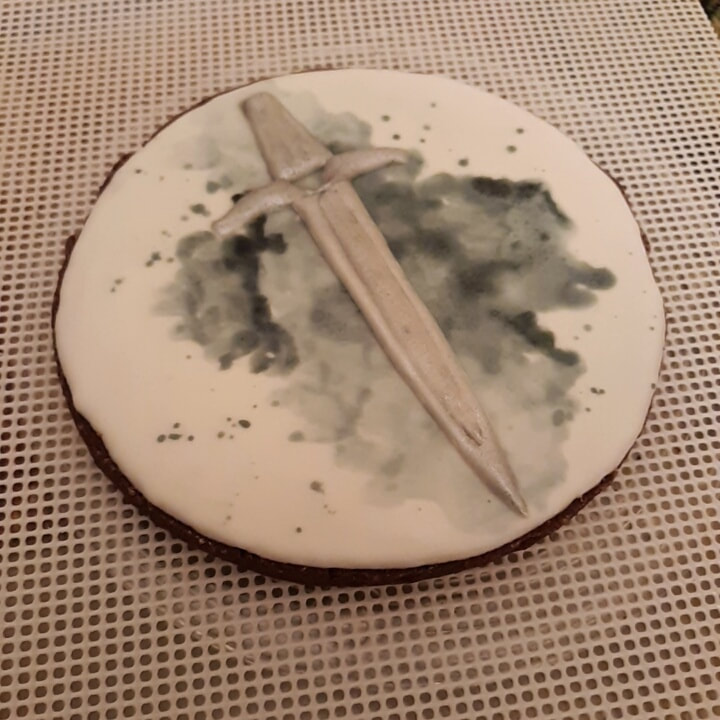
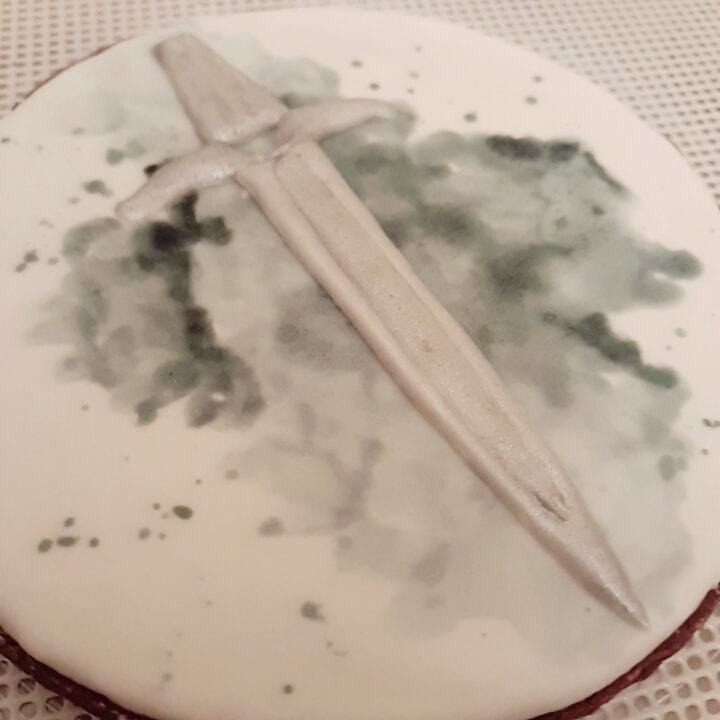
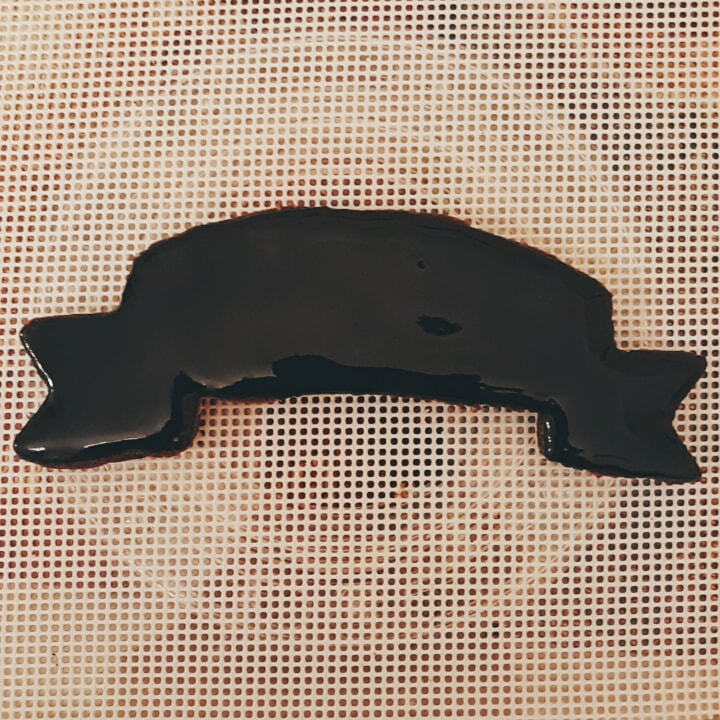
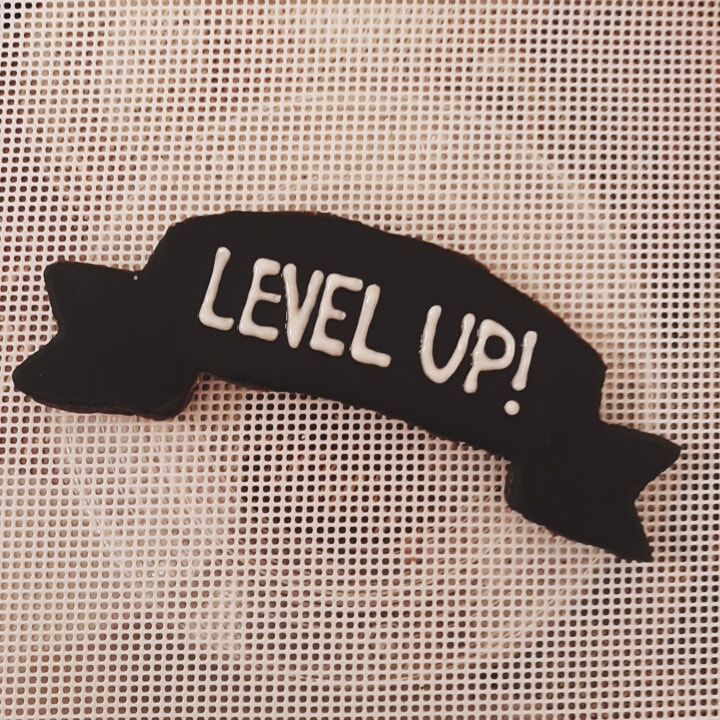
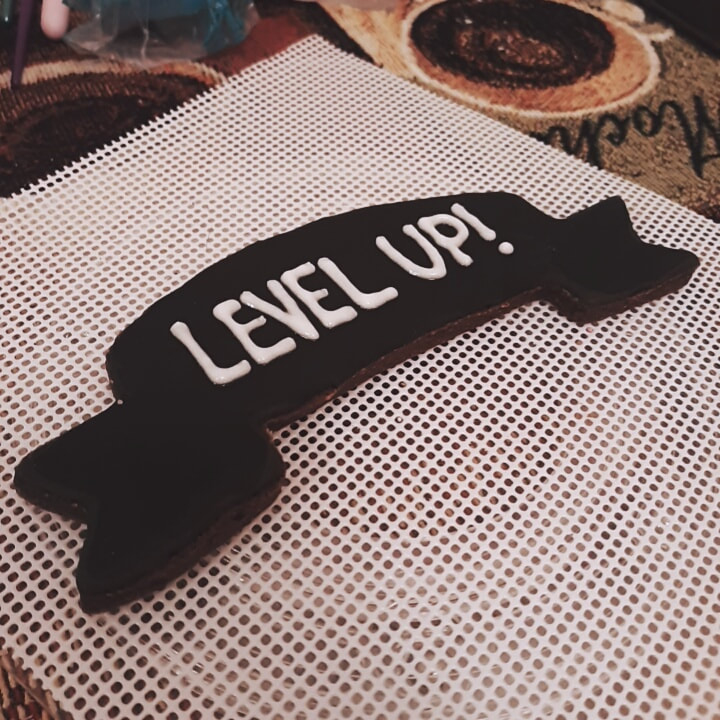
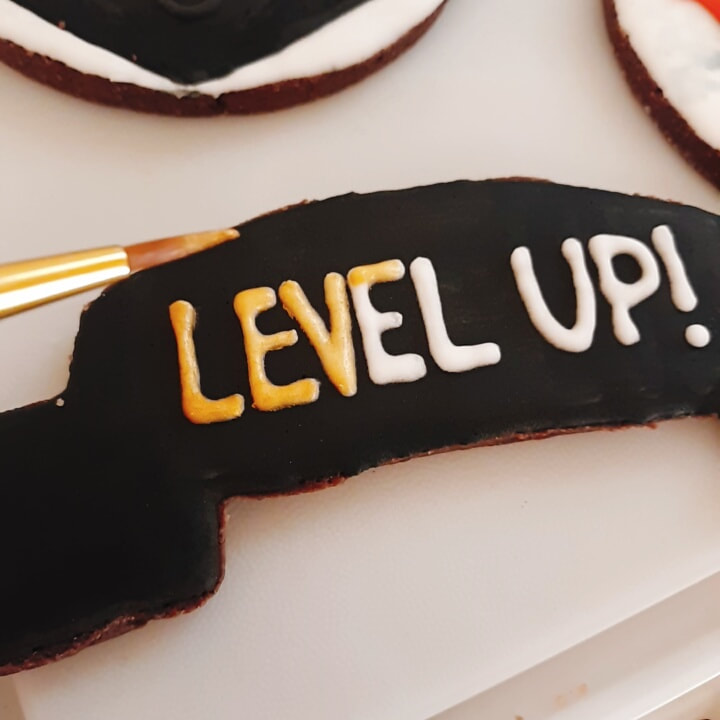
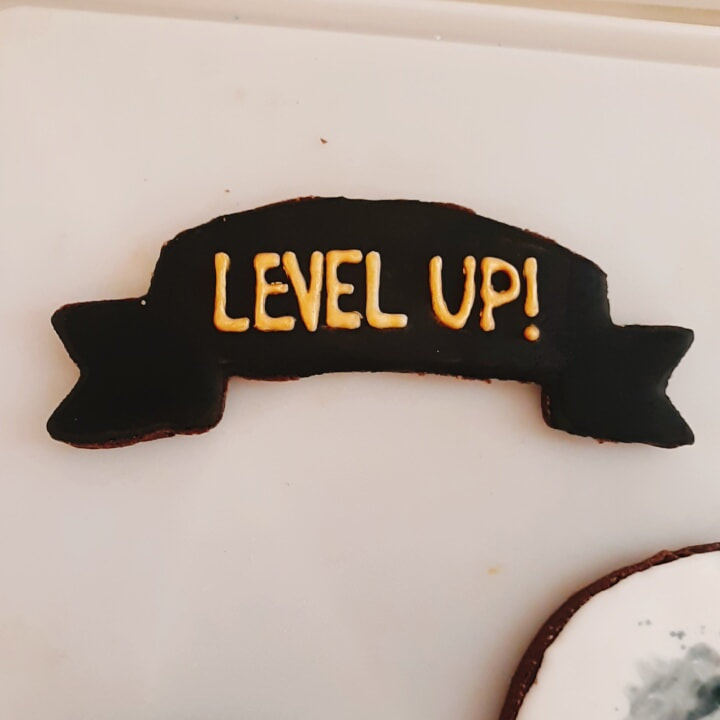
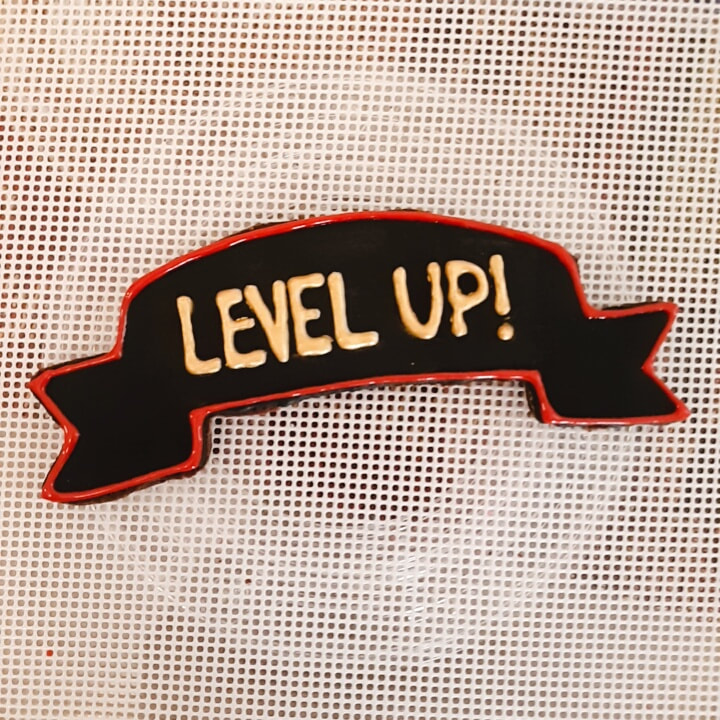
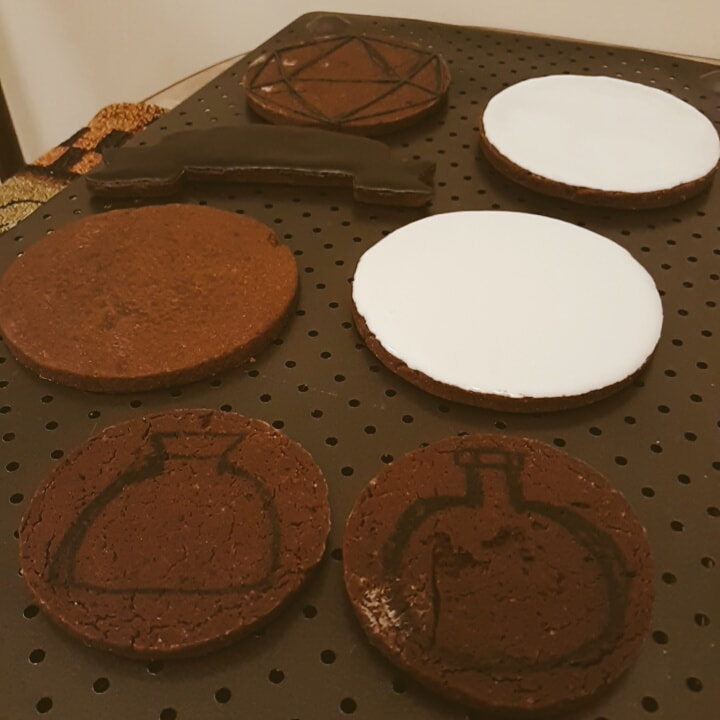
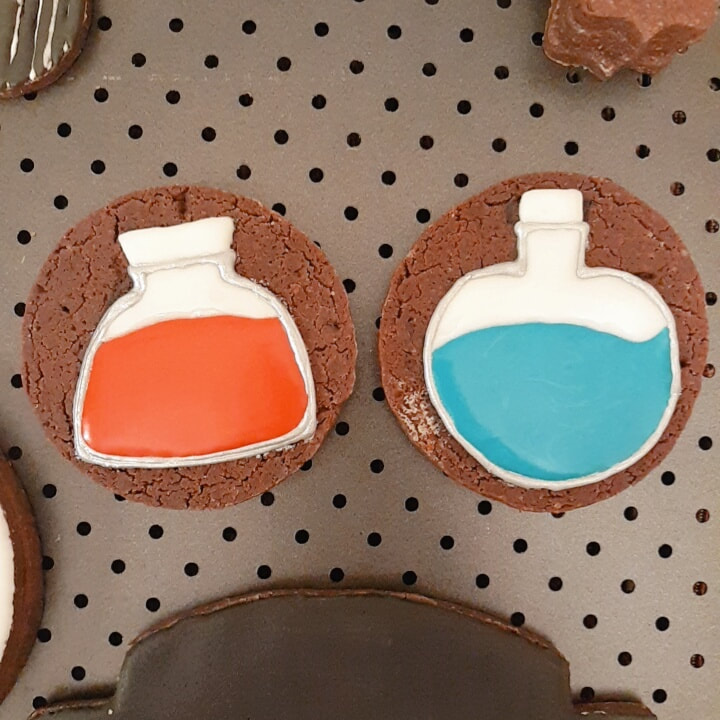
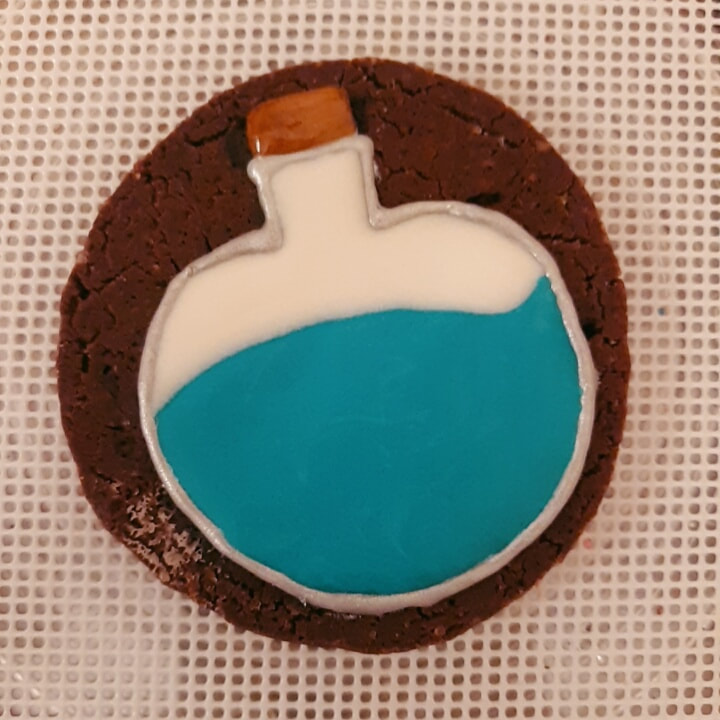
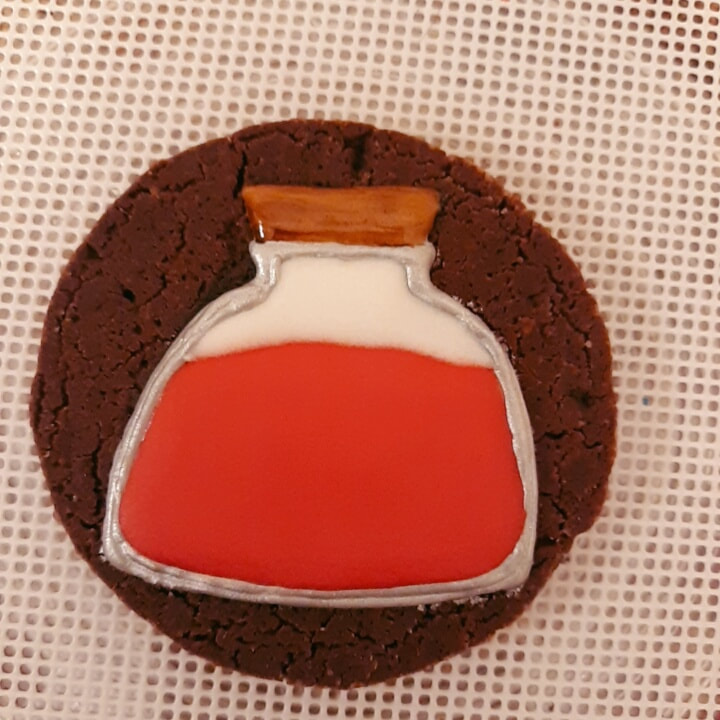
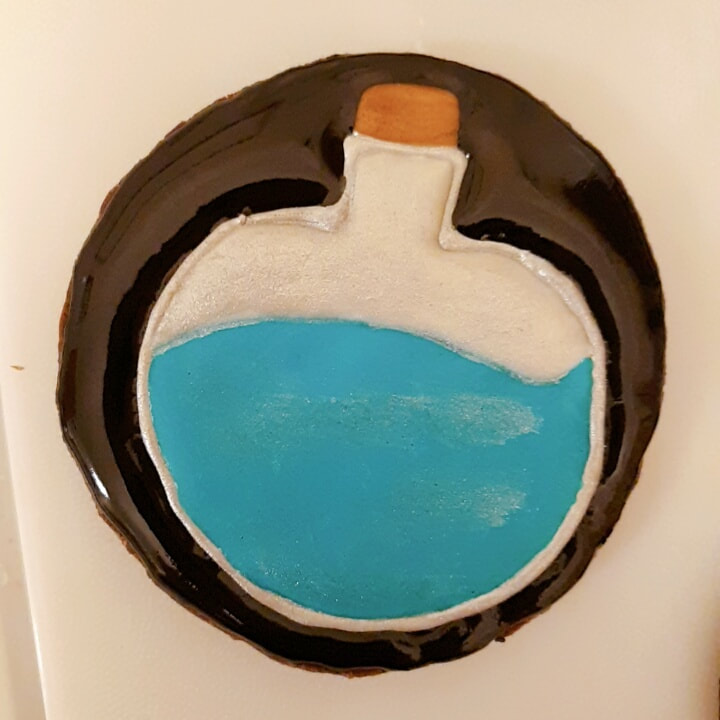
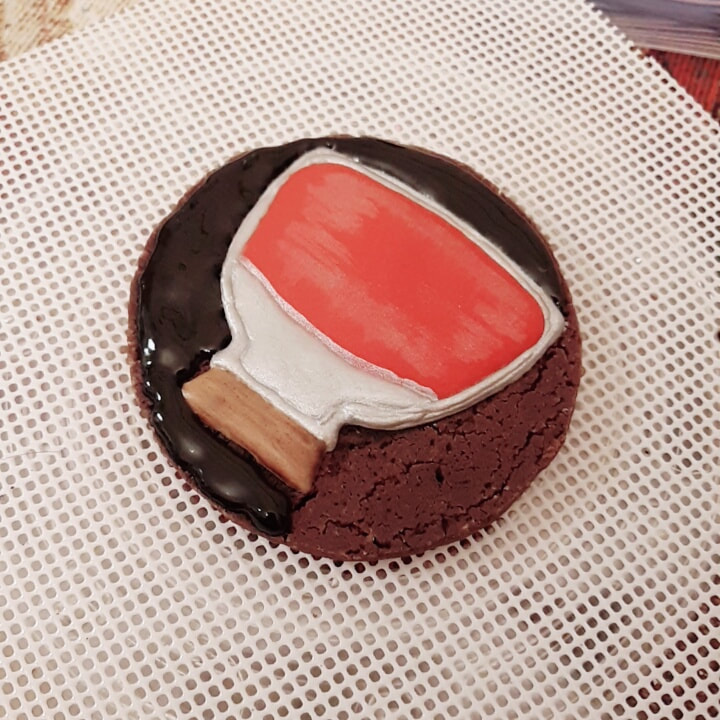
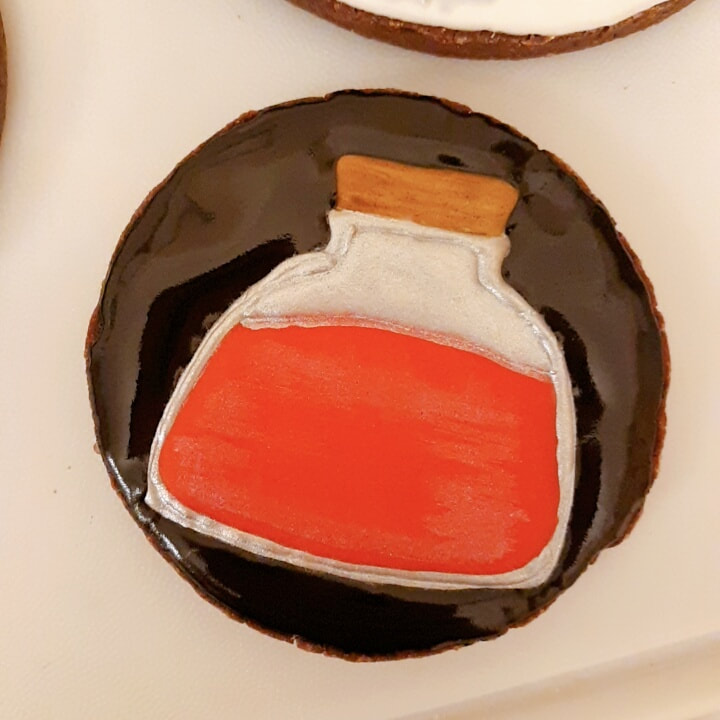
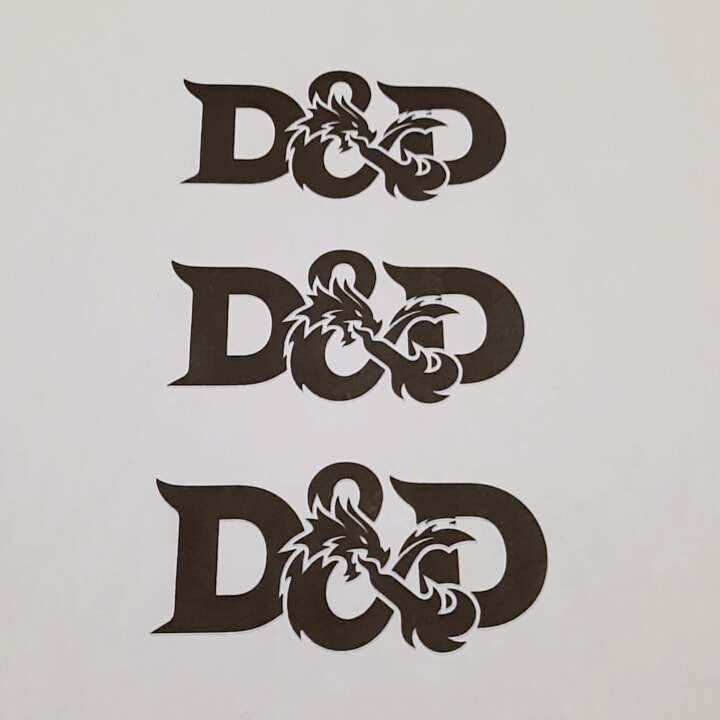
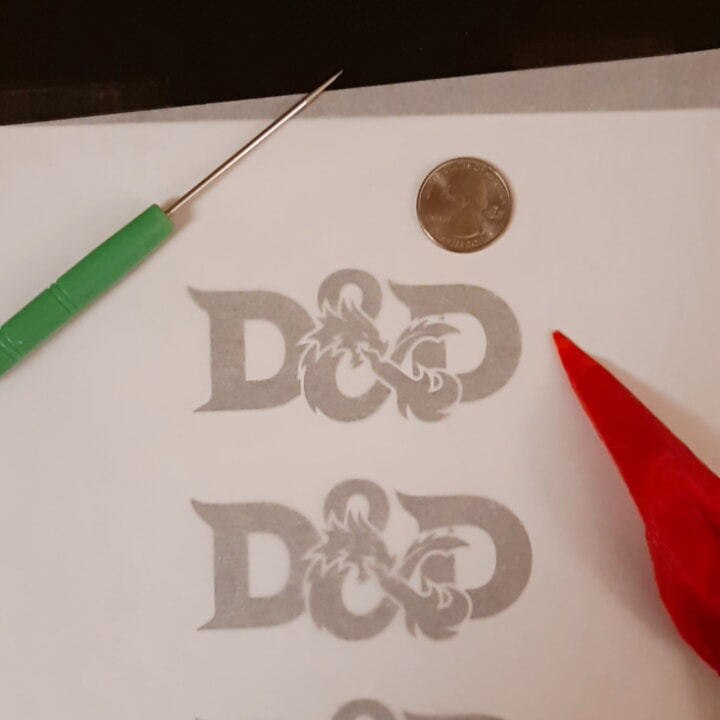
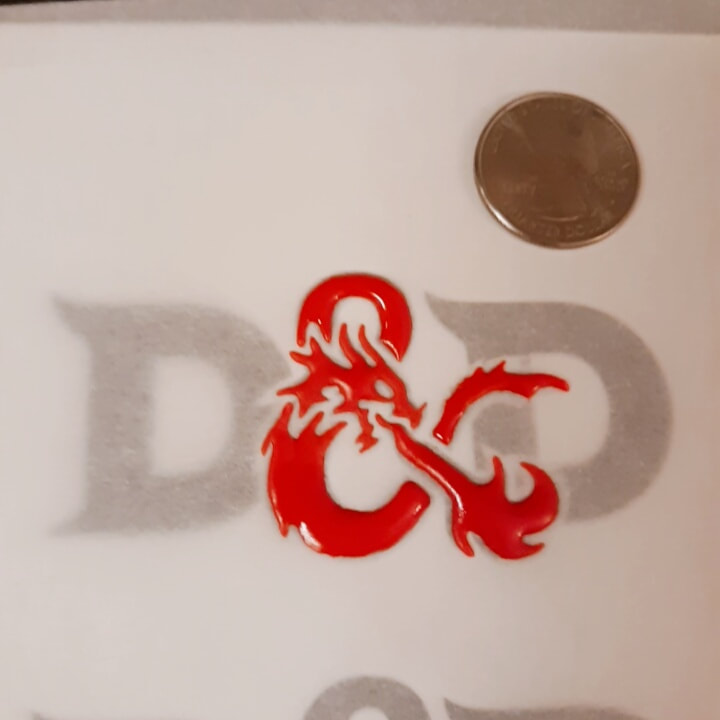
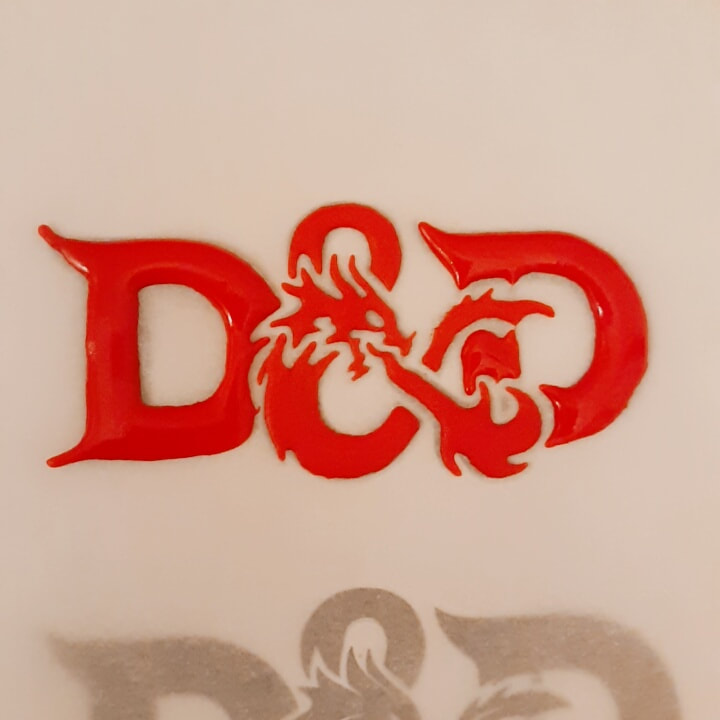
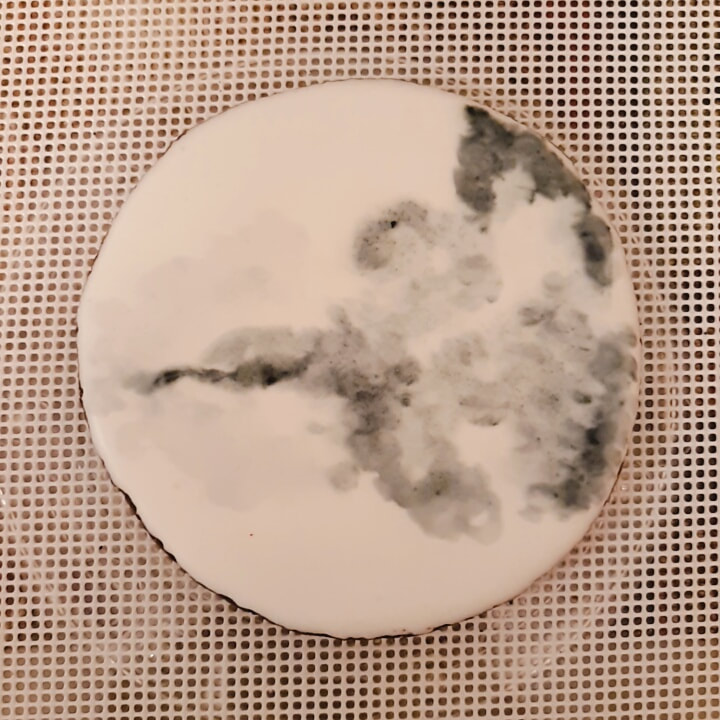
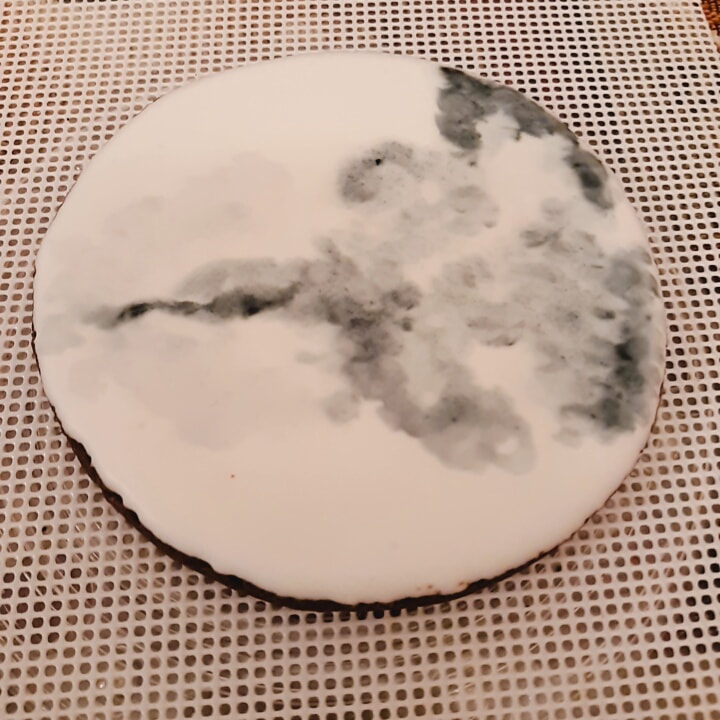
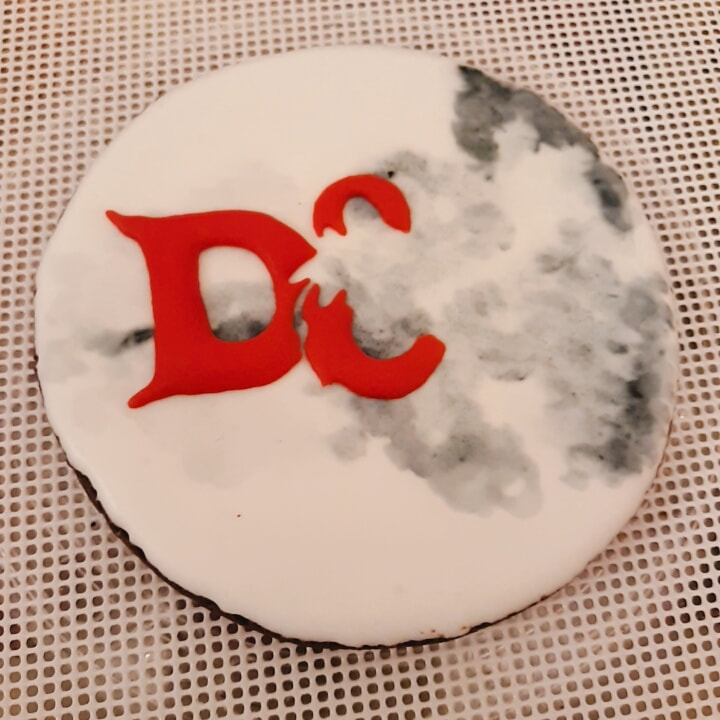
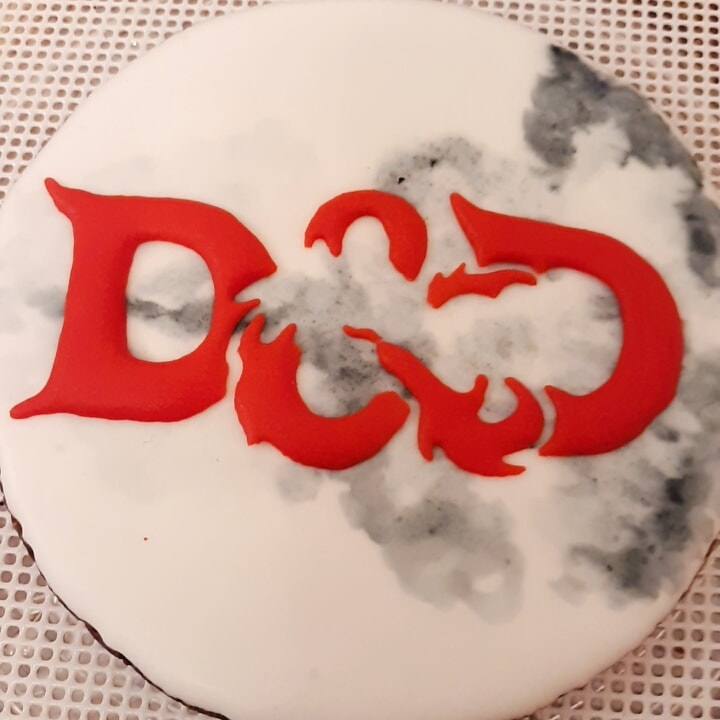
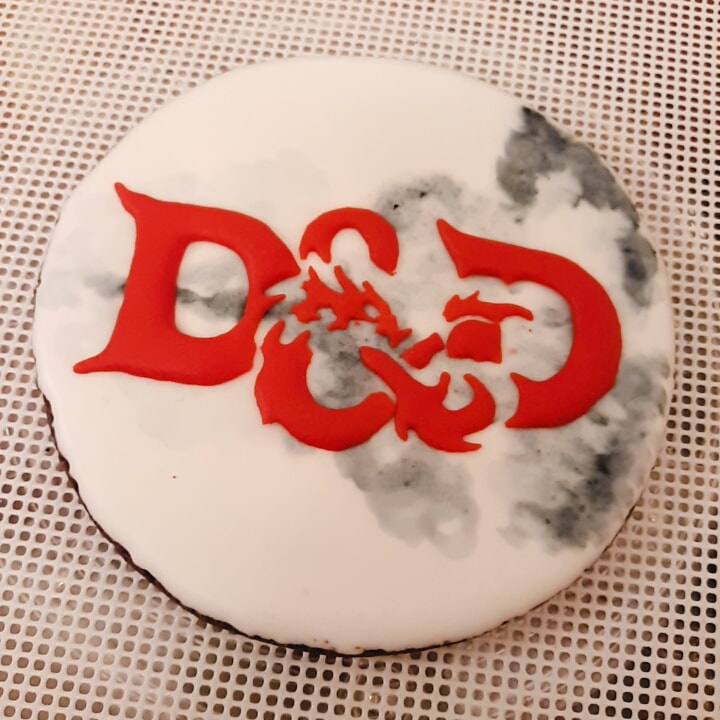
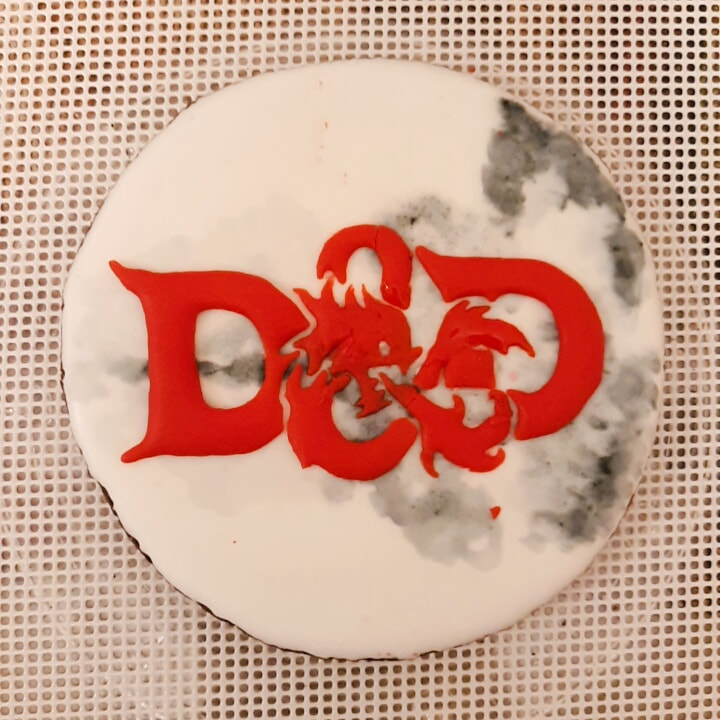
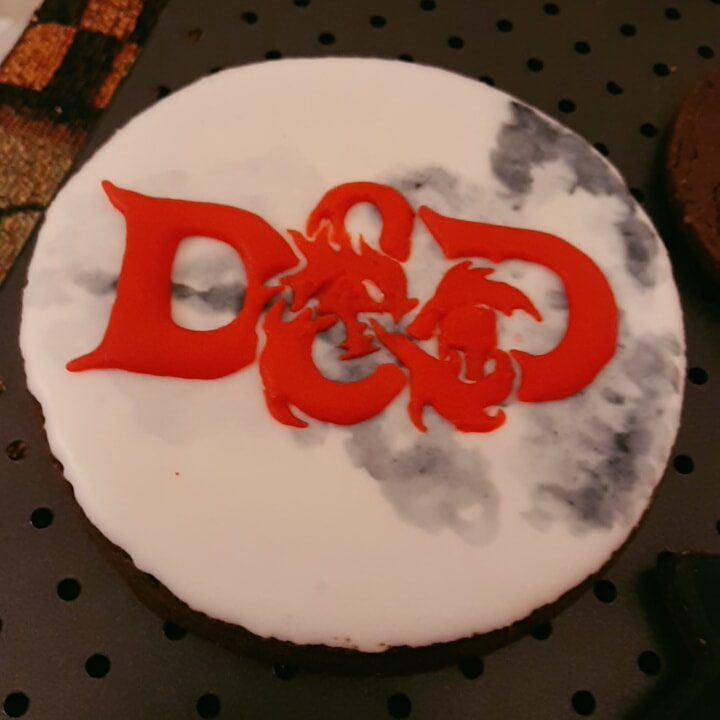
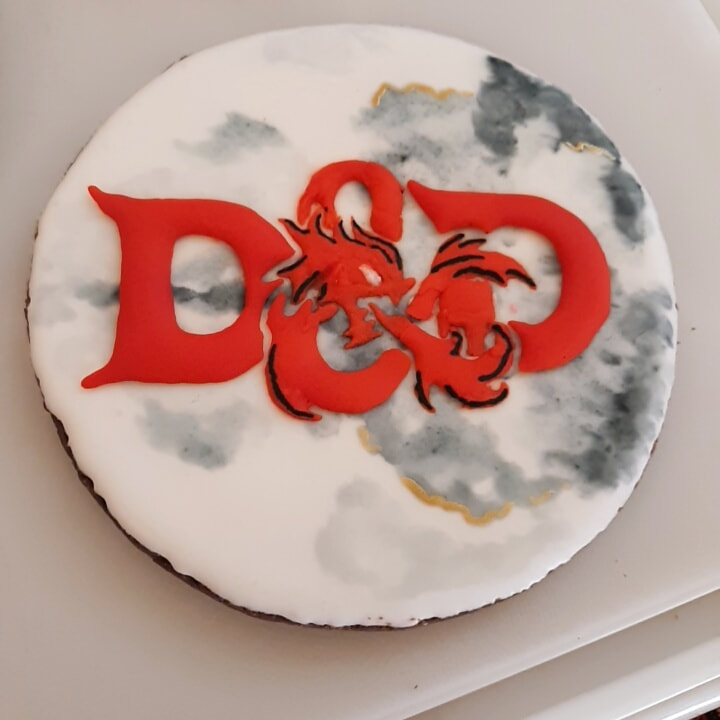
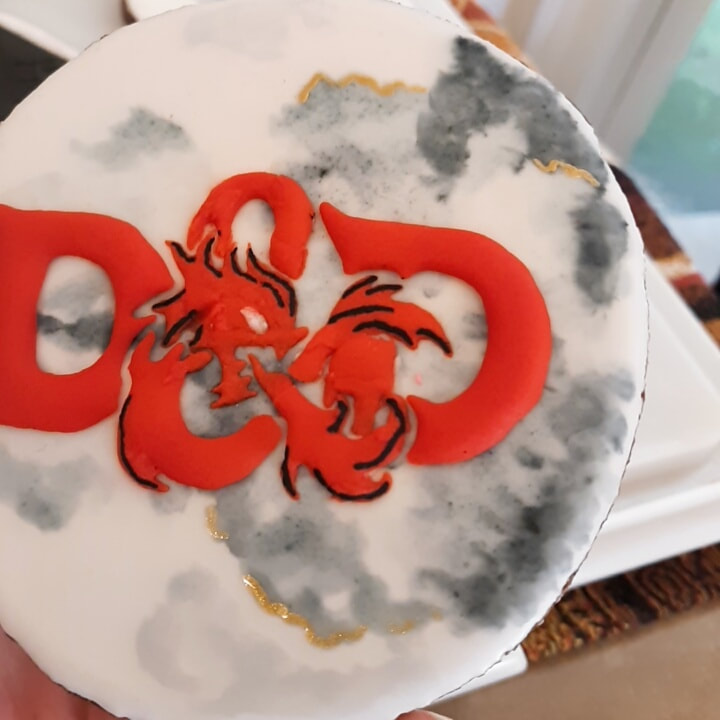
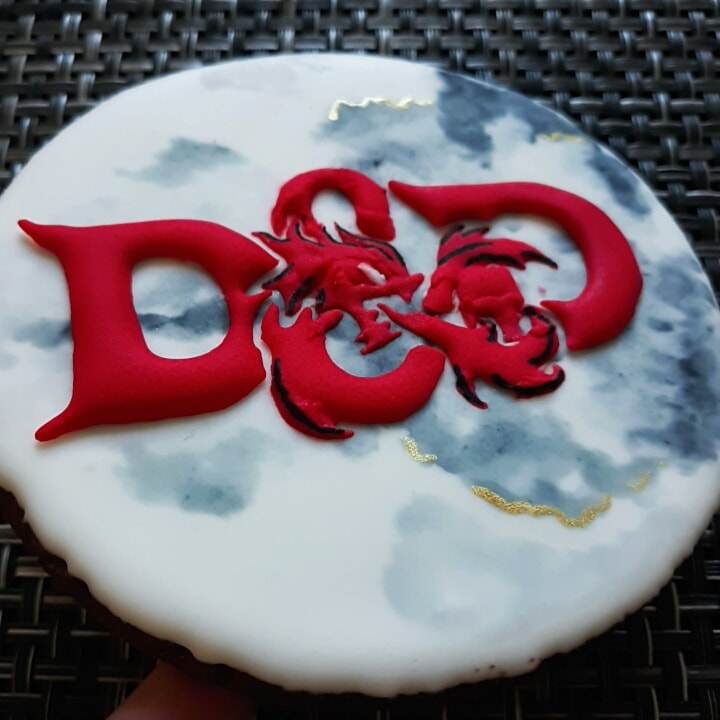
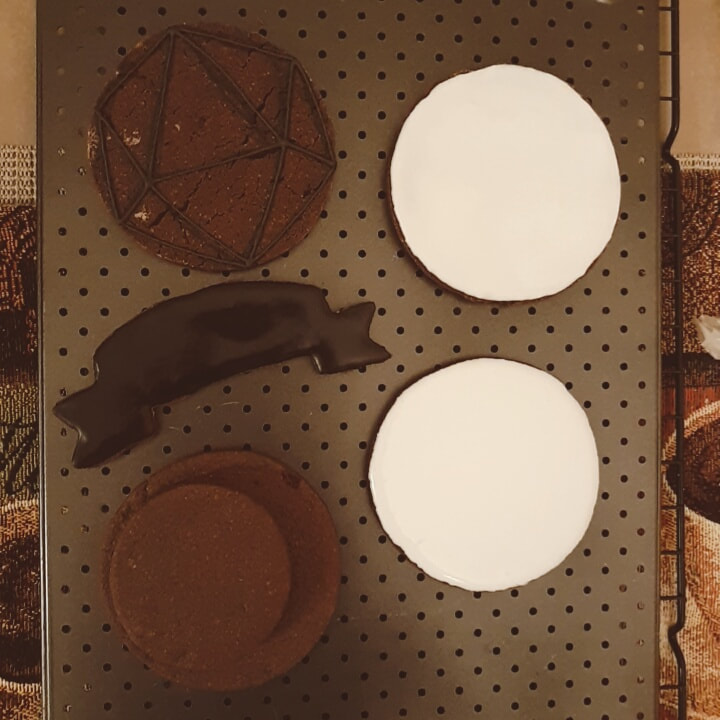
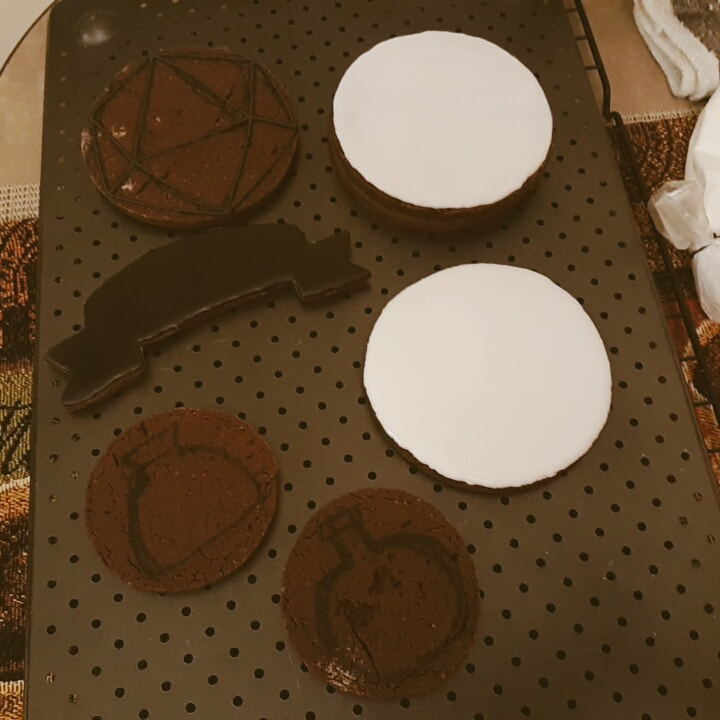
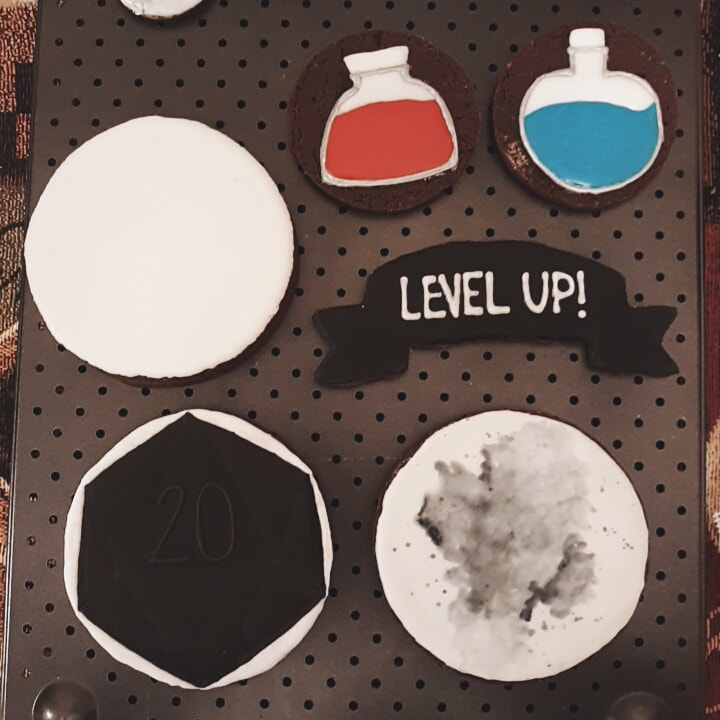
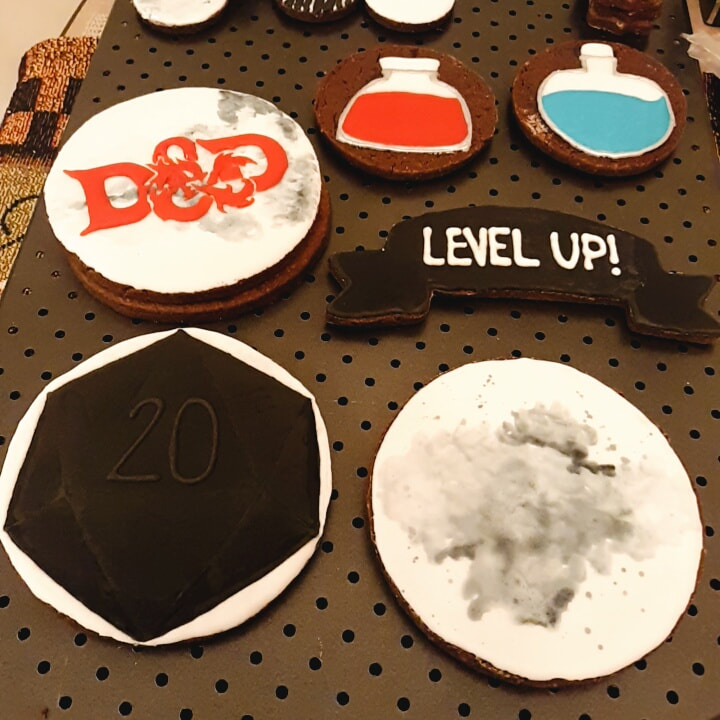
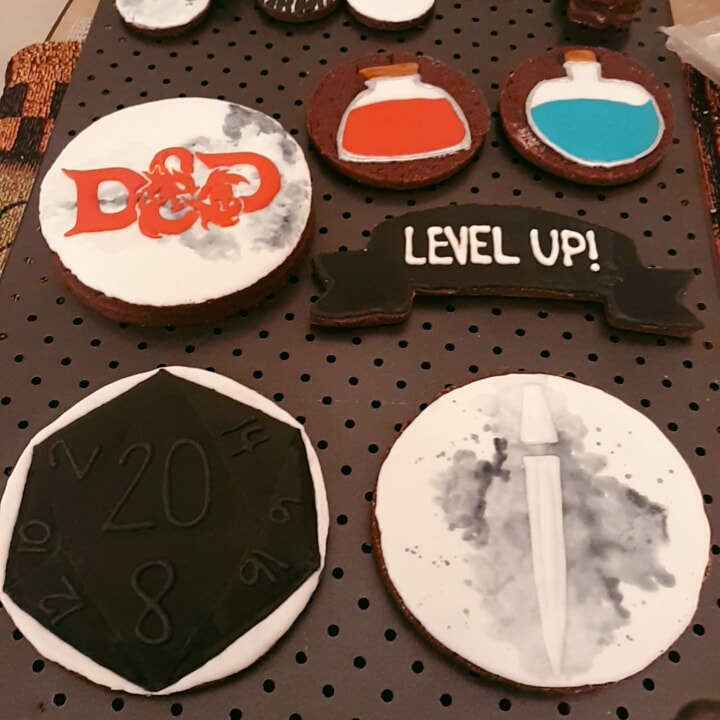
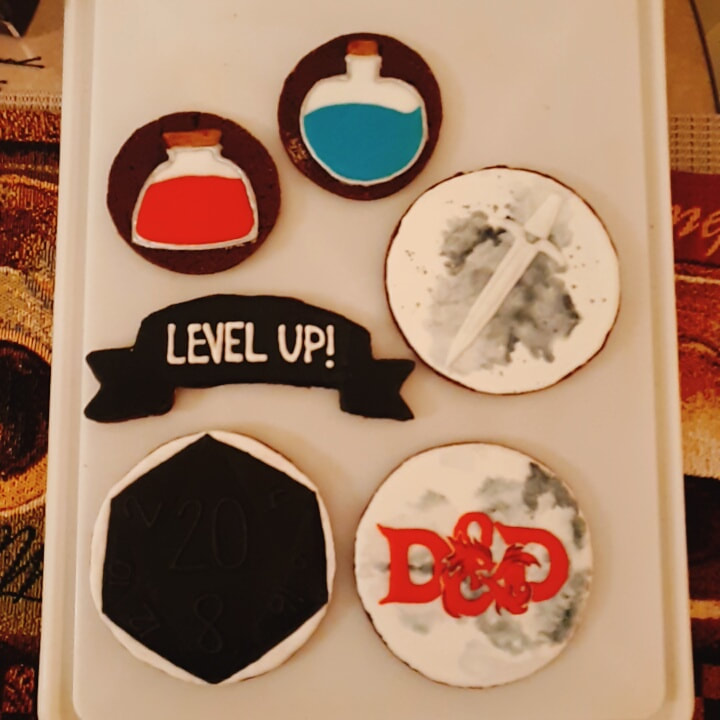
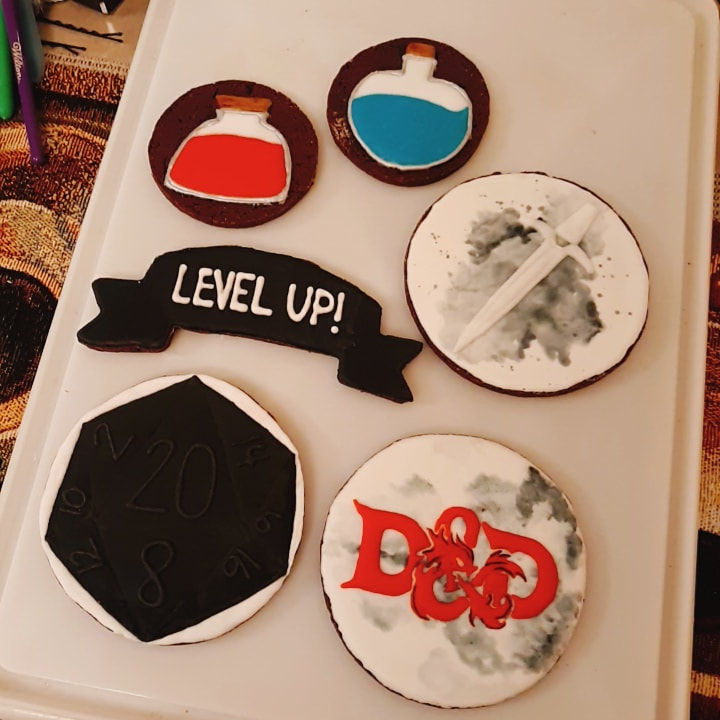
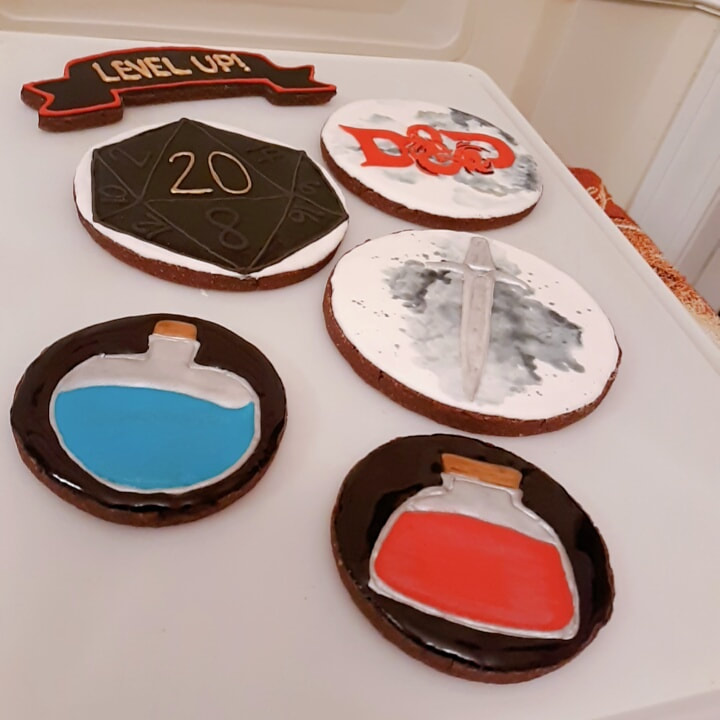
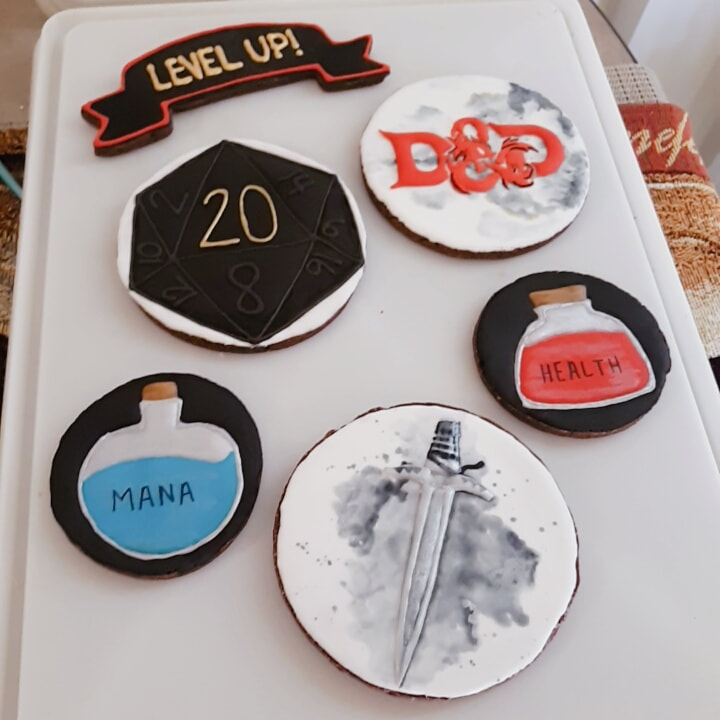
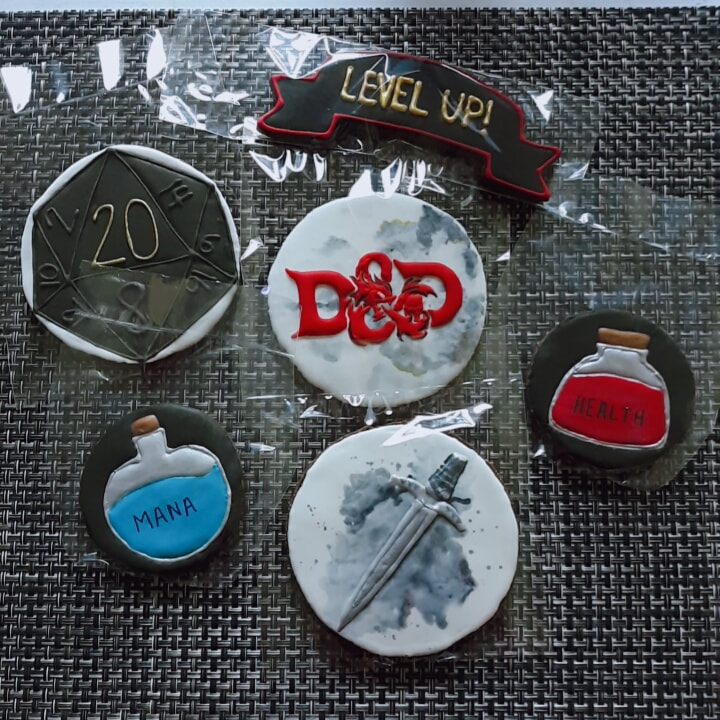
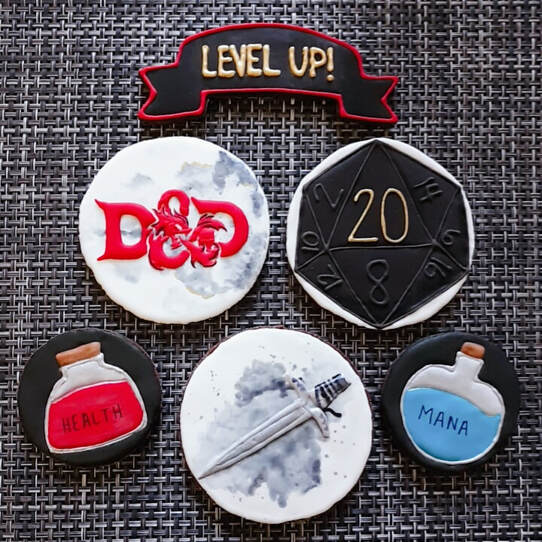
Hello! Welcome! So glad you're here! Come see how I made these D&D cookies for my brother's birthday! So I tried a new Double Chocolate Chip Sugar Cookie recipe and uhhh it's amazing... Definitely my favorite so far. I used Hershey's cocoa and mini chocolate chips. I would also like to mention how much I absolutely love my rolling pin that makes all my cookies the same size... LOVE. I didn't use all those cookies for this set. I baked the extras beacause I intended to also start Halloween cookies, WHICH I did come up with the concept I want to do BUT I did also eat the rest of the extra cookies LOL so... eh.. Also since these are basic shapes I decided to decorate on the back of the cookies. I like to do that sometimes. Also the white spots are not flour it's powedered sugar which I occasionally use as my bench flour when I make sugar cookies. This was fun to make but in retrospec I wish I would have made the numbers smaller and bolder more like how they appear on the actual 20 sided dice..die?? idk. It still got the point across though he turned 20 so I think it was still a clever idea just missed it a bit on the execution. Oh the sword. D oes anyone know how difficult it is to design a weapon from a game that is based mostly on imagination while also having no clue what class your brother plays? LOL. I just decided I would make something that looked cool and ya know maybe it'll be easier for him to eat this one... But eh not bad for a sword. I'm happy with it. In the sketch you may remember that I had gold pieces laying around the sword (yeah that's what that was LoL). I decided not to add the gold. I wanted to keep the focus on the sword and keep it simple. This one was just fun. Plus my black is pretty magnificent. I actually have zero qualms about how the banner turned out I like it lol Oh the little potion bottles. They do the job but they are my least favorite of the bunch. Something I'm going to work on for sure I'd love to improve on these. Okay and the finale--- I know you're just here to see the logo it's all good I worked hard on it so I'm not at all insulted and those of who enjoyed so far you're awesome too! Okay anyway so here's the process. Find an image online and print it out. Then I traced it with royal icing... it took FOREVER to dry make no mistake... However, it was really really humid and rainy that weekend so I know that was part of it because I've made a few transfers and they didn't take near as long to dry. I did a cool little cloud watercolor effect thingy on the cookie for the backdrop... I really liked how that turned out. Once the logo did finally dry I painstakingly put it on the cookie... A lot of the little pieces broke and I had to improvise a bit (which I expected) but both of the D's held up perfectly so, small miracles am I right? haha.. Adding the black outlines really brought it to life. I also added some gold in the clouds... really nice touch I think. Process Reel.So I never really know where to put these pictures in my posts but this is kind of the process in stages, you can see how things went along. I figured since I always take these process photos I should include them in my posts lol. OKAY. That's all she wrote on this set we are at the end! Pretty cool indeed! Thank you so much for stopping by!
I hope you enjoyed this adventure! See you next time! Much Love Amanda
0 Comments
Leave a Reply. |
Previous
June 2024
|

 RSS Feed