|
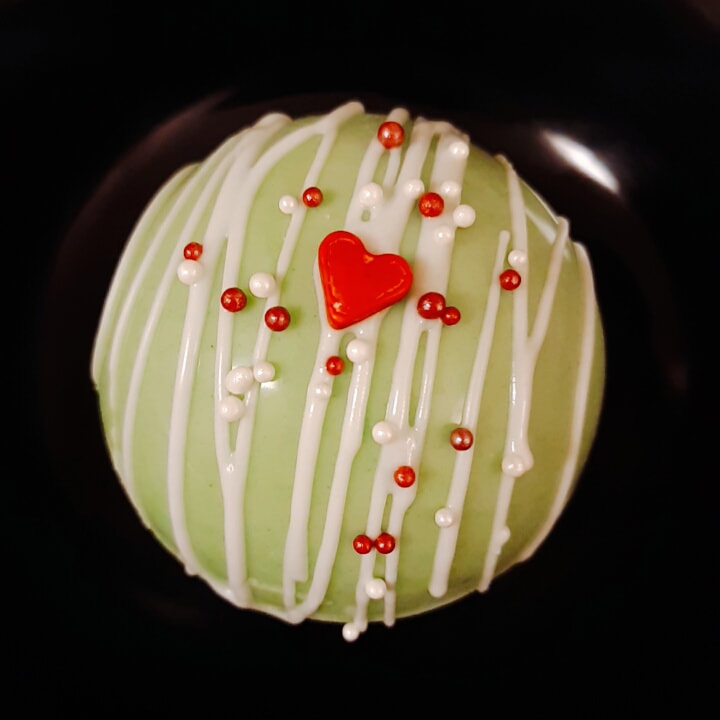
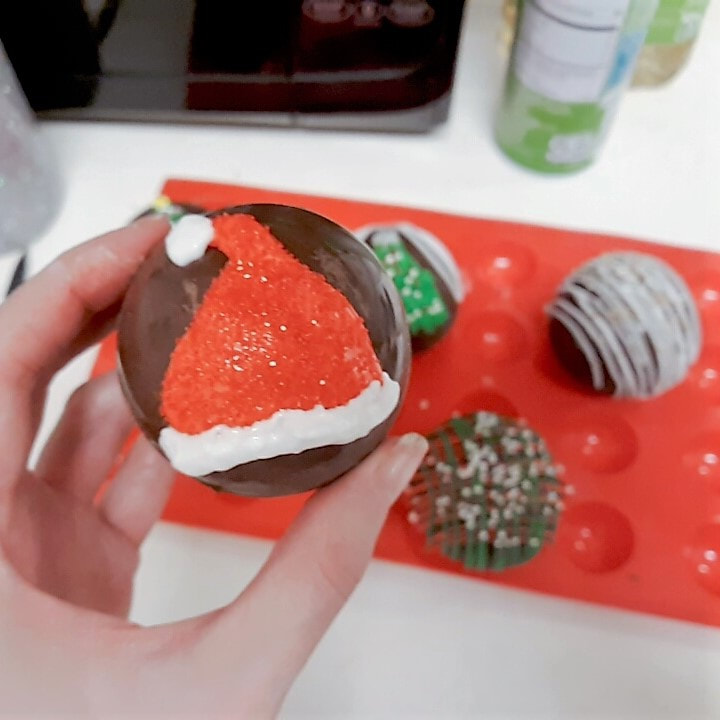
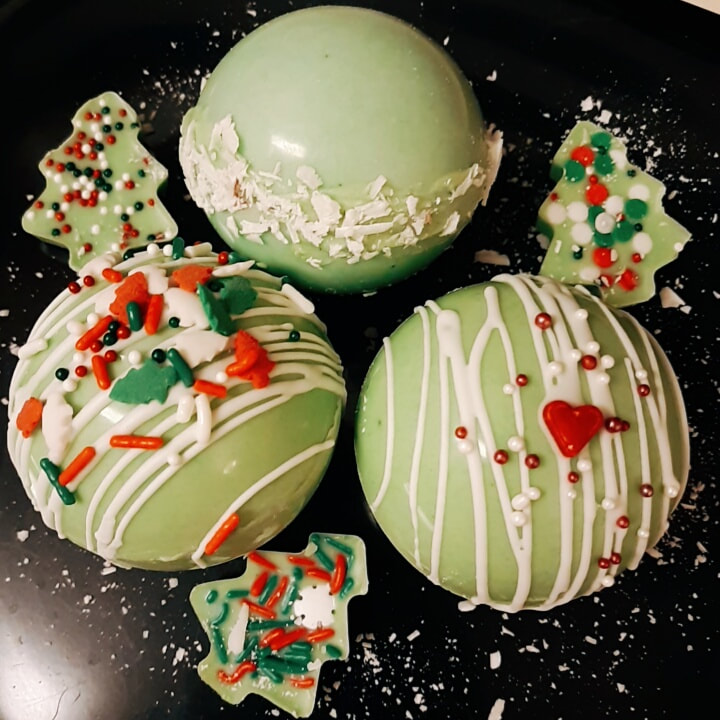
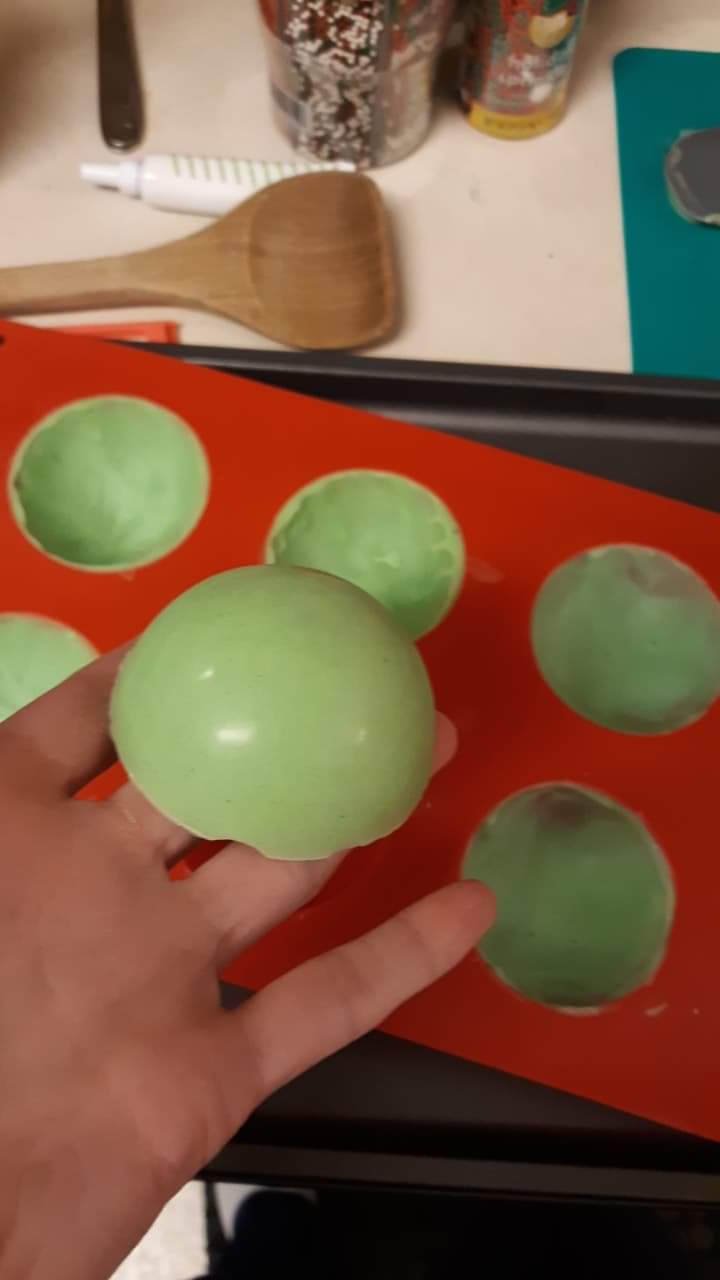
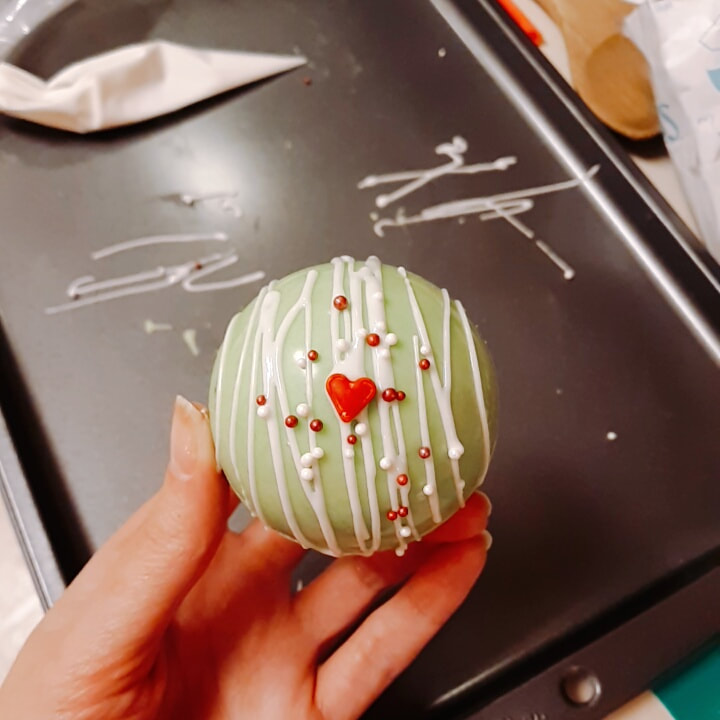
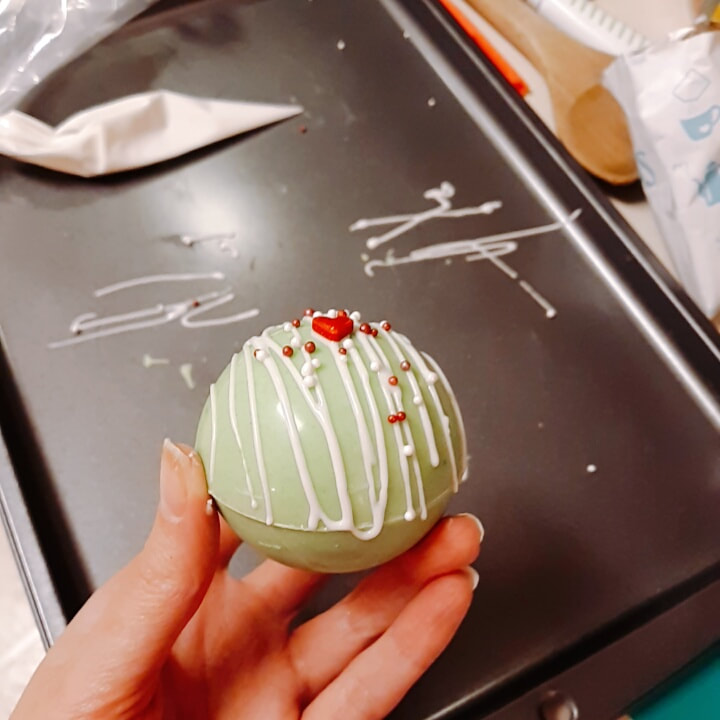
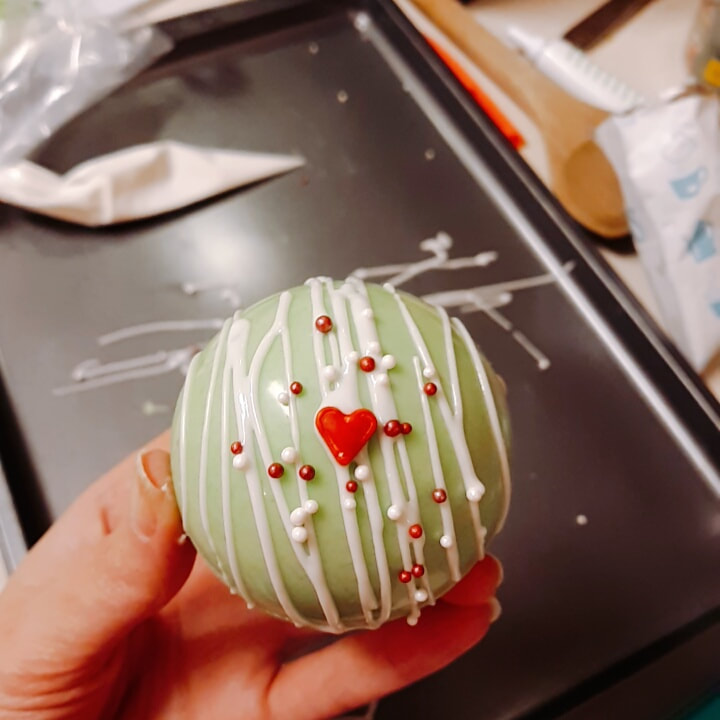
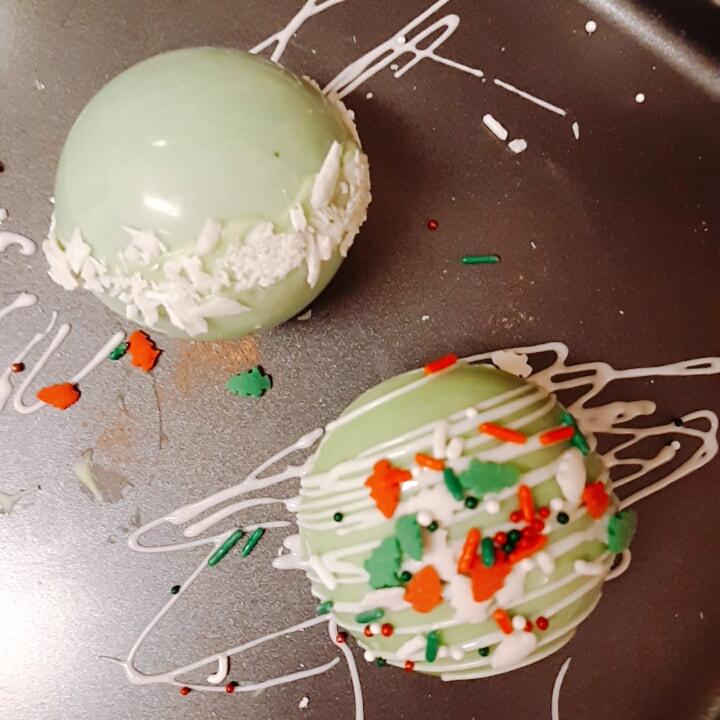
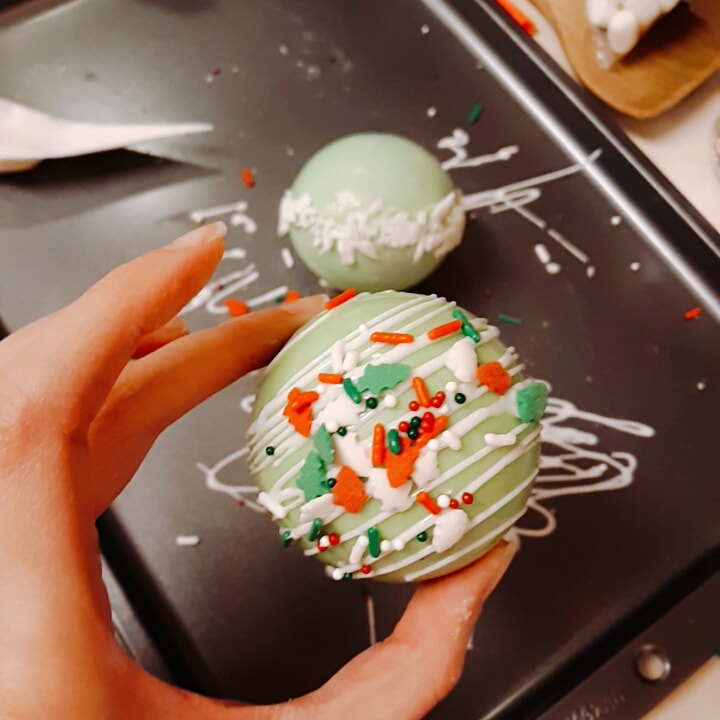
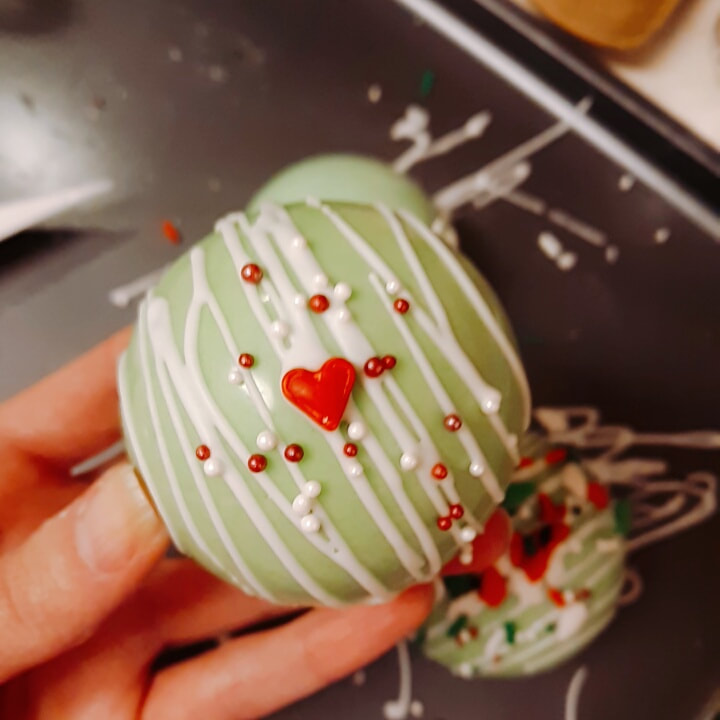
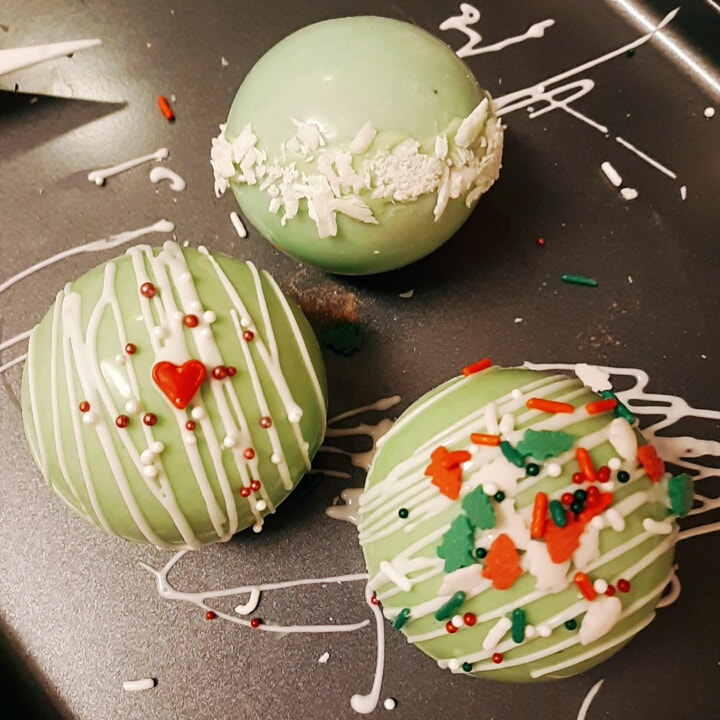
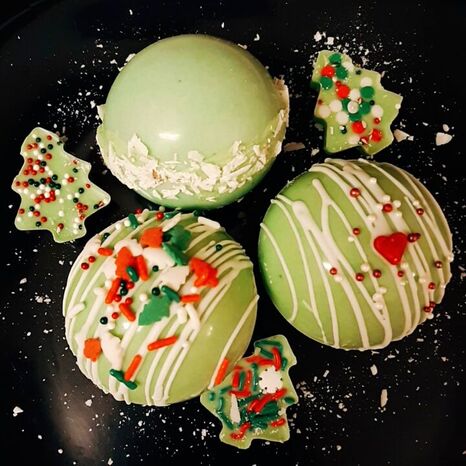
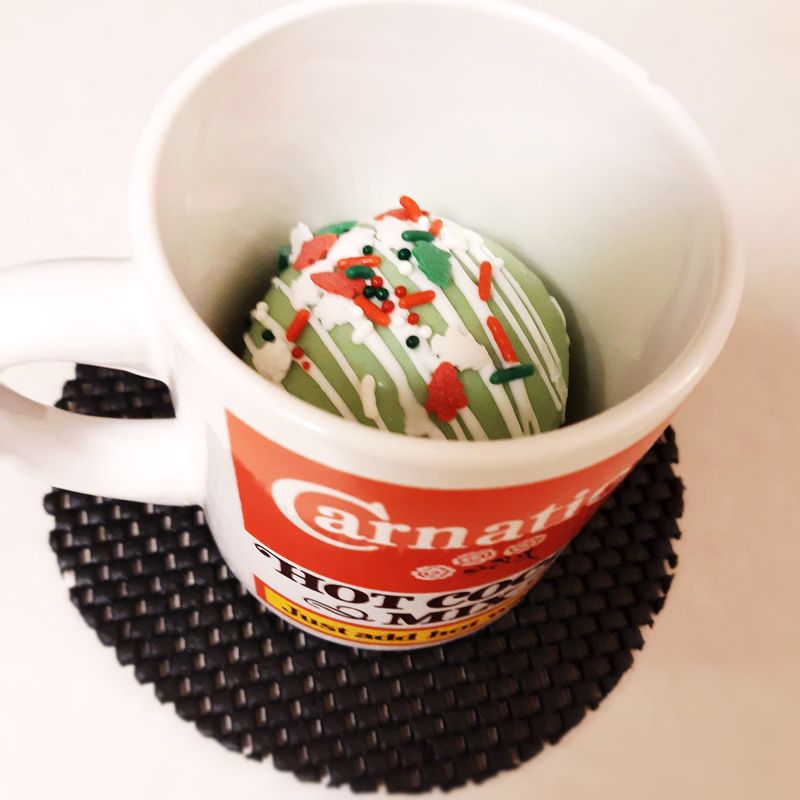
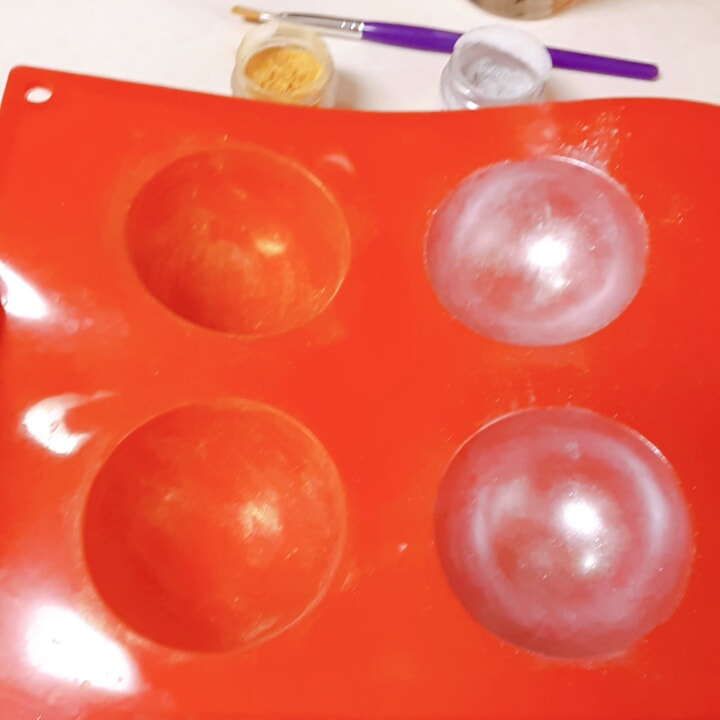
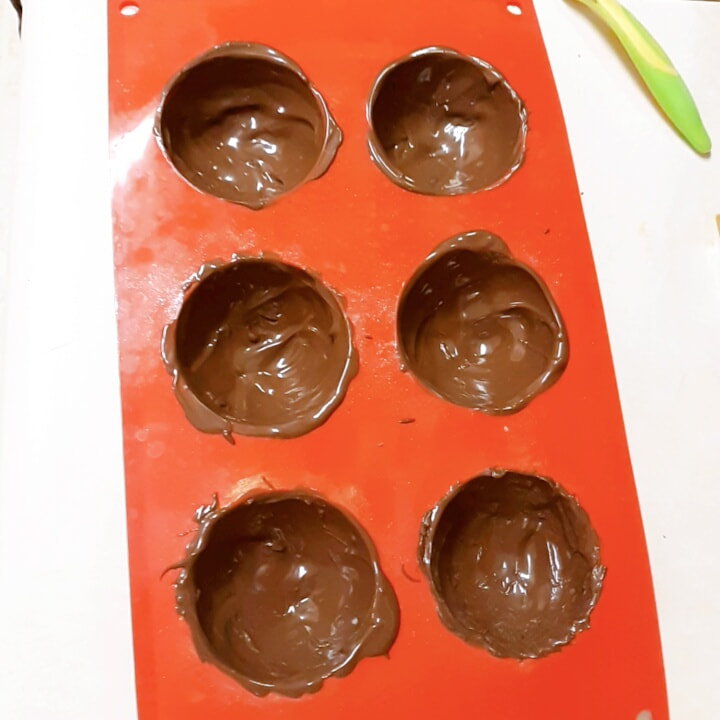
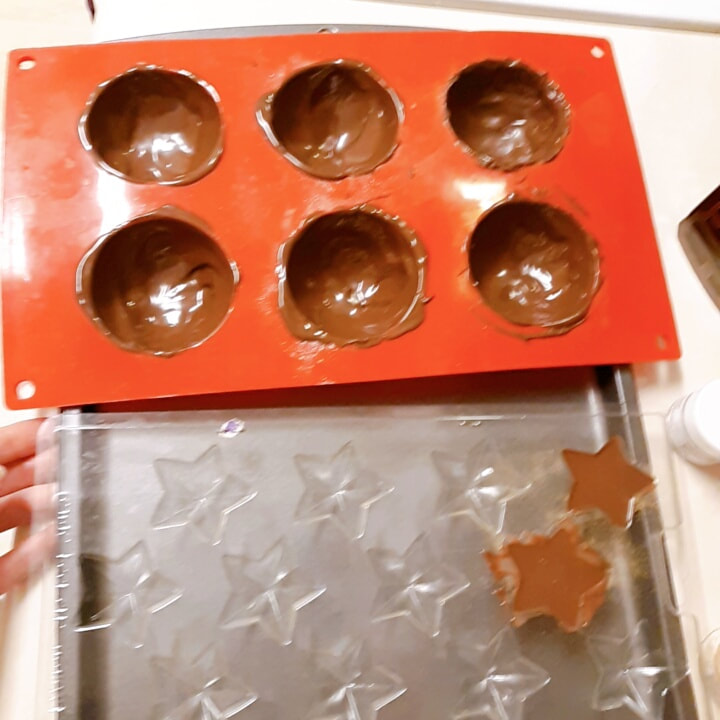
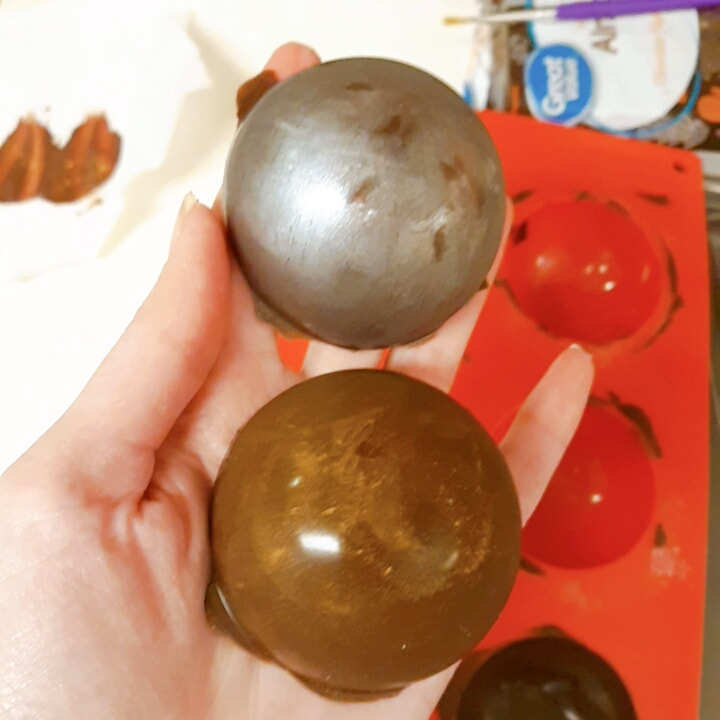
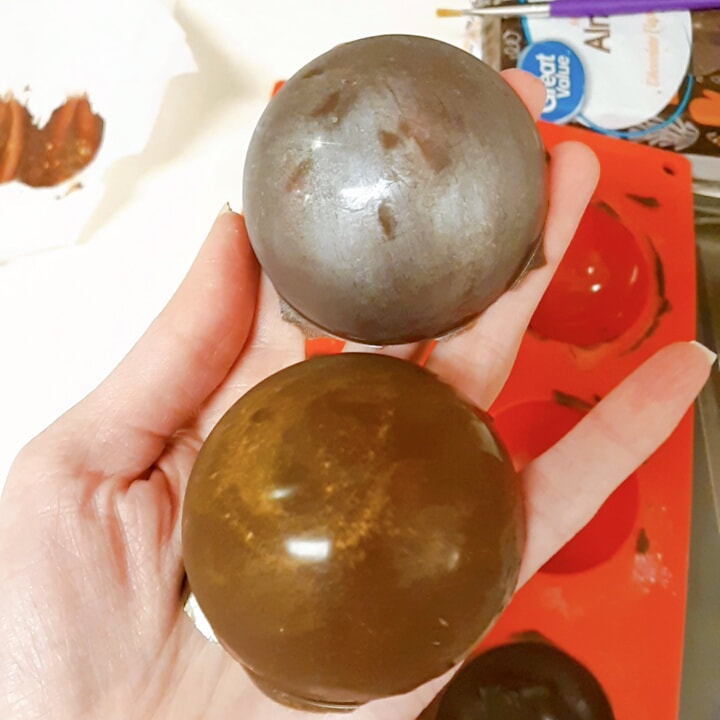
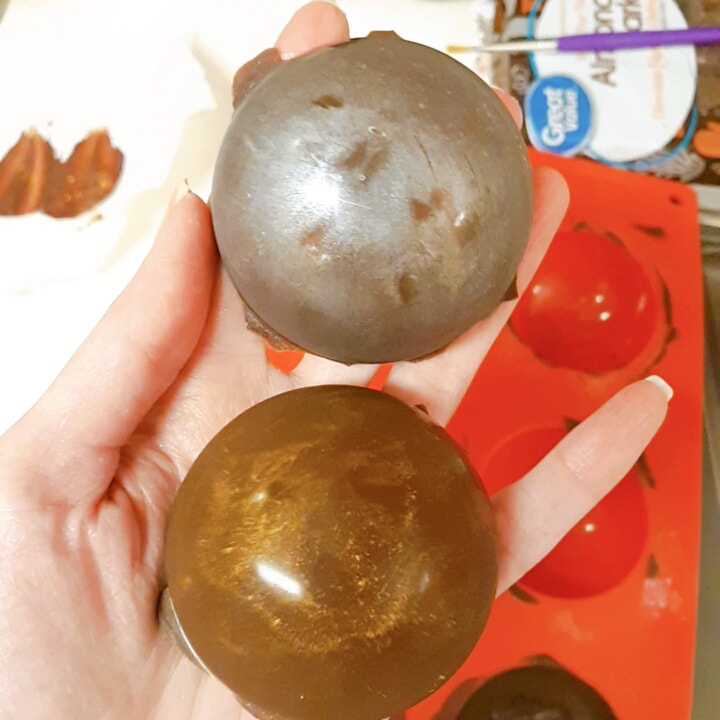
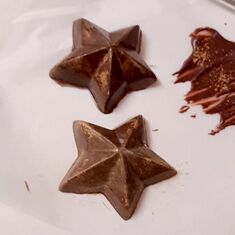
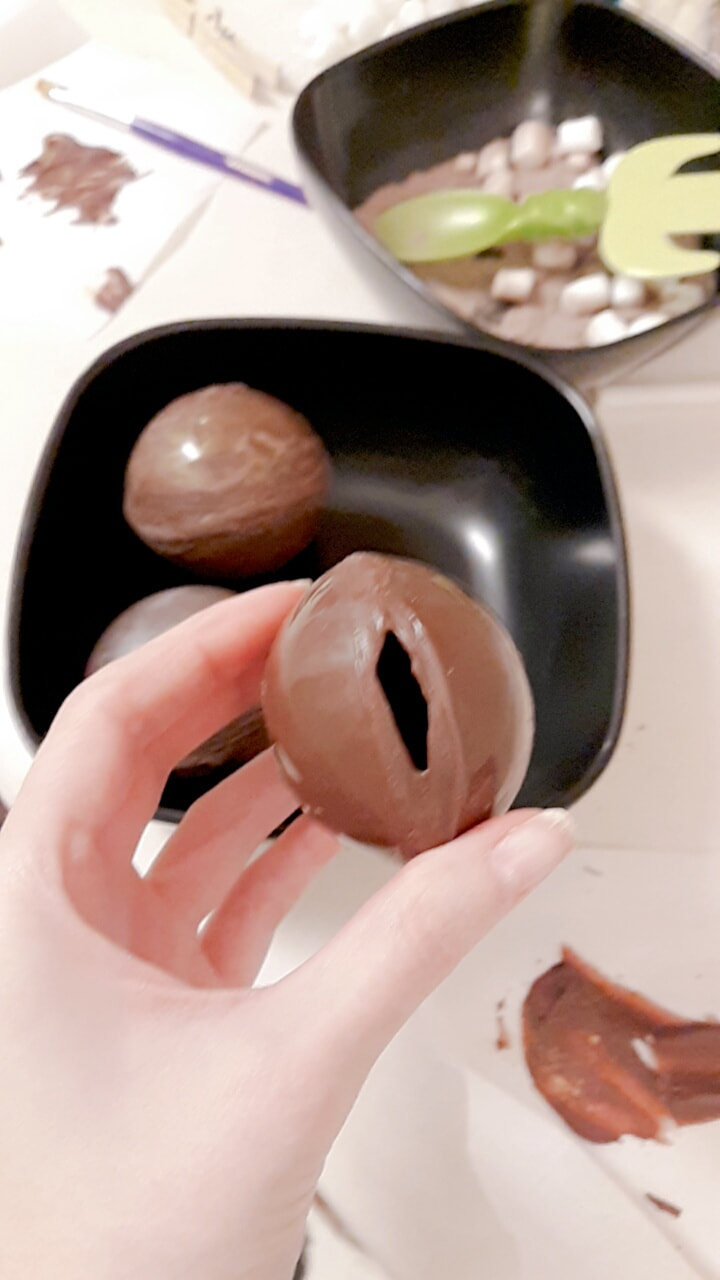
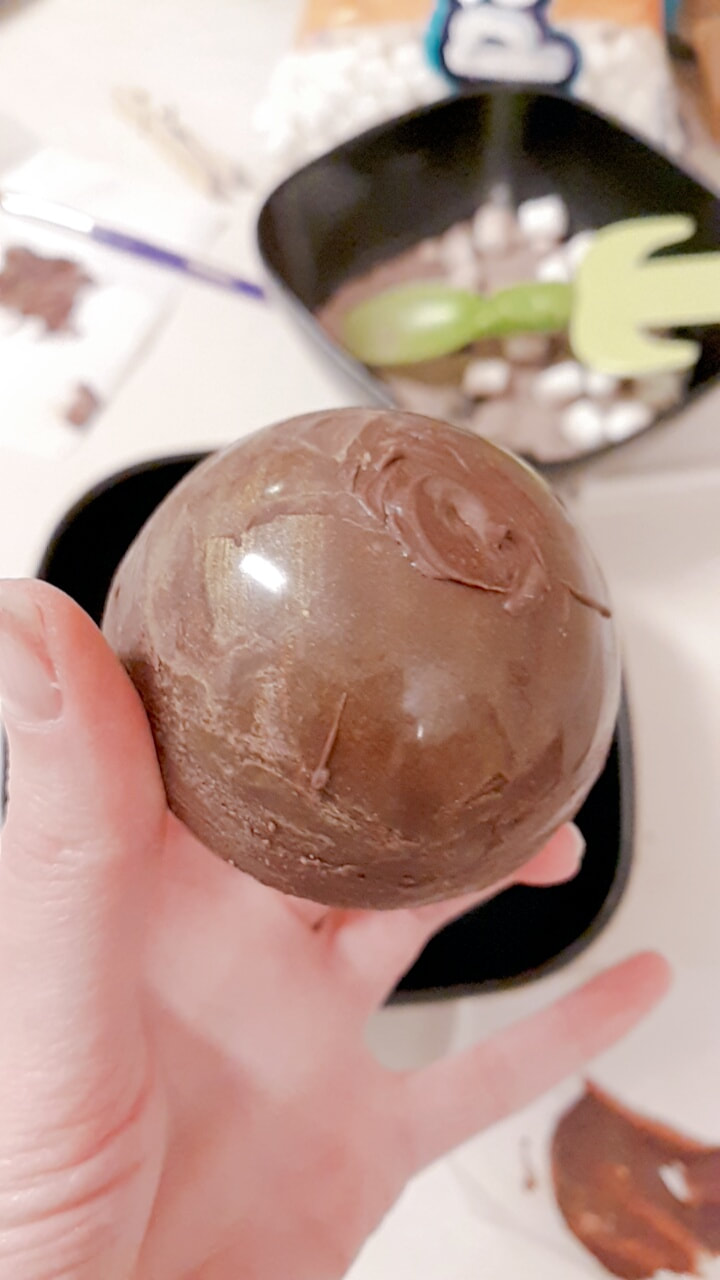
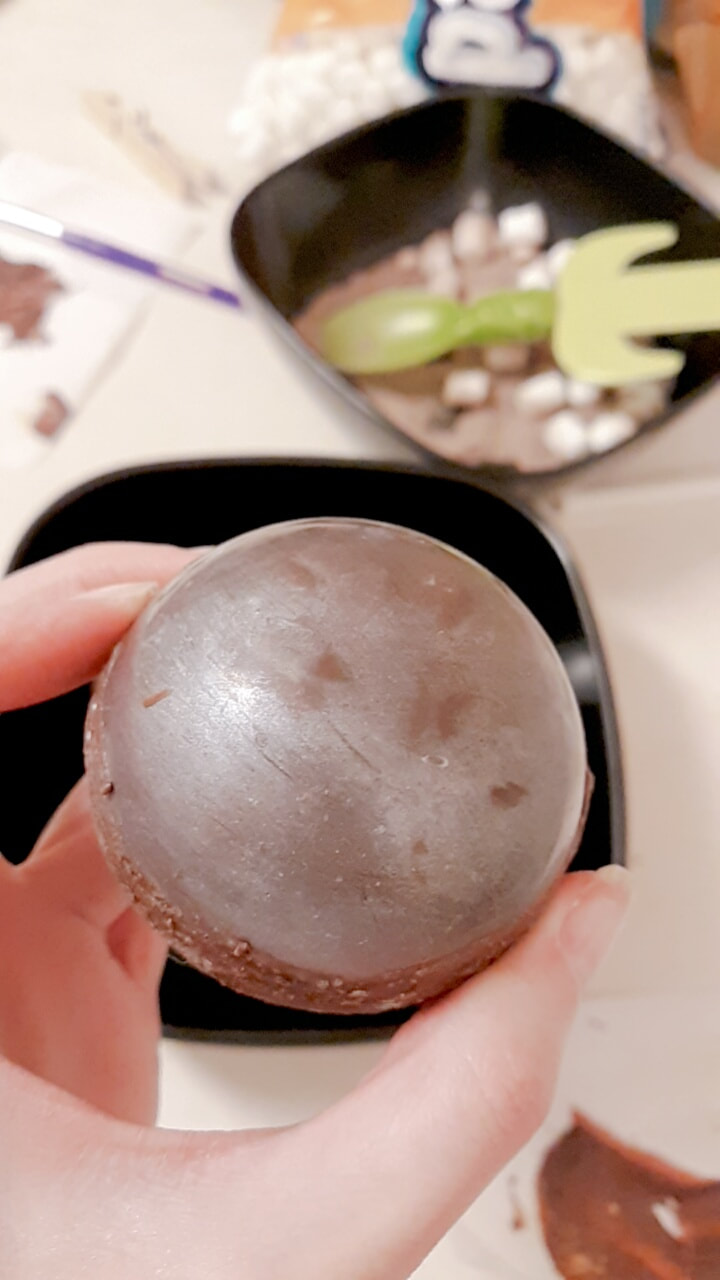
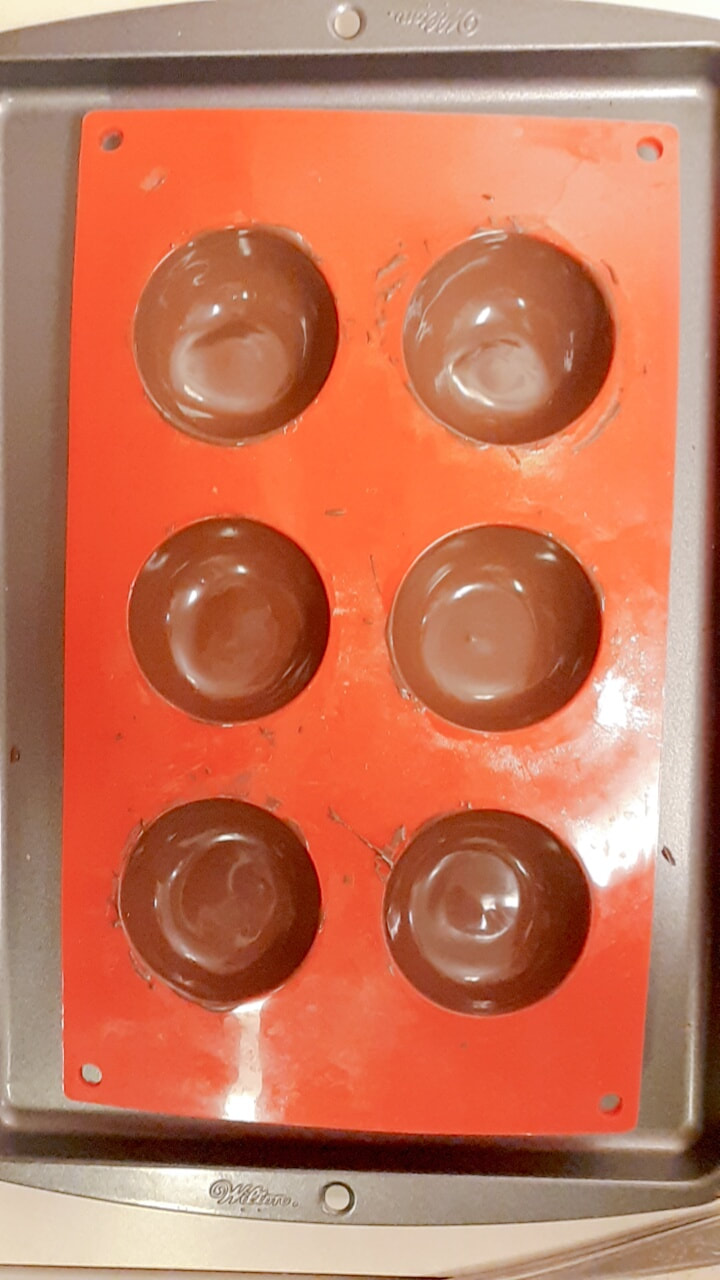
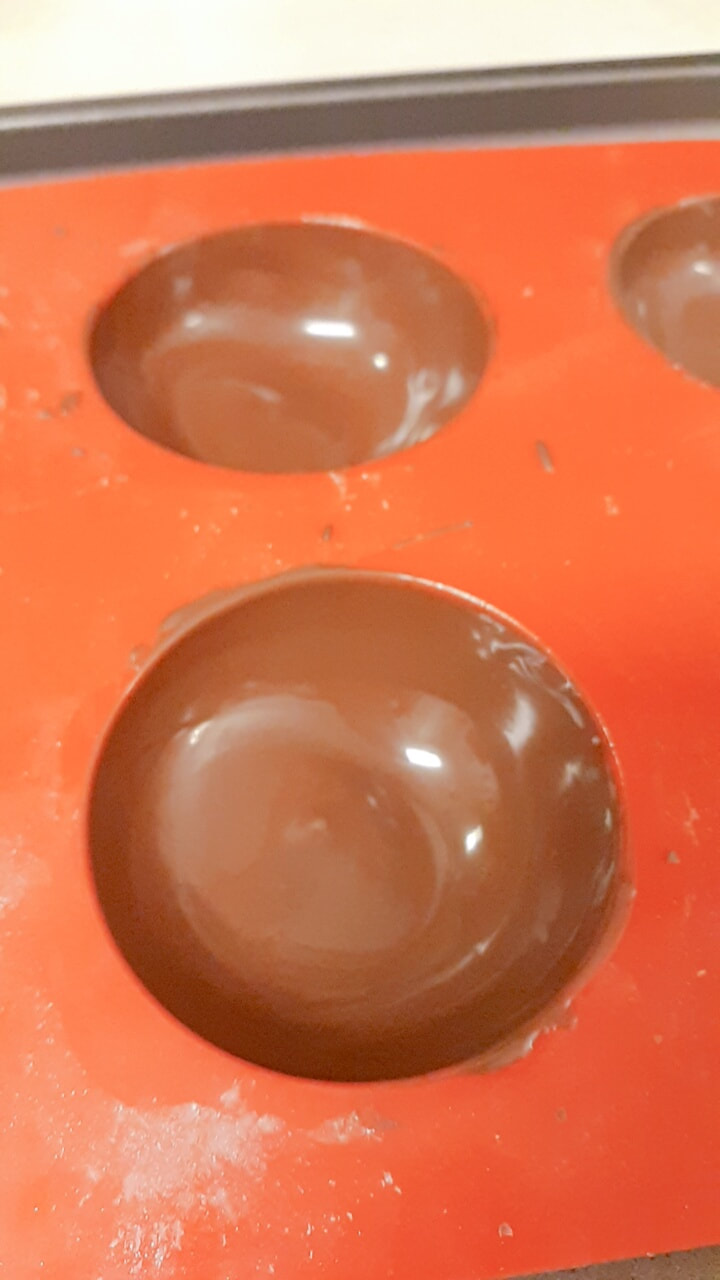
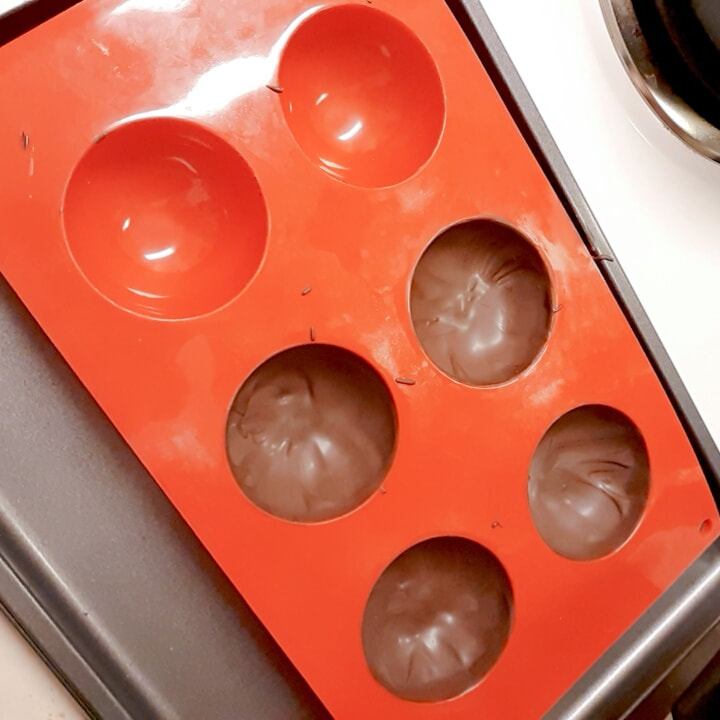
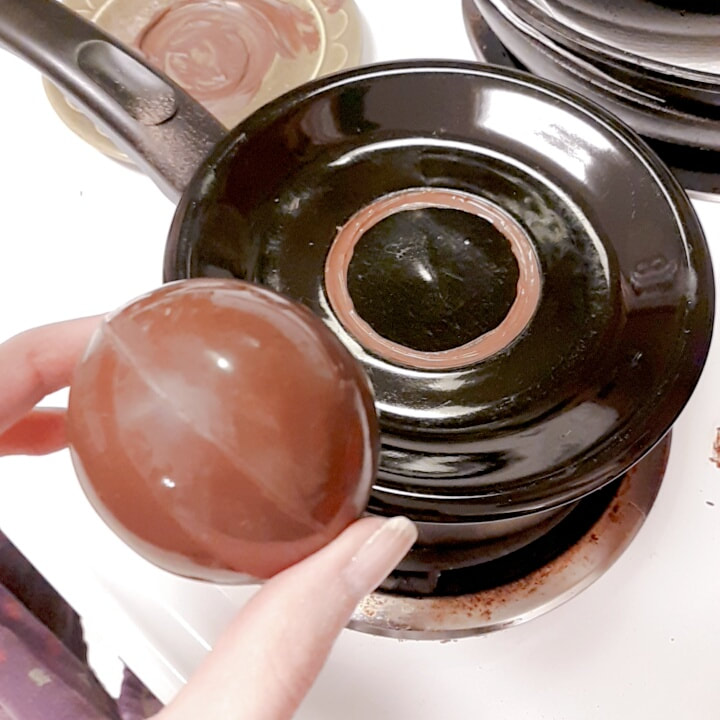
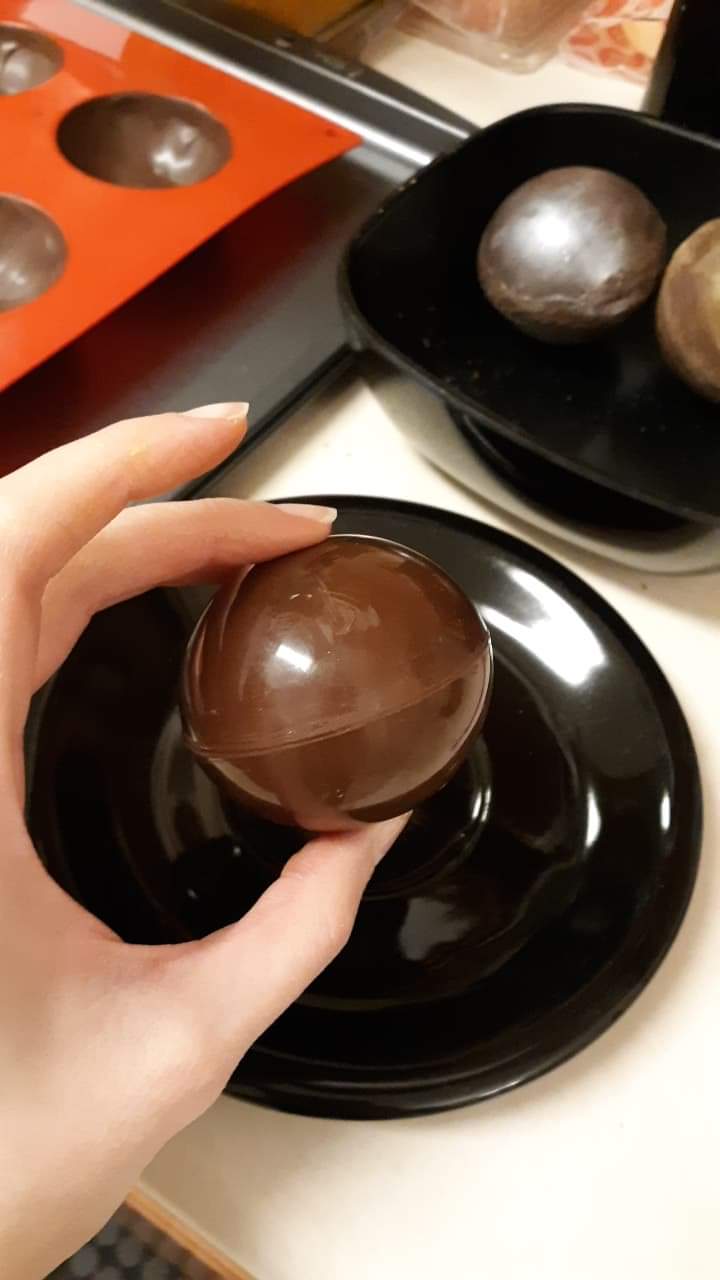
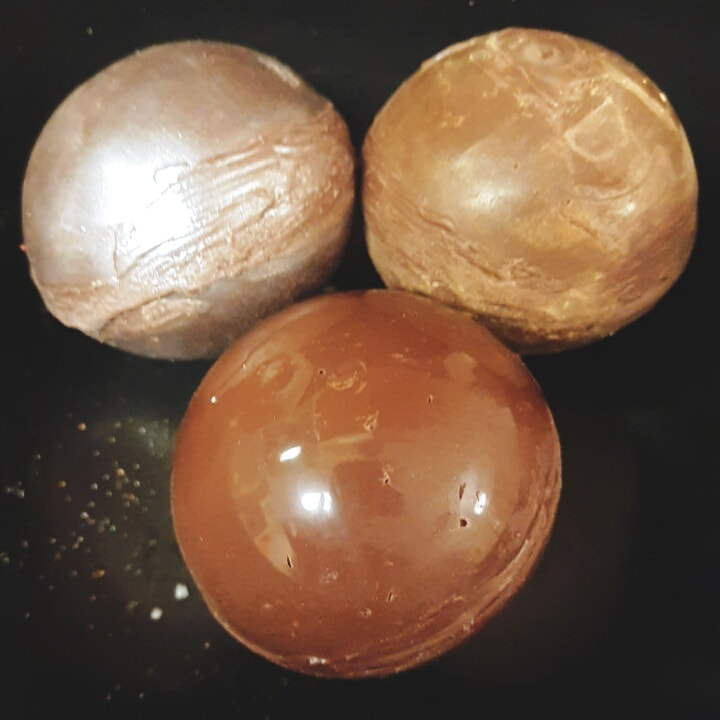
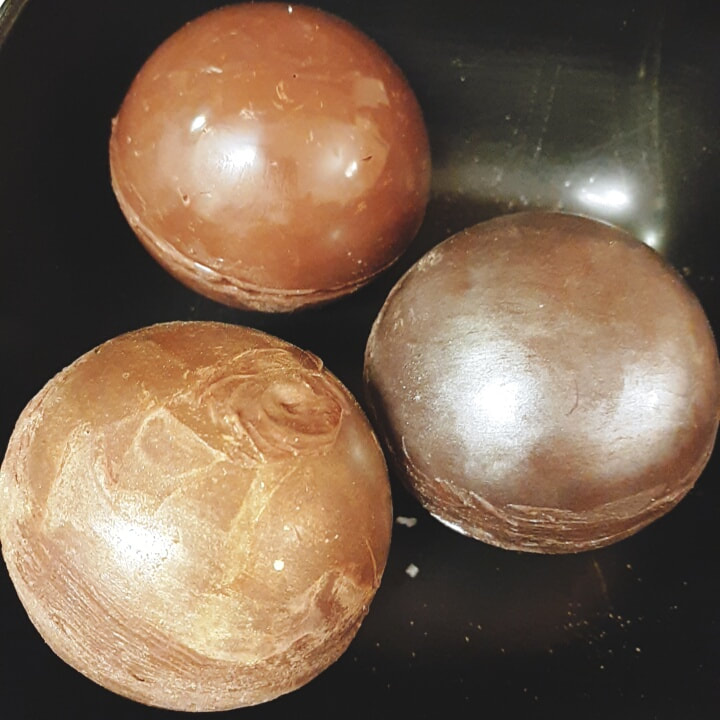
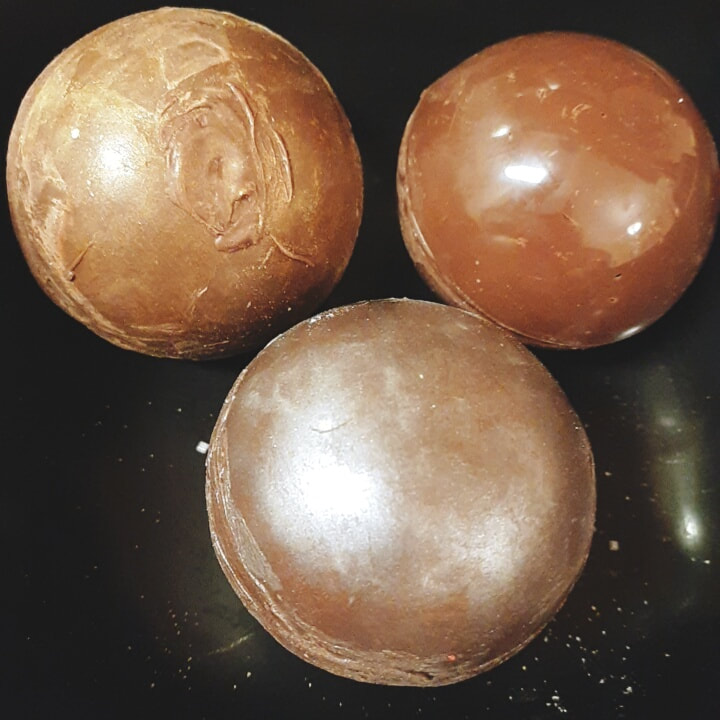
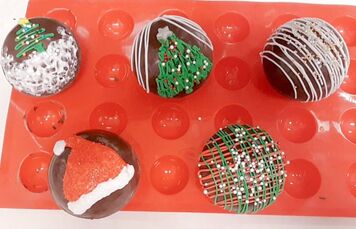
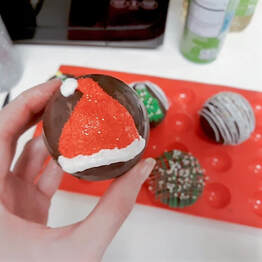
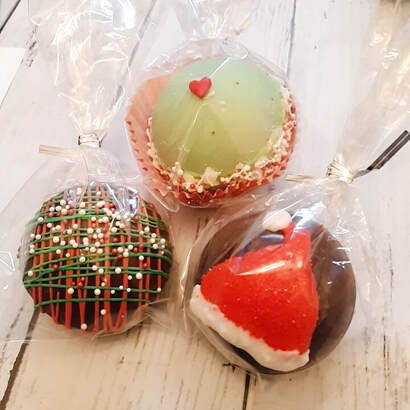
Well hello there!! Welp I'm half excited and half smh with this post because this was probably the hardest easy thing I've ever done.. which is saying A LOT hahaha y'all know. So while trying to figure out Christmas themes I decided that I absolutely wanted to do Grinch themed Cocoa Bombs. These came out so good and I am very happy with them. However, it's very possible I had some kind of beginners luck or something because these were really easy for me, but the chocolate version was really hard lol I don't know if there's a reason for it I'm thinking there could be lots of reasons but I just wanted to put that out there. If you find yourself having a more difficult time don't feel bad... lol you'll figure it out. With that said let's go through my process here. So this was my first time trying this out and I wasn't exactly sure how it was going to do. I made a double boiler and did the thing with the water and the metal bowl but I used Vanilla Almond Bark and gel food coloring. Now from what I've read water based food coloring does not jive well with melted chocolate but I did not have any problems and I just used Walmart's Neon Green Gel Food Coloring... I got green easy and a pretty nice green. I let these cool in the freezer I don't even remember for how long lol like I said this was a trial and error batch but as you can see they came out perfect and I sealed all 3 of them up without much trouble. One did come out kinda ugly but I just covered it up with almond bark shavings and it looks pretty good! So I know it's frowned upon to try one of these and NOT film it but we did anyway LOL I can not believe how good it was... it was delicious. I don't think mine are as big as some of the others I've seen so I wasn't sure if there was going to be enough cocoa mix in them especially with the mini marshmallows inside.. which I guess I got zero pictures of but these are filled with cocoa mix, mini marshmallows and some of them have sprinkles too.. they are a lot of fun and they're delicious. I would love to make one specifically for my Christmas morning coffee but we will see how that goes... no promises lol Well this is the end of that delightful journey. I hope you enjoyed it! You're about to enter the hard knocks area where we're gonna ride the struggle bus for a minute but don't worry it has a happy ending so all is well here just enjoy the show! Part 2: Chocolate Cocoa BombsOkay so you guys may or may not know but I love using my gold and silver luster dusts for my cookies. They make gold and silver paint among other things. This time I decided to dust the inside of these to see what the result would be. I left one just plain so I would at least have one constant in this situation because this was my first attempt at the Chocolate Almond Bark Cocoa Bombs. Secondly, if you make your chocolate all messy like this you're probably gonna have issues.. Or at least I did and I don't personally recommend it lol Since I was using molds I decided to make a few candy stars as well. So they seemed to come out of the molds okay at first and the gold and silver effect worked fabulously I loved it! As for my chocolate cocoa bombs wellll they aren't going so well lol The plain chocolate one melted to oblivion as I was attempting to seal it... The gold one had a hole in the top... I managed to seal it up but boy is it ugly LOL. The silver one eh... it's just ugly... I had a hard time sealing that one as well... If at first you don't succeed try, try again or whatever. So even though my chocolate was kinda warm in this photo I can help point out some things you don't want to see lol So you can probably tell the chocolate is quite puddled in the top and pretty thin on the sides... You do want it NEAT. Keep moving the chocolate around a bit until you get more of a shell on the sides... if your sides are super thin like this they will crack when you try to take them out of the mold. Also. Mine failed every single time I put them in the freezer so I started putting them in the fridge for 5 minutes instead and it was completely successful as you will eventually see haha.. And... FINALLY... It took me 3 tries but I finally nailed it. Make sure your chocolate isn't too hot so you can coat your molds kinda thick. Let them cool in fridge for 5 minutes. Use a warm plate to slightly melt BOTH sides of the sphere and seal. Okay so I was pretty excited about how fabulously this particular set sealed up so I saved one to do in a winter theme. The other two I have started to attempt to do something with just for fun. Those are the gold and silver ones from that earlier mess up there. I dusted them both with more silver and gold. If nothing else my hot cocoa will be really pretty and sparkly. I've seen how this stuff works when you add it to drinks. It makes it sparkle. Pretty cool. The others I decided to do in a Christmas theme. I asked my MIL what she wanted and she said "Christmas in a Mug" ... fair enough. Except that I am not that great at decorating in traditional Christmas lol But you know what they're not too bad and they are absolutely delicious. She loved them anyway so it worked out... I need to work on some Christmas designs though. I have a few new ideas now... we'll see. They look pretty cute wrapped up! Well that's all I got for now.
I hope you enjoyed the adventure! I think I will be making more of these but I don't make promises lol I hope you're having a wonderful holiday! Thanks for stopping by! Much Love Amanda
0 Comments
Leave a Reply. |
AuthorAmanda Archives
February 2024
Categories |


 RSS Feed